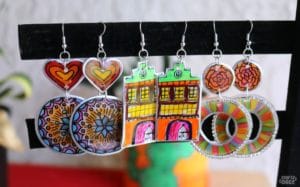
How to make resin tile coasters. This is a classic craft that goes back to the groovy ’70s when EVERYTHANG was coated in resin!
These coasters are cool to make because you can make a custom collage and seal it all in!

More and more people are curious about the sticky stuff, which you mix and pour into bottle caps, over picture frames and in rubber molds to make jewelry, furniture and scrapbook adornments.
So what is it?
Resin is a reactive polymer compound that cures to a thick, glossy coating that is highly durable and requires no polishing. It’s often used to cover the tops of tables or bars in eating establishments. It comes in several brands, and each has its own quirks when it comes to combining the compounds.
Wear a mask because it’s stinky. And if you have long hair, tie it back before starting, otherwise there’s a good chance you’ll get the resin on your hair (like I did). The only way to remove the resin is to cut it off.
Supplies for how to make resin tile coasters
4 ceramic tiles, 4 by 4 inches each
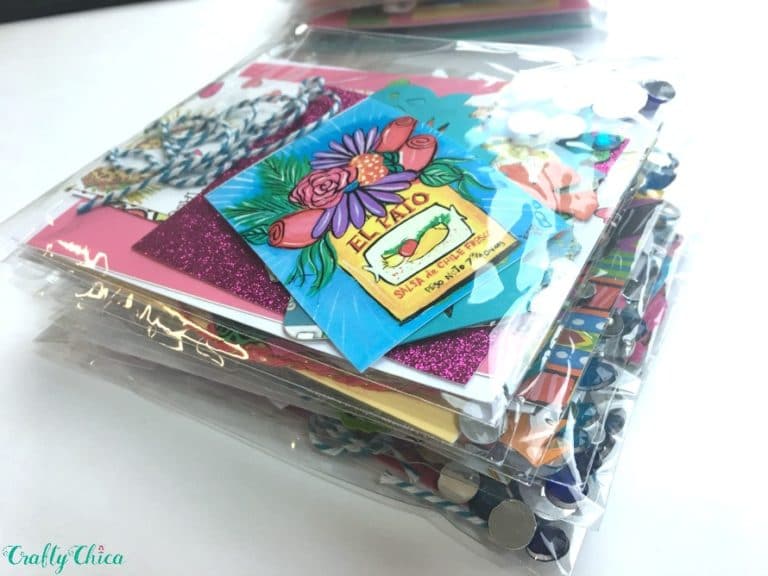
Small pictures
Aleene’s Tacky Glue
Metallic paint pens
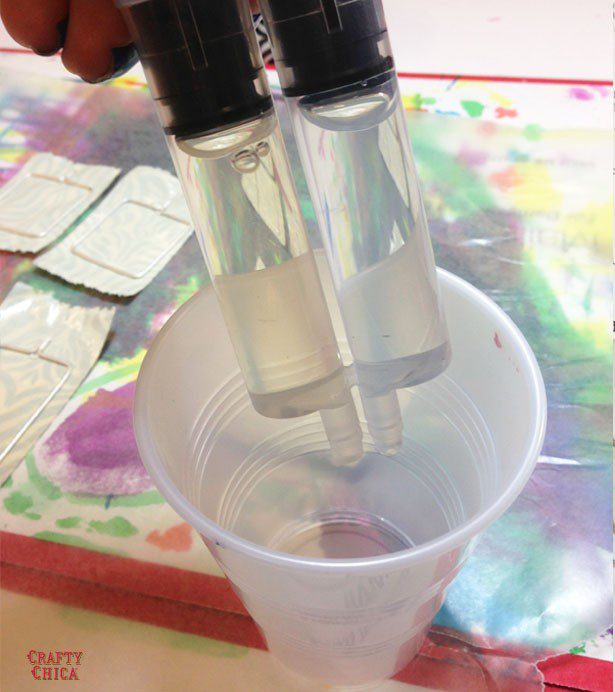
Two-part resin, small paper cup, chopstick, paper mask, skinny straw
Wax paper
16 wood doll heads, 1-inch in diameter (round balls that are flat on one side)
Acrylic paint and water-based varnish
Liquid Fusion Adhesive
Directions:
Wipe the tiles free of dust or spots.
Using the glue, apply the pictures on the tiles and let dry.
Apply a thin layer of the white glue on top of the pictures and let dry.
Decorate the open spaces on the tile with the metallic paint pens. Go outside to work with the resin.
Put on the mask and use the paper cup to mix the two-part resin according to package directions.
Use the chopstick to stir the mixture vigorously until it looks bubbly and cloudy. Pour an amount the size of a quarter on each tile and spread it to the edges using the chopstick.
Hold the tile up to the light to make sure you didn’t miss any spots.
Pop any bubbles by removing the mask and blowing through the straw over the surface.
Place the tiles on the wax paper and place them in a covered outdoors area (garage or patio) to cure for 24 to 48 hours.
Paint the wood balls, decorate with the pens and varnish. Flip the tiles over and use the adhesive to attach the balls. Let dry.
Tips and variations:
Have fun with your coasters!
Make small scrapbook layouts on each tile using family photos, papers and sequins, or cut out pictures from magazines.
Make sure to follow package directions, otherwise it will not cure.
If the resin has not set by 24 hours, consider your project a bust and try again.
Do not let your tiles dry outside because bugs, dust and leaves can become embedded in them.
RELATED:
‘Coaster Meme’ Drink Coasters DIY


Question. At first you say, “Place the tiles on the wax paper and place them in a covered outdoors area (garage or patio) to cure for 24 to 48 hours.” then you say, “Do not let your tiles dry outside because bugs, dust and leaves can become embedded in them.”
Can’t bugs and dust get to the tiles in a covered outdoor area too?
Hi! By covered outdoor area, I mean a garage or storage room. Sorry for the confusion! That will decrease the chances of wind/flies, etc getting stuck in the resin!
How do I order items from you?