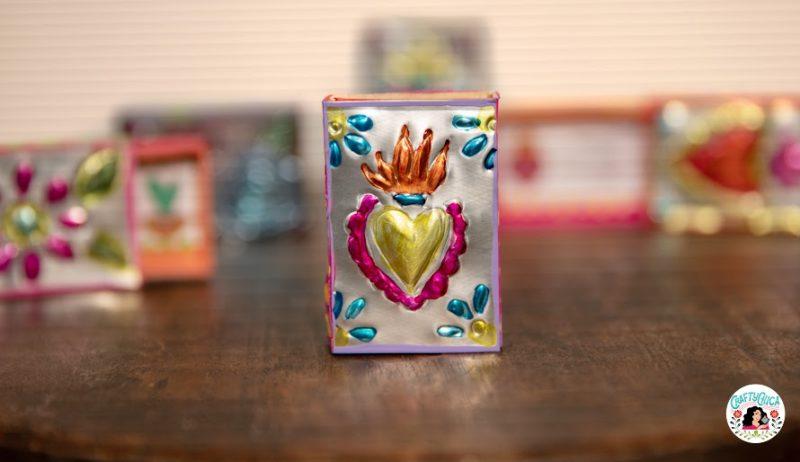
Here is how to make a pocket mint tin shrine! Gather up all your tiny doodads because they will come in handy for this project!
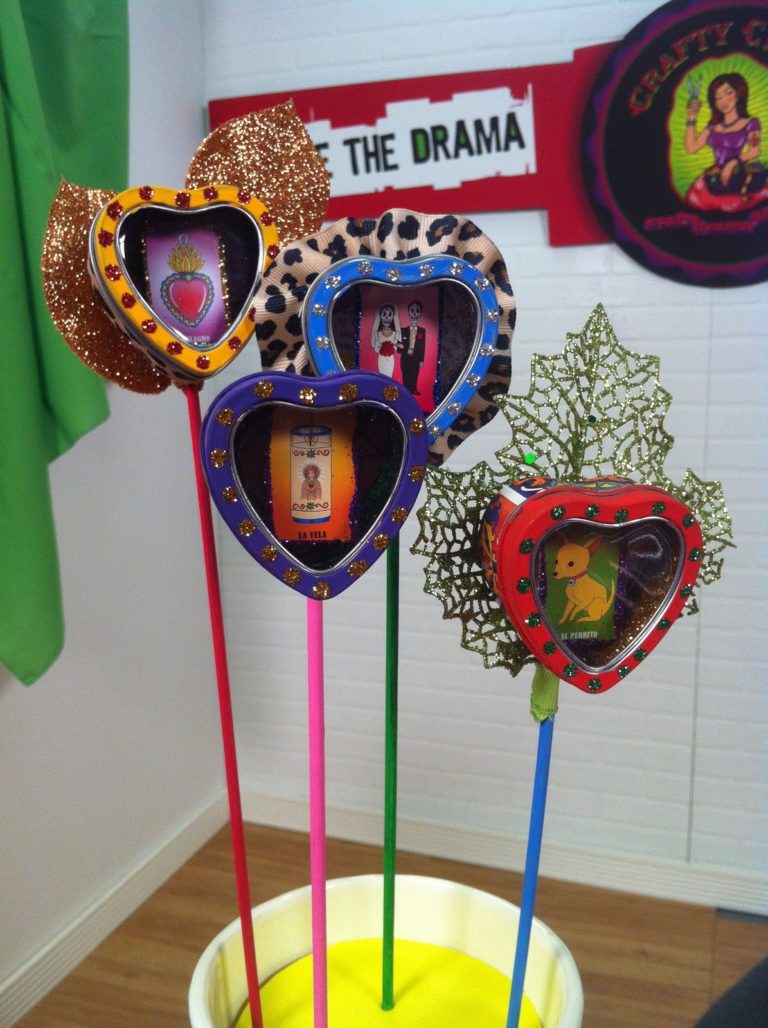
These are beautiful little assemblage art pieces where you can pay a tribute to a loved one who passed away. If that’s a little heavy, you can also use them as a mini portable picture frames.
As far as the “pocket” part? It simply means it is portable and compact!
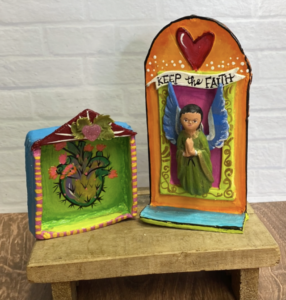
About assemblage art
Have you ever worked in assemblage art? It’s the process of using found objects, ephemera, and other embellishments to tell a story on a substrate. A box, a frame, a base of some sort, even jewelry pieces. Think of it as a dimensional collage. My first book, Making Shadow Boxes & Shrines was all about assemblage art and I never ran out of ideas!
This pocket mint tin shrine method is one of my favorites.

Starting with a mint tin, you’d think there is limited room to build a dimensional collage. Clear that thought because your creativity will prove you wrong! I think the reason I love assemblage art so much is because I finally put to use all the knick-knacks I refuse to throw away.
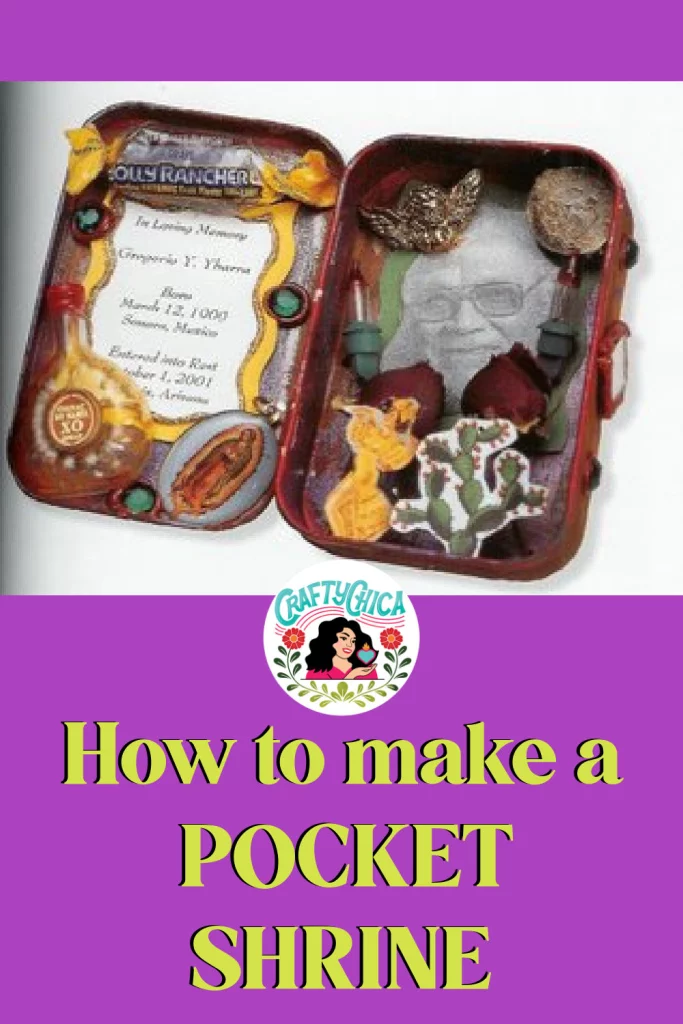
I made this mint tin shrine in honor of my husband’s grandpa.
Every single one of the items in there has a specific meaning to him and his personality.
For example: the cough drops. He always had them in his pocket and when he greeted you, he would shake your hand. He’d walk away, you look at your palm, and there was a cough drop.
The sexy dancer is inspired by the Saturday night variety shows on the Spanish language networks. He loved the flirty dancers in the sequined outfits!
Get the idea? It’s amazing to think how many “little” treasures you can find if you look hard enough.

How to make a pocket shrine
Supplies:
Mint tin (you can buy brand new or recycle a used one!)
Assorted papers
A photo of the person the shrine is for.
Trims, gems, mini-flowers, glitter
Craft glue and hot glue.
Light sandpaper
Multi-surface craft paints, brushes
Directions to make a pocket shrine
Lightly sand your tin, this will help the paint grip the surface.
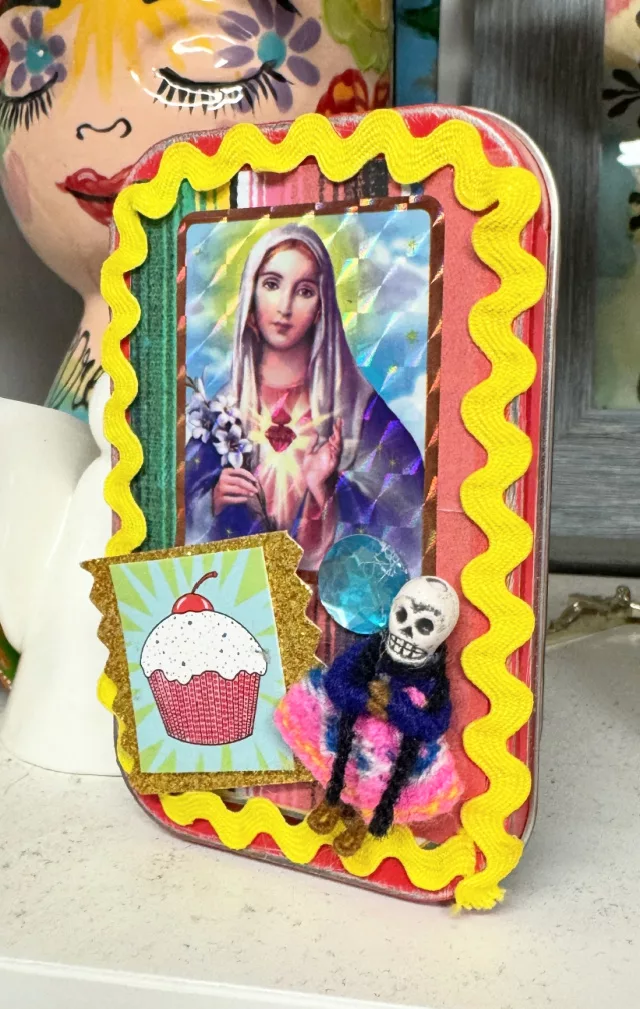
Line the inside of the tin with colorful paper, using white craft glue or dry adhesives.
Add dimension
Use a chunky piece of cardboard and glue to the back of your focal image.
Then glue your focal point image to colorful card stock and glue to the inside of the tin. This will give your image a “lift”
Add embellishments, working back (smaller items) to front (smaller items).
Add glitter and trims as desired.
Decorate the cover
Once the inside is done, it’s time to give life to the cover. Sand down the area, use extra strength glue. My mint tin shrines have lasted for decades because of this. Hot glue will eventually come apart, so double-up with a stronger glue. Add trims, paints, and textured items.
Thanks for checking out my post about how to make a pocket shrine!
RELATED:
Air Dry Clay 101: DIY Mini Shrines