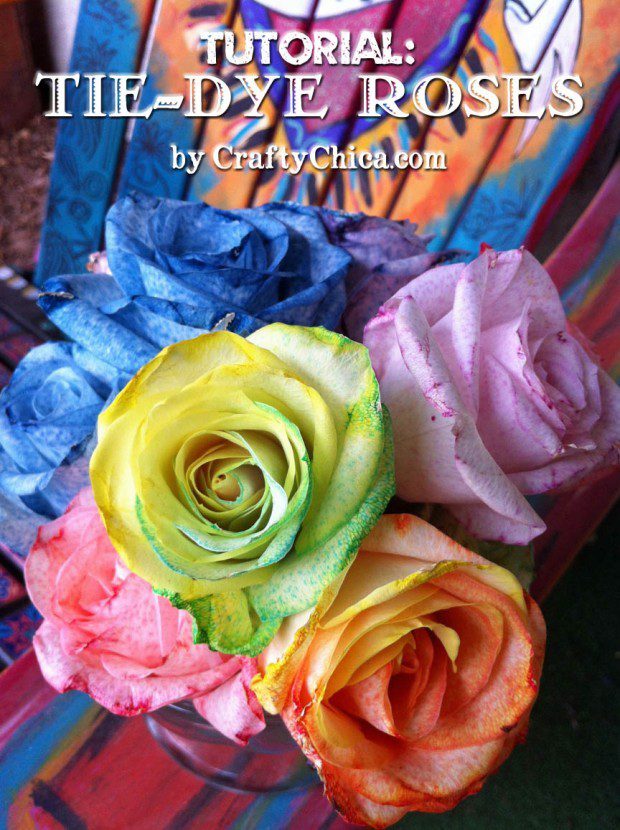
Here is how to make tie dye roses. For the past year I’ve been wanting to try and make these roses. I know florists use this technique for flowers, but I wanted to try it too! I used a Tulip Tie-Dye Kit because the colors are so vibrant! It worked! I think with more practice, I could do better, but for now, I’m really happy with how these turned out!
Check out the video of how to make tie dye roses

Supplies for how to make tie dye roses
White roses
Sharp knife
Plastic cups
Small rubberbands
Water
Plastic covering
How to make tie dye roses:
Take each rose and remove the leaves, cut the stems to about 10″
Carefully split each stem twice, so stem is separated into three pieces.
Line your work area with a plastic covering and wear gloves.
Set out cups of water.
Open the dye bottles and pour the dry dye into the cups of water, one color per cup. Mix thoroughly.
Very carefully, insert different areas of the stems into the cups.
For example, one flower could have its stem in three colors, spread out.
Use the small rubberband to group different stem portions together if needed.
The whole process takes at least six to eight hours.
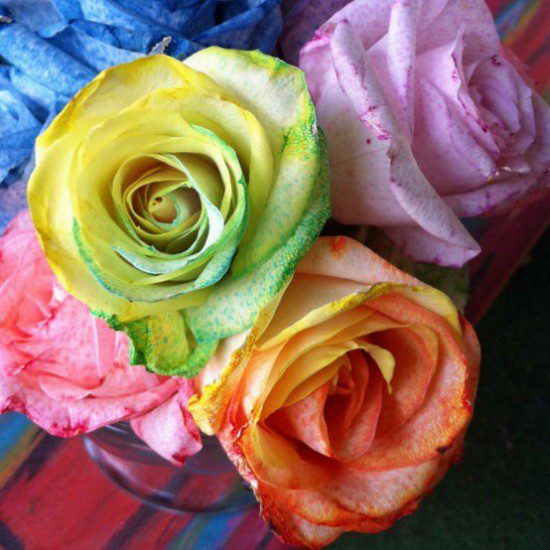
When they are done, remove from the water, rinse the excess dye from the stems and decorate with your new tie dye flowers!
Ideas for your tie dye flowers:
Place them in a shallow bowl with water
Experiment with different color combinations
Try food coloring instead of dye (I like the dye better)
Do this with kids as an experiment
Switch out the roses for another flower, such as a carnation.
Start with pink roses for a head start!
Enjoy! I hope you liked this tutorial of how to tie dye roses!