I’ve been on this kick of revamping vintage telephones. I buy them on the cheap at a local thrift store and I never run out of ideas. Aside from selling them, I also like to have them in use around my house. Yes, I’m a weird one who still has a land line. So Mad Men of me! There is nothing like holding a heavy handset up to your ear: So retro, sexy and cool!

If you want to make over a vintage telephone, here are my tips!
1. Don’t think so much about the case or the cord of your vintage telephone, you can always clean it off. The most important thing is to make sure the phone works. If you are at a thrift store, ask for them to plug it in so you can hear the dial and ring tone.
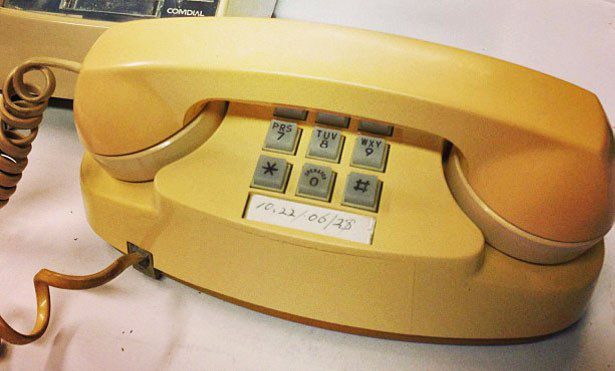
2. Make sure it has a modern adapter plug. Some of the really old phones have loose wires. you don’t want to mess with that.

3. Remove the outer casing of the phone. To do this, turn the phone upside down and use a screwdriver to remove the screws. Carefully lift off the casing. Now, pick up the handset and unscrew the voice and ear piece.
4. Use a wipey to clean the phone’s casing, scrub it really well to remove any germs. Inside the casing too!
Now it’s time to decorate – there are endless ways! Here is how I made this phone:
– Use spray paint as a base for your new color. I used different colors! Let it dry.
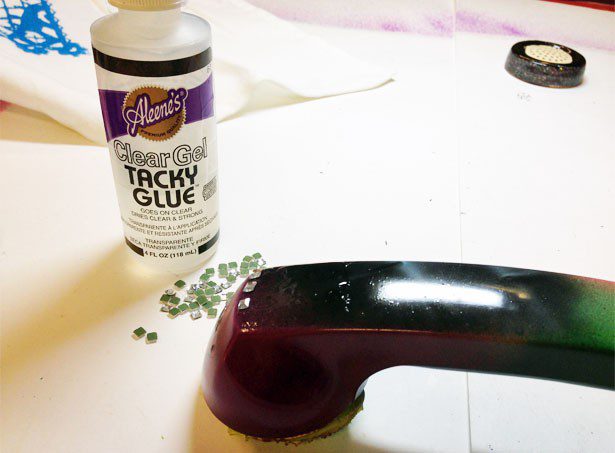
– Coat the top of the handset with Aleene’s Clear Gel Tacky Glue and add Tulip PDA Crystals.
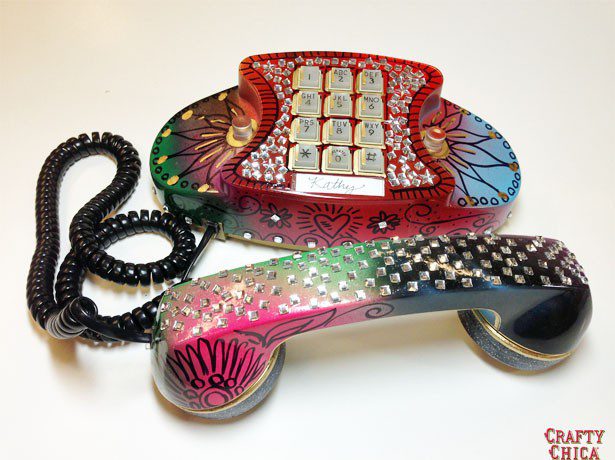
– Use a permanent marker to draw doodled designs. Add more crystals.
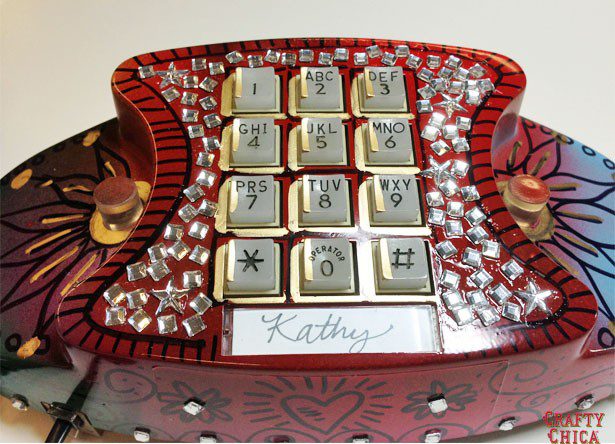
– Use nail polish and a gold leafing pen to finish the edges, this will make them look polished.
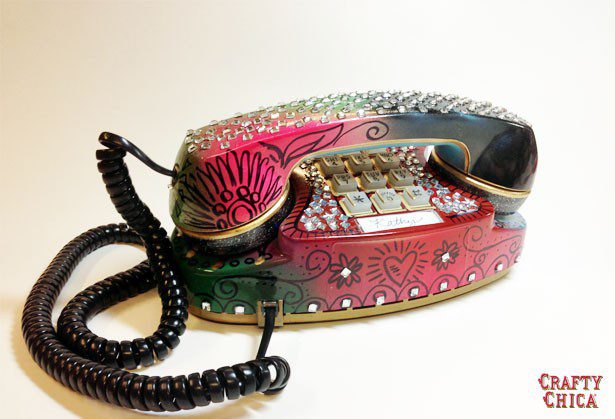
I replaced the cord with a new black one, I feel like it ties it all together!


This is fabulous, what a fantastic way to revamp something old to make it so hip!! Brilliant!
Kathy, once again, your genius saves the day!!!!!
Blessings!
Gretchen in Flagstaff
I love, love, love!!!!