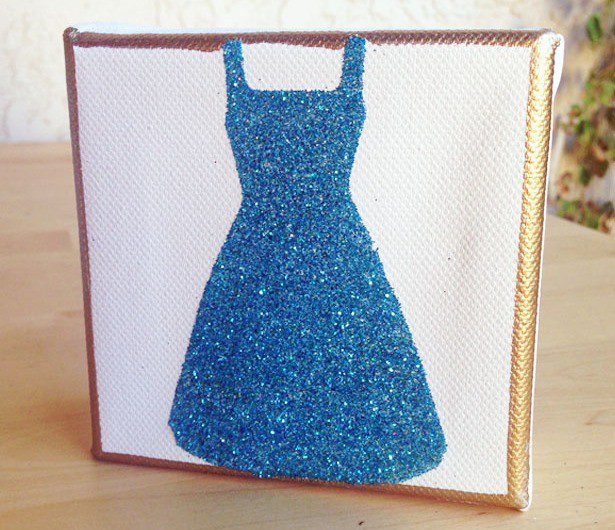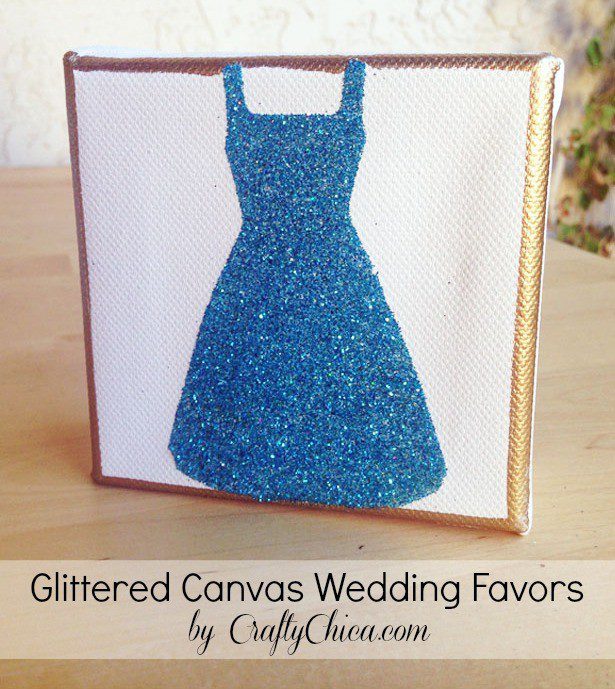
I always get asked to share wedding decoration ideas, and thought it was time I stepped up to the plate altar. The one thing I love about attending weddings (aside from vows!) is attending the reception to see the favors. Squee!! If you’re looking for something cool and not wedding-cheesy, I have an idea for you! How about mini canvases? You can use you and your spouse’s silhouettes, your initials, or a heart, whatever you want. This one is more themed for a bridal shower party favor. The idea is to create a glittered dress in the color of your wedding!
Click here to see the video tutorial I made for this project!
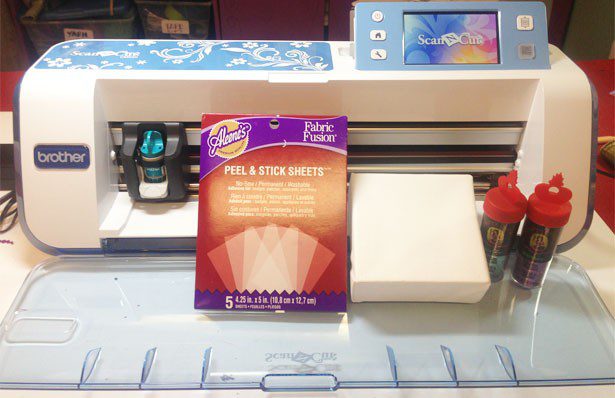
To make this project I used the Brother ScanNCut Machine. It’s an all-in-one electronic cutting machine! I cut all kinds of stencils and designs, but I like that is also comes with a built-in graphics library. There are a lot of wedding designs too! OK, let’s do this!
SUPPLIES:
4×4 canvas
Glitter
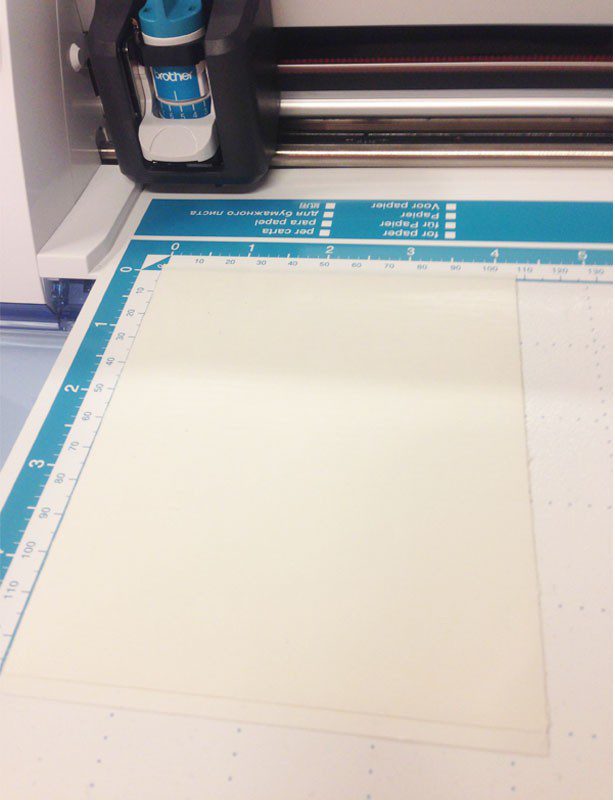
Remove one of the sheets and place it on the Scan N Cut mat (it comes with the machine). I lined it up in the top right corner. The mat comes with a light tack to “grip” whatever you place on it.
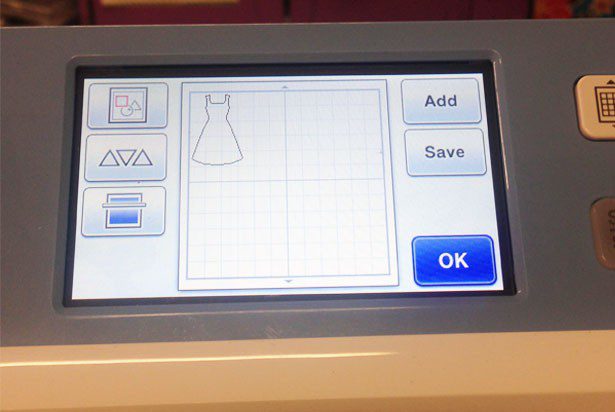
Using the machine’s touchscreen, go into the patterns, designs and the dress. There will be an option to reduce it in size. Because my canvas is 4×4″, I made the design 3.75 tall. The way the design is set on the touchscreen is exactly where it will cut on the mat. You can even count the squares to make sure it is all lined up! TIP: You will turn your blade to #5 setting to cut through the adhesive – but don’t go any higher because it will cut through the mat! You don’t want that because you want to use the mat over and over for lots of other projects! Press OK, then press LOAD button (it looks like a grid), the mat will load into the machine. Next, press CUT and watch the machine work its magic!

Once it’s done, press the LOAD button again so the mat will be released. Then peel of the sheet.
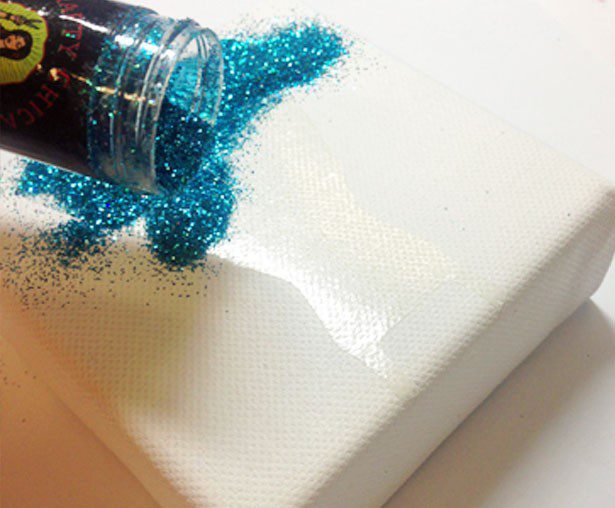
Remove the protective backing from the design you just cut. Place the design on the canvas and rub in place with your fingers. Now carefully peel away the top protective layer to reveal the adhesive. Working over a sheet of paper, pour the glitter over the adhesive.
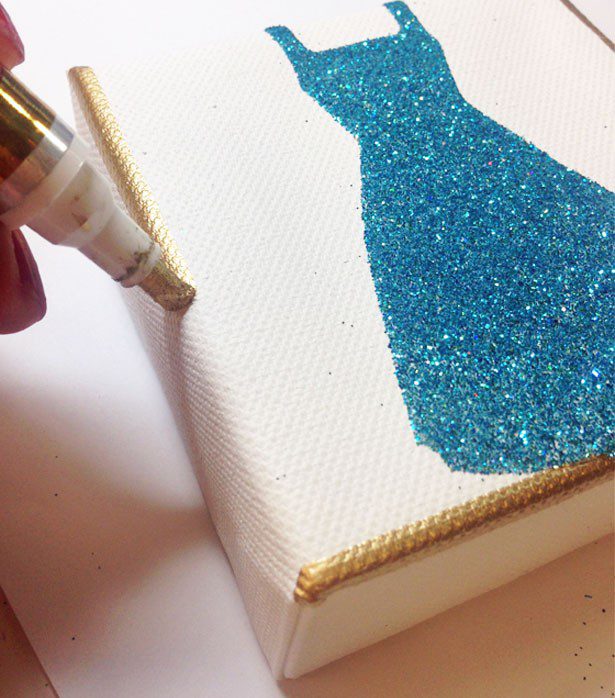
Trim the edges in gold paint for a nice, polished look!