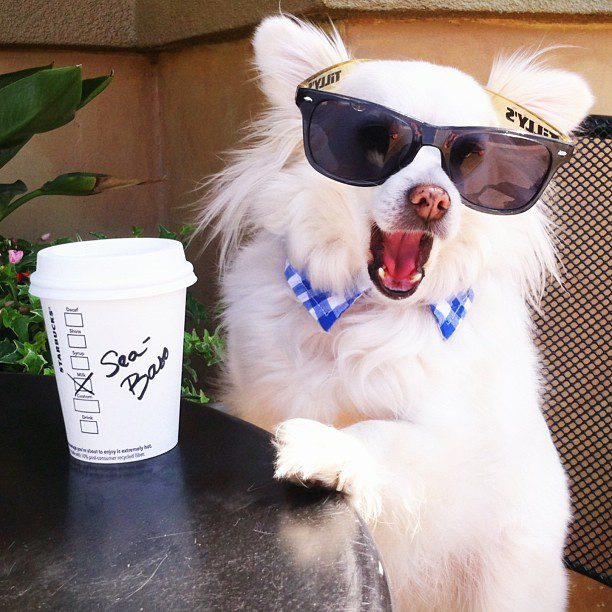
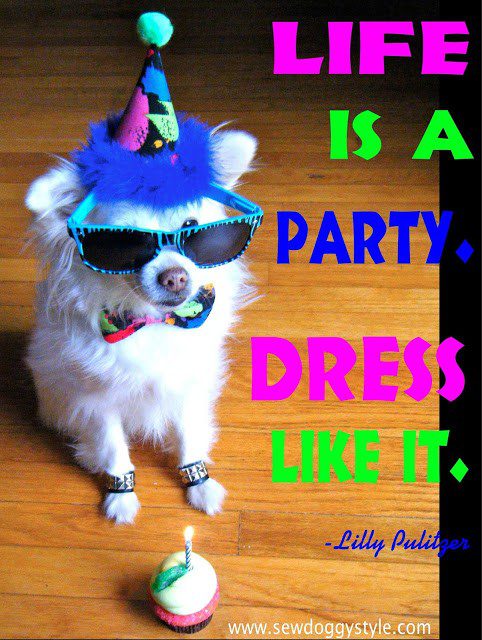
My friend Erika is like me – she loves to craft things for her dogs. I am so excited that she offered to share this Doggy Top Hat DIY with us! She even themed it for Dia de los Muertos because she knows that is a popular topic around here. Read on to see her tutorial, and then scroll down to see more of her creations. Not only does she share ideas for you to make, but she also sells finished goods too! First though – those of you who say “How mean to put hats on dogs!” Let me tell you about her model, Sebastian. She adopted him from a shelter and she launched her business four months later because Sebastian was such a natural poser for the camera. I met Sebastian last month and he is so cute adorable and friendly. He looovvves Erika and they make a great little business team!
SewDoggyStyle.com
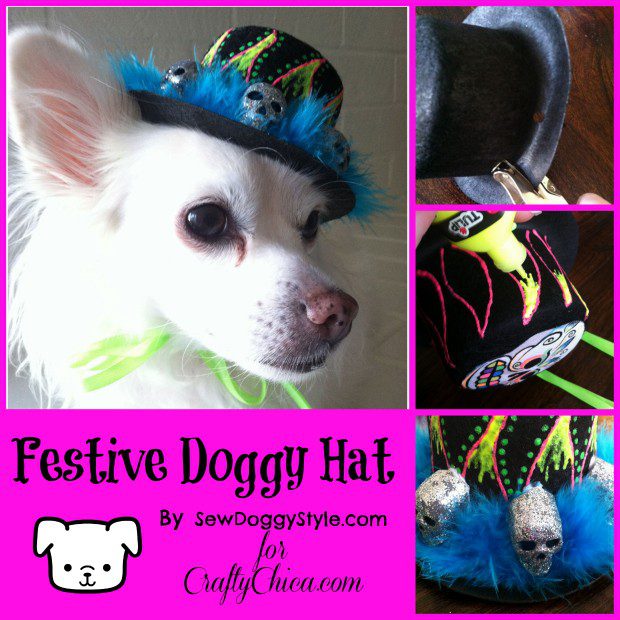
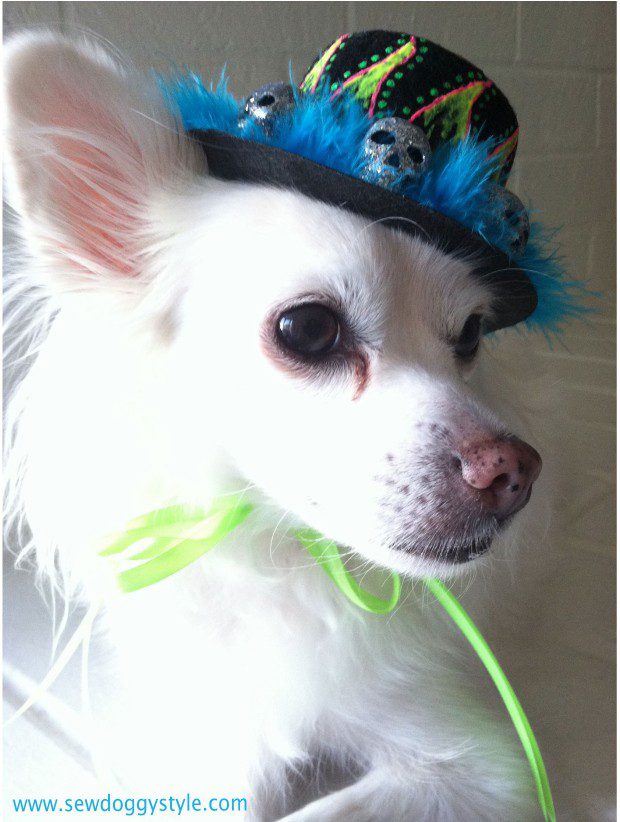
Doggy Top Hat
SUPPLIES
Black Top Hat (can be found at most craft stores in the doll aisle in two different sizes)
1/4″ String
Hole Punch
Lighter
Mini Skulls (found our silver ones from Party City)
Fur/Boa
Narrow Feathers
INSTRUCTIONS
1. Punch two holes on both sides of hat 1″-2″ apart.
2. Insert a strand of 1/4″ string on both sides of hat as shown in photo and tie a knot about 2″ down on each side. (you are creating the space where your dog’s ears will go to help keep the hat on)
3. Test-fit the hat to make sure it’s good, tie the string in a bow under your dog’s chin and cut the string to desired length.
4. Remove Hat from dog and seal the edges of the string at the desired length (you should have 4 edges) with a lighter.
5. Decorate the hat!
6. I cut out a skull from Day of the Dead fabric I already had and added color to it with fabric markers. (a paper skull would work for this too).
7. Glue skull to top of hat with.
Decorate all sides of hat with 3D neon paints making it as colorful as possible (don’t worry about the rim as it will be covered with boa).
8. After 3D neon paints dry, apply glue all around rim of hat (avoiding string for chin strap) and lay the boa down starting from back of hat. Cover entire rim and hold in place in back of hat for a minute or two.
9. Apply a generous amount of glue to back of mini skulls and place in front of boa and in front of hat as shown in photo. Press skulls down until glue sticks.
10. Gather 4-8 thin strips of feathers and apply glue at the base of them as one solid piece.
11. Hold fur back from boa and gently stick the feathers behind, pressing them securely to the hat.
12. Let glue dry.
13. Put on dog and celebrate!
Cloud Bed Tutorial

DIY Sailor Outfit

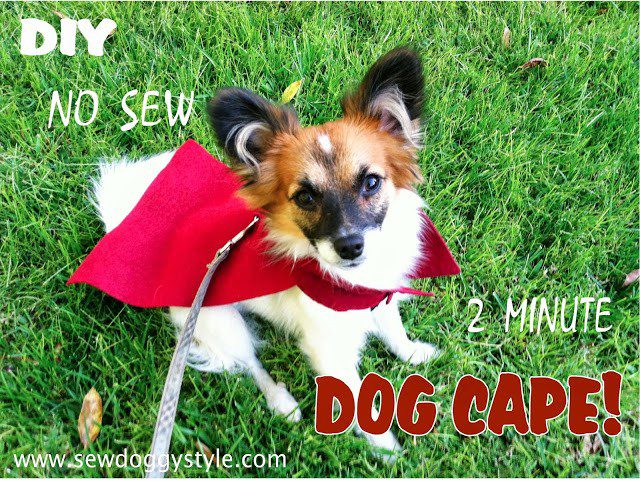
2-Minute Dog Cape

Thank you Kathy!!! Sebastian and I love your write-up and are honored to be featured on your website! We shared it with all of our furiends.
xoxoxoxoxo,
Erika and Sebastian