How to make a foil embossed wood heart! Take a wood heart and use colored foil and glue to give it dimension.
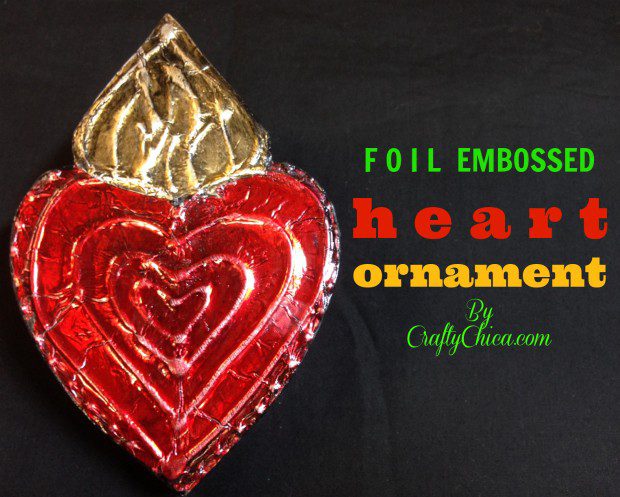
Here is my contribution to the Handmade Holidays Blog Hop! We were asked to share a tutorial for a handmade gift. I LOVE hearts all year round, especially around the holiday season. This year, my tree theme is going to be all kinds of hearts that I’m going to make or from other artists. Here is my first one! It’s a foil-embossing technique that is great to use on all kinds of surfaces. As far as gift giving – I want to make a batch of these and pass them out to friends and family. Not just on Christmas, but all during the season, maybe even a Random Acts of Kindness project, right?
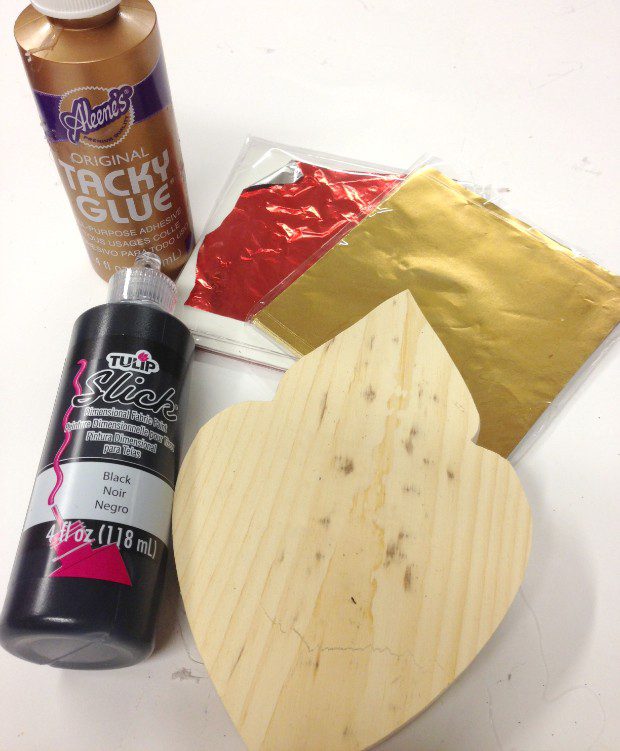
SUPPLIES: Wood plaque, Aleene’s Original Tacky Glue, Tulip 3D Black Slick 3D Paint, Aleene’s High Gloss Sealer, black craft paint, red and gold foil sheets.
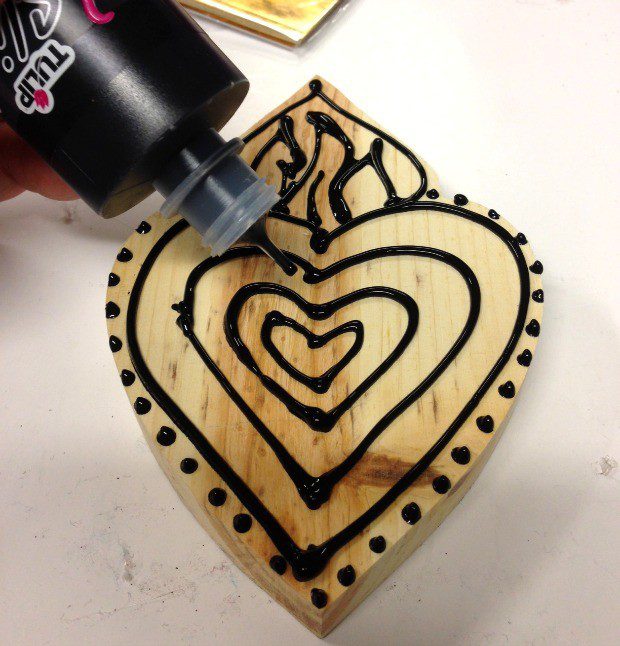
Use a pencil to draw your design on the wood plaque. Next, draw over the pencil with the 3D paint. Let it dry completely.
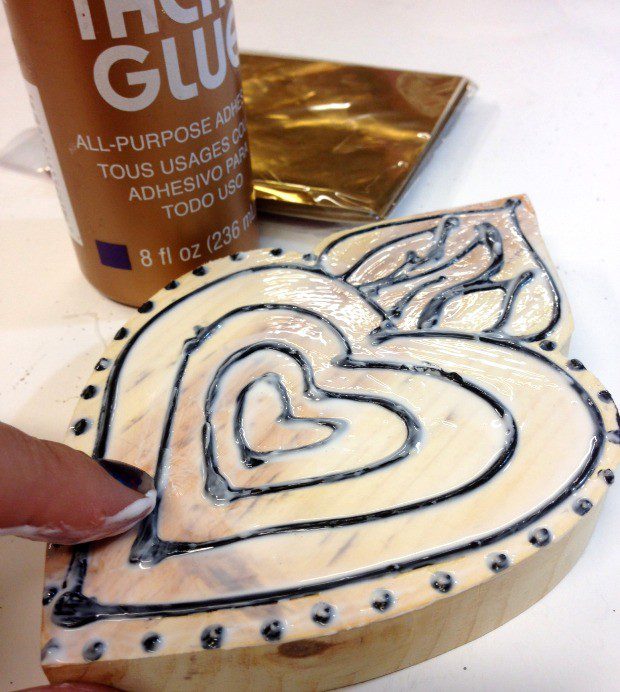
Squeeze a dollop of Tacky Glue on the surface, then use your finger to spread a thin layer all over the top. Make sure the glue goes into all of the grooves.
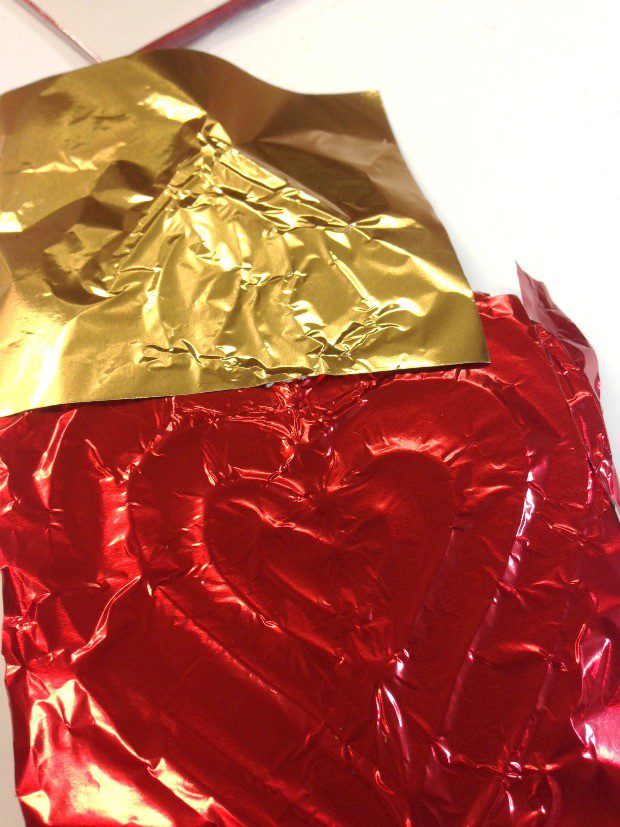
Set the foil on the wet glue. Press down with your fingers and burnish it into the grooves. Use a craft knife to trim off the excess foil from around the edges. Keep rubbing over the surface until all the 3D paint texture shows through.
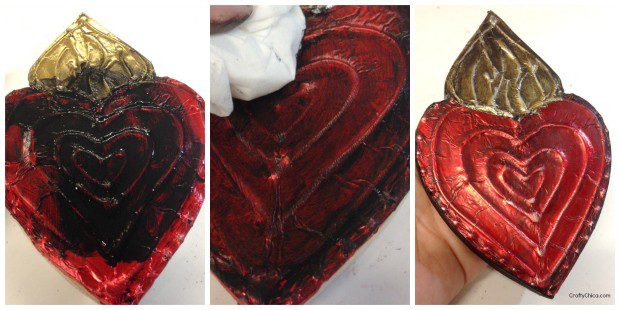
Apply a drop of black craft paint on use your finger to rub it into the wrinkles of the foil. Next, use a tissue to wipe off the wet paint. When you rub, it will also rub off some of the red color, but that’s ok, it gives more character! Paint the sides of the heart. Now add a coat of spray varnish, it will really make it come to life!
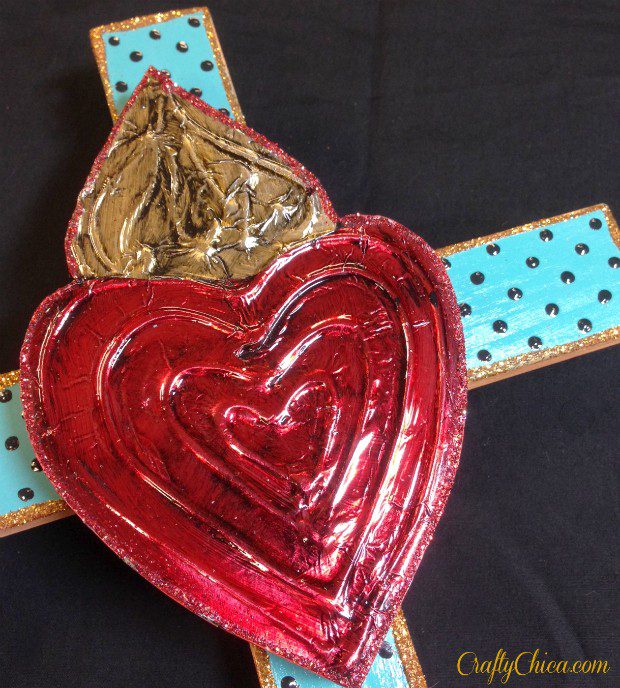
I made several hearts and used them for different things. This one I glued on a wood cross, but I also made several more to use and give out as ornaments!
RELATED: DIY wood corazón con milagros
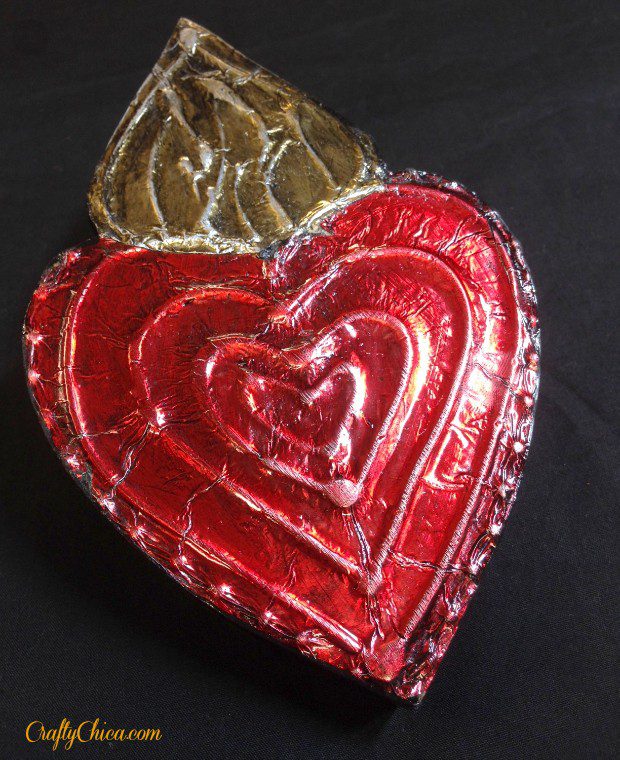
Thanks for checking out my post about How to make a foil embossed wood heart!


Thanks for the idea – would make a great gift
Very cute idea!
I love this project. Thanks for the inspiration! 🙂
Wow, looks really complicated but your instructions are great. Need to make these as stocking stuffers.
Very cool how you used the 3-D paint to get the impression! Awesome inspiration!
Thanks for the tutorial and the idea. Thinking of many things I could do.
I love this idea!!! I feel the tiny heart in the very middle is begging for glitter 😉
These are so cool! I am going to head on over to my craft room as soon as I am done this incredible hop and make up a batch of these cuties! Thanks for the inspiration!
Wow thanks for the tutorial
Beautiful ornament. Thanks for the inspiration.
I love the embossed look. I bet I could do this over heavy card board as well. Great project.
What a simple and clever idea!
What a great idea. Live this. I’ve never done this technique before but I sure want to try now. It looks fun too. Thank you so much for sharing this and the instructions.
What a great project! t.igo
Neat! TFS!
Oh, I sure hope that I can find that shape of wood around here. I really love this project! Thanks Cathy!
This would make a really heartfelt gift!
What a pretty project!
Beautiful project. Nothing like foil to give something shimmer and sparkle!
what a fantastic idea!
Great idea!
Cute project
This is a great idea, I’m thinking I could use hot glue also instead of slick paint to get the raised surface texture. Can’t wait to try this. Thanks for sharing.
Love this foil heart, Kathy! Where can one get the wood hearts? Love the results and they would make a great gift!
Gretchen