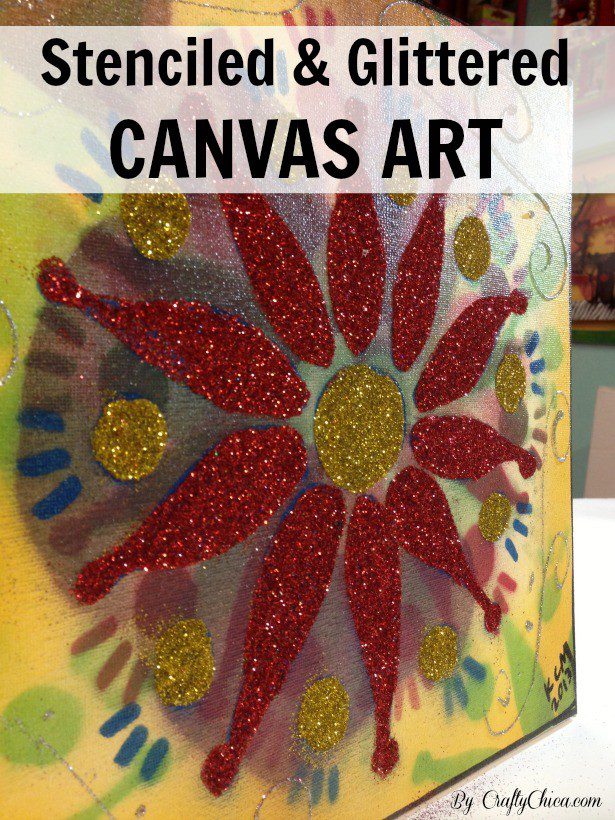

When I’m not blogging, I’m making art for shows and orders. One of my most popular series is my stenciled glittered canvas line. But after making dozens of designs, which involves cutting stencils on watercolor paper, my wrist has been getting a bit achey. That’s one of the reasons I decided to join the blogging campaign for the new Brother International Scan N Cut machine. You can scan in images you draw, and the machine scans them in at 300 dpi! I couldn’t wait to try out one of my stencil designs!
Supplies:
Watercolor or heavy cardstock
Thick marker
Canvas, glitter, Tacky Glue, brush
Directions:
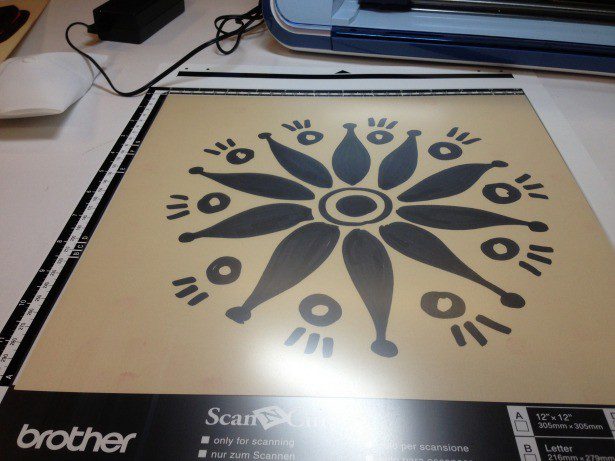
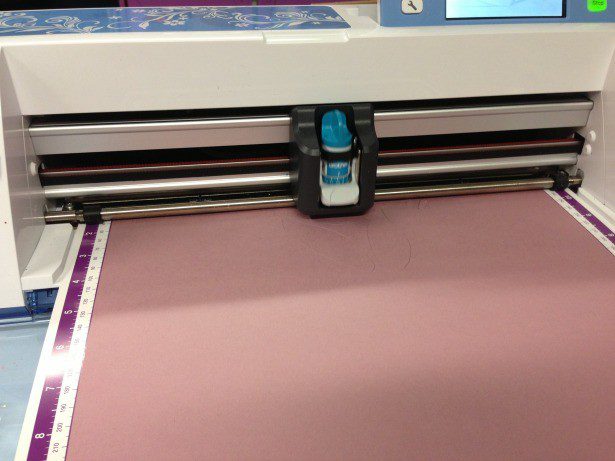
Use the marker to draw your design on a piece of paper. Insert it under the plastic on the scanning mat. On the touchscreen, go to the HOME screen, then SCAN, then SCAN TO CUT. It will scan in the design.
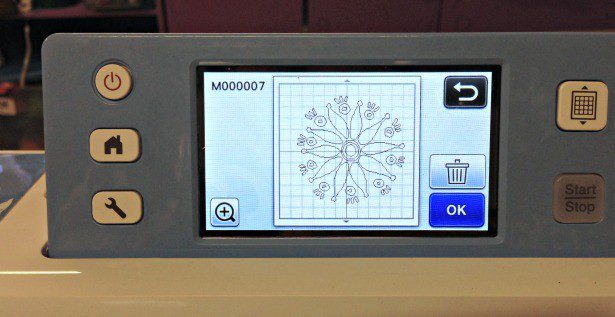
It will come up like this on your screen. you can choose to enlarge, reduce or multiply! You can even add text! Now load the paper you want to use for your stencil on the mat and then into the machine. Cut! Remove from mat with spatula.
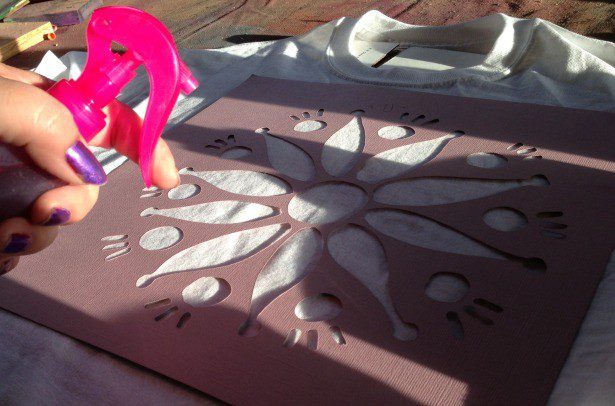
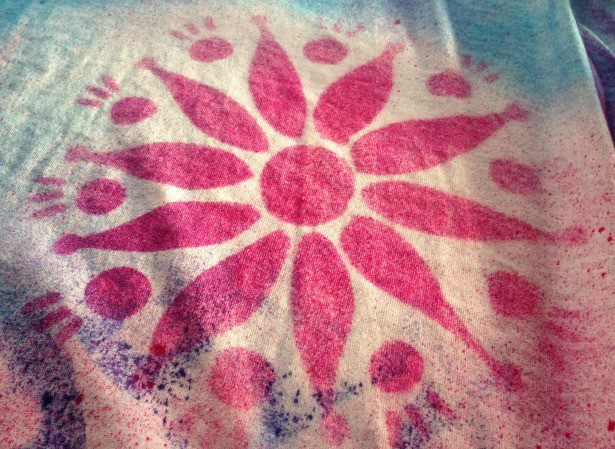
Here is my cut stencil, I tried spraying dye over it for shirt!
Perfect! OK, go a ahead and do the same thing on a canvas. I like to add a lot of background imagery and then I add a dark color for the stencil on top.
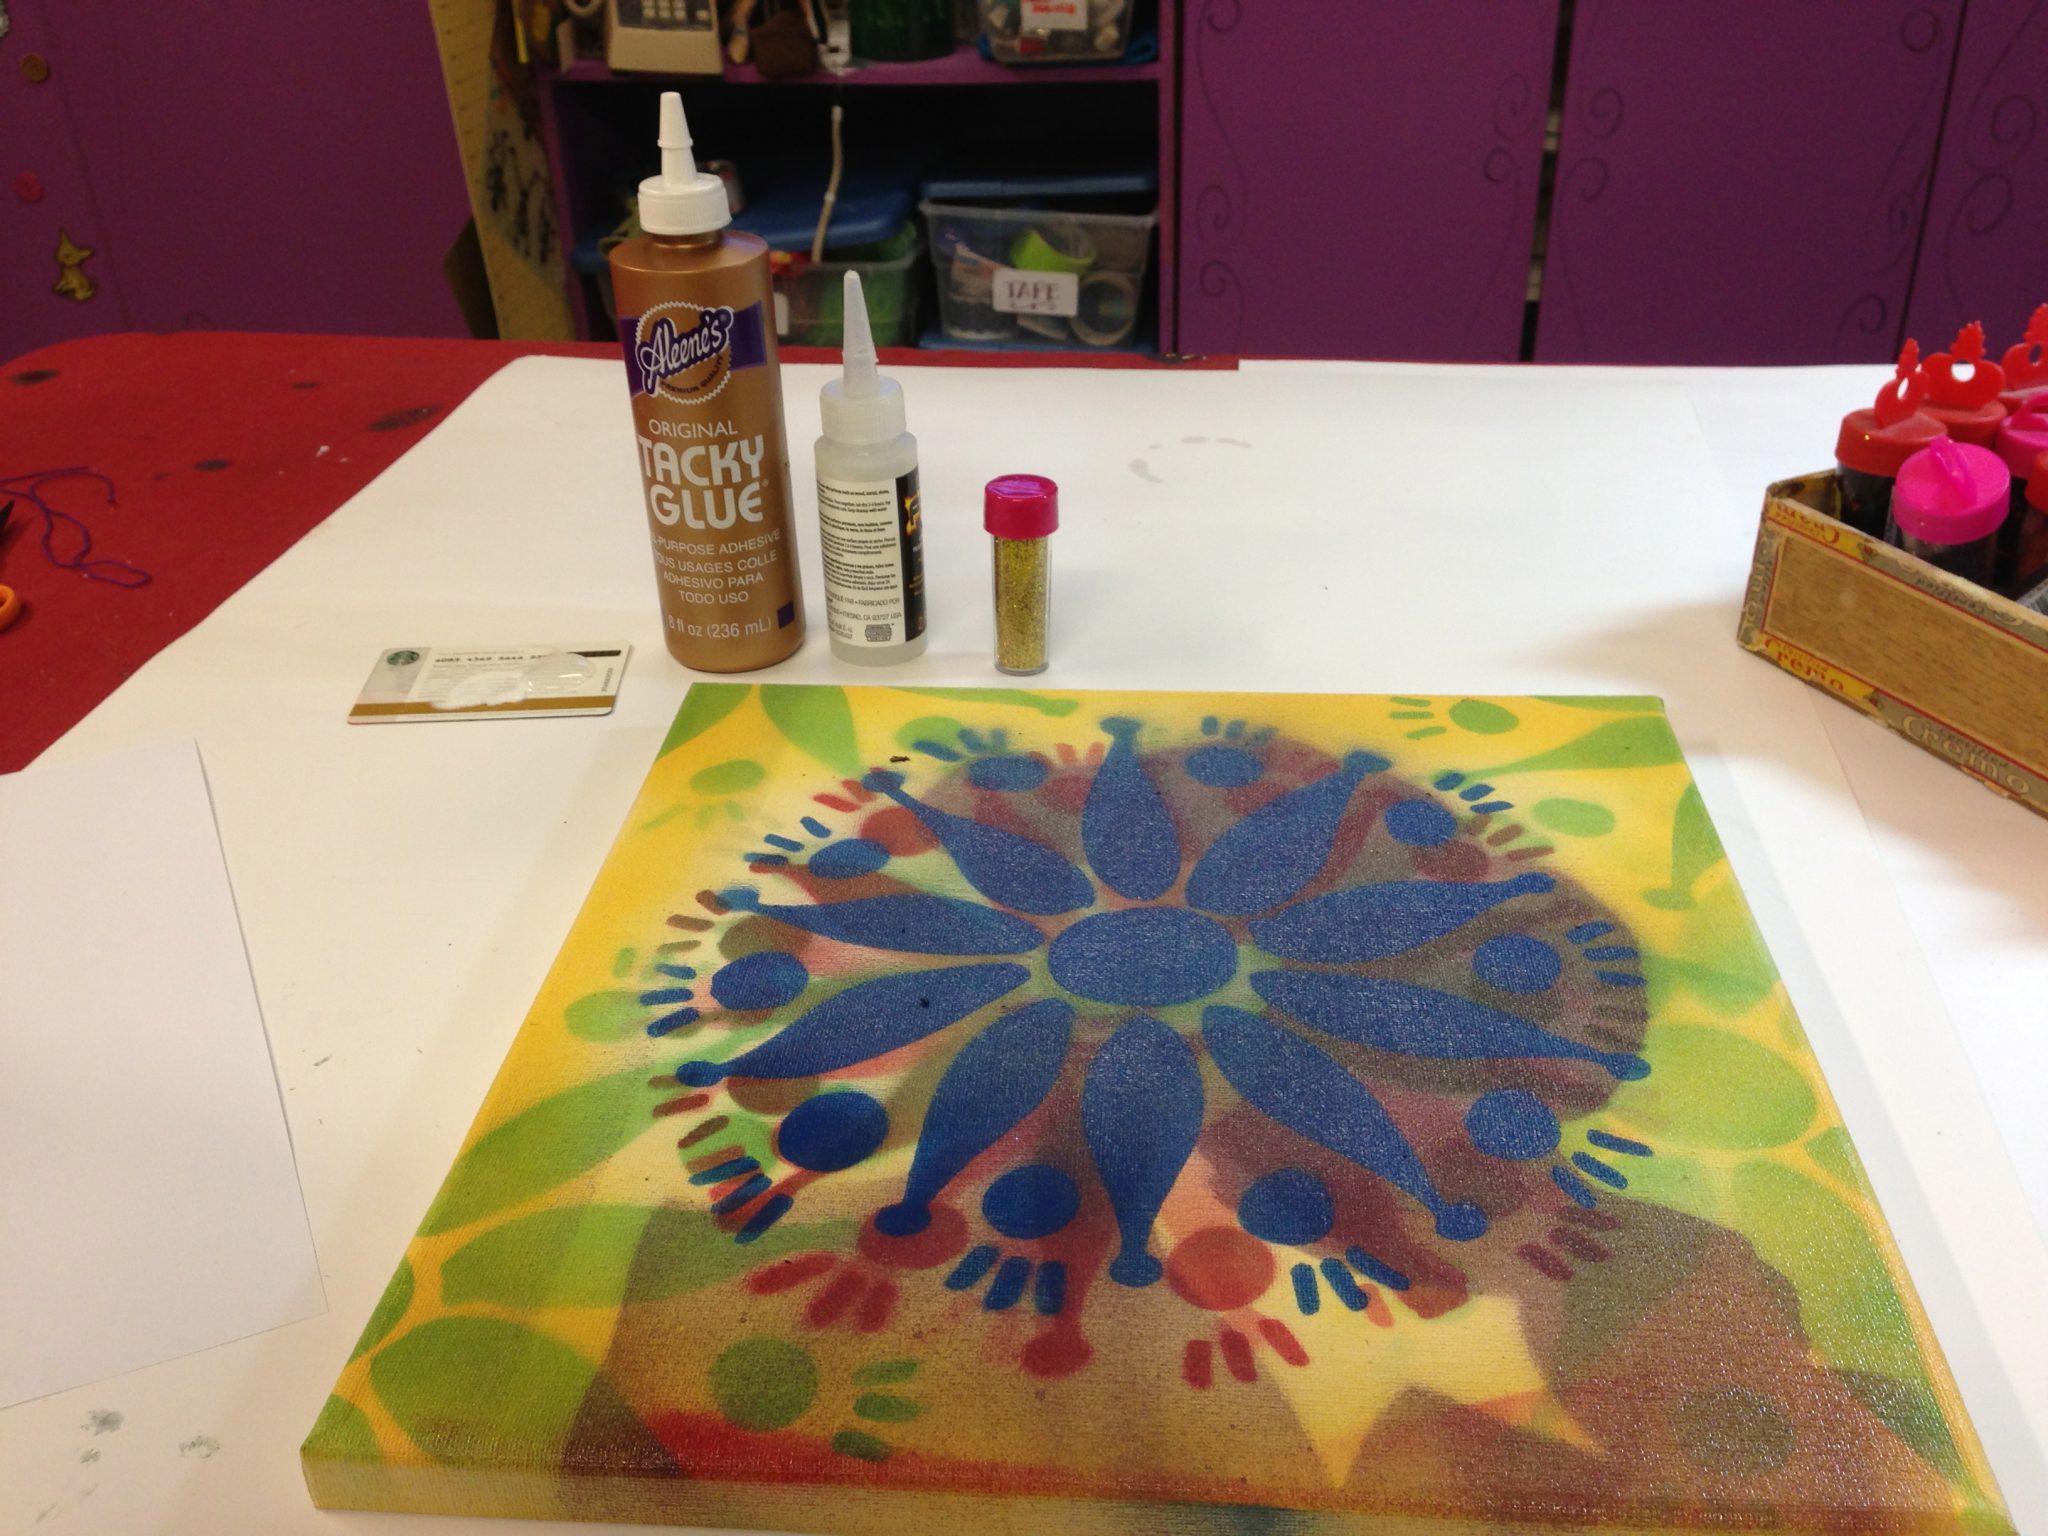
Next comes the glue and then the glitter.
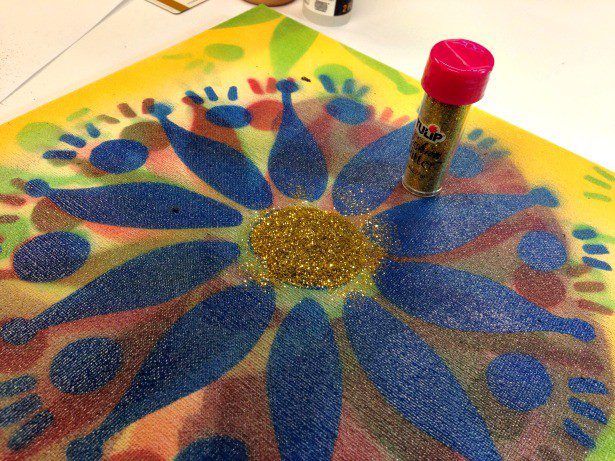
Let dry and trim the edges in black.
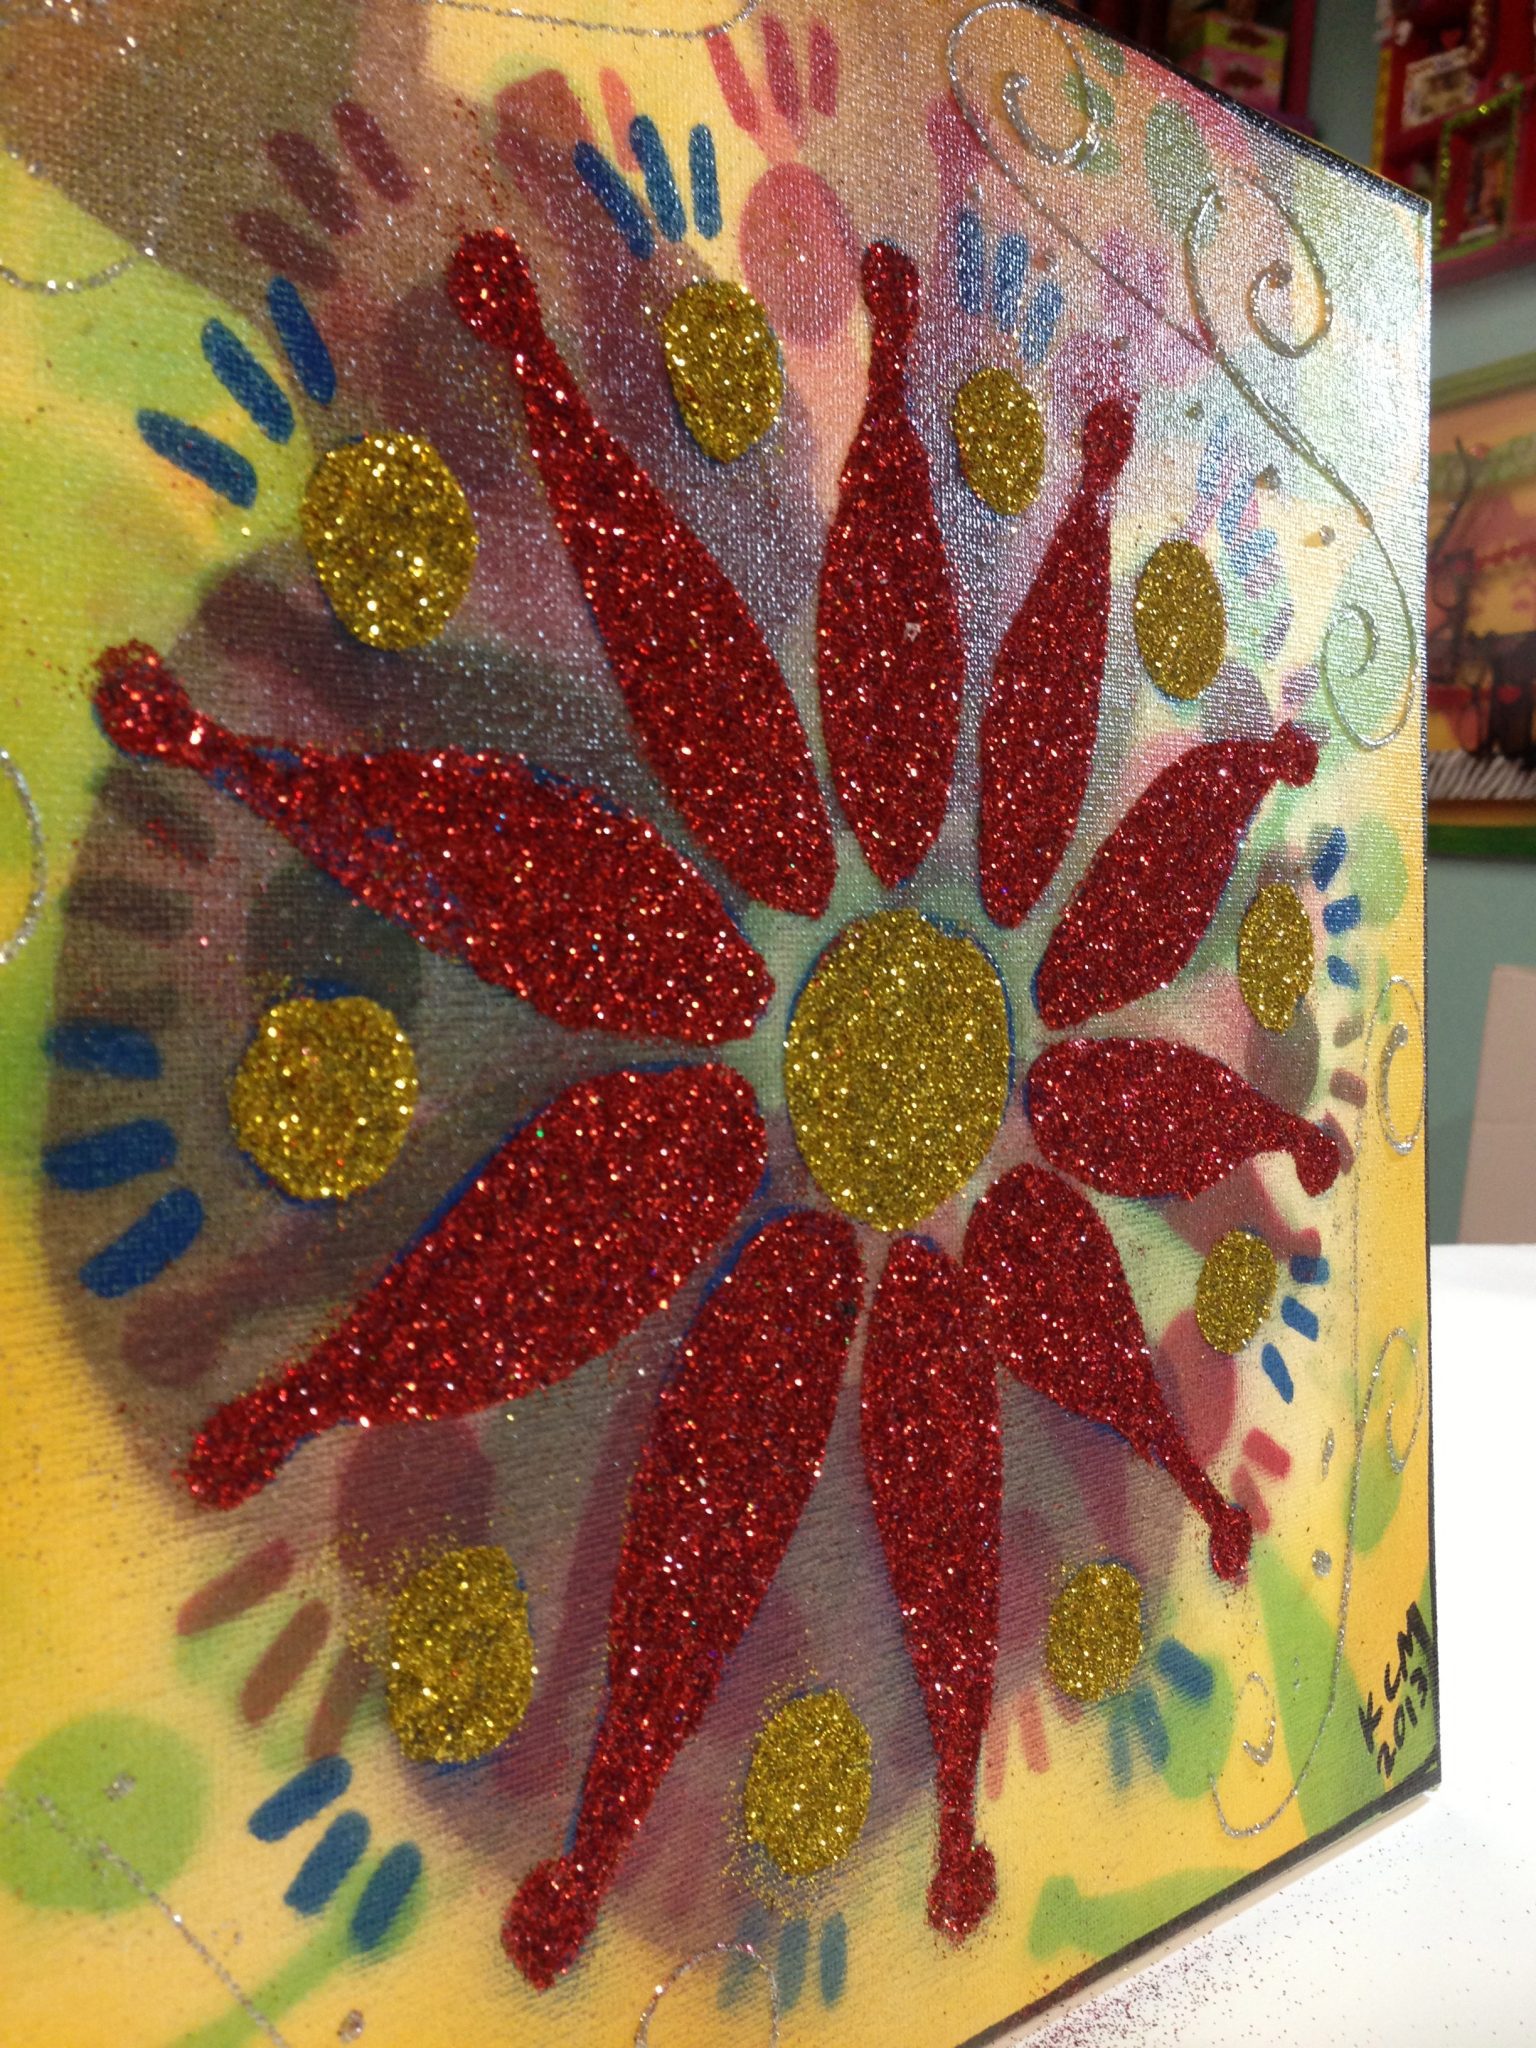
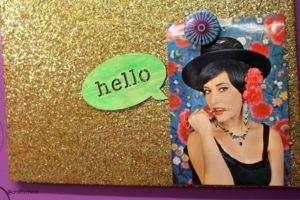
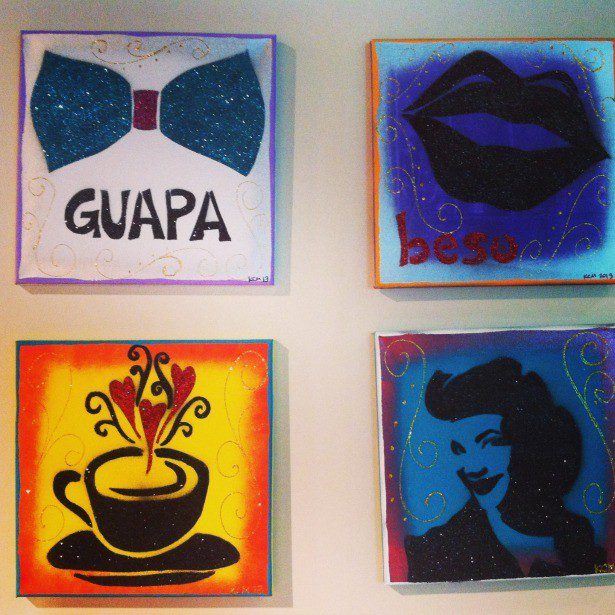
Here are some others I made!
For more information, visit the Scan N Cut web site!
![]()