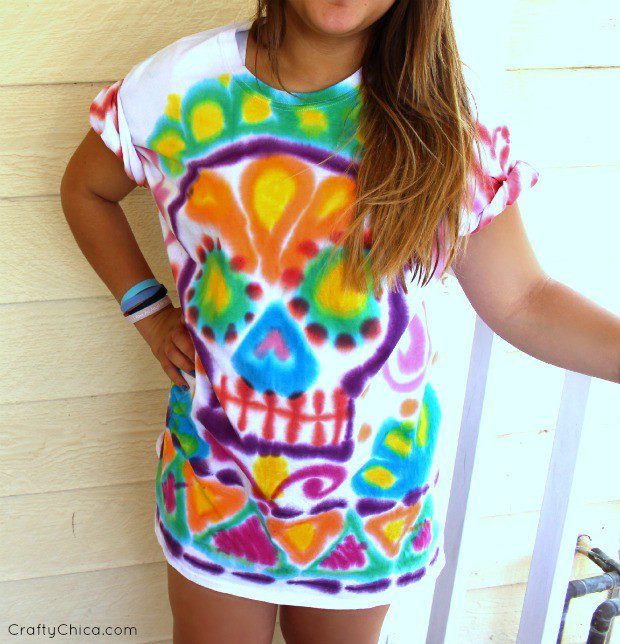
Have you ever tried painting with tie dye? Drawing designs straight from the bottle onto a white t-shirt? I did, and here is what happened!
I hate to throw out leftover tie dye. After finishing a project recently, I looked at all the excess – every color! I remembered I had some plain white XL tees so I grabbed them and decided to experiment. I made this colorful cover-up for summer!

We all know tie-dyeing is a beloved craft where you twist and tie fabric to create unique and colorful designs. However, tie-dye is also a great way to use as a base for painting and drawing on fabric. It’s a unique way to create even more intricate and personalized designs. No rubber bands needed!
Here is how to get started with tie dye painting – and I’ll also share some unique methods!
Version #1: Tie dye a shirt and then paint on designs with with fabric paint.
Version #2 (The one I’m showing here): Use different methods to apply the dye to the fabric, no twisting or ties involved.
Materials:
- Fabric (white cotton shirt is a nice start or other natural fiber works best)
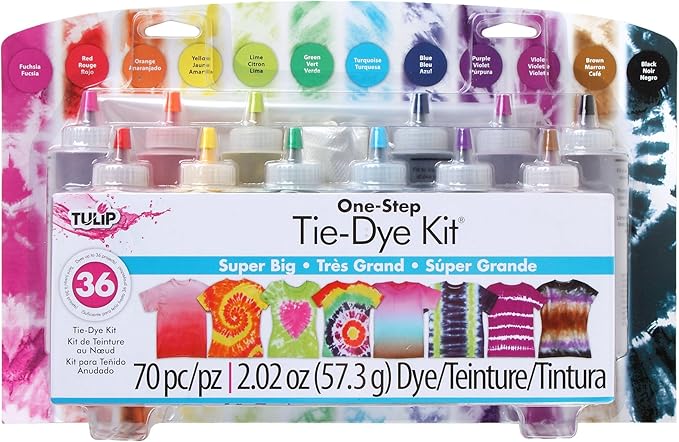
- Tie-dye kit (or pre-dyed fabric)
- Fabric paint or markers
- Brushes or applicator tools (medicine dropper, skinny squeeze bottles, stencils for masking, fan brush, liner brush)
- Water
- Paper towels or cloth for wiping
- Plastic or rubber gloves
- Plastic table cover
- Small bowls
Directions:
Prepare the fabric
Pre-wash your fabric and while it is damp (not soaking), place it on a flat surface lined with a plastic covering. Put on the gloves.
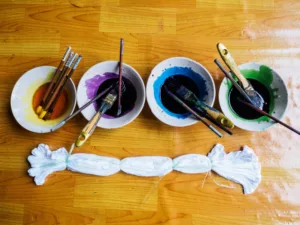
Mix the dye
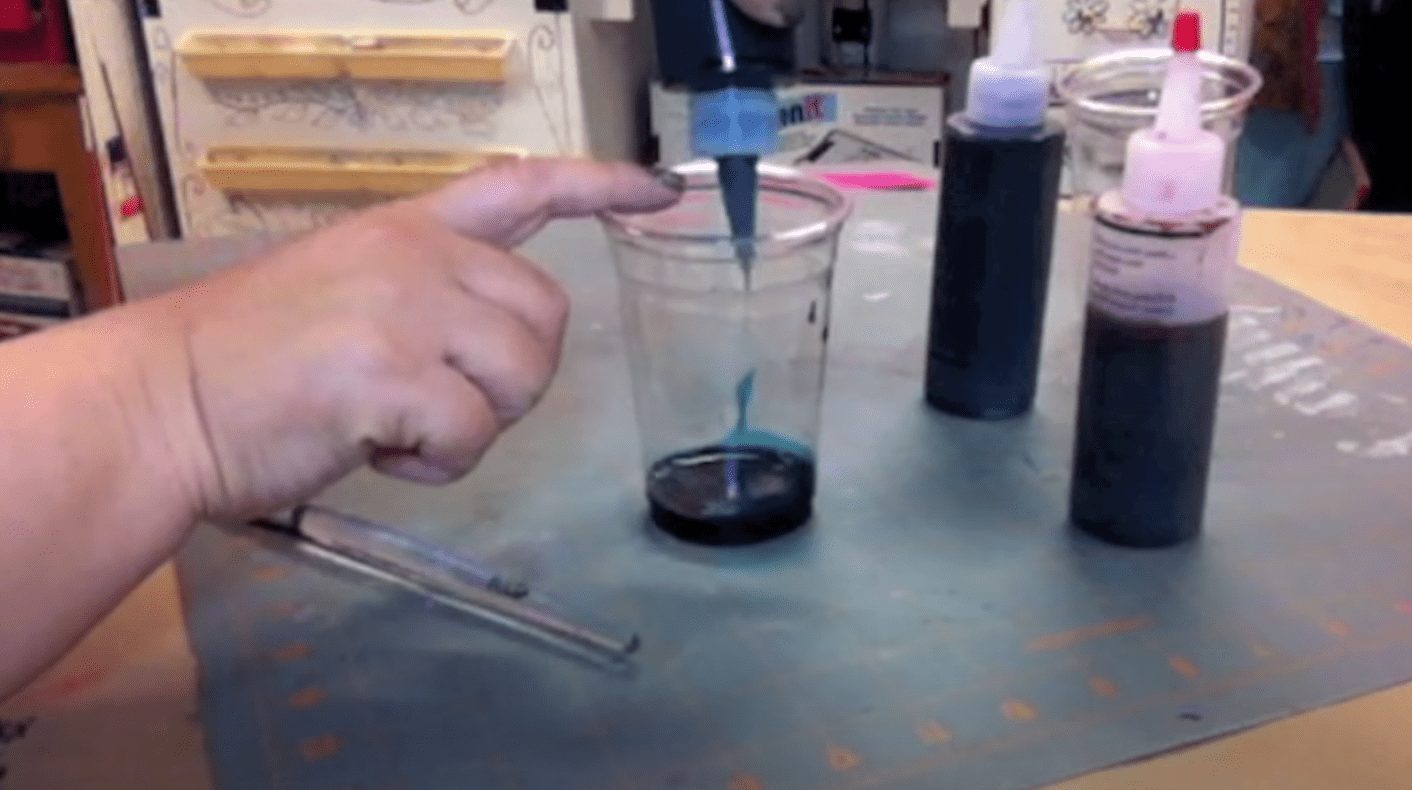
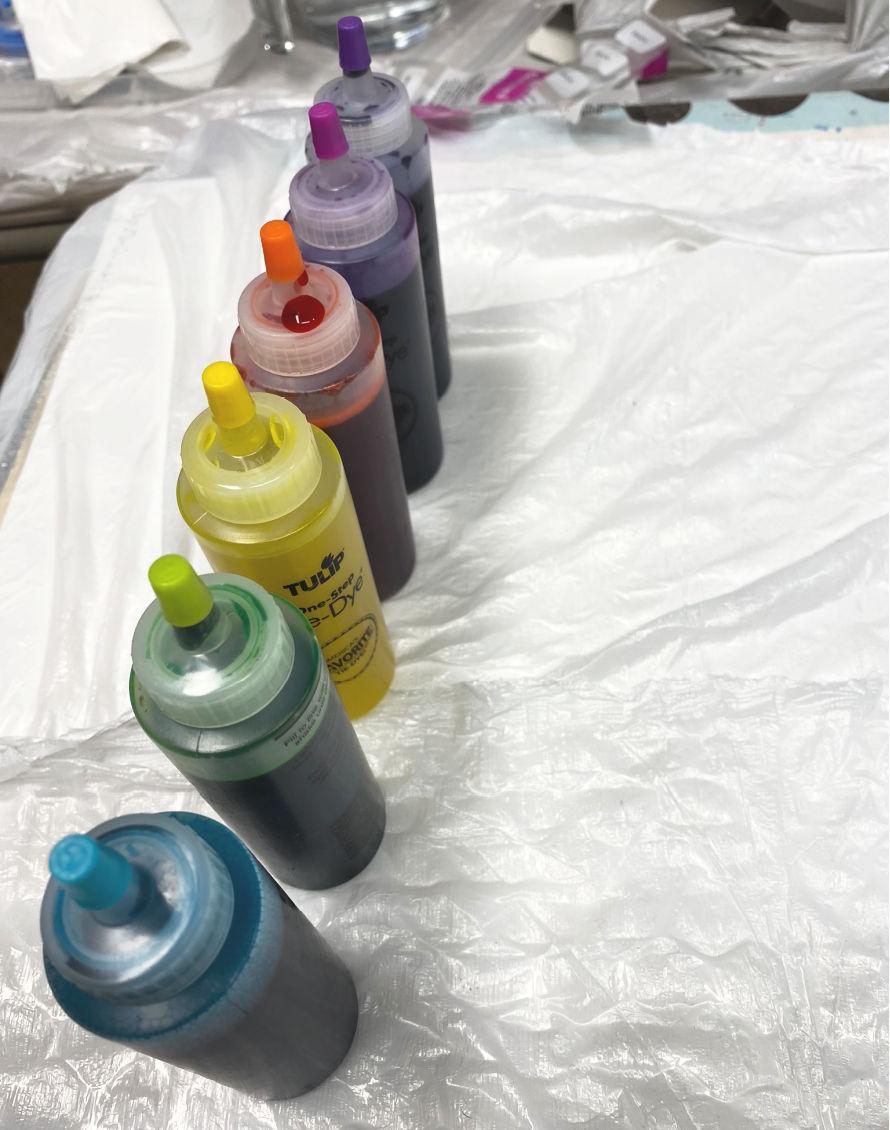
Follow the instructions on the tie-dye kit to mix the different colors. Put the dye in different small bowls, or in the small squeeze bottles. This will help with straight lines or pristine spiral sections.
Plan your design
Decide on the design you want to create before you begin painting or drawing. You can draw your design on paper first for a better outcome, or create a rough sketch on the fabric using a pencil or chalk.
Apply the dye
So many different techniques to try! Start here: Using a brush or applicator tool, apply the dye to the fabric using your pattern as a guide. You can use a variety of techniques, such as painting in blocks of color or creating detailed designs using small strokes or dots.
Blend and mix colors
To create a more intricate design, you can blend and mix colors together. This can be done by applying one color and then adding another color while the first color is still wet, or by mixing colors on a palette or paper towel before applying to the fabric. Make sure your brush is juicy with dye.
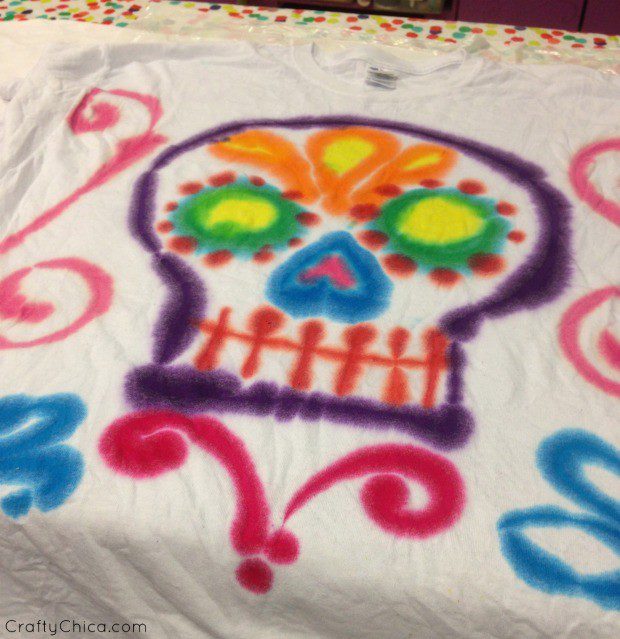
OR – just doodle using the bottle, that is what I did for this shirt!
Add details
Once you have applied the base colors using a variety of brush strokes, add details and accents using smaller brushes. This can include outlining shapes, adding shading, or creating patterns.
Allow it to dry
Cover your work with plastic, loosely. Let set for six hours (or package directions). Rinse in the sink with the sprayer until water runs clear, then run through the washer with cool water. Hang dry.
Add more!
Use fabric markers to add more definition, shading and accents to your finished shirt. Iron to heat set the ink.
Tips:
- Experiment with different types of tie dye, acrylic colors for fabric or fabric markers to create unique patterns.
- Practice your design on a small piece of fabric first to ensure that you are happy with the outcome.
- Use paper towels or a cloth to wipe excess water, paint or marker from your brush or applicator tool as you work.
- Try other dye colors as well. Try an ombre look or a full-on rainbow!
- If you don’t want the dye to bleed through to the other side, insert a piece of cardboard and work on top of a bakers cooling rack.
- You may want to use chalk to outline your design before you brush on the paint.
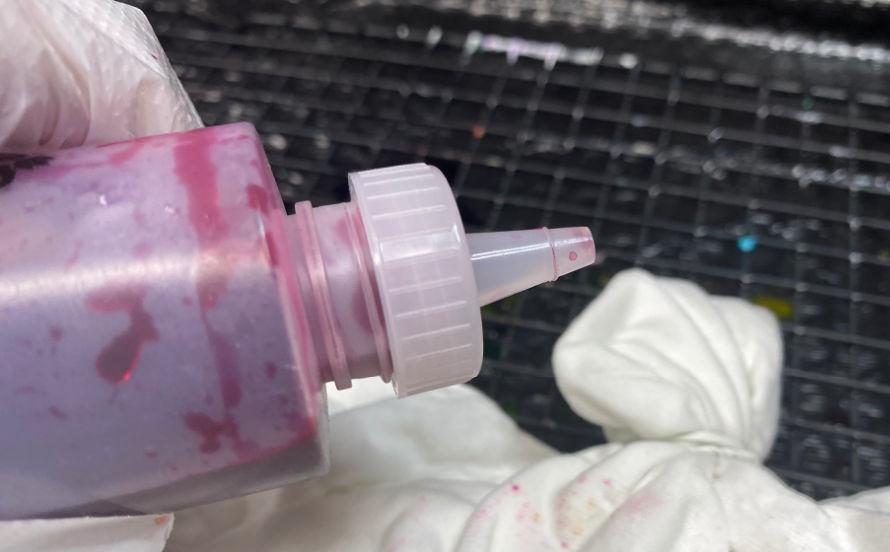
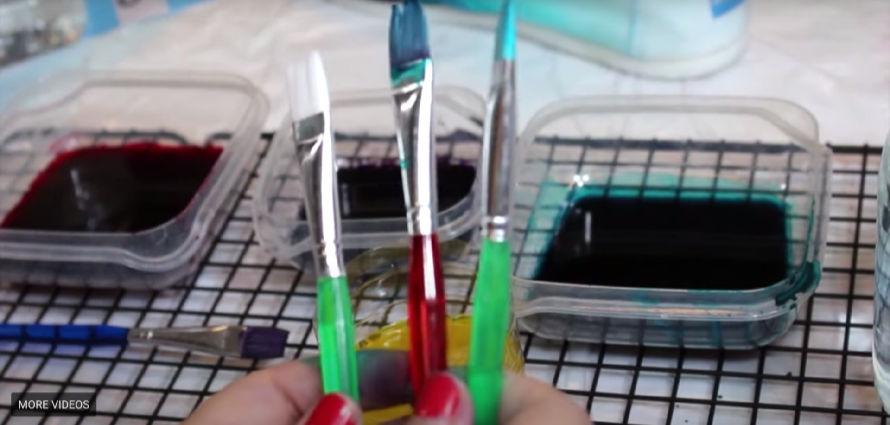
- Speaking of brushing on the paint – you can use a soft long brush to apply the dye or carefully squirt from the fine-tip nozzle that is on the bottle.
- You’ll want to let it dry for a few hours and then wash in cold water. The design will blur a bit but will pretty much stay intact.
NOTE: Drawing on damp fabric vs. dry: If the fabric is dry, the dye will “roll” off in different directions. If it is slightly damp, it will grip the dye and go where you want. You don’t want sopping wet fabric because it will spread like crazy!
Ideas for painting with tie dye:
Swimsuit cover up
Oversized lounge tee
Use a smaller design for a crop top
Apply to the back of a jeans jacket
Decorate a canvas tote bag
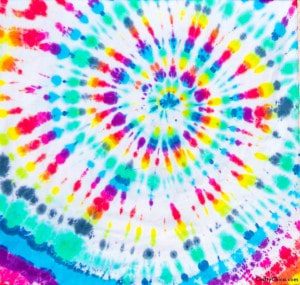
More tie dye patterns:
Painting with tie dye is sooo satisfying. A fun way to add even more personalization and detail to your tie-dye clothing. With the right materials and a little bit of creativity, you can create unique and beautiful designs that will stand out from the crowd.


that is the cutest cover up ever,thanks for a great idea!!!