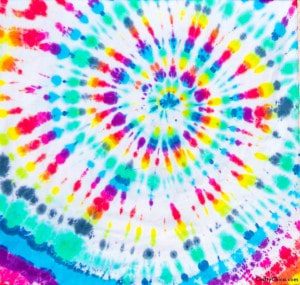
DIY Dip dye clothing (or “crawling” as shown in picture) is such a satisfying method for living up a bland top, dress, sweatsuit, jacket, etc. For this we are completely skipping the folds, ties, bottled dye and were keeping it simple. Another way to look at this tie-dye technique is a reverse osmosis – we’re letting the dye crawl up the wet fabric to create an ombre-like effect.
Here’s my video showing the process

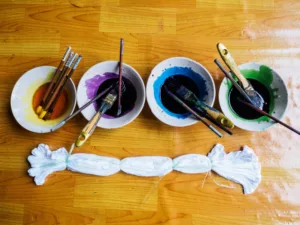
Supplies for this dip dye fabric project
Tie dye kit – you’ll need a jumbo bottle of color for one shirt
Plastic table cover
Plastic gloves
100% cotton t-shirt
Small, deep bucket
clothing hanger
Plastic cover or tarp
Tongs work great for carefully picking up your project and turning it so you can color the backside.
Directions for dip dye fabric:
Did you know your project will have a completely different look depending on how wet your fabric is? For this project, wash your shirt, do not use any fabric softener. If it is brand new from the store, you’ll need ot wash it to remove the sizing. Don’t put it in the dryer, though. Start with damp fabric and keep a spray bottle of water on hand to keep it moist.
You don’t want it soaking wet because then the dye will spread too much and bleed where you don’t want it. It will also water down the colors.
Wear gloves
Use plastic gloves, rinse them (while wearing) as you work so prevent cross color contamination. And have an extra pair ready as back up! The dye will stain your skin.
Mix the dye.
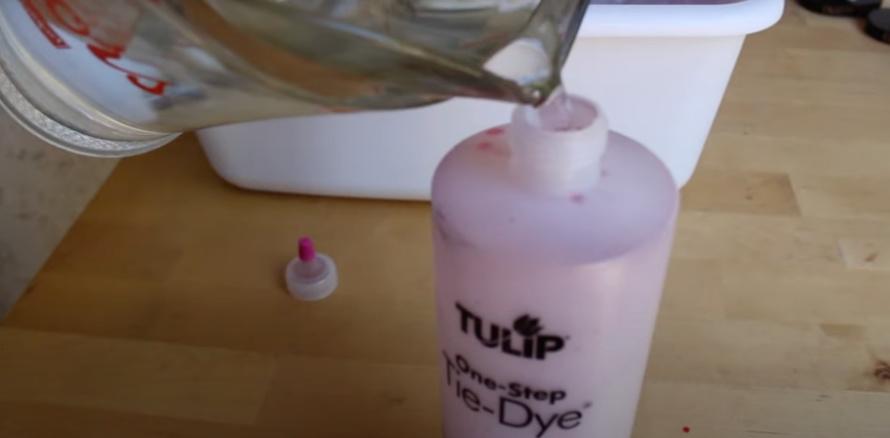
Fill the bottle half way, shake, making sure all the powder is diluted, then fill to the fill line on the bottle. Shake again. Pour the bottle into the small bucket. Again, wear those gloves and be careful not to spill any of the dye powder. If water hits it, it will reconstitute and stain whatever is nearby!
Add the shirt!
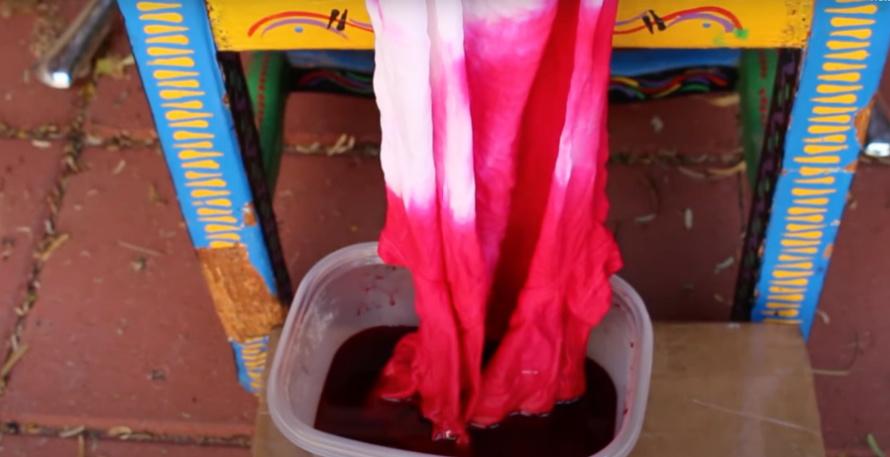
Clip the very damp shirt on a clothing hanger and set it in the bucket of wet dye. It’s going to take some time to “crawl” up the fabric, so you can hang the shirt or gently lay it over the side of the bucket. If the shirt starts to dry out, spray it with water. The dye won’t crawl up the fabric if it is dry.
Let it set for six hours.
Leave it alone for six hours, keep wetting it. The shirt will be darker at the bottom and fade in the upper area and actually stay white at the top.
Rinse.
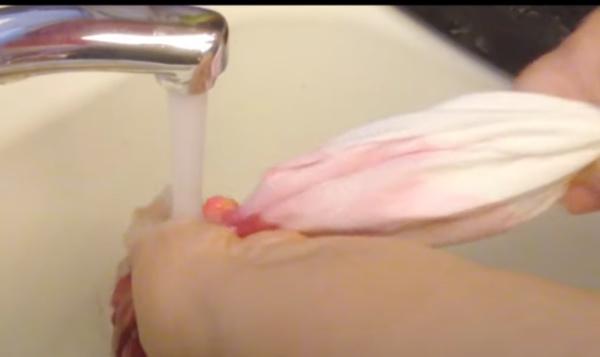
Remove all items from the area where you will be rinsing. Wearing the gloves and making sure the shirt does not drip color on the floor, take it to the sink and rinse with cool water until it runs clear. Squeeze and keep rinsing. Careful not to get the dye on the top part of the shirt. Use a sprayer and spray downward so the dye rinse into the drain. Wash in the machine, hang dry.
Check out my tie-dye shopping list here.
Wash separately from other clothing items the first couple washes, just to make sure it doesn’t bleed.
Clean up!
Wipe away any spots on the table, etc. I use regular clean-up wipes or even just wet paper towels with soap and water. If you spill any dye, use baking soda and water to remove.
More tie-dye tips and ideas!
NOTE: If you want a clean and sharp dye line, do not wet the fabric. If you want an ombre look, keep it super wet.
Rather than use white, go with a light grey or other lighter hue, adding color will make it more interesting!
Visit thrift shops or second-hand stores for cotton slips and blouses to dye.
Dye silk scarves, socks, table cloths, curtains, shoes or pillowcases for something different!
Try natural items for dye, like avocado pits, blueberries, tea or coffee grounds.
Check out my other tie-dye posts here!
What I really love about this dip dye fabric project is it is completely different form traditional tie-dye. you can use the same supplies to make something a little more classy. Next time I try this, I want to use several different colors – i’m thinking I’ll do them one at a time.
If you really want to have a “tie” kind of effect, go ahead and rubber band your shirt, wet and dip and leave. It will work the same but you’ll have the clean lines where your rubbers bands were.