
I had my first experience with monoprinting last week! It is one of those genres that terrified me, I never thought I was “ready” to give it a try. I’d seen the work of so many gifted artists and put this crazy pressure on myself.
I spend a lot of time telling people to push through their fears, and try new things out of their comfort zone, so I decided to give monoprinting a try. I set the bar REALLY low for myself, just so I could relax and enjoy the experience. Here in Phoenix we have Xico Latin and Native American Arts, and they offer monoprinting courses. I signed up and well, it was kinda my first painting class EVER! Now i’m excited to take more!
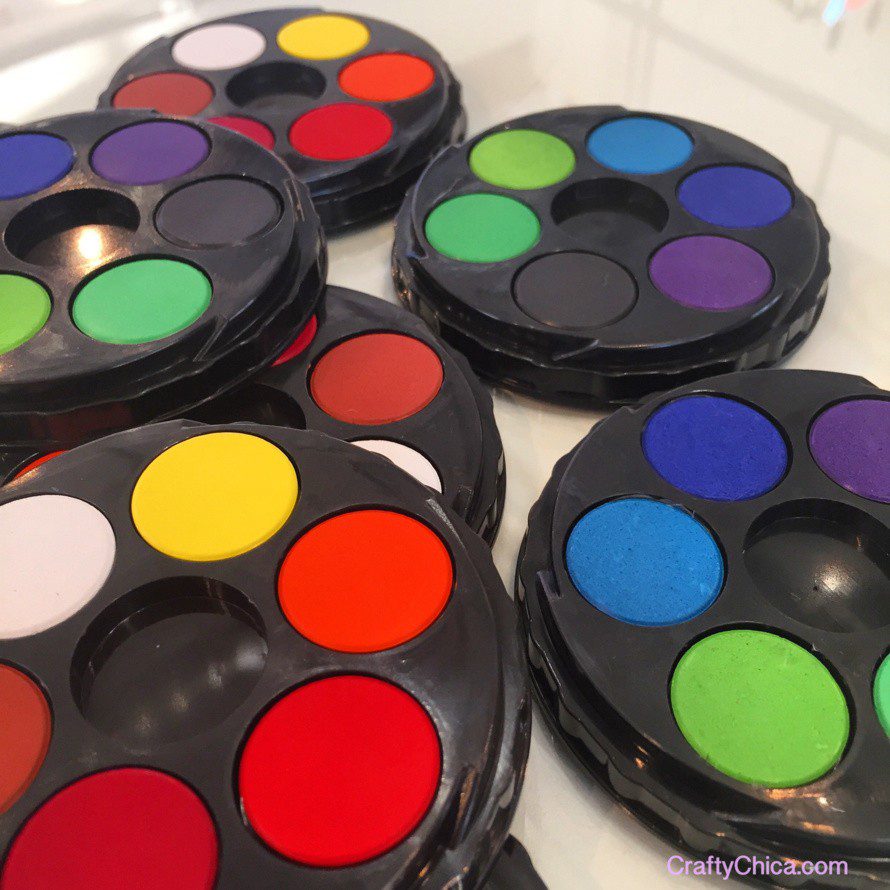
What drew me to this class was that it started with a three-hour prep the night before that was all about color. Yes, I’m used to using color, but I’m self-taught. This course was a great way to learn the technical terms and values.
Here is our teacher, master artist and monoprinter, Cristina Cardenas! Here she explaining all about color values.
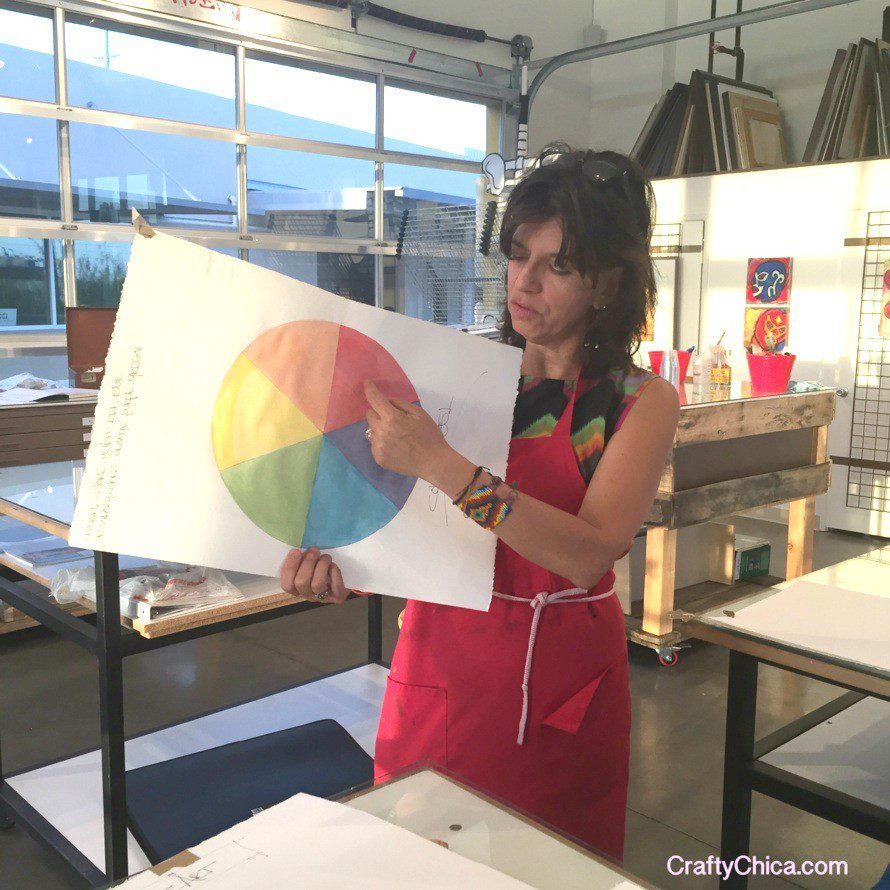
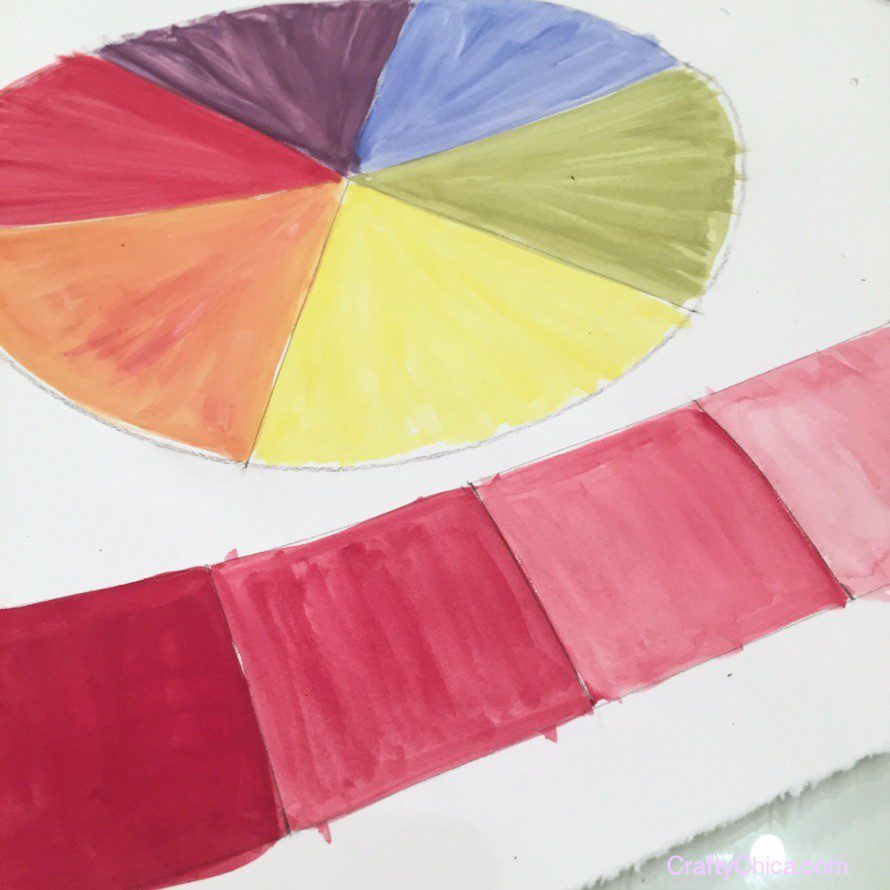
And she had us mix our colors to make a color wheel. Very basic but still very helpful!
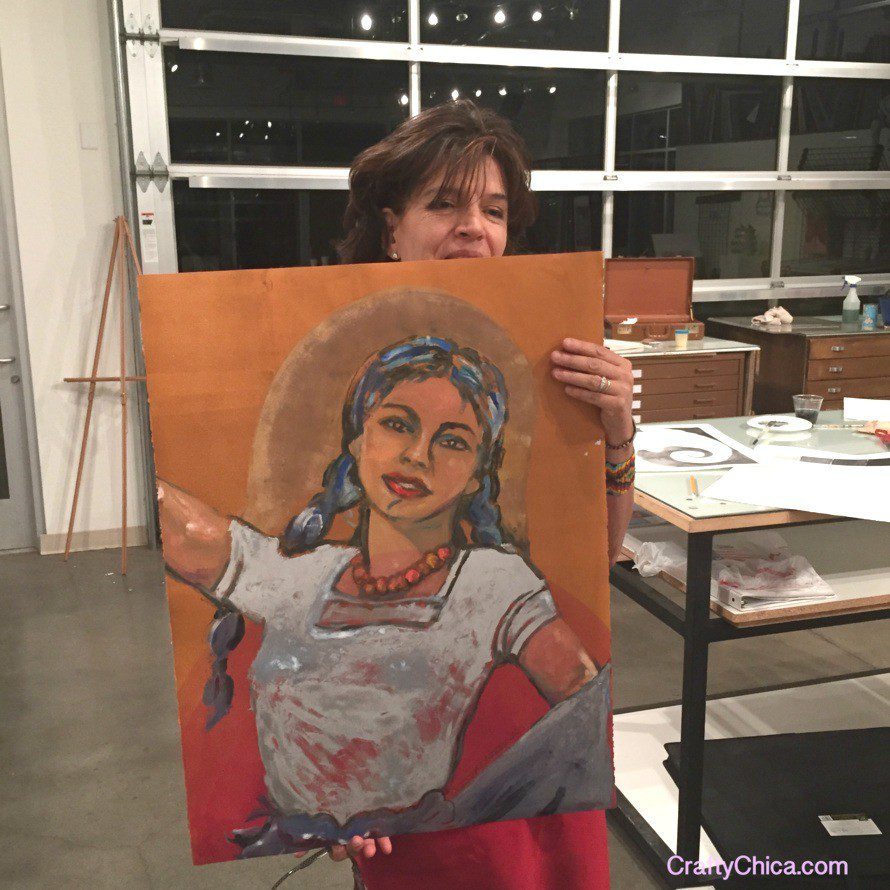
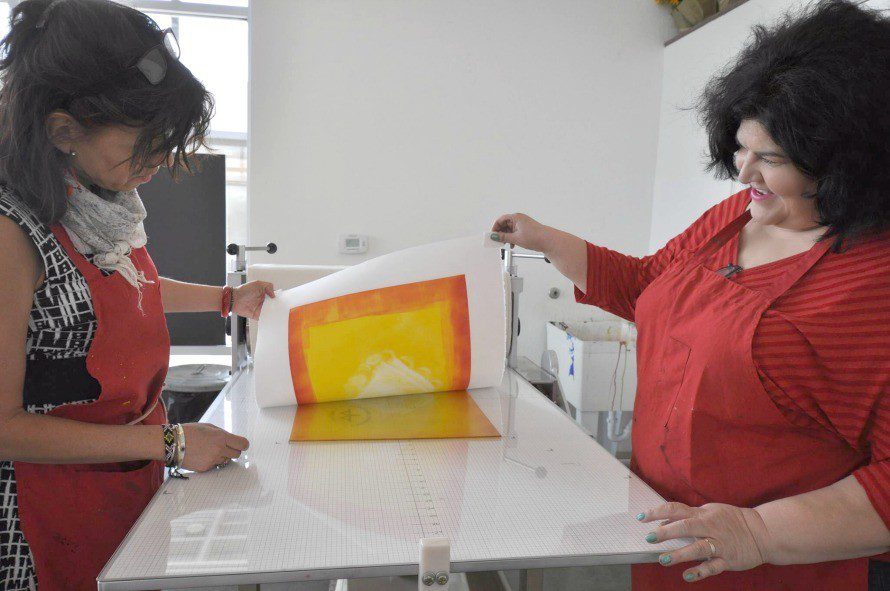
Here she is, holding up one of her monoprints! LOVE!
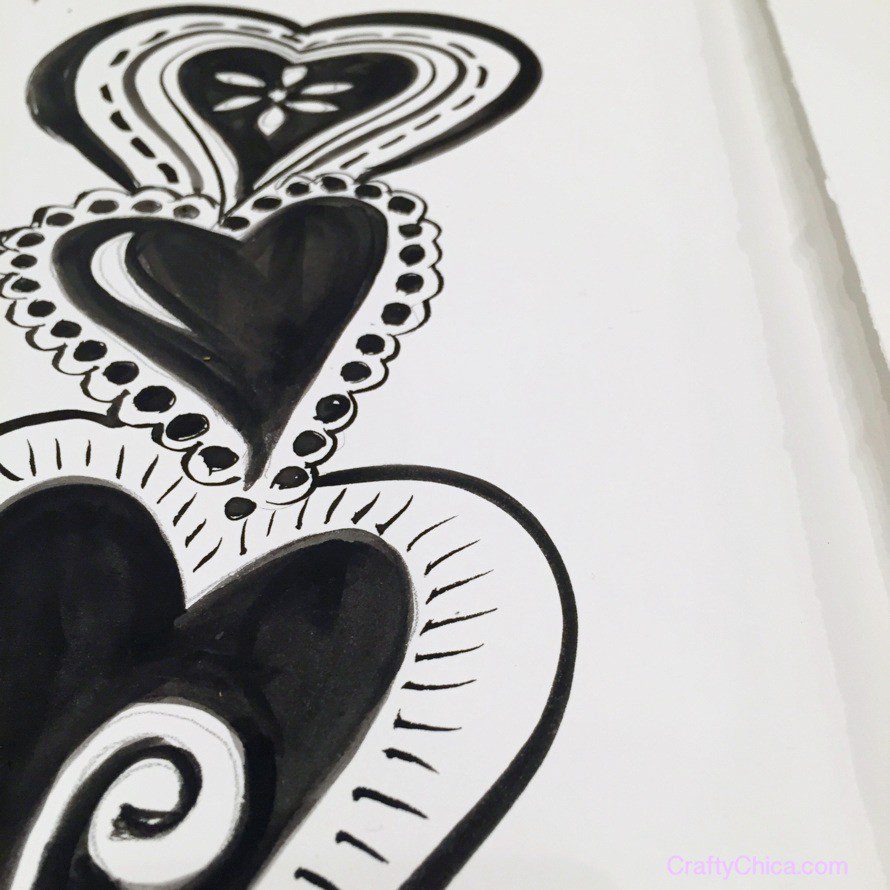
We also had a quick lesson on black and white and negative space. I went home very inspired!
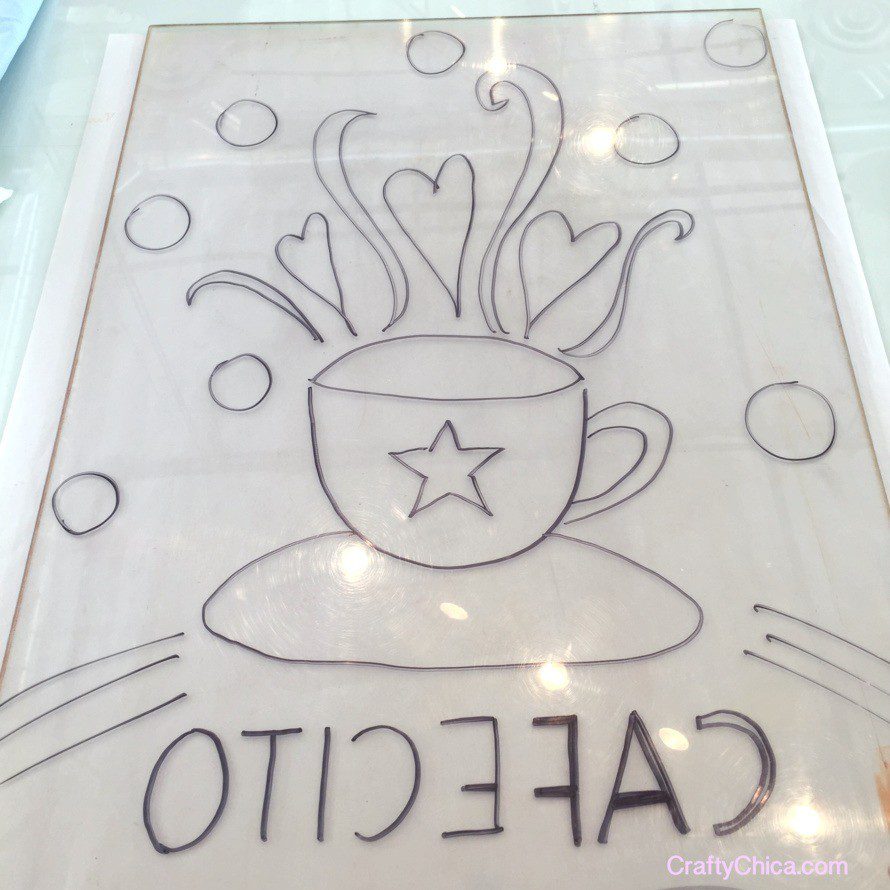
Cristina asked us to draw sketches for us to use for our monoprinting session the next day! Here are the ones I made!
TIP: For first-timers, use large, loose designs. Once you get the hang of it, then branch out and try all kinds of techniques. Plus, we only had from 10-4 to make our prints and each one takes a few hours, so take that into consideration!
https://instagram.com/p/1V9Edjro57/?taken-by=craftychica
I learned what makes monoprinting so special is the amount of prep work. This is an art genre that takes a lot of patience. I needed this in my life because I’m always on deadlines. It was a good exercise for me to not worry about time, but just to get lost in the day and paint and daydream.
SUPPLIES:
Oil paints (below)
Plexiglass
Permanent marker (optional)
Assorted brushes, firm
Paint thinner, paper towels
Spatulas, palate knives
Brayers
Press
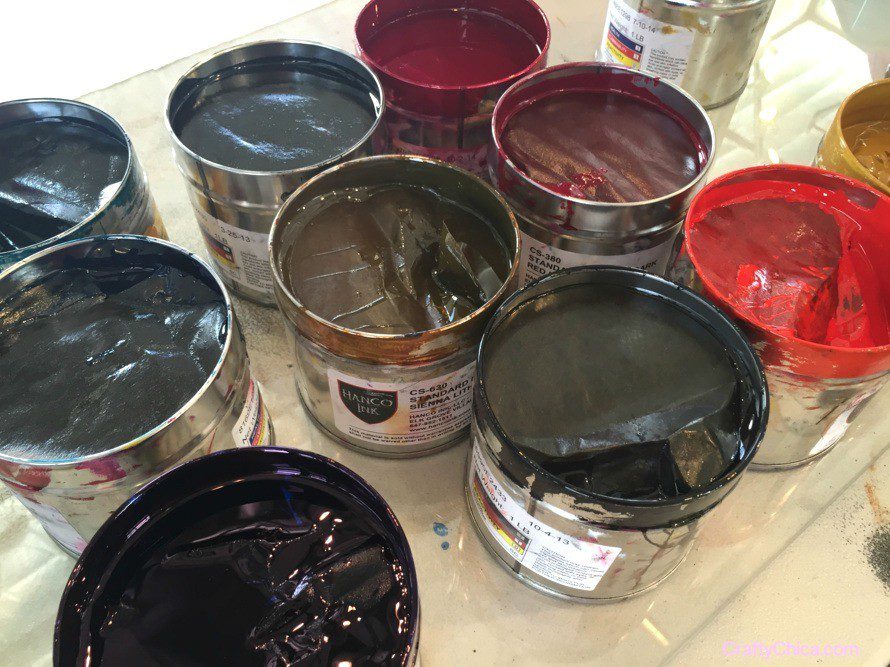
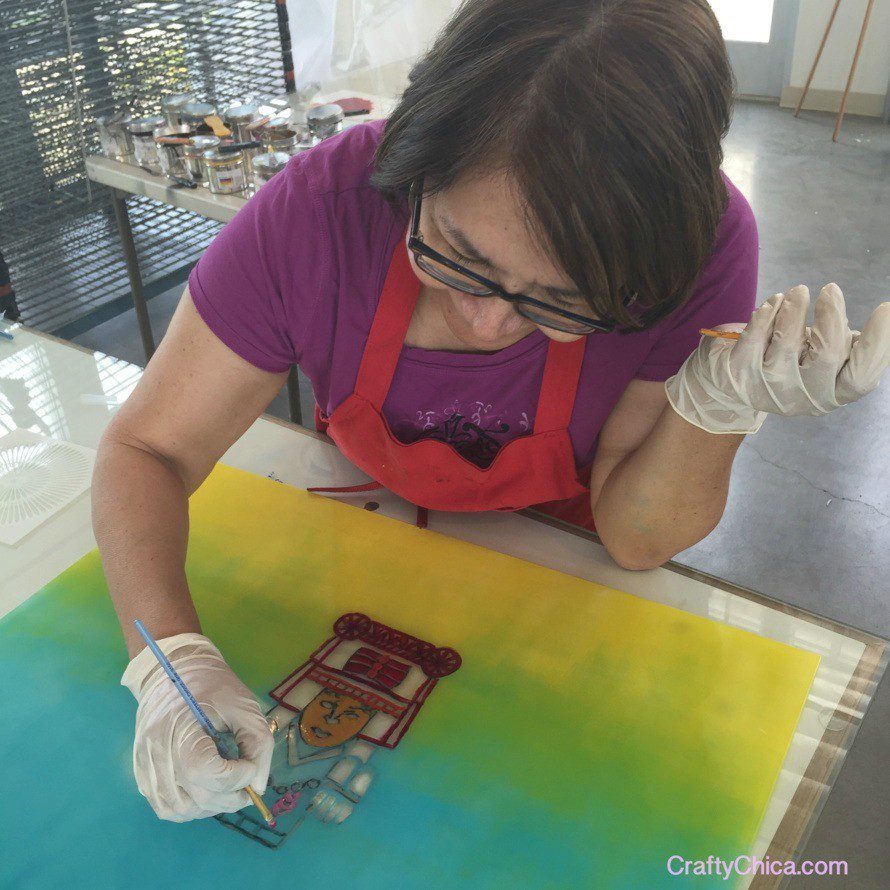
These cans of oil paints are super concentrated and get everywhere. It’s better to use gloves!
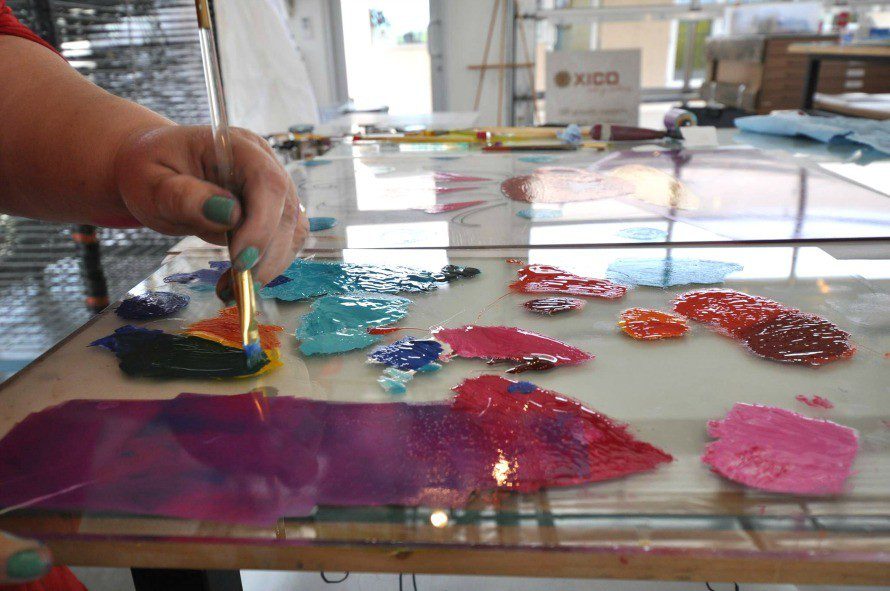
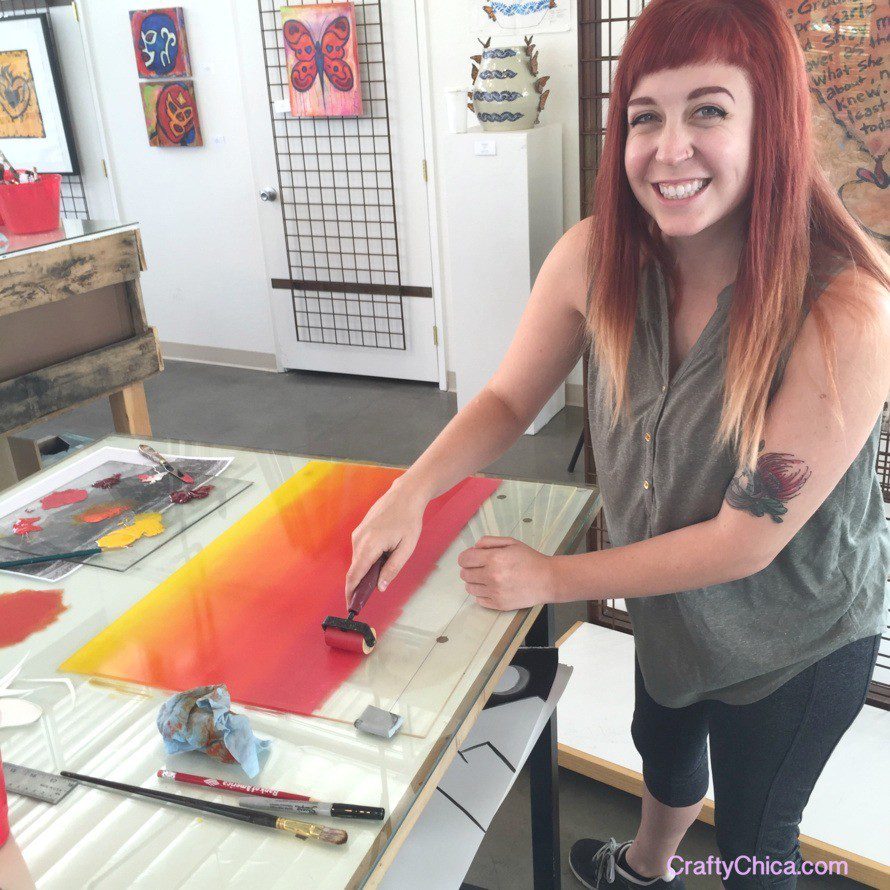
I placed my drawing under the plexiglass and first I applied a background using the yellow and red and a brayer. Cristina had us mix our colors – no shortcuts! I will never take pre-mixed bottled colors for granted again!
Even though I wrote on my sketch what colors I wanted, once I started, the print took on a life of its own.
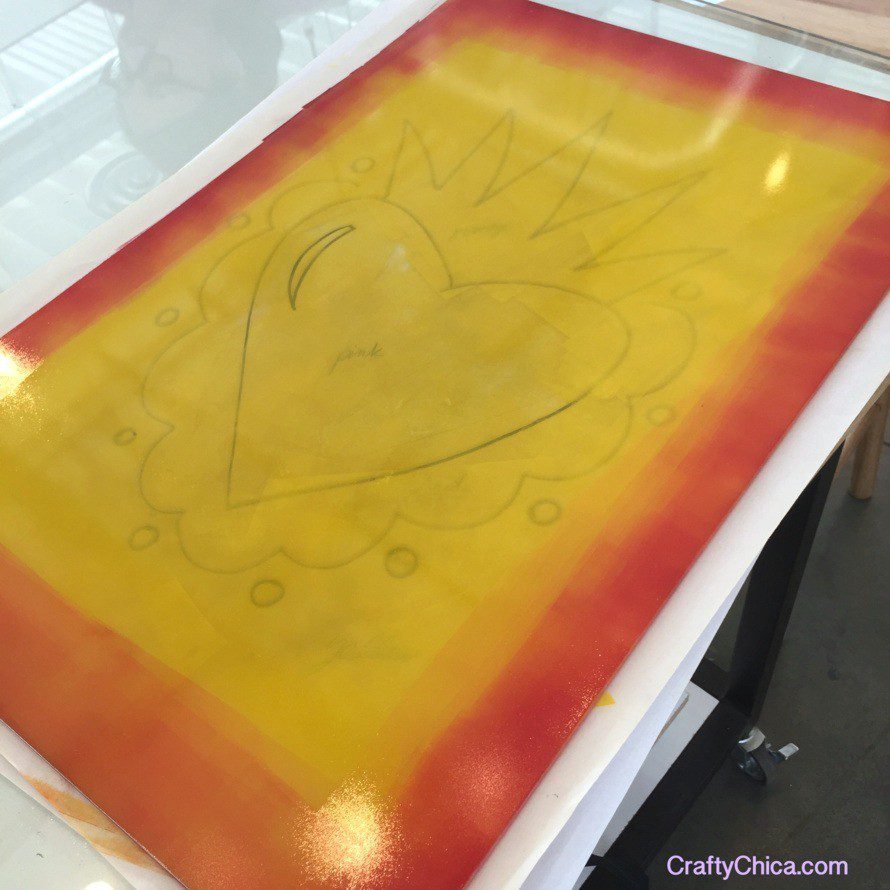
All it takes a tiny drop of oil paint, then you can add a drop of white, then use the palate knife or brayer to mix.

Once I had the background how I wanted, we ran it through the press. This was another process in itself! We used large paper that we dipped in water, then placed on a towel and used newsprint to absorb any extra water. Then we drew registration marks on the press and placed the plexiglass, paint up, then we set the large paper on top and rolled it through.
After that, I took the plexiglass back to my work table and created the foreground of the print.
Here is my first pass going through the press. As you can see, I was a tad excited…
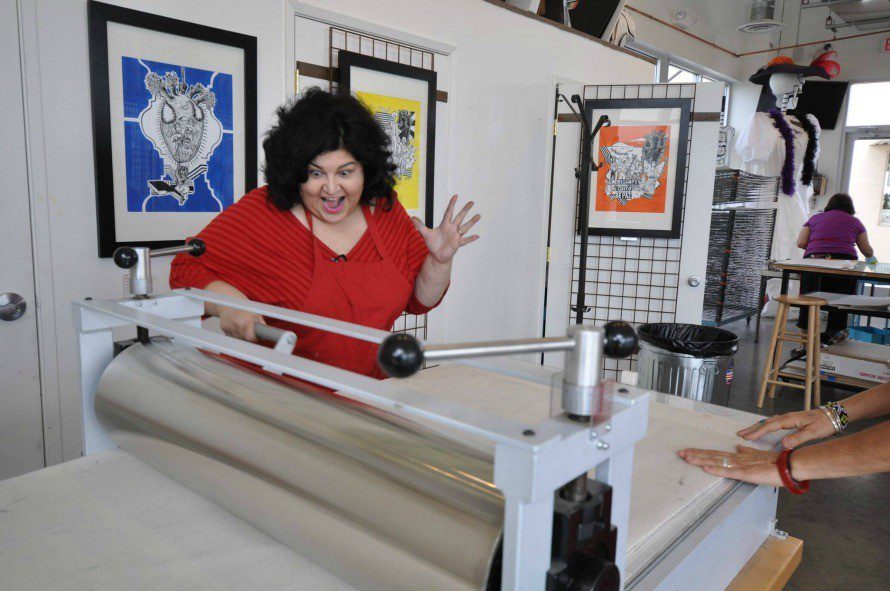
And SUCCESS! Background done!
TIP: Make sure that you really center the paper correctly before you print! My first print was a bit off center. So now I know better! I went ahead and did the foreground, then we took it back to the press, lined it up again with the registration marks and we placed the first paper on top (the one that we printed the background on earlier) and ran it through the press again. My plexiglass had so much ink, that we ran it through a second time to make a ghost print!
https://instagram.com/p/1WLaMdLo5J/?taken-by=craftychica
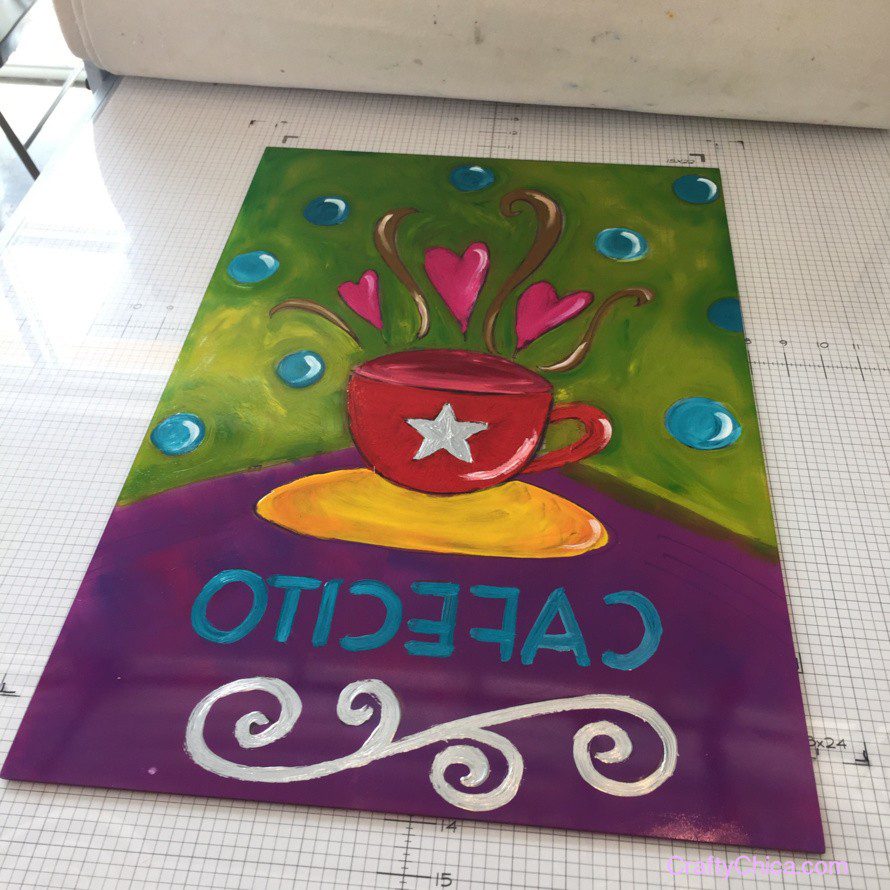
Now when it came to the second piece, I was on a roll, I thought I had the game down. This time I traced my sketch on to the plexiglass using a permanent marker.
Then I got busy. BUT I forgot to do a background first and run it through, so I did a different method and just painted the entire thing.
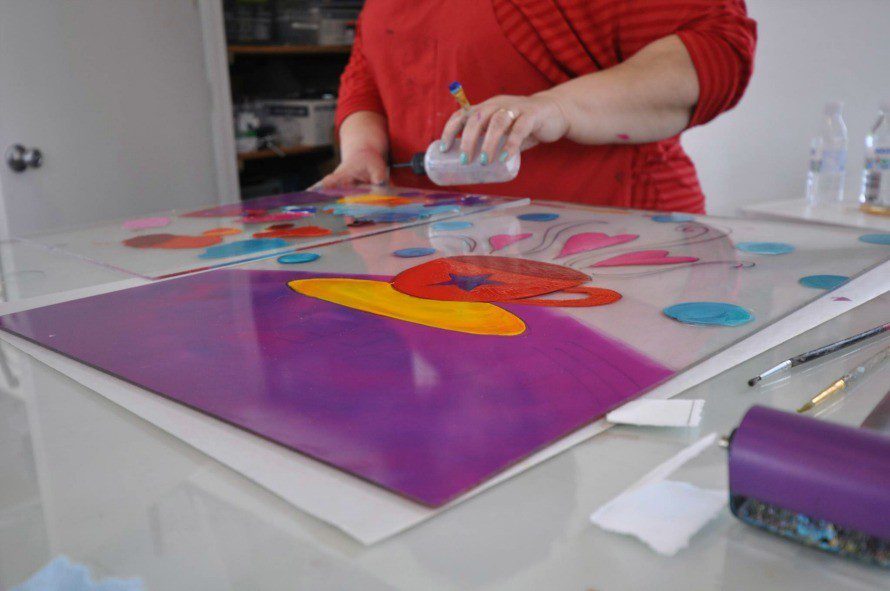
Come to find out, I really like this method much better. I like having control of where the colors are, not worrying about lining up the plexiglass and paper on the press more than once. I know it is a short cut, but it works for me. The more I do it, the more I’ll practice on the first method! But for now, this all-at-once method was easy! What I love about working with the oil paints is that they don’t dry. We were able to leave and go to lunch and pick right up! I like paints that allow time for lunch!
TIP: Add paint thinner or medium to paints to thin them out, I didn’t learn this until halfway through my process, but I’m kinda glad, it gave my piece a certain look.
And here it goes in the press! We were able to get another ghost print from it as well!
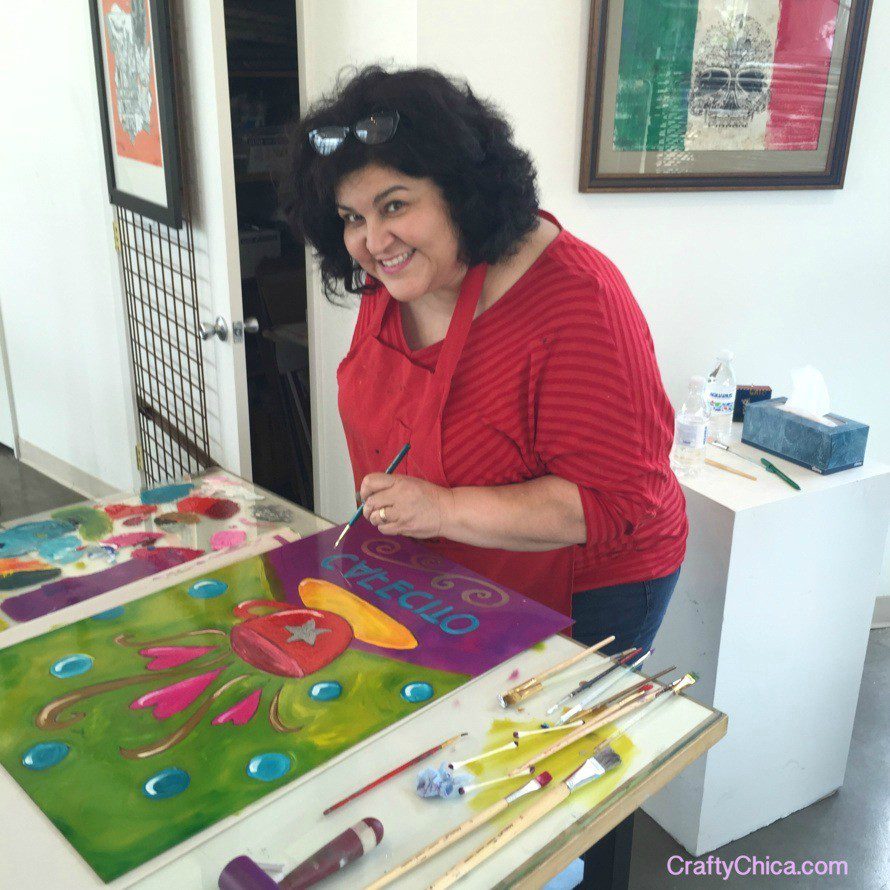
I mixed all my own colors. It looked pretty crazy, but it was the best feeling to finally get the hang of it!
My green kept coming out very army green color, then avocado, then finally the lime shade I saw in my head! Those final green shades – yummy!
TIP: Make sure your fingers are free of paint before you touch the paper to print!
And here is the finished piece!
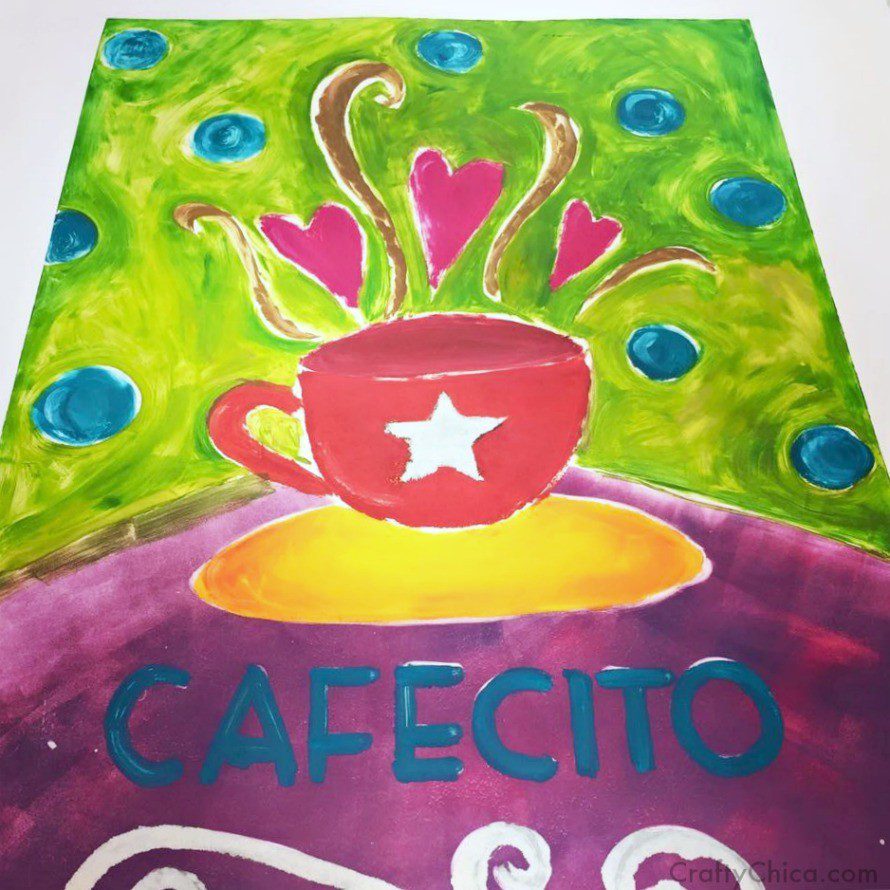
TIPS: See the white space between the colors? That’s where I drew with the marker and forgot to cover the marker area. I do plan to go in and touch it up with acrylics. Also, if you do words or letters, remember that your image will be reversed! Here is everyone at work in our class!
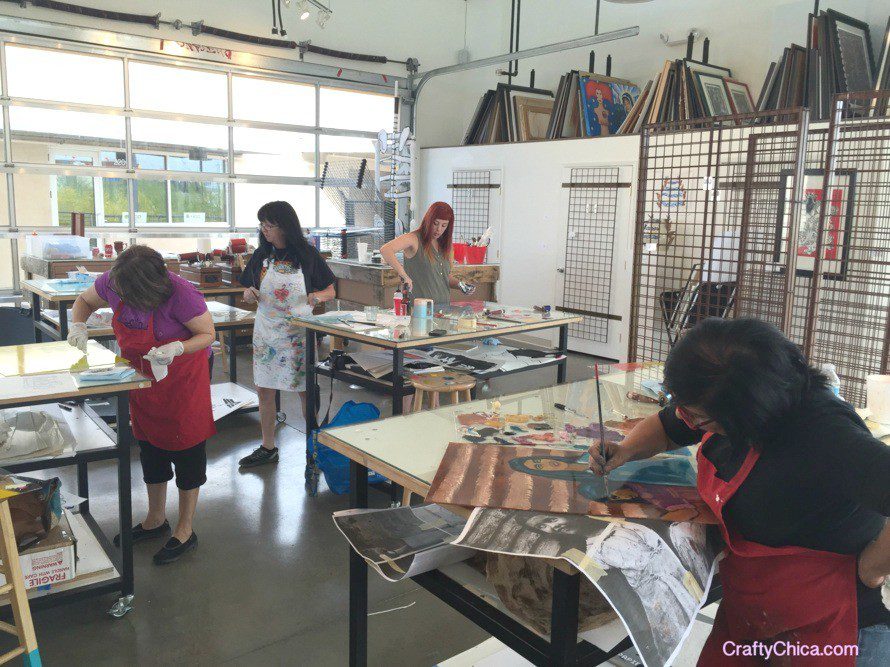
Look at this nice piece by artist, Mary Ann Rodriguez-Veatch! She painted this entire thing, made her prints then had to CLEAN IT OFF with paint thinner! See the clear liquid? Arrrggh! That is the paint thinner. That’s how you clean off the oil paints plexiglass so you can start over. I saw Mary Ann’s awesome work about to be wiped away and I had to snap a pic!

And here is Norma Garcia-Torres in action. I’m a big fan of her artwork too, and was so honored to be in this class with her!
And here is Christina from Xico. She not only runs all the events, but she also joined in our class! We had a super fun group!
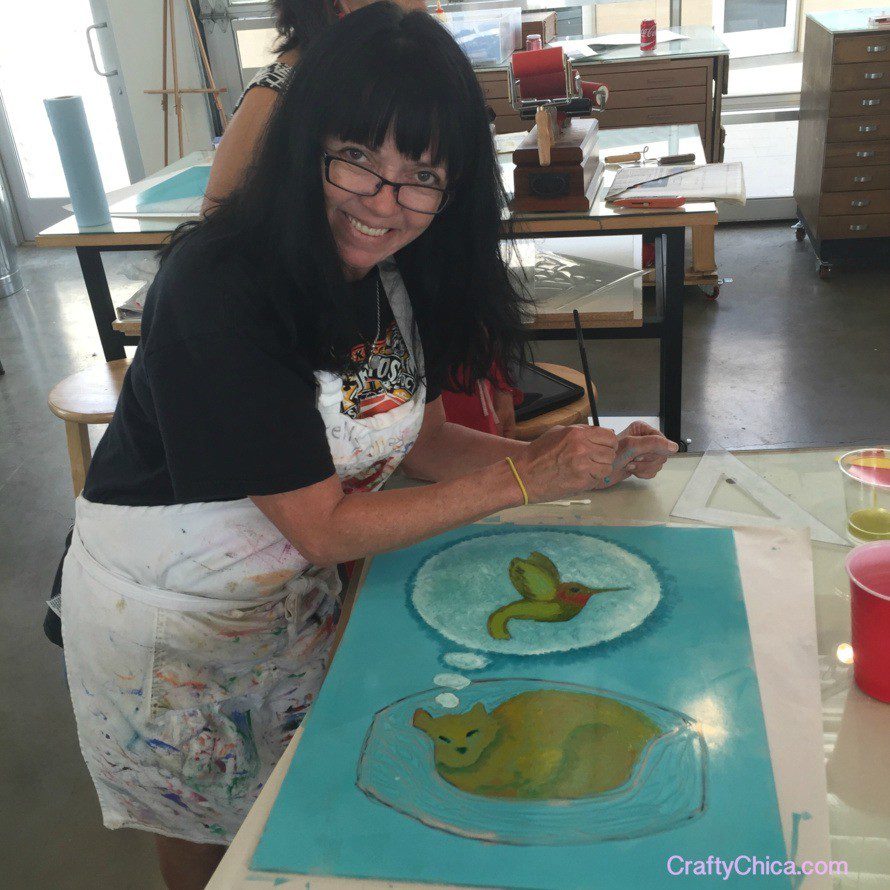
Look at Kelly White-Peterson’s monoprint, sooo cute! Her kitty is dreaming of a hummingbird!
I’m really excited to try monoprinting again! In the meantime, I have a couple of Gelli Plates that I can practice with. Gelli Plates will produce a different result, because the press comes from the brayer, which kinda smears the paint a bit, but it still seems like a related technique to get the hang of it.
If you want to try monoprinting, do a Google search for your local community and see where there are classes. Usually art or community centers, even local colleges.
I hope you enjoyed my wrap of my first monoprinting experience!
Special thanks to Xico for offering this class, make sure to visit them if you are ever in Phoenix!
Pssst…here’s a method to try monoprinting at home!
https://youtu.be/wNphVyj-QBQ
These are fantastic Kathy. I’m intrigued to try this at home!