
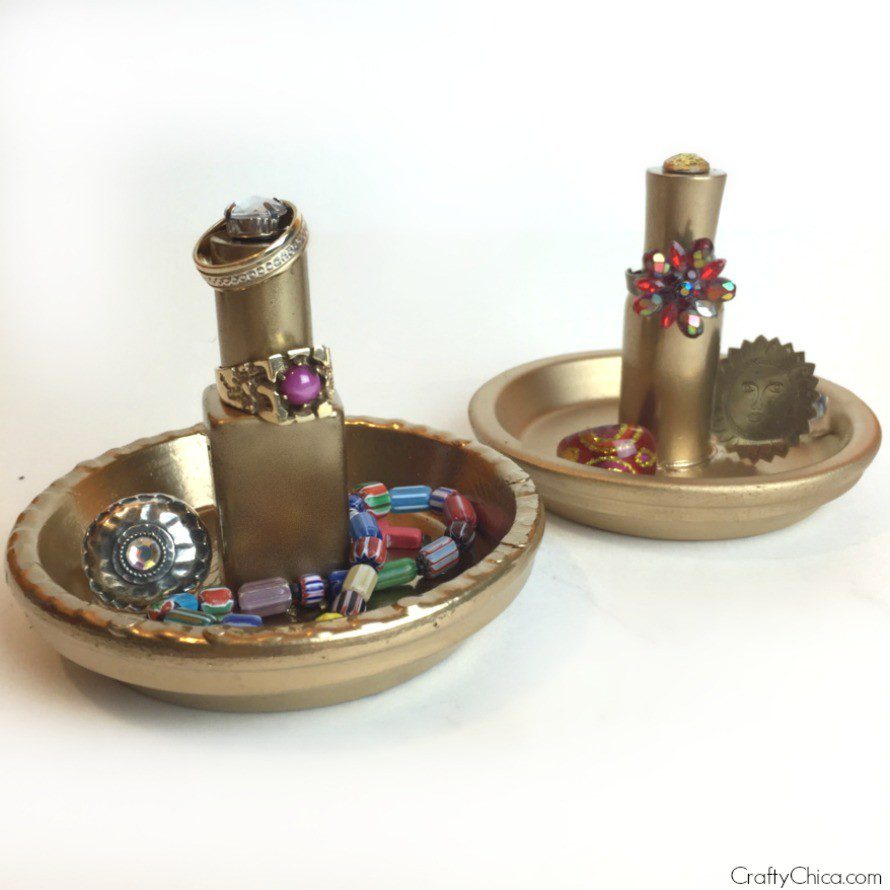
I had a huge bin of dried out nail polishes, but I had trouble parting with the bottles – so I made a DIY Ring Holder! This is an awesome craft to use up odds and ends in your house – I found I had a stack of planter dishes, and gold spray paint. For the center, you can use nail bottle bottles (with skinny tops) or any other small items that are tall and narrow. The concept is pretty self-explanatory – but there are a few tips you should know before you get started.
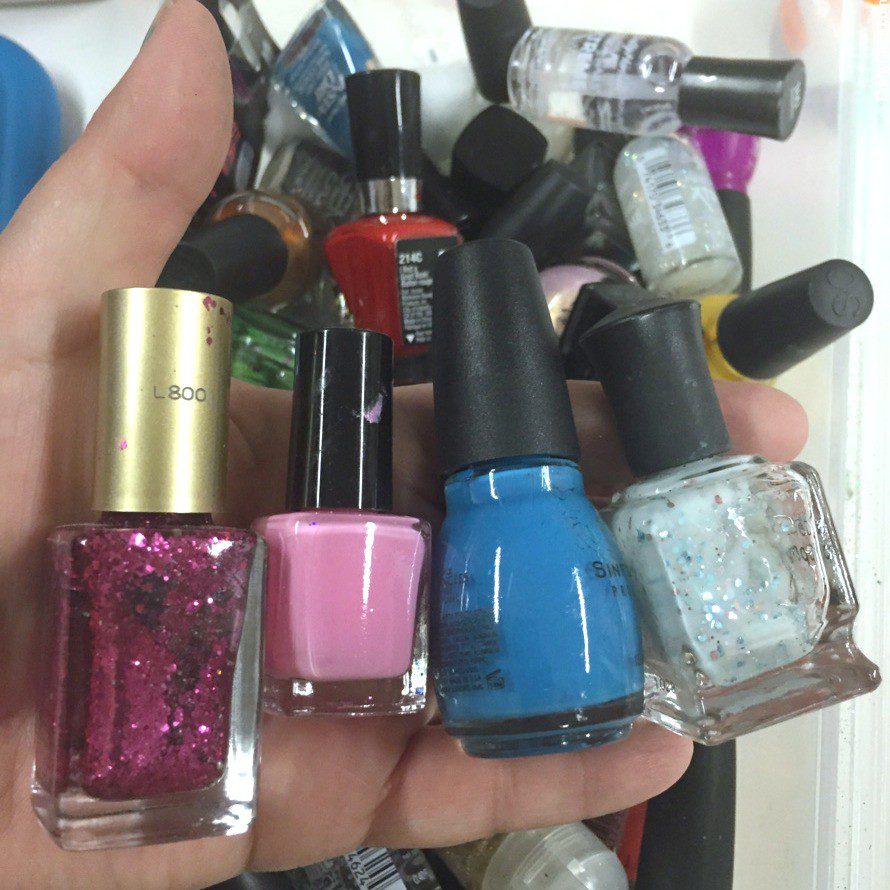
Look through your empty polish bottles and choose ones that have a tall skinny top. This is crucial because you want for your rings to be able to slide over them. Also – who says the bottles have to be empty? HEYYYY!!! Now that I think of it, maybe you could use an adhesive tab to secure it to the base and use a full bottle of polish. Then replace the bottle of polish when it runs out. That way your ring holder will be functional beyond just storing your jewelry, right?
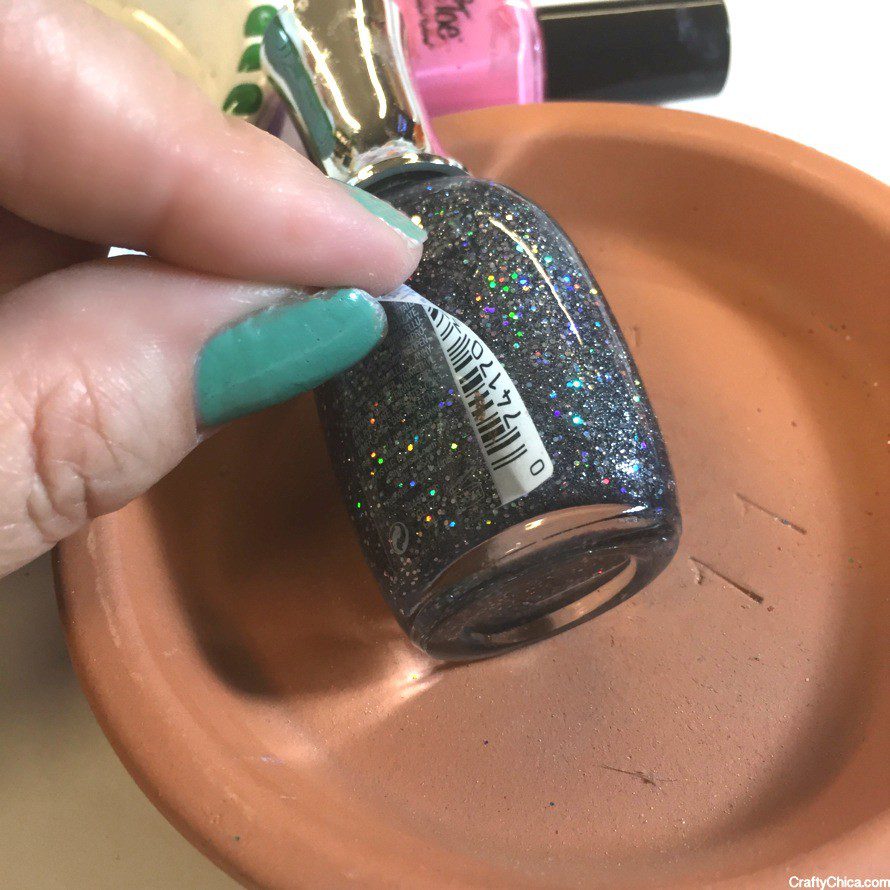
Next, remove the labels and clean the bottle the best way you can.
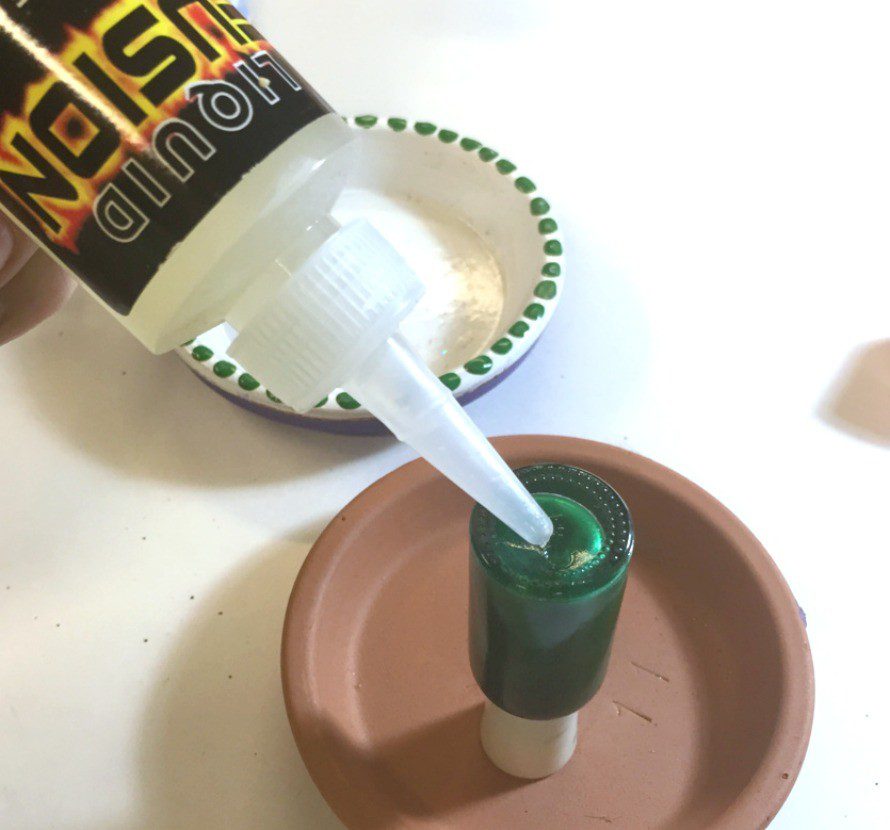
I used Liquid Fusion to bond the two pieces together. Apply to the bottom of the bottle and set in place, let dry for an hour or so – longer if you live in a humid climate. You want the glue to be completely cured!
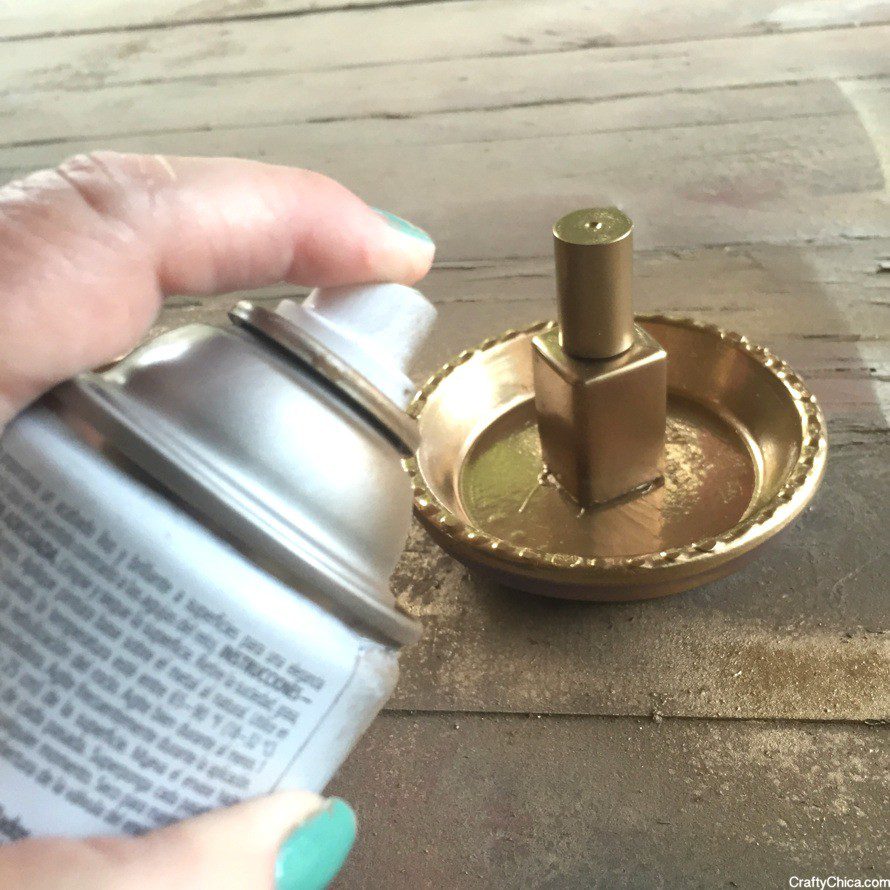
Once it’s dry, then you’ll want to go outside and hit it with some spray paint.
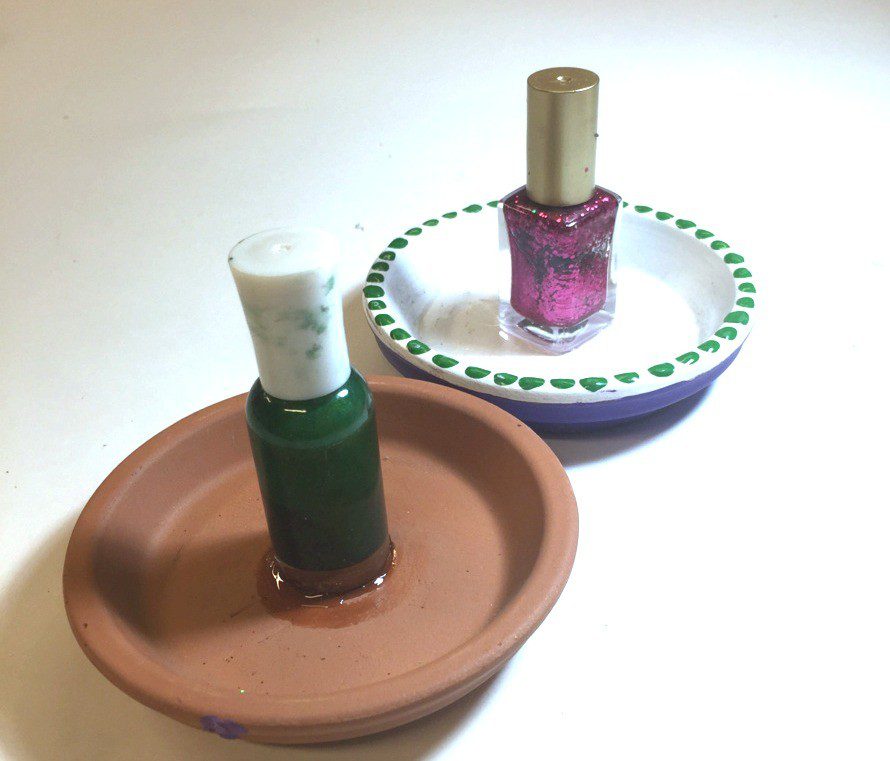
Give it a coat, then let it dry and then give it another coat. If you don’t want it to be all one color, then you can use bright colors too!
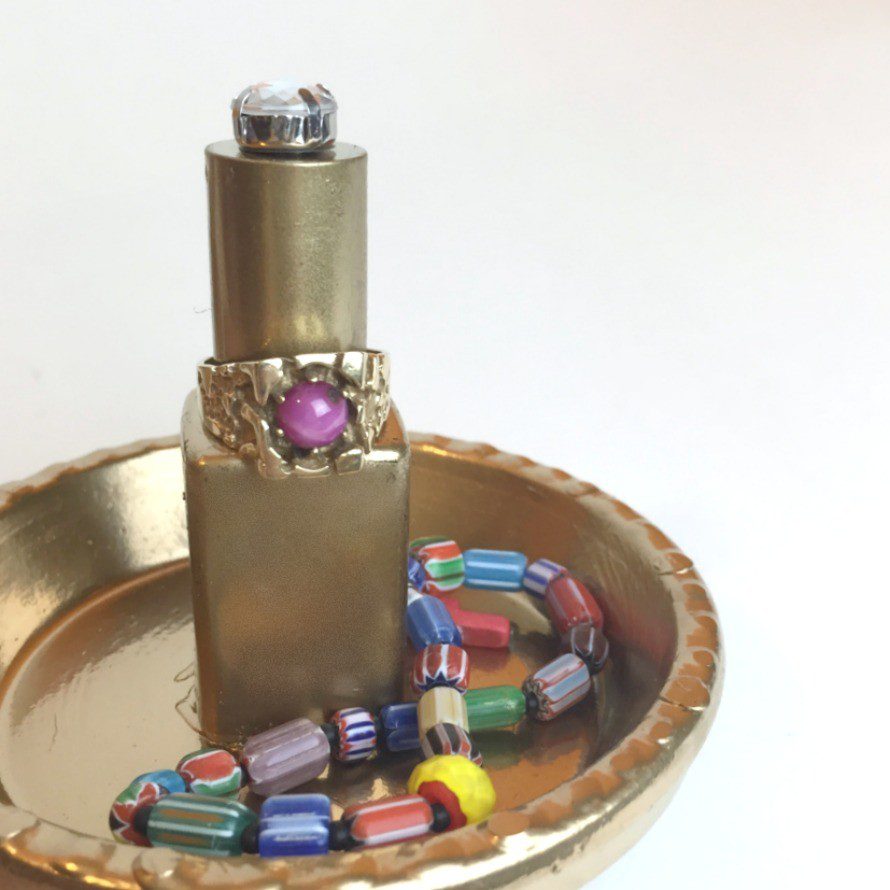
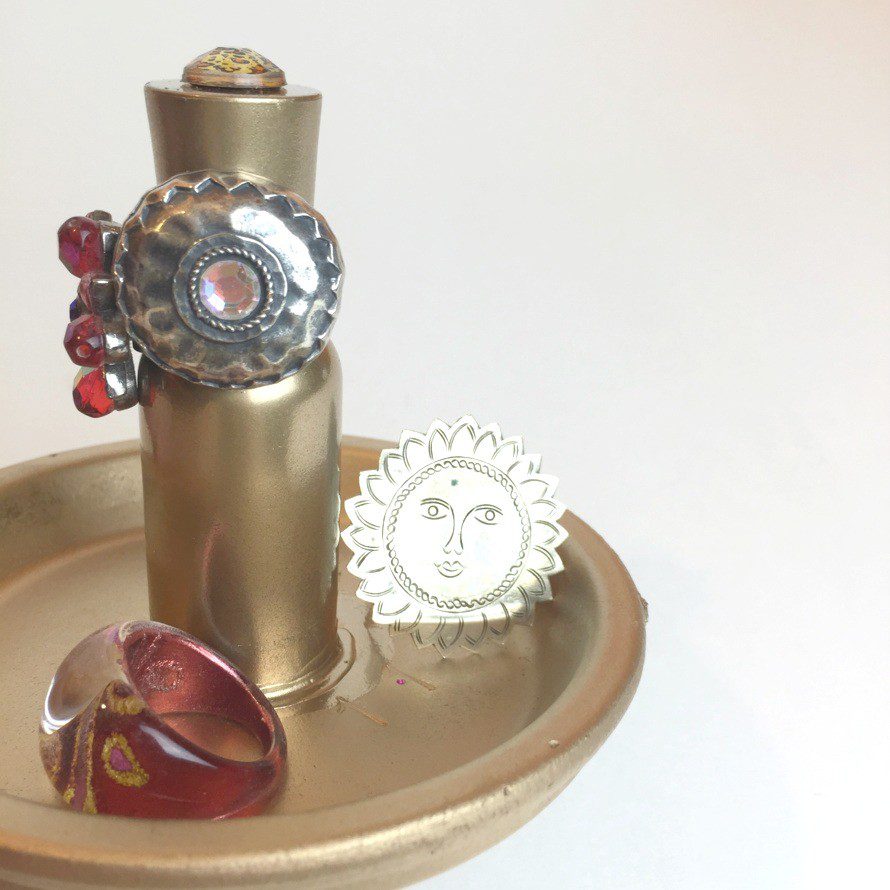
And let it dry for a while, I added some jewels on top, but you can further embellish how ever you want!
What do you think? What ideas do you have to make ring holders? I was thinking for Father’s Day it would be cool to use nuts and bolts to build up the ring holder portion in the center. Or small toys too! Maybe army men or something…


Such a great way to use empty nail polish bottles!!!