


I recently came across a vendor at an event who had boxes of gorgeous gems and crystals. I rummaged through stacks of boxes of gems to find goodies to make these agate slice pendants. Have you ever had that happen? You see an item and all of a sudden you see a gazillion things you came make? That was me at that moment. I loved that the slices came in a variety of bright colors and shapes.
I bought one in every color, came home and went to Pinterest and found even more inspiration!

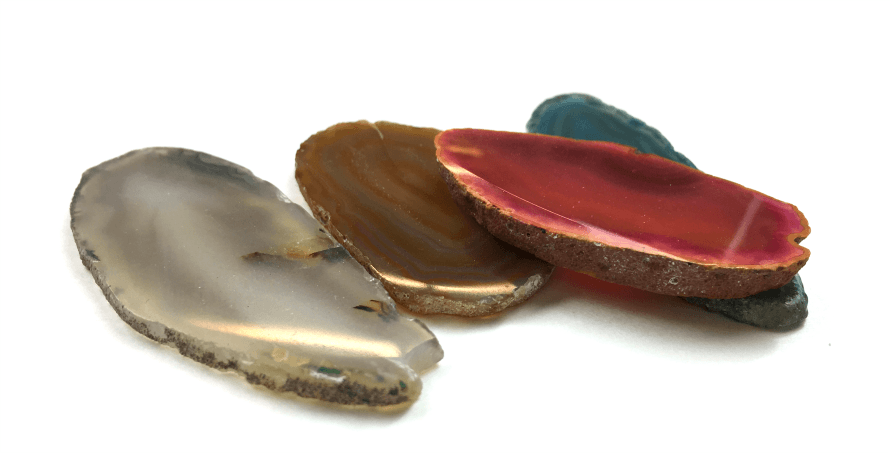
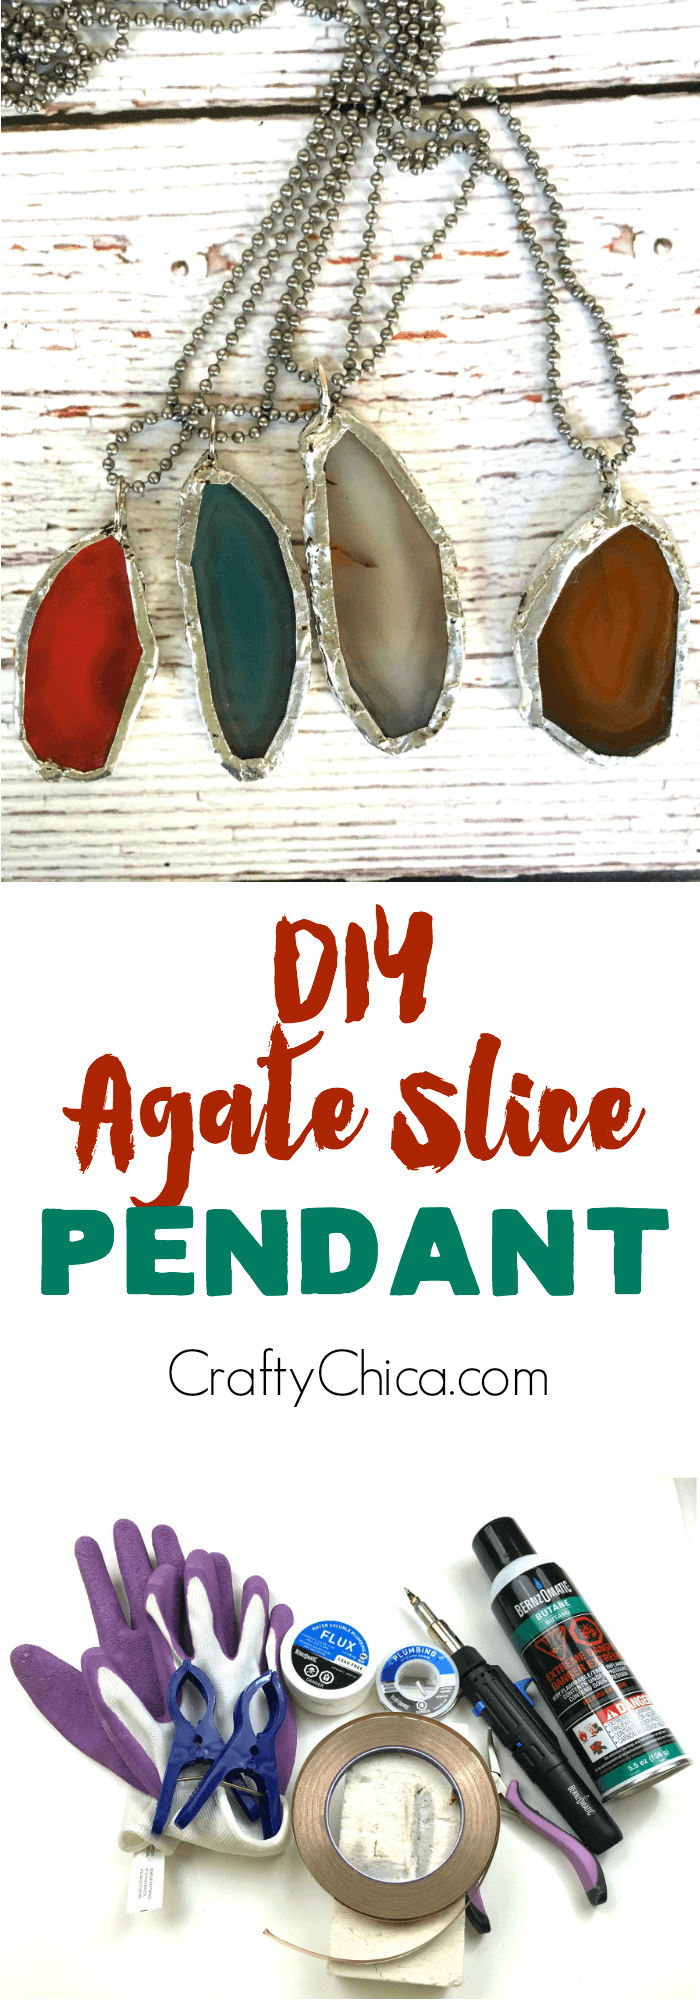
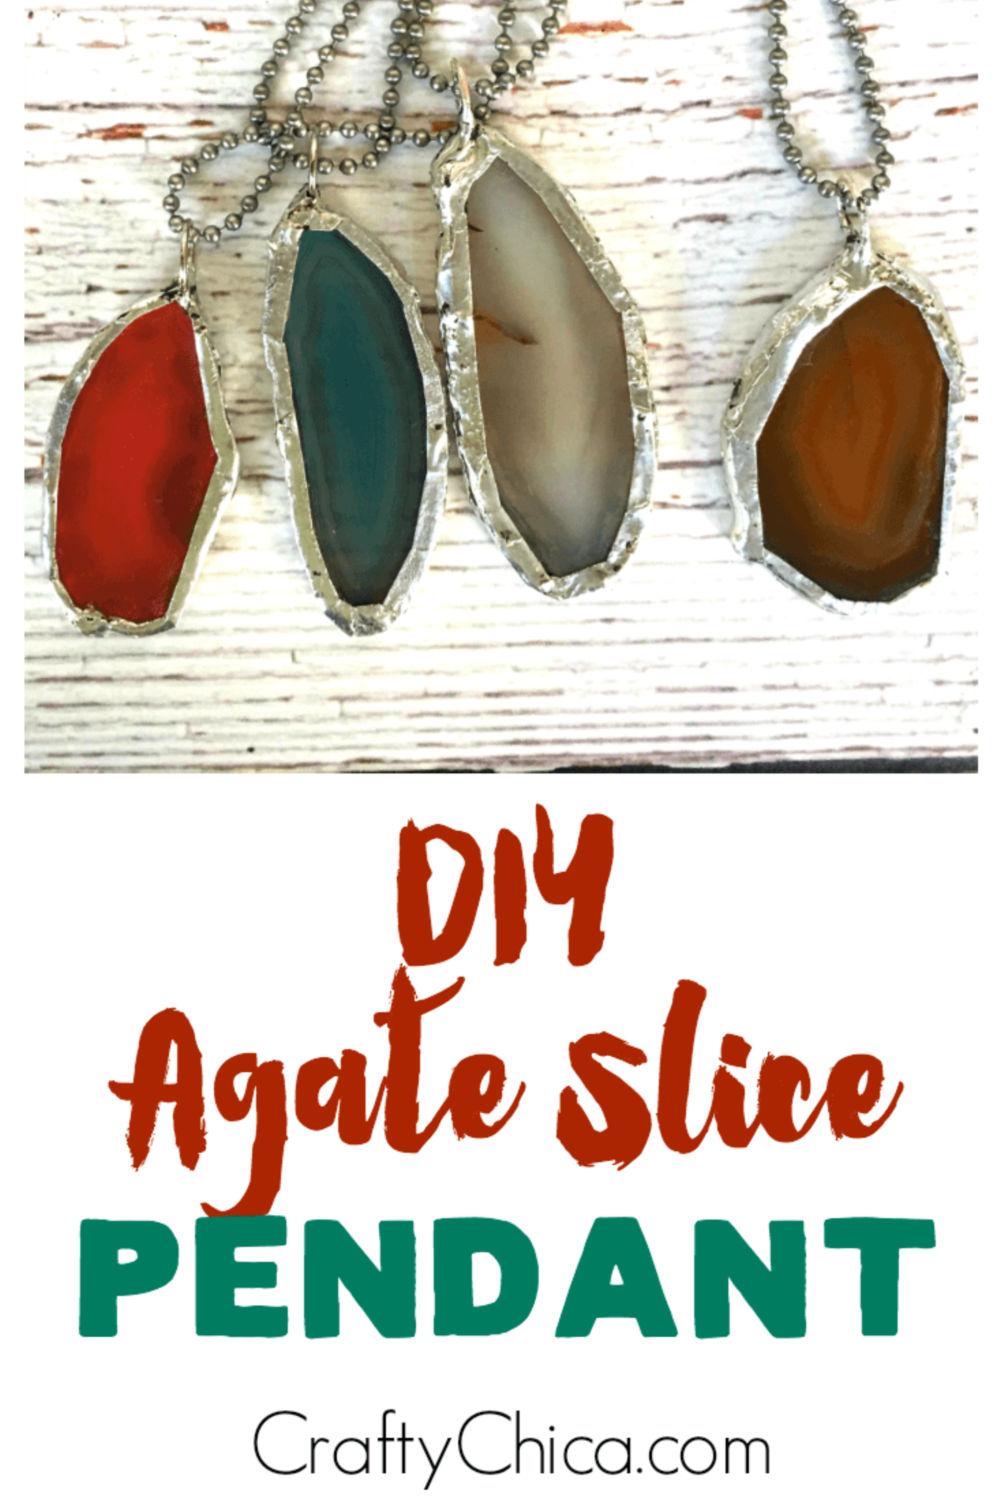
Here are the slices I had.
Here is a link to my video tutorial, or you can see the process pictures below!
SUPPLIES:
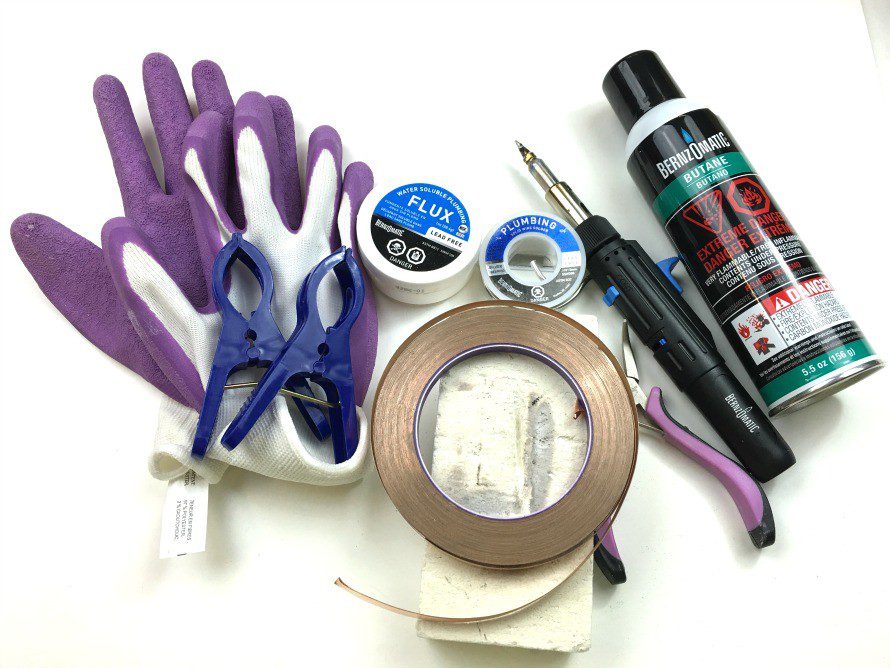
Bernzomatic Micro torch
Bernzomatic Solder, Flux
Open Jump Rings, 8mm, Silver![]()
Insulating Firebrick, 9″ x 4-1/2″ x 2-1/2″ Size![]()
3/8 inch x 55 yds Copper Foil Tape – (10mm x 50m) – EMI Shielding Conductive Adhesive![]()
10-pc. 3/4-inch Premium Nylon Spring Clamps (3/4-inch jaw opening, 1-inch throat depth)![]()
Heat Resistant BBQ Gloves Pair of Best Silicone Pot Holders and Oven Mitts for Kitchen Cooking Baking Barbecue (Purple)![]()
Economical Safety Glasses, Clear![]()
10 Stainless steel 30 inch military ball chain (dog tags) necklace![]()
3 in 1 Combination Craft Tool Plier Cutter Ring Closer![]()
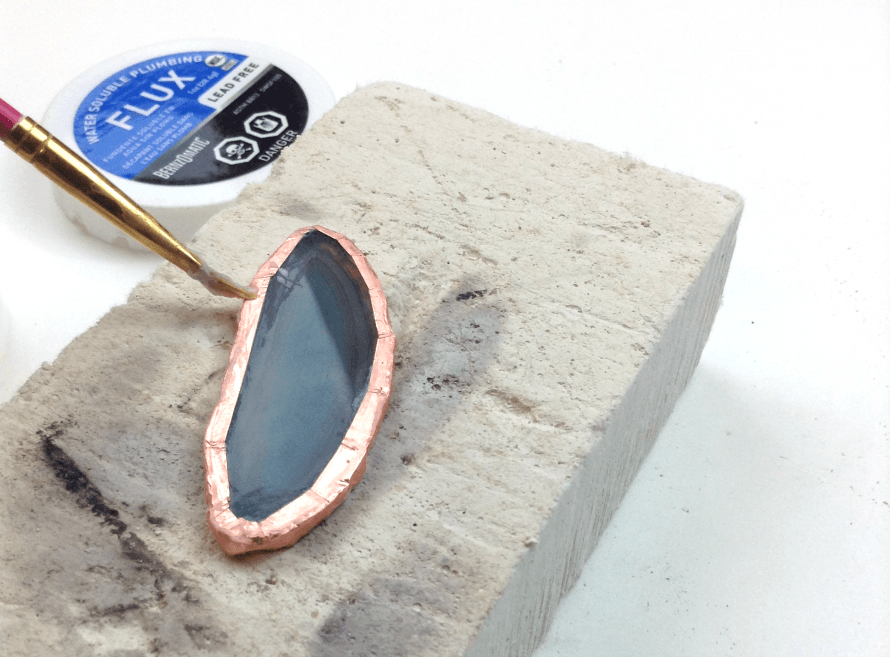
Wrap the tape around the agate slice and use a craft stick or bone folder to burnish the edges. You want the copper foil tape to be flush with the surface of the agate. This will yield a more polished look of soldering!
After that, use a small brush and apply a coat of flux on the copper foil tape, all over the slice.
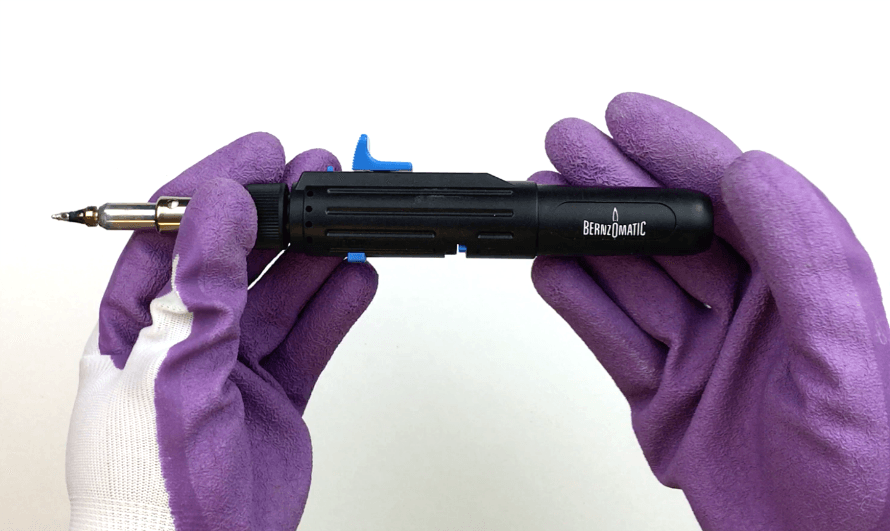
Time to fire up your tool! I LOVE this tool because you don’t need batteries or a cord, simply a can of butane. It’s really easy to operate. Read the package directions. You can buy one of these Bernzomatic ST2200 Micro torch tools at The Home Depot.
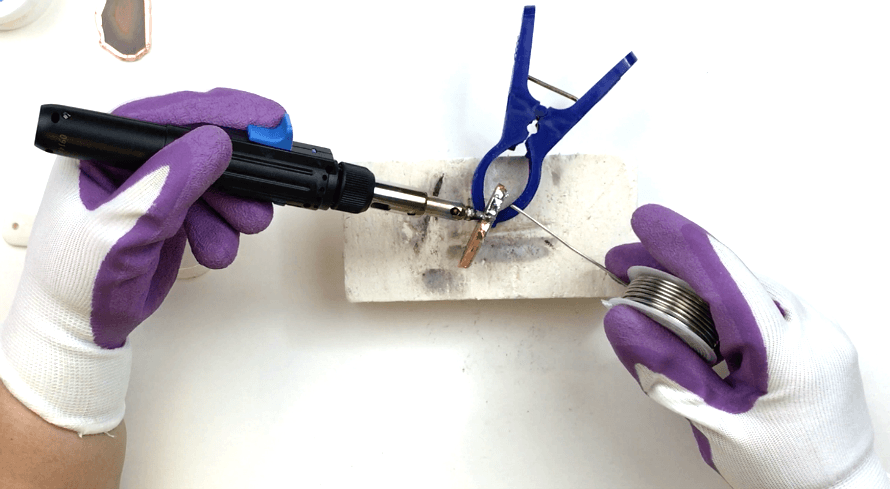
Hold the solder wire in one hand and the ignited tool in the other, use the tip to heat up the solder and then drag it across the copper tape to create a smooth texture. Do this on the front and back and the sides. When it comes to adding the jump ring on top, use the clamps to hold the slice upright. Add a blob of melted solder on top.
Take a jump ring and wrap a tiny piece of copper foil tape around the bottom. Make sure to burnish it really well. If the tape is loose around the jump ring, it will wiggle when your project is done, you don’t want that. Coat the copper foil tape area with flux.
Heat up the solder on top, then with the jump ring in the needle nose pliers, place it in the blob of solder. Use the tool to drag that extra solder across the inside of the jump ring to secure it. Do the same all around the jump ring.
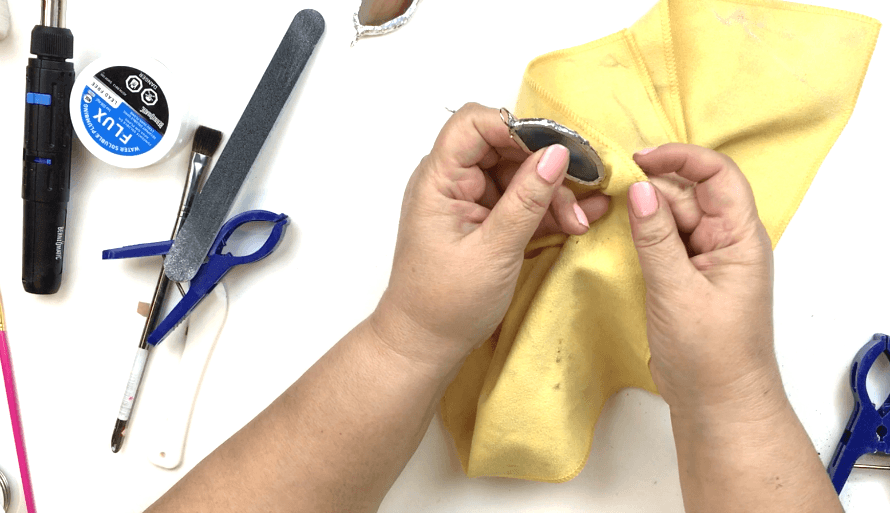
Once it’s all cooled down, you can use a polishing cloth to clean up any soot or flux. And here you go! You can use this image to Pin if you want!
Thank you so much for checking out my project and video!
Related content:


Would love to try this! What kind of solder did you use? The link gives me an error message
is there a wire that can be used to make it look gold as opposed to silver? I want to do this on some serving trays made from larger stones, but i’ve seen where some have the edges looking like gold which looks amazing.
Hi! Do you mean for the solder wire? I would do it as is, and then add gold leaf on top of the silver. I bet that would look beautiful!