Here’s how to paint a wood box with acrylic paint. One of the most classic forms of crafting is old school painting on a surface.
That’s where this hand painted wood box project comes into play. Paint, brushes, a box and unlimited imagination and creativity.
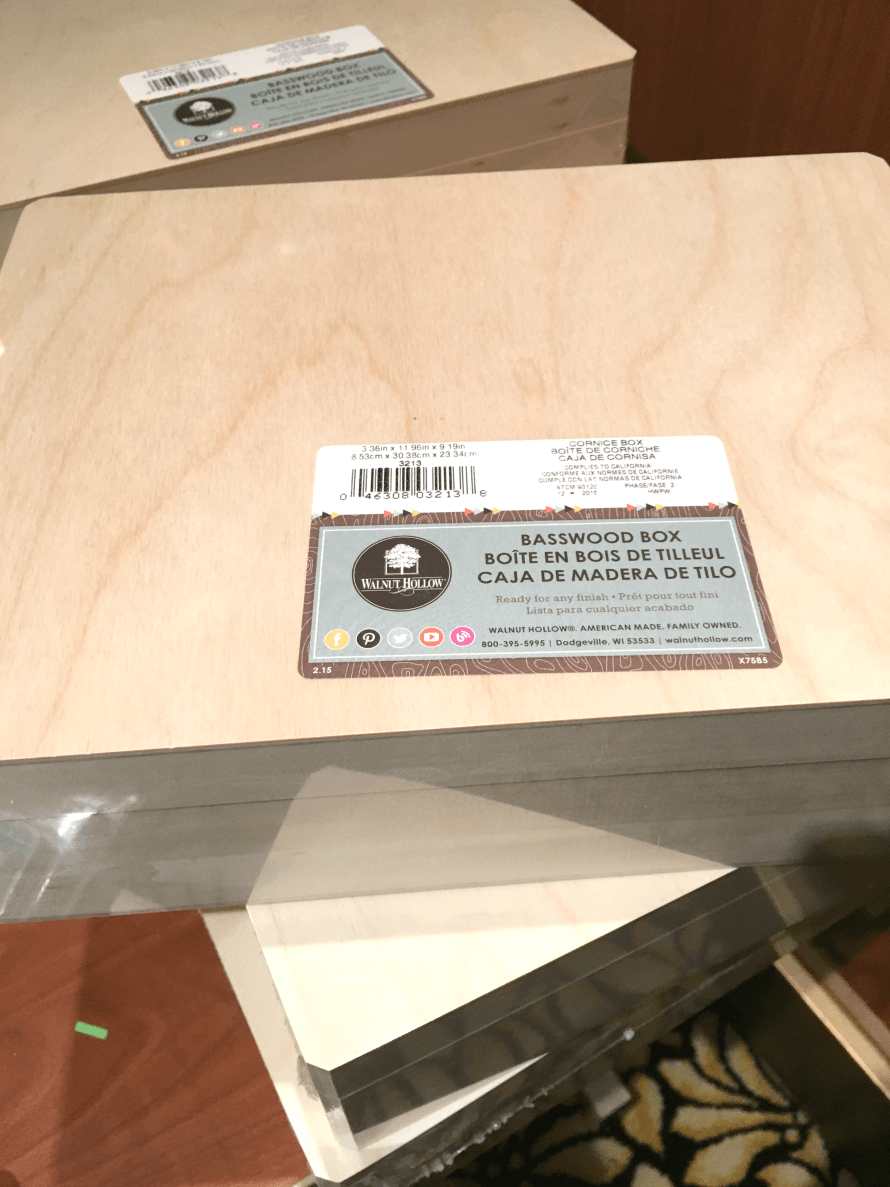
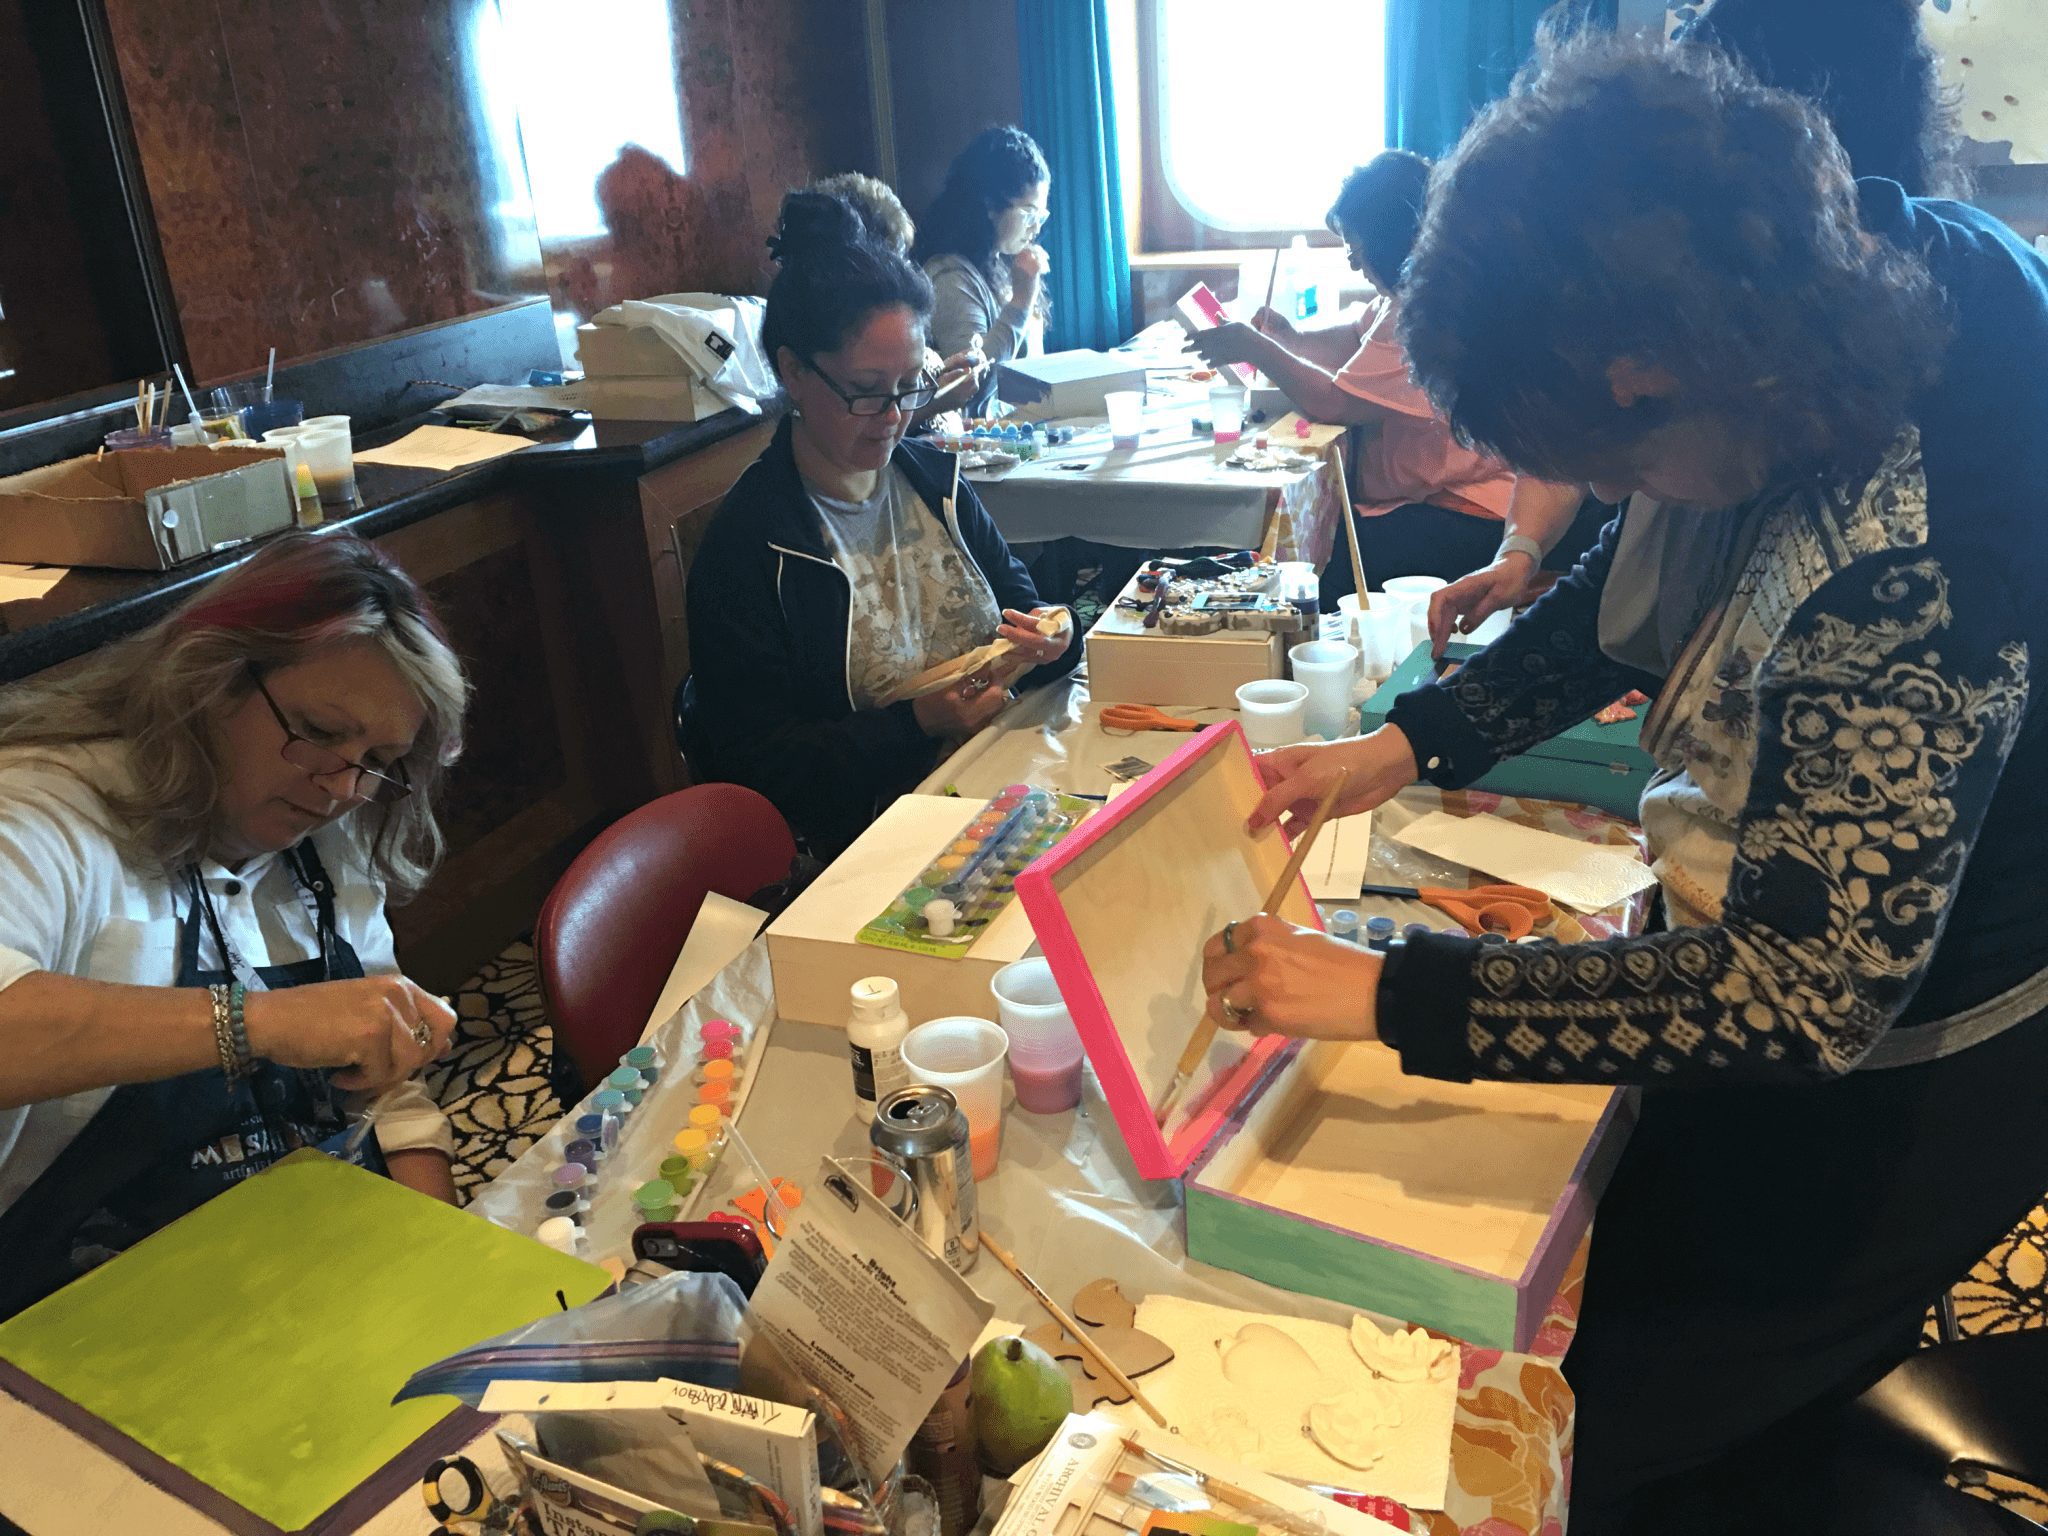
One year, Walnut Hollow was kind enough to sponsor a workshop on the 10th Annual Crafty Chica Art Cruise. They supplied an Unfinished Wood Box (link takes you to Amazon, or you can find them at the craft store) for each cruiser!
Choose the box
Any wood box is fair game for acrylic painting. If you have the opportunity to start with a raw wood box, even better!
When you choose your box, check if it has varnish. If it does, use sandpaper to smooth it down from the wooden surface.
Use label remover to take off any stickers or residue.
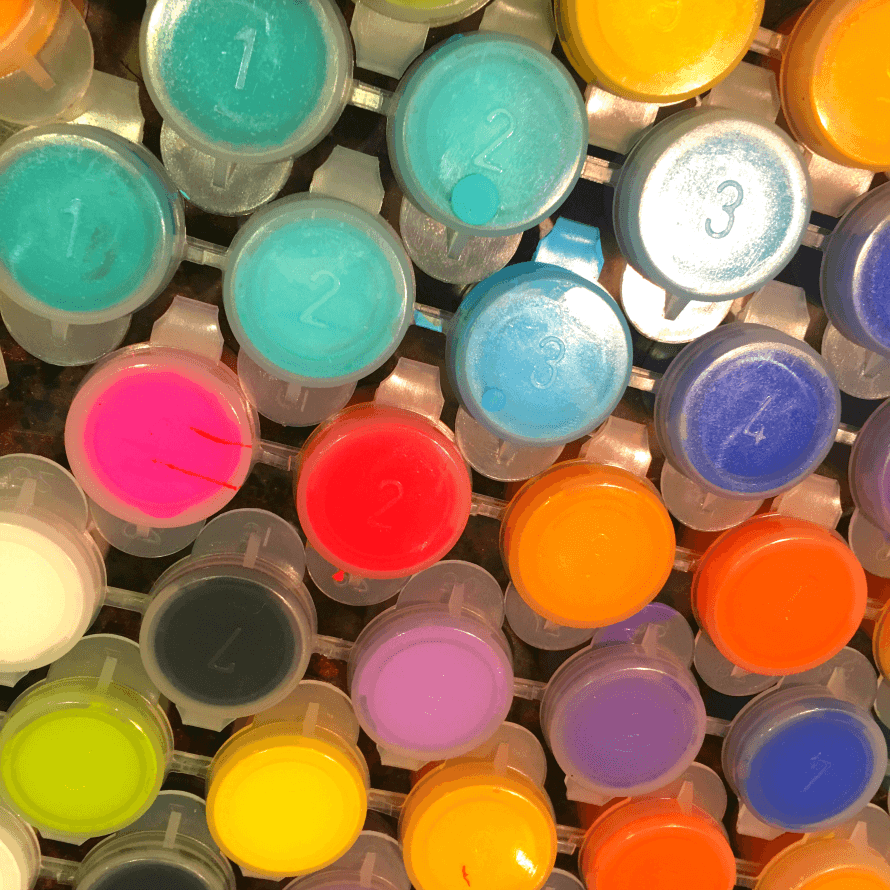
Choose your paint
When choosing paint for this painted wooden box, you have many options.
Cheaper paint for the dollar store will have sheer coverage. If you like that look, awesome! Otherwise you’ll have to apply several coats.
For a more opaque look, go with a higher quality paint that has one coat coverage.
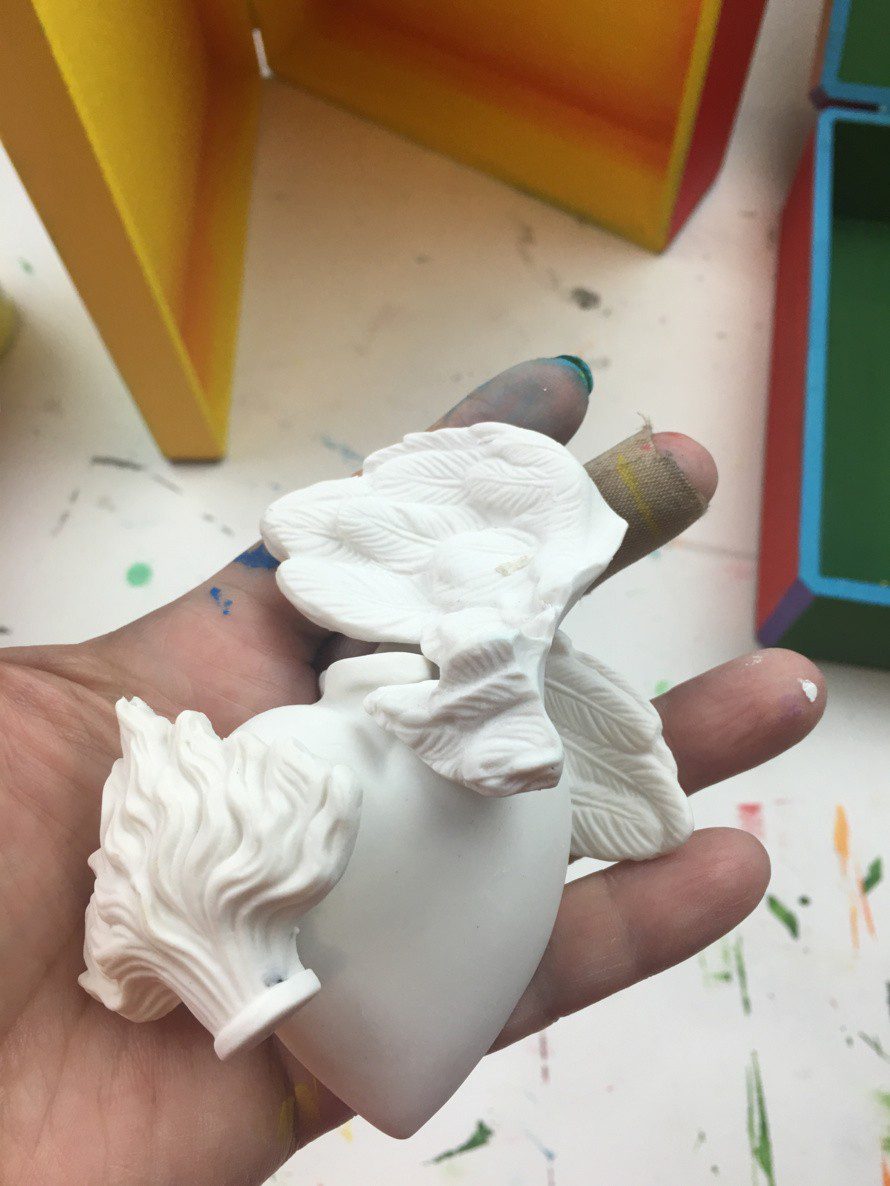
Decide if you want an embellishment for the top
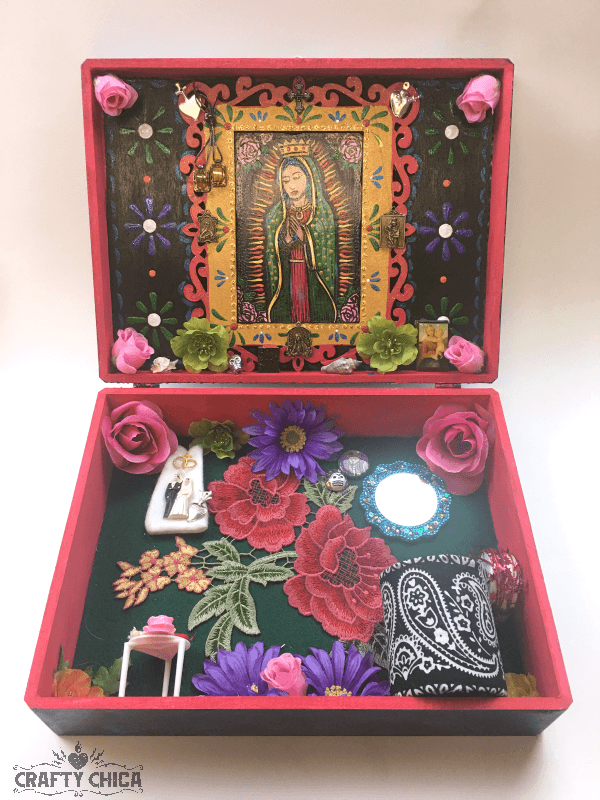
Each box is a story ready to be told! You can paint a design or add a focal point on top! Just make sure it has a smooth backing so it will stay firmly to the box.
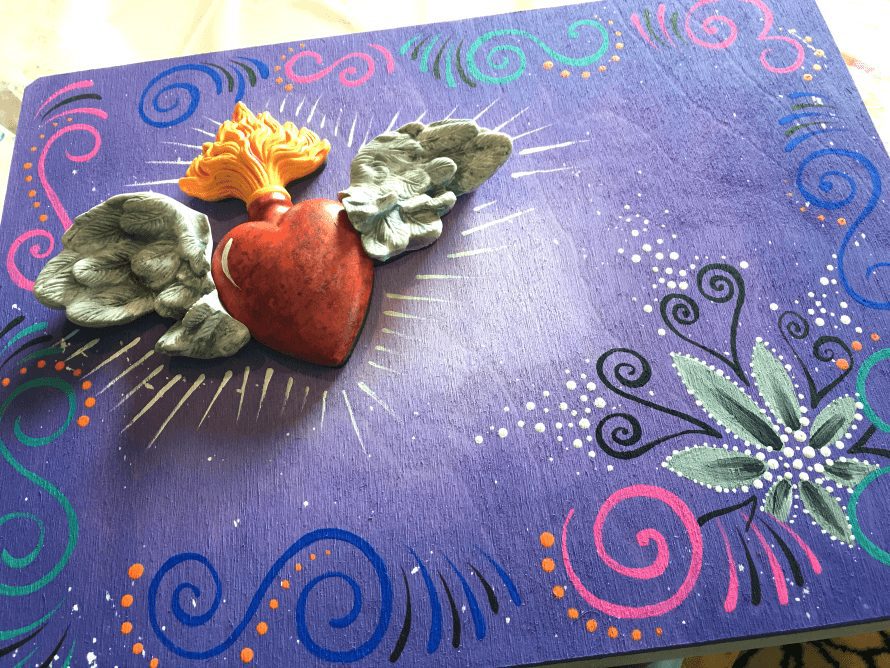
Each cruiser also received this gorgeous heart and wing set from Relics and Artifacts
Set aside time to create
My problem was that by teaching the class, I never really got to sit down and really work on my own box.
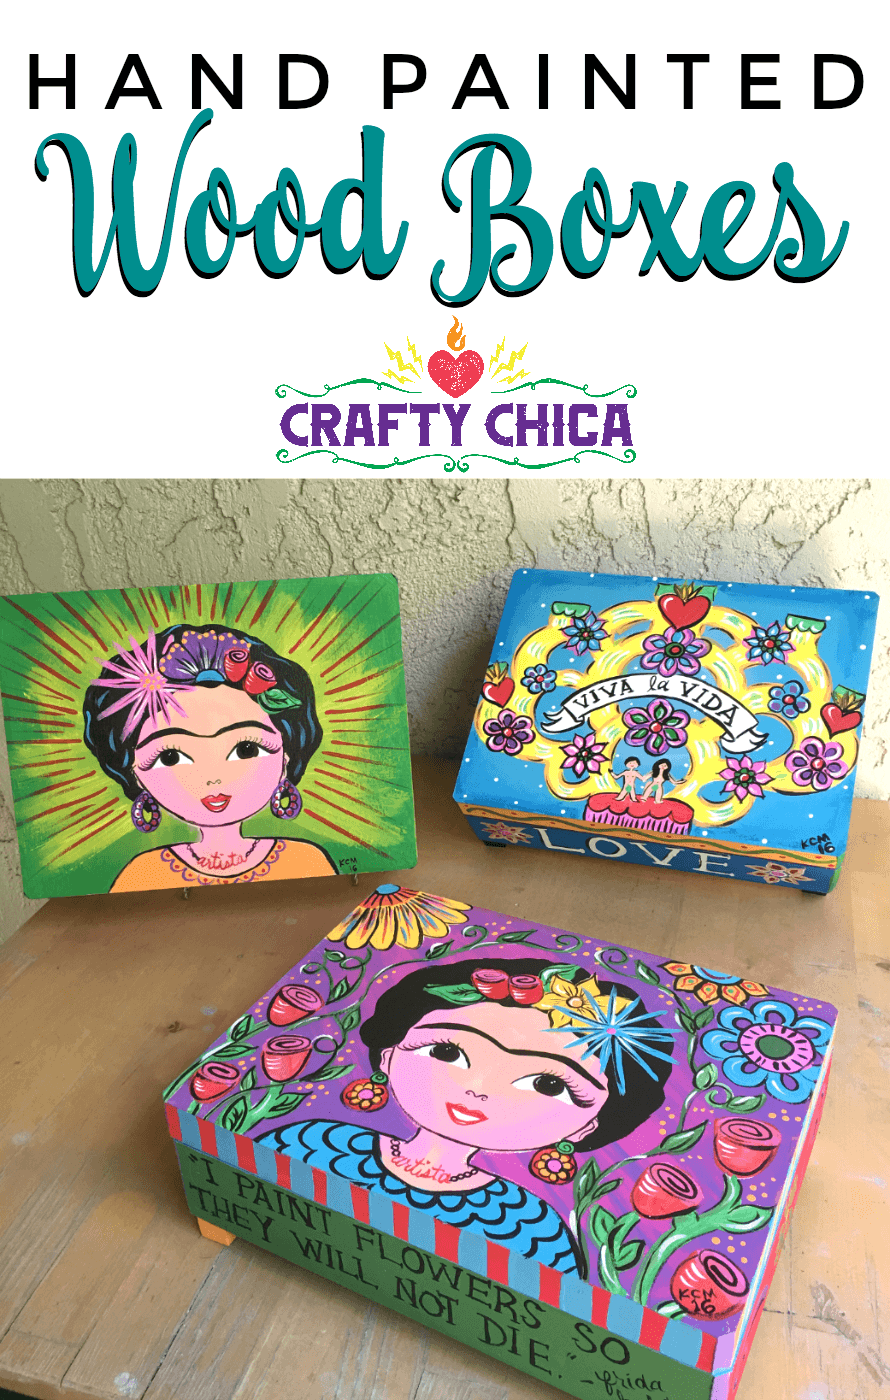
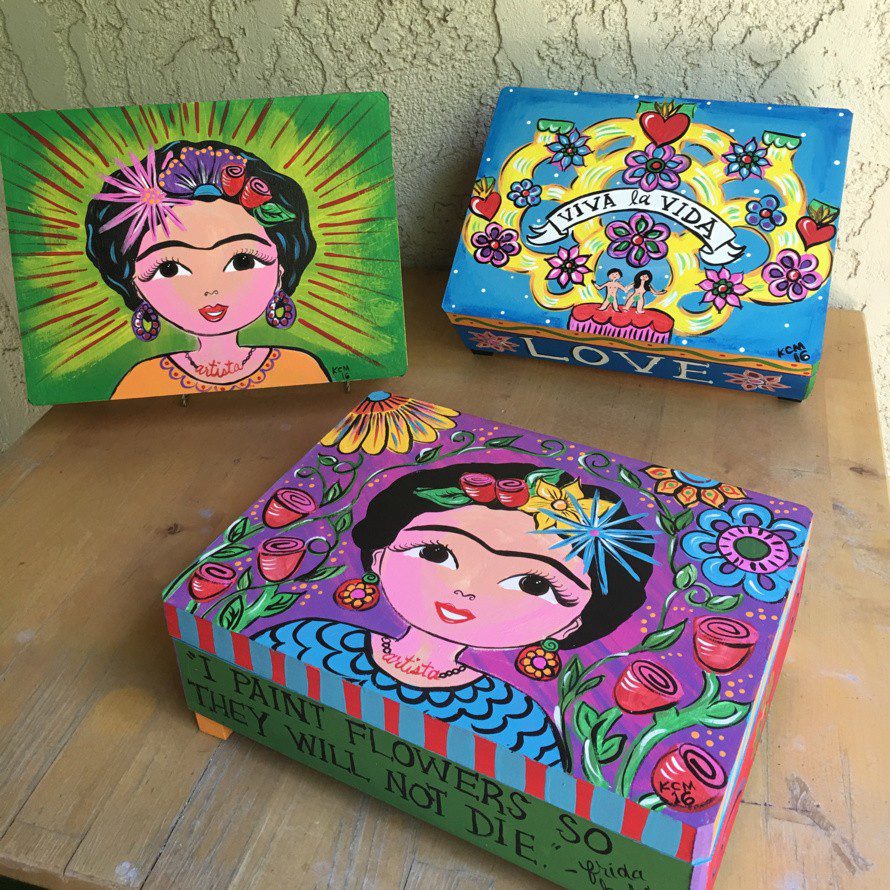
I came up with a class sample that was easy to follow and looked very colorful! We had a few boxes left over so I finally had a chance this weekend to sit down and paint three boxes!
Here’s my tutorial of How to paint a wood box with acrylic paint
Supplies:
One wood box
Assorted craft paints
Assorted paint brushes, round, and liner brushes
Spray varnish
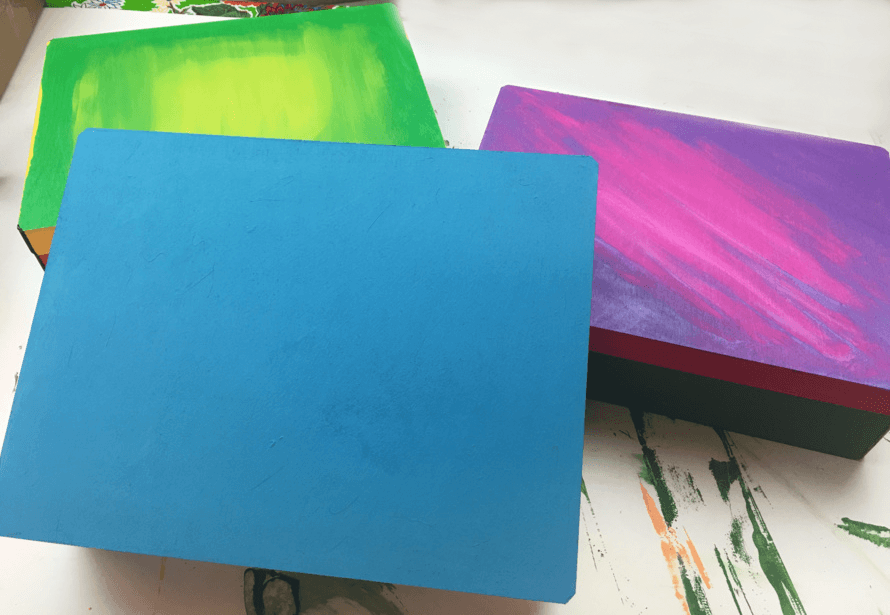
Carefully remove the plastic from the box and use sandpaper to lightly smooth any rough edges.
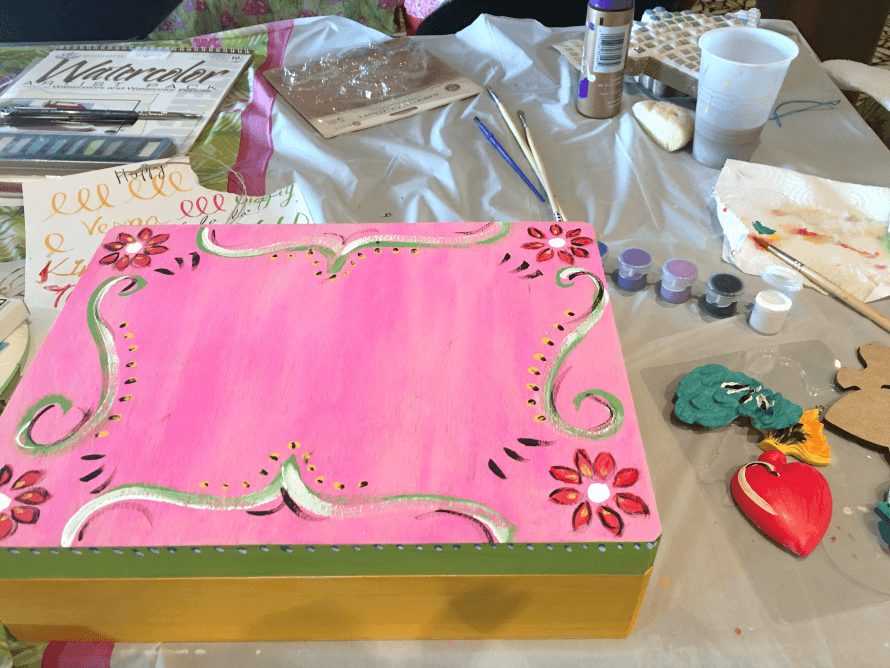
Then base coat! You can use one solid color or mix and match them like I did!
RELATED: Let’s make shadow boxes!
The hardest part is determining what to paint!
Think about what you want to use your box for – a bliss box filled with happy notes, or a jewelry box? Maybe to hold craft supplies or as a gift box? The use of the box will help determine what to paint!
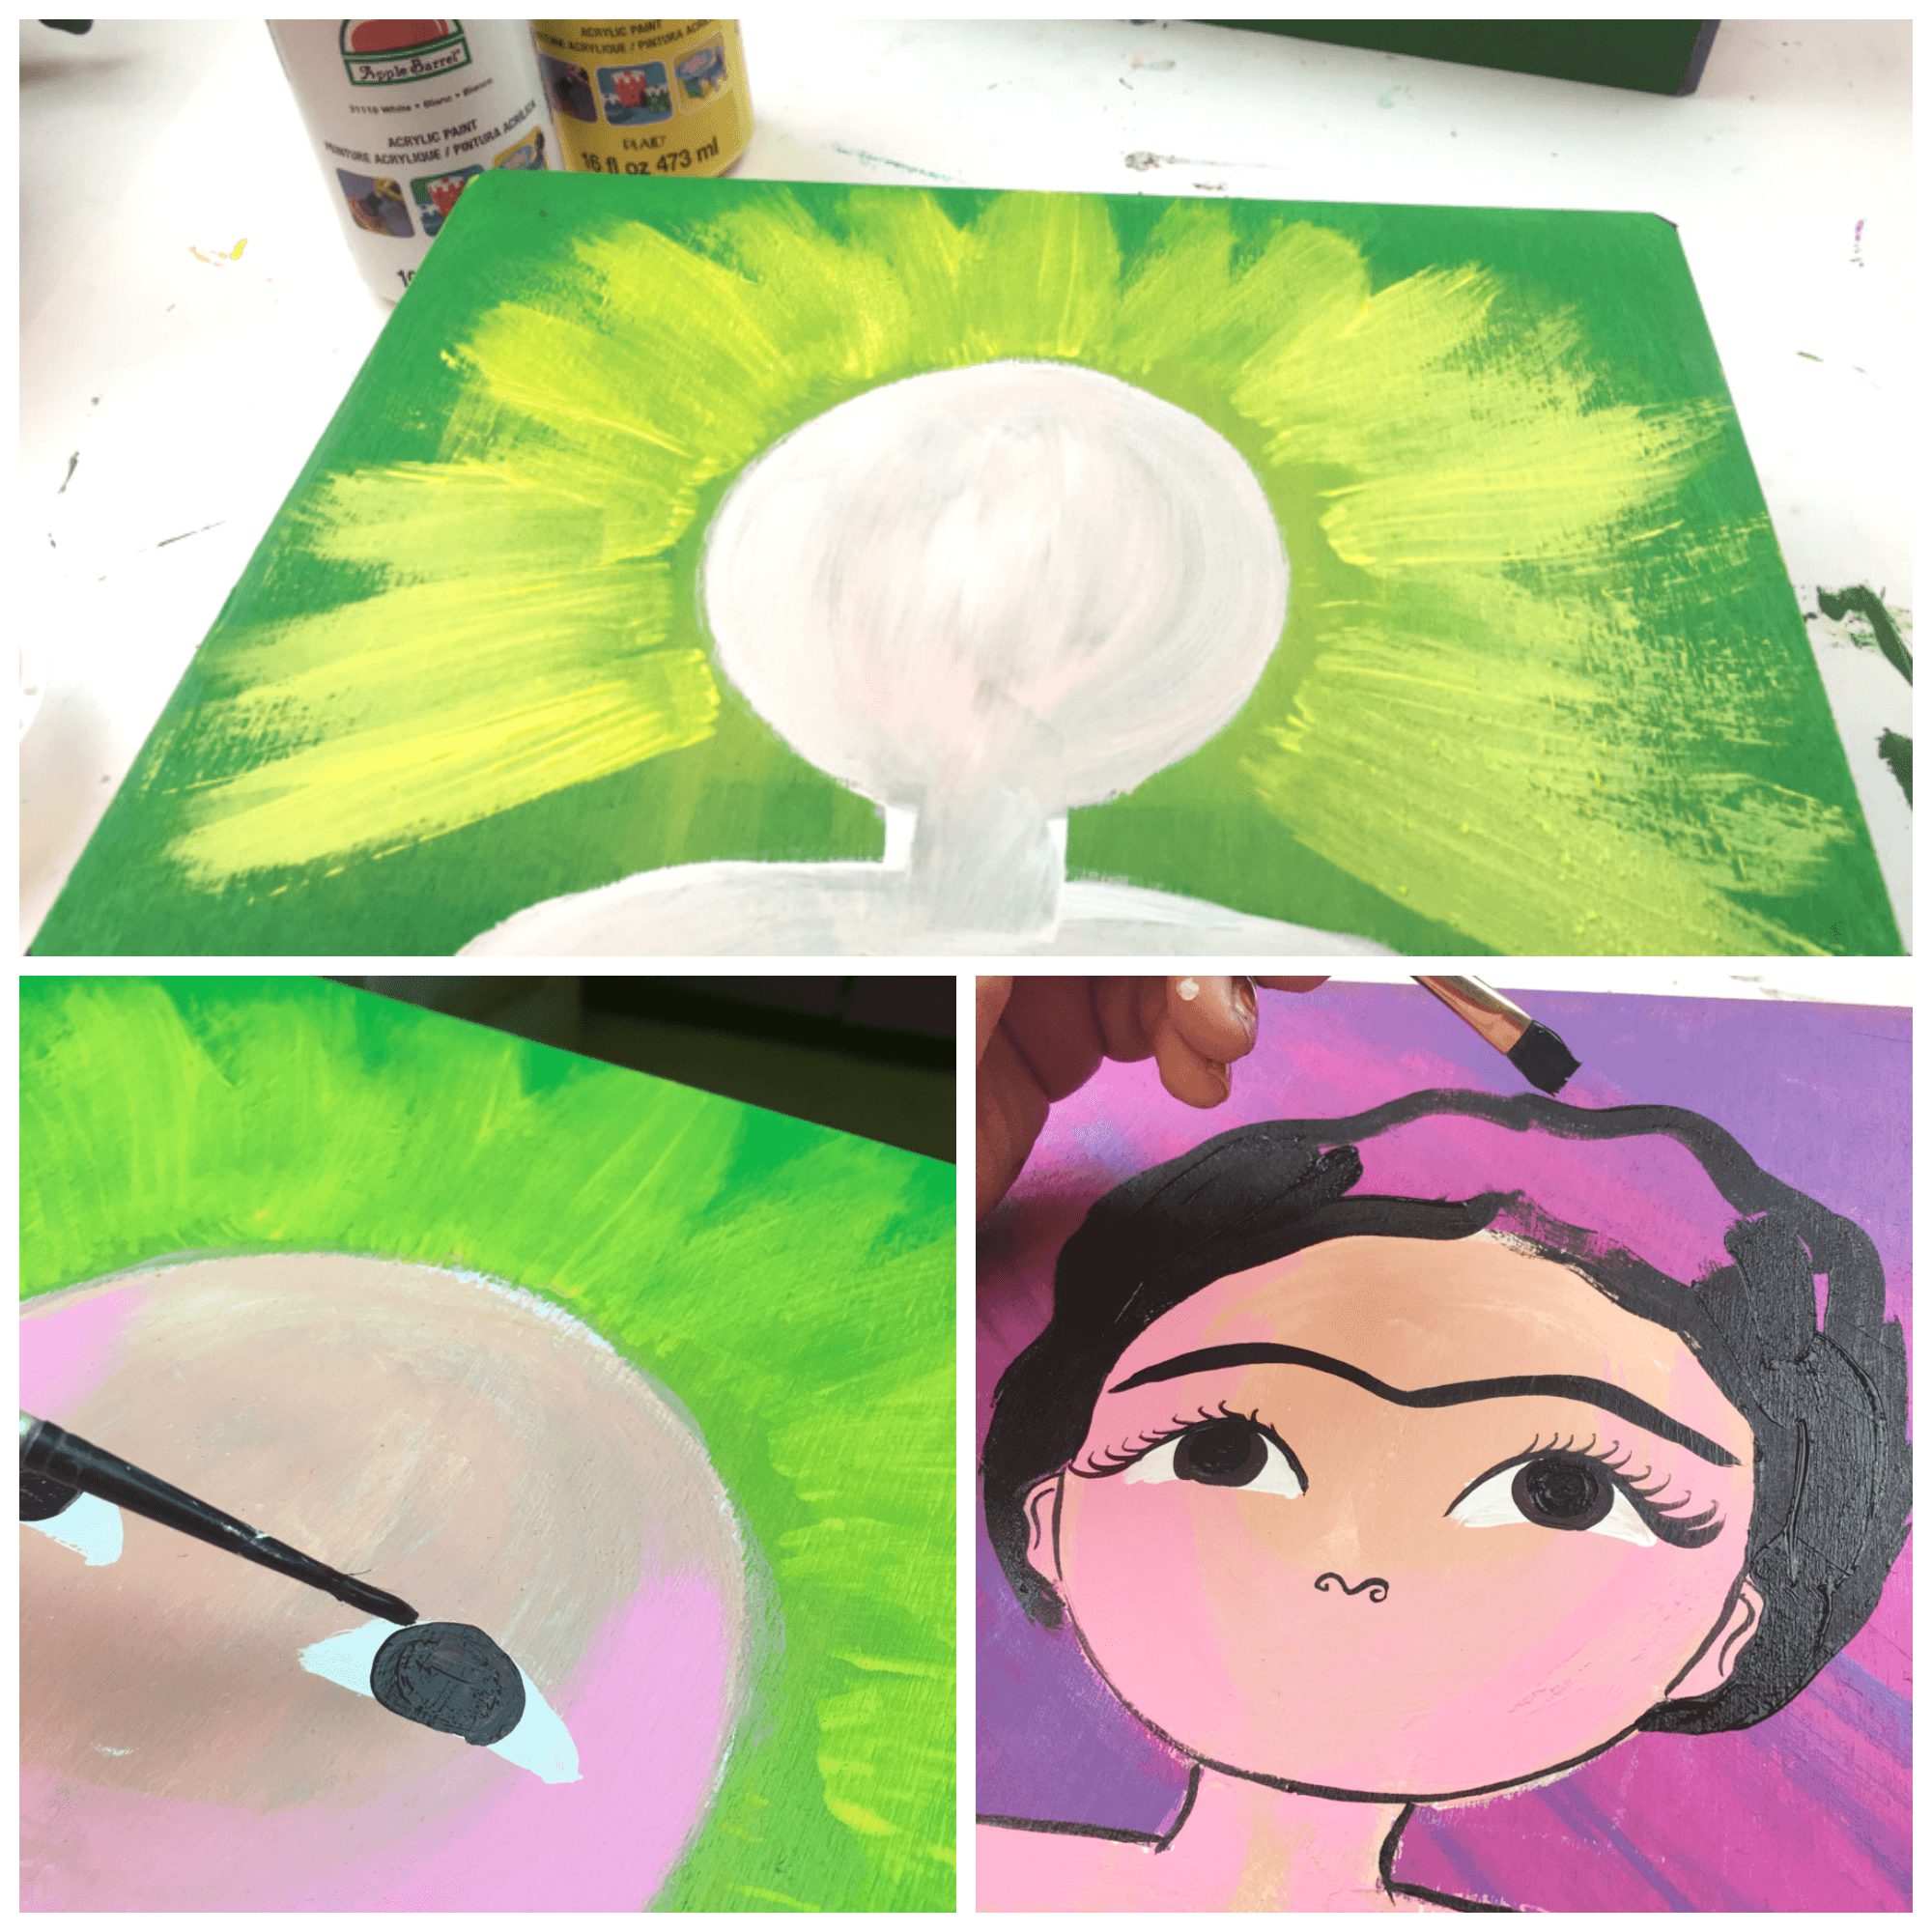
I love to paint Frida, so I went with that, as well as a Frida quote. I also recently taught a canvas class and designed a fun tree of life, so I used that inspiration as well.
Start by sketching with chalk, then add a layer of white, let dry and add the color for your design. The layer of white is to give a nice flat, even background for your top layer design.
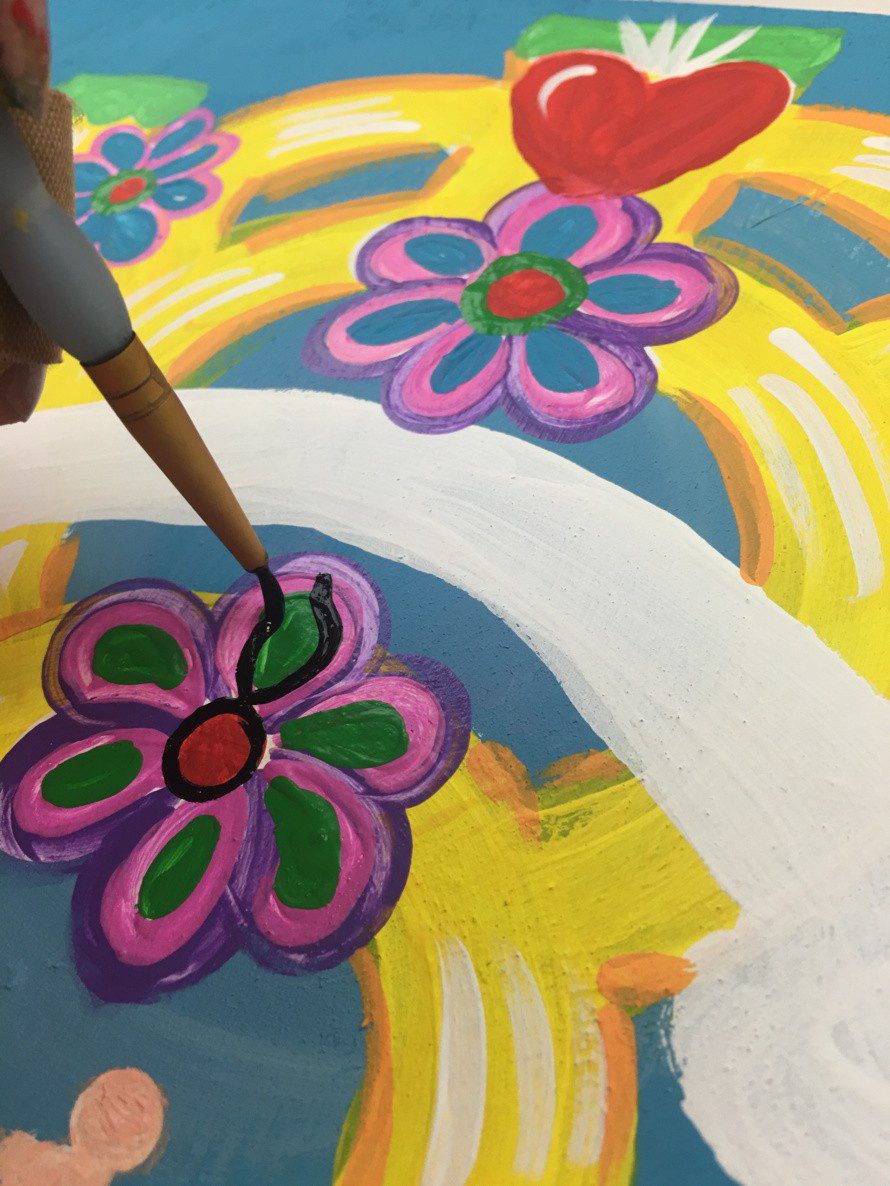
Here’s the tree of life in progress.
After I add the color on top of the white, I outline everything in black, and then add little white strokes for highlights.
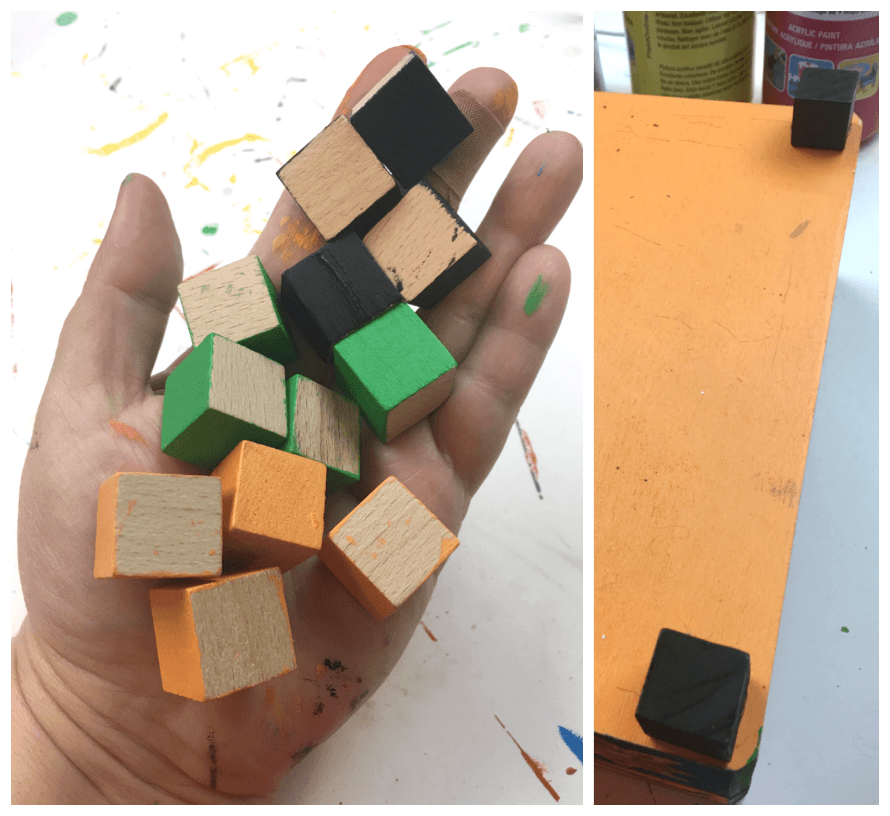
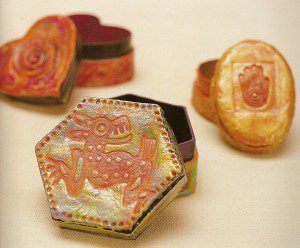
Once all the sides, top and inside are done, painted some wood blocks for the feet.
Make sure to allow proper drying time before you move on to the next step.
Then give it a good coat of high gloss varnish!
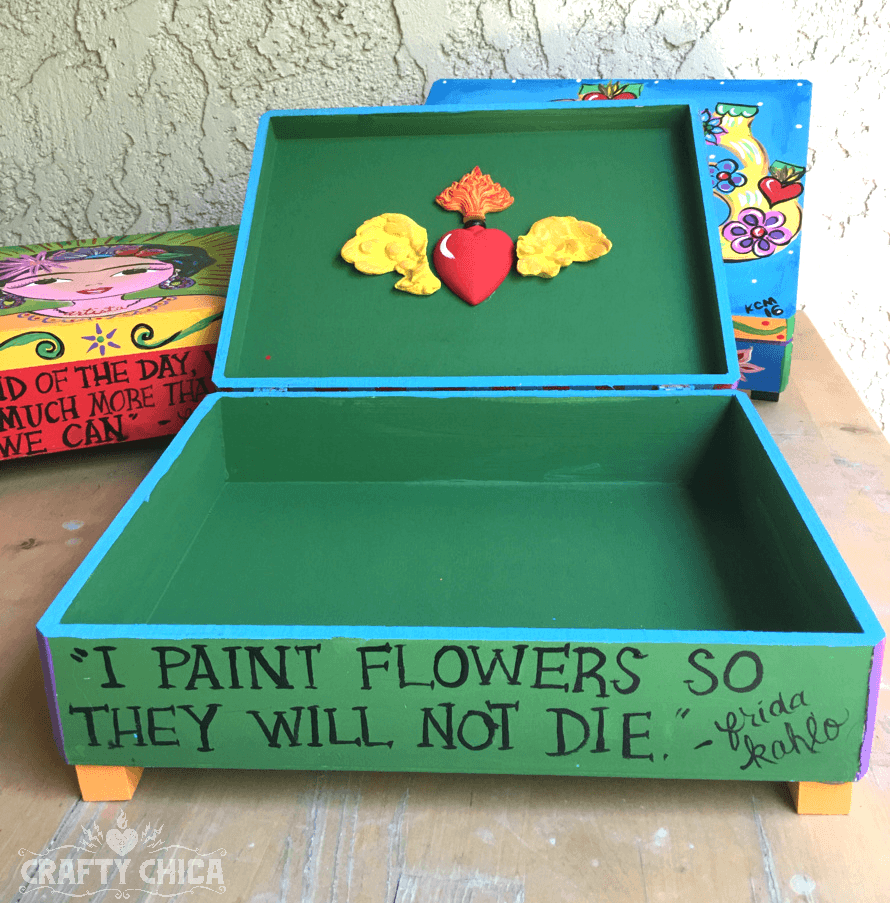
I glued the heart piece in the center at the top.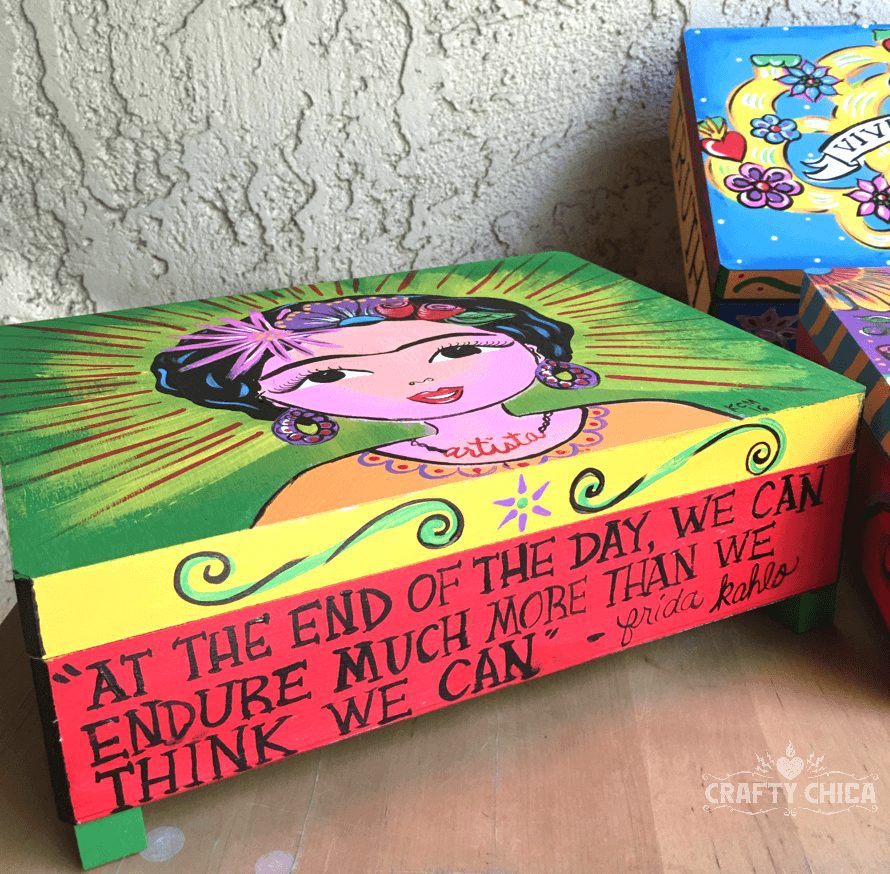
I took these photos before I sprayed them with the varnish, otherwise it would be difficult to see the detail!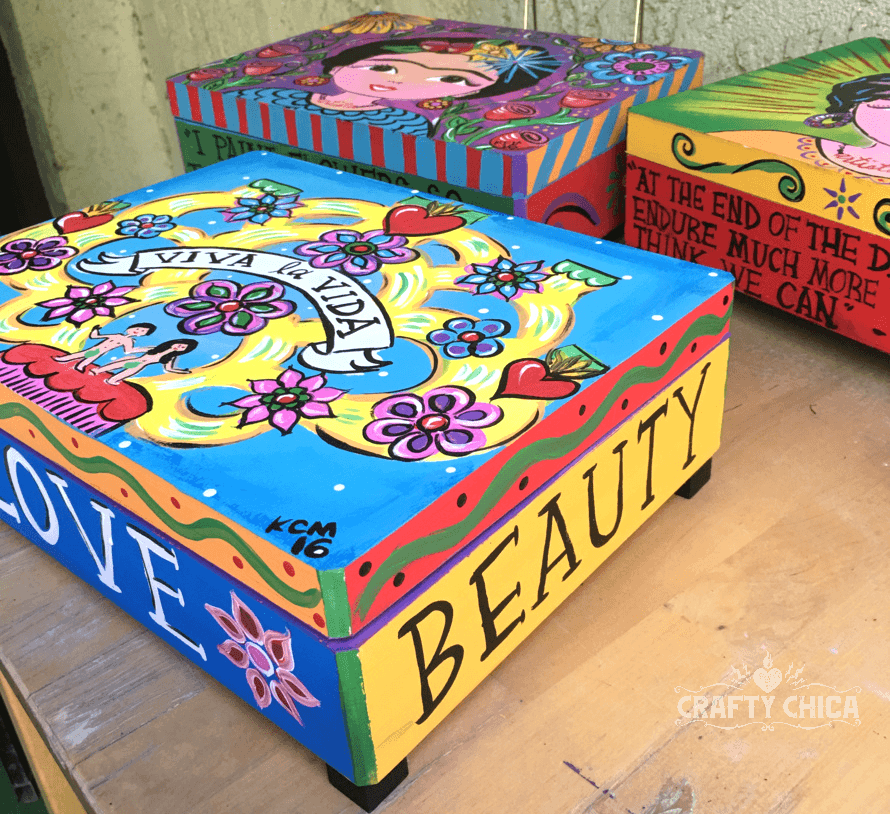
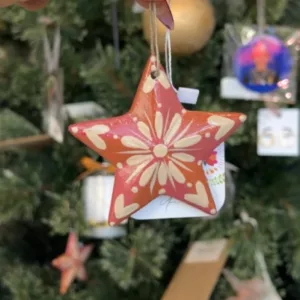
Instead of patterns, you can use a thin liner brush and add quotes and/or words.
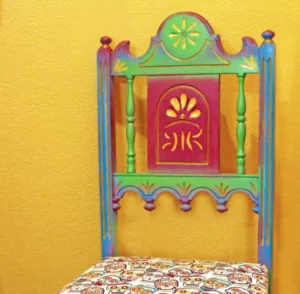
And here are some from our cruisers! This first one is made by my husband, Patrick. It hangs on the wall!
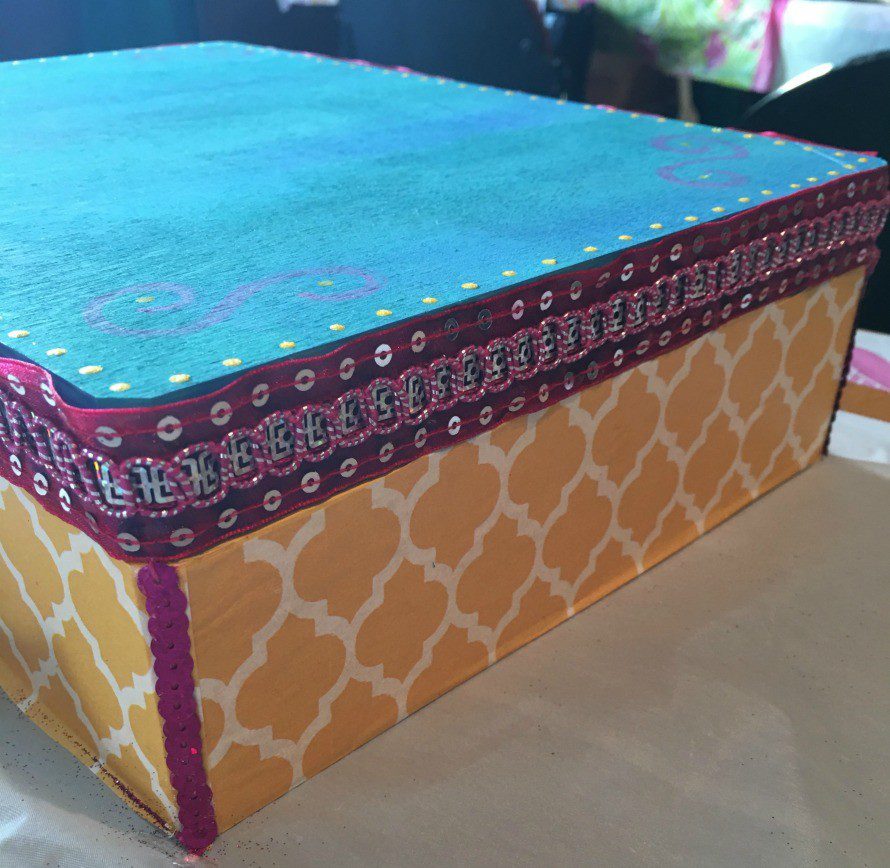
One of the cruisers even used fabric and ribbon to decorate the sides, very smart!
Thank you so much these awesome craft companies who gifted us with these supplies! Please show them some love, and I hope you have a blast painting your own box!
Check out these other DIY project ideas!
How to lead your own online art retreat

I would like to buy one of the boxes how much are they already painted
This would be a great upcycle for wooden cigar boxes! Just a box or convert to the cigar box purse even.