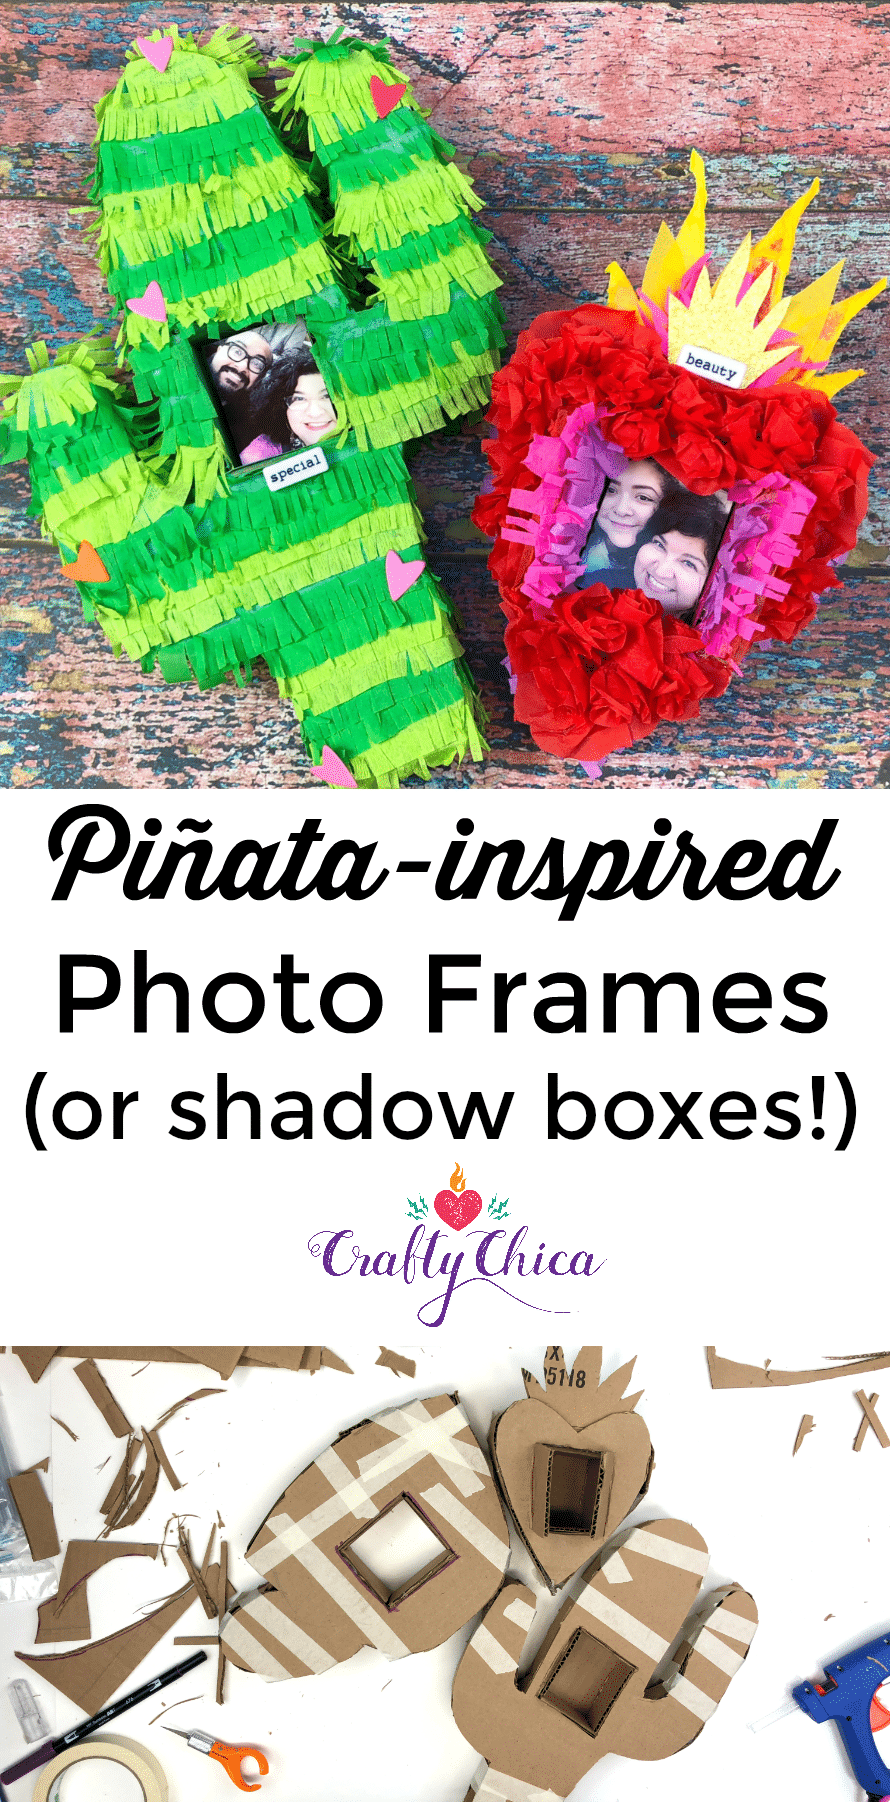
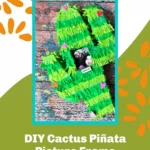
Here is how to make photo frames from cardboard boxes! Great piñata craft idea for a party or gathering.
Rather than toss those delivery boxes, turn them into something functional and charming.
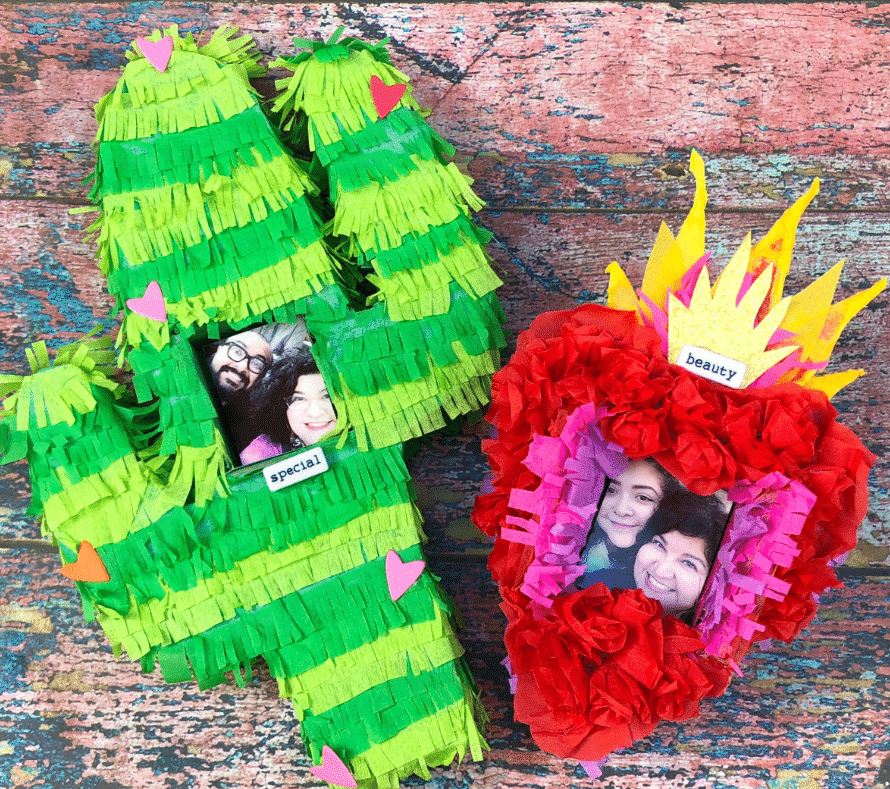
Aren’t these ridiculously cute?
I love piñatas, but it makes me sad to think they’ll be smashed to smithereens.
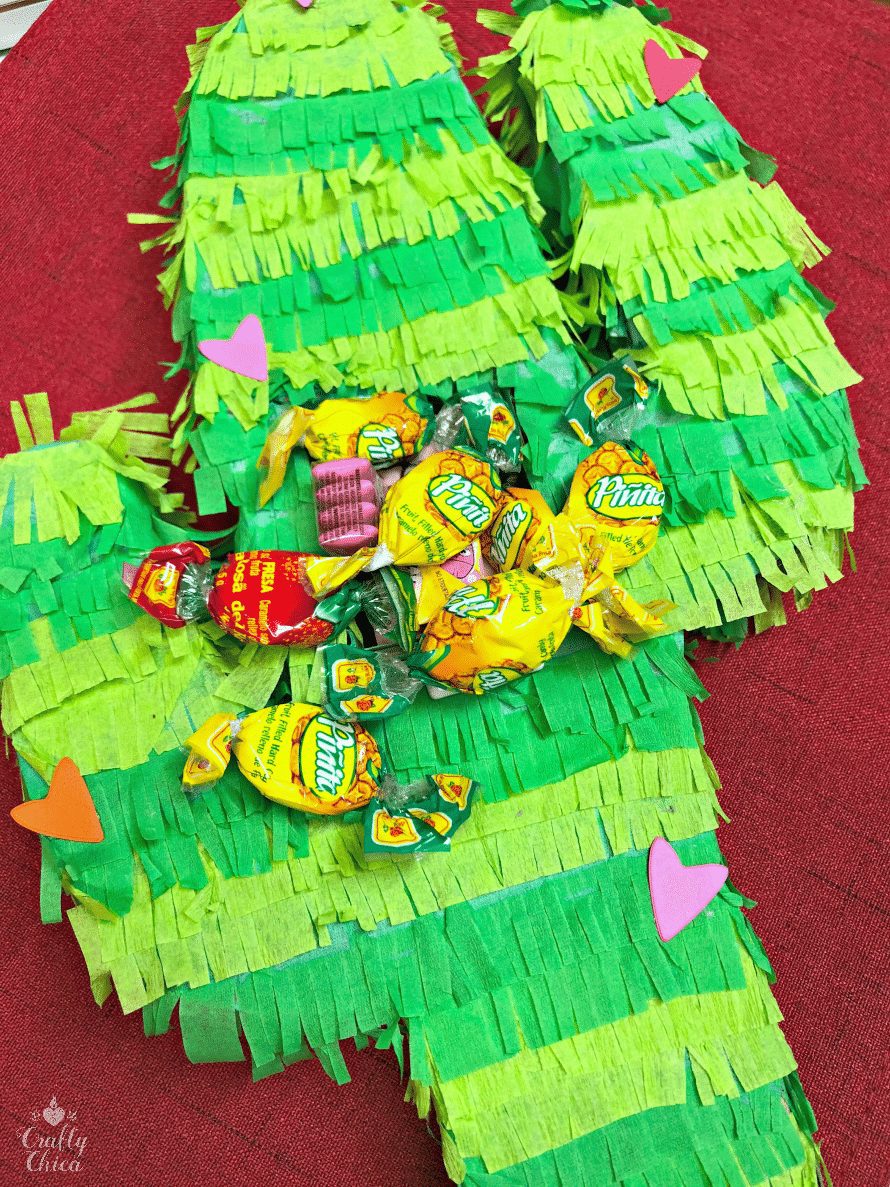
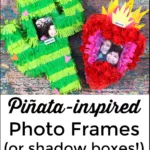
Therefore, I present this piñata craft: Photo frames! Not for smashing, but for decoration. They can also be used as shadow boxes or even candy trays!

You can buy or make a big piñata for the party activity, and then make these smaller ones as giveaways, decorations or centerpieces. This idea makes me so happy, I love functional ideas!
This is an awesome idea because you probably have everything on hand to make one.
There are so many ways you can use this:
Party favors
Name plates
Holiday crafting
Holiday ornaments
Artwork display
Kids activity
How to make photo frames from cardboard boxes

Piñata Craft: How to make photo frames from cardboard boxes:
SUPPLIES:
Cardboard box
Craft knife and scissors
Pencil
Hot glue
White craft glue
Party streamers or colored tissue paper
Colored cardstock
Directions: How to make photo frames from cardboard boxes
Step 1: Create the Cactus Shape
- Draw the outline of a cactus on a large piece of cardboard. Make sure to size it large enough to accommodate a photo in the middle.
- Use a craft knife (adult supervision required if children are involved) to cut out the cactus shape. You will need two identical cardboard cactus shapes.
You can even cut a circle or a heart instead of a square.
Step 2: Cut the Photo Frame Hole
- Decide where you want the photo to be displayed on your cactus. It’s usually best placed at the center.
- Draw a rectangle or any shape that you wish to be the photo frame on one of the cactus cardboard shapes. This should be slightly smaller than the photo you intend to display.
- Carefully cut out the drawn shape using your craft knife.
RELATED: Mini-Sugar Skull Pinatas
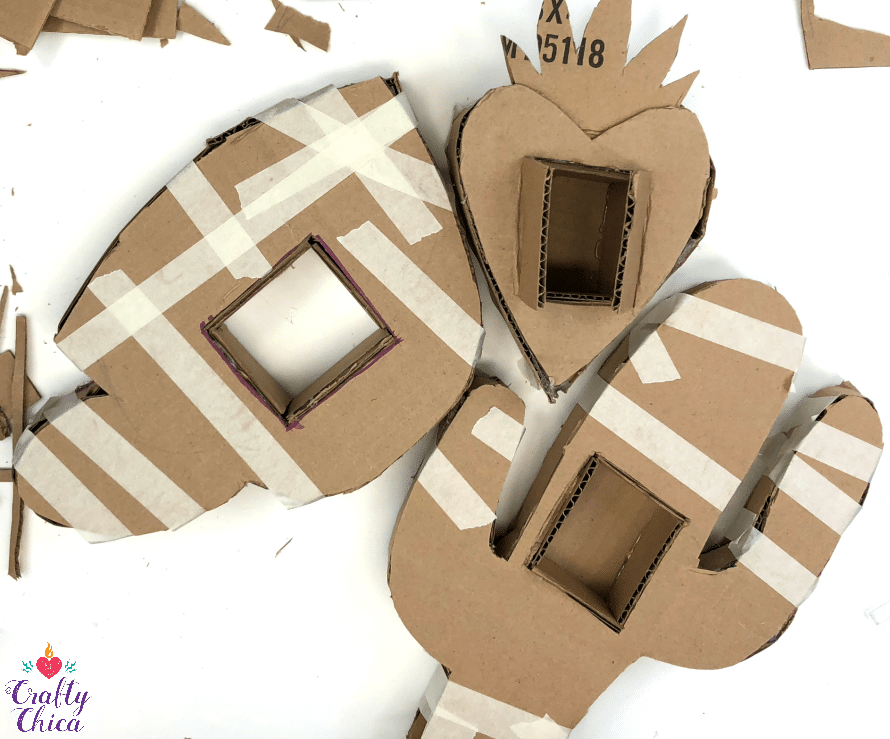
Step 3: Create the Border of the Frame
- Cut strips of cardboard about 2-3 inches wide and long enough to go around the edge of the cactus shape.
- Bend the strips slightly to conform to the curves of your cactus.
- Tape or glue these strips along the edges of the cactus shape with the hole, standing up to create a border. This will create space between the front and back of the piñata and give depth to place the photo.
Step 4: Attach the Back
- Once the border is secure, apply glue to the top edges of these cardboard strips.
- Carefully align the second cactus shape (without the hole) to the back of the framed piece and press to glue them together. Allow it to dry completely.
- Cut and glue little “walls” and insert where the photo hole is. This will make a little cavity to hold mini items, candies or a picture!
Optional: Paint the base of the piñata to match the tissue paper/party streamer.
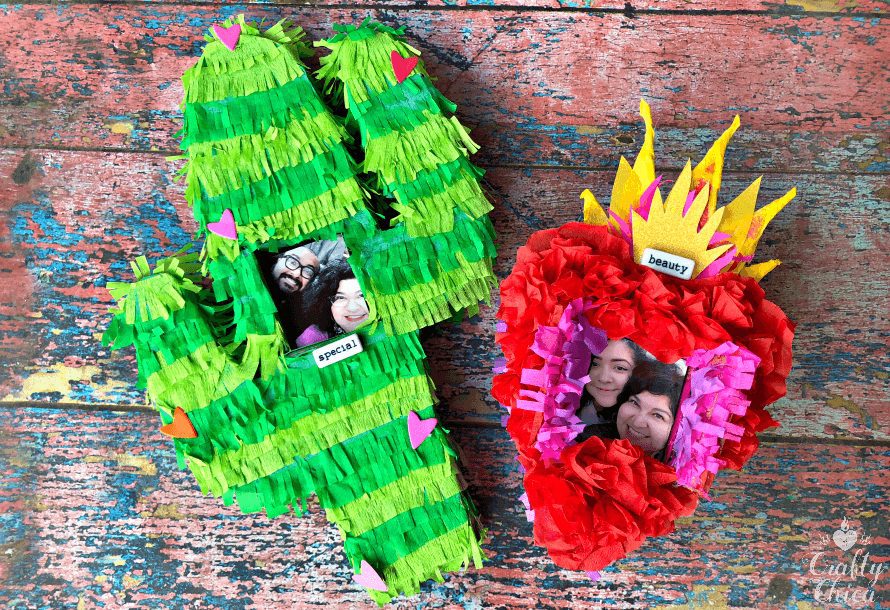
Step 5: Decorate the Cactus
- Cut the green crepe or tissue paper into long strips, then make cuts along one edge to create a fringe effect.
- Starting from the bottom, glue the fringed strips onto the cardboard, overlapping them as you move upwards to cover the entire front of the cactus, except for the photo frame hole.
- Trim any excess paper from around the edges.
RELATED: Sugar Skull Pinata DIY
Step 6: Add Details
- Use colored paper to add details like cactus spines or flowers. Cut out the shapes and glue them onto the cactus.
- If desired, use paint or markers to add more intricate details or textures.
Related: 10 Cactus crafts to make
Step 7: Prepare the Frame for the Photo
- Cut a piece of clear plastic from packaging material that is slightly larger than the hole for the photo.
- Tape the plastic to the inside edges of the photo frame hole, creating a window for the photo.
- Place the photo from the inside of the piñata, against the plastic, and secure it with tape.
Step 8: Finishing Touches
- Make two small holes at the top of the cactus and thread a string through for hanging.
- Ensure the hole is reinforced with tape so it can support the weight of the piñata.
Thanks for checking out my Piñata craft: How to make photo frames from cardboard boxes! I hope you try it, you’ll love this craft!
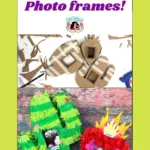
Other ideas of what to make with this idea:
Eco-Friendly Earth: A globe piñata using green and blue pieces of cut-up magazines or newspapers to mimic land and water.
Treasure Chest: Utilizing a box’s natural shape, you can create a treasure chest piñata and adorn it with gold foil from chocolate wrappers and string “jewels.”
Bookworm Delight: A giant book-shaped piñata for a literary theme, covered in pages from damaged or unreadable books, with the spine and cover decorated with colored paper.
Upcycled Animal Safari: Crafting animals using the box’s 3D structure, with paper mâché from old paper to add texture, and painting them to look like wild animals; think tigers, elephants, or giraffes.
Vintage Camera: A black and silver piñata modeled after an old camera, using black cardboard and aluminum foil for the lens.
Cupcake Confection: Small round boxes as the base and a balloon covered in papier-mâché for the frosted top, decorated with colorful scraps of paper as sprinkles.
Garden Party: Flower-shaped piñatas with petal layers made from egg cartons and colored tissue paper, with a box base for the center.
Festive Holiday Shapes: Depending on the holiday, you can create themed piñatas like Christmas trees from green packaging materials.
Musical Instruments: A guitar or drum set where cylindrical boxes become drums and a shoebox with rubber bands for strings becomes a guitar.


I’m in the process of making the Piniata window boxes for Grandsons high school Graduation. I’ve made a template and cut out four sets., I need to get my photos and ready to assemble. Have never done this before. So fun. I’m using envelope boxes, the brown ones, from work.. cut up every one of them, using the trimming from the lids, which is perfect. This is a stupendous idea, and he’s having a Mexican theme event, and the Cactus is perfect. Haven’t used a glue gun in 19 years. Not doing* too badly. Thank you so much for providing this great craft idea. I may do a heart or two ❤️‼️
Hi Suzanne! I’m so happy you like it!!!