In the mood for a summer craft? Here are some super fun tie-dye techniques to make with your friends, kids, or even for fundraisers, family gatherings or even group bonding activities.
Why try these tie-dye techniques?
- It’s a great way to step away from your phone, TV, or tablet. Give your eyes a rest from staring at a screen.
- Practice working with different color combinations. You can learn which colors go nice together and then use those combos on other crafts, like watercolor, crochet, etc.
- Use up old clothing in your house. Tie dye promo shirts, socks, tablecloths. At least for practice. When you are done, you can donate the items. Someone will love all those bright colors.
- Tie-dye is handy for giving new life to a stained shirt.
- Family or friend bonding time. Add in some summer drinks, ice cream, a party game, make it an event for everyone.
- It’s a time to play and get creative!
Let’s do this!
For most of these, we used Tulip One-Step Kit. I LOVE this kit, it has so many beautiful, bright colors and all you have to do is add water and shake for each bottle. Click on photo to see more details on the product (affiliate link).

![]() You’ll need to find a nice big, flat work area, and line it with a plastic covering. The kit comes with a cover, gloves, and rubber bands. For all of these projects, you have to let the dye set for six hours before washing in the sink until the water turns clear. Then wash in cold water (alone) in the machine, hang dry.
You’ll need to find a nice big, flat work area, and line it with a plastic covering. The kit comes with a cover, gloves, and rubber bands. For all of these projects, you have to let the dye set for six hours before washing in the sink until the water turns clear. Then wash in cold water (alone) in the machine, hang dry.
Stick with natural fibers for the brightest, boldest look! Click on each title for the tutorial!
Tie-Dye Techniques to Try!
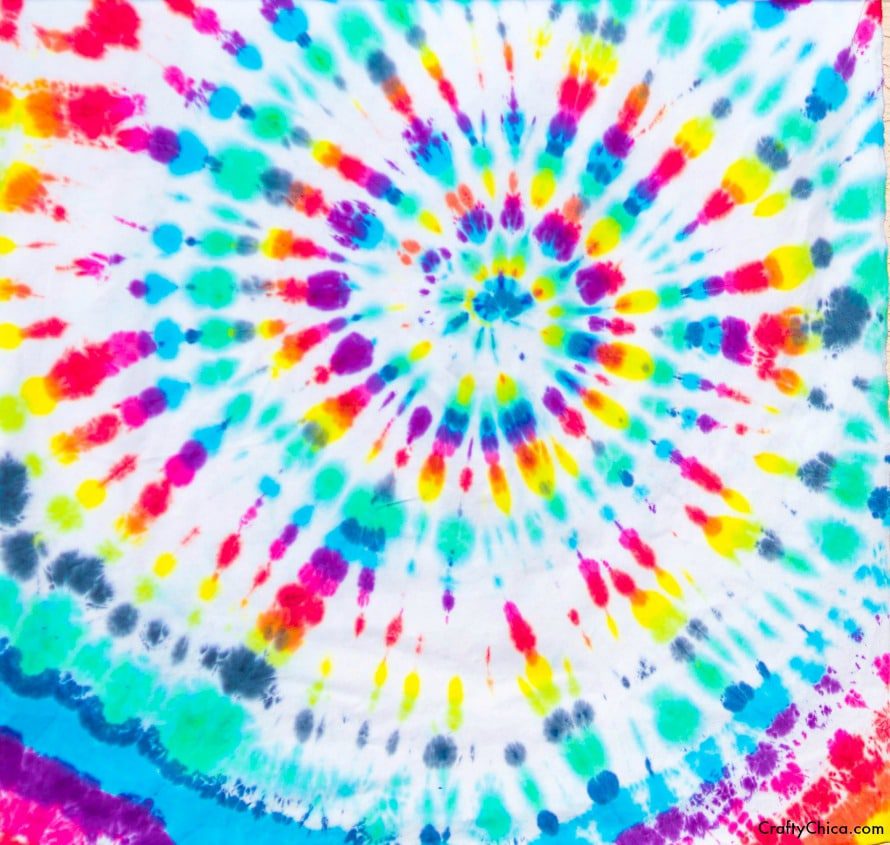
Rainbow Swirl Technique
This is a beautiful project by Meghan from AvasLookBook.com! She walks you through the steps, so you can make something gorgeous like this! I love this concept of first dyeing the fabric, then you can use it as a tapestry or cut it up to make other items. For best results, use white cotton fabric, that will absorb the dye beautifully! I’m going to buy a tapestry and dye it!
This technique would also work great for bed sheets and pillowcases!
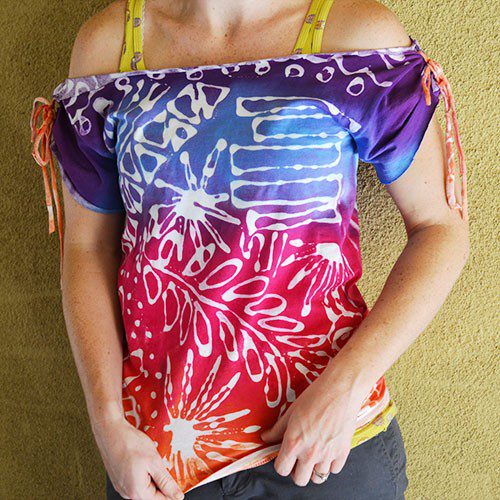
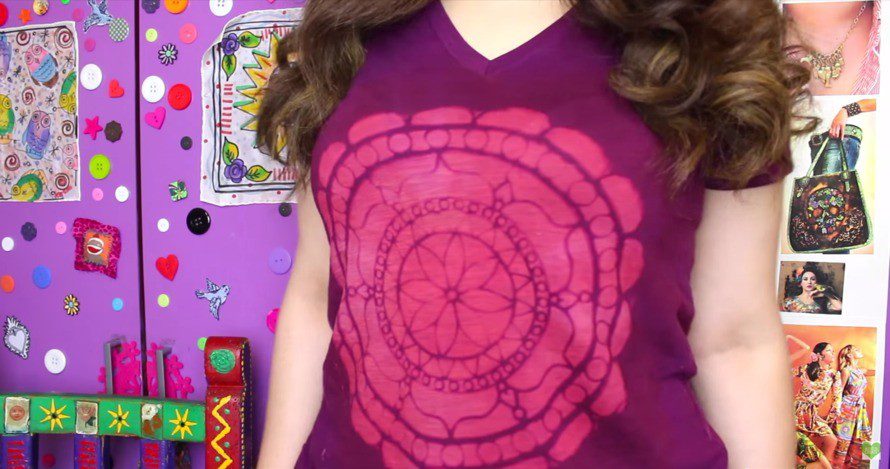
Glue Resist Technique
This is really cool because you draw on a dry shirt with clear glue, let it dry and wash it out. Click on the title to see the full post and even a video! The glue resist technique is one of my favorites, it comes out so unique and organic looking. Different from the normal twisted effect.
You’ll need a bottle of clear glue,this is the one I used. For larger areas to cover, use the regular bottle, but for finer areas, pour the glue into a bottle with a fine-tip nozzle.
You will LOVE the results of this tie-dye technique!
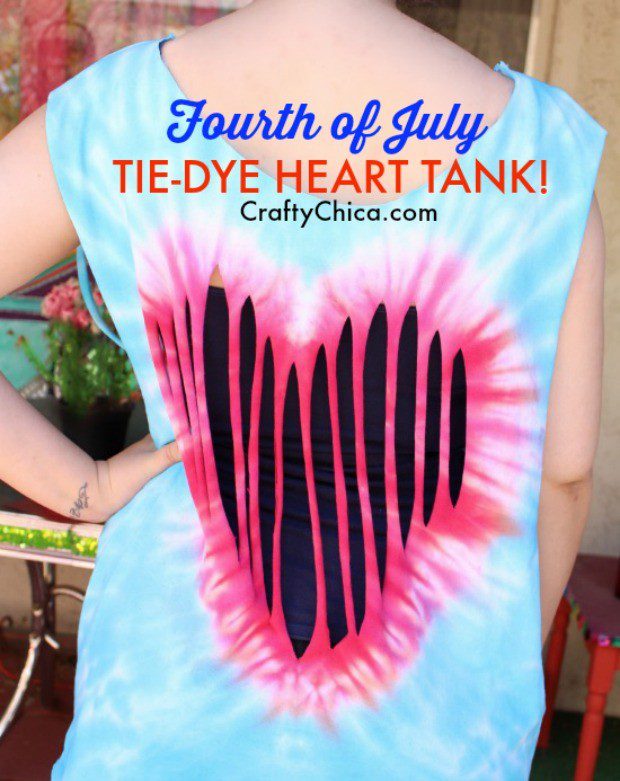
Tie-Dye Heart Technique
This is great because…well, you end up with a giant juicy tie-dye heart! It’s much easier than it looks, trust me!
This works all year round, not just the 4th of July or Valentine’s day. ANY Day is good for a tie-dye heart! You can use a rainbow color story to really show some colorful kind of love! My best tip for this one is to do a couple of shirts at a time so you can practice. Go beyond the shirt and tie-dye a bandanna, a nightgown, a baby onesie, ets.
Sekka Shibori Technique
This is another wonderful project by Meghan! It comes out clean and crisp, perfectly light, and breezy for summer! This is such a gorgeous look. Again, as I mentioned with the above swirl-technique, you can do this tie-dye technique on a large piece of white cotton fabric, then wash, dry – and then use it on a pattern for an outfit.
Folding is the magic move for this look, and it is much easier to make than it looks!
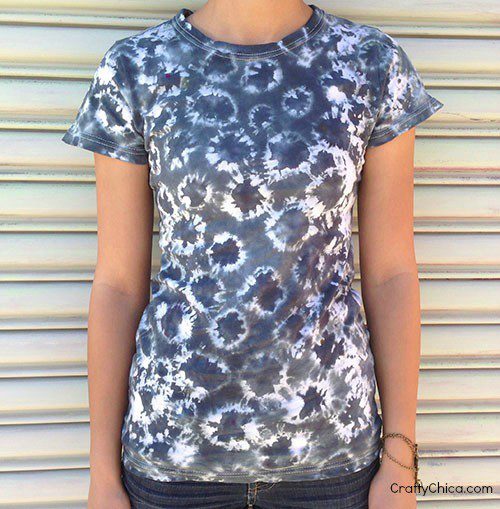
Popcorn Dye Technique
This is another shibori technique. It looks like popcorn, we don’t actually use popcorn! The trick is using small rubber bands, check out the post and video to see! One of my favorites! It’ll take you a bit of time, but it’s worth it. What you do is use rubber bands all over the shirt to create this bubbly look. They kinda look like organic polka dots. Block out some time to do this one, put on a movie to entertain you as you go!
Ice Dye Technique
You can create all kinds of patterns, and even draw with the ice cubes! I plan to redo this one soon. I just kinda winged it, but now I have so many ideas for ice dying. I want to use a shirt, wet it, crumple it and then set the ice on top and add the dye. Stay tuned for when I do it, I’ll share here!

Bleach Pen Technique
Use a bleach pen to remove color, then add dye to give it more pop! Bleach pens are addicting to use! However, always use caution when adding bleach to fabrics, it can eat through and make holes if the fabric is too thin. You may need to water down the bleach. But if you use a heavy tee or jeans, you’ll be fine!
How to Fishscale Tie Dye Technique
I haven’t tried this one yet, but I want to!

Avocado Dyed Fabric: Silk Scarf