
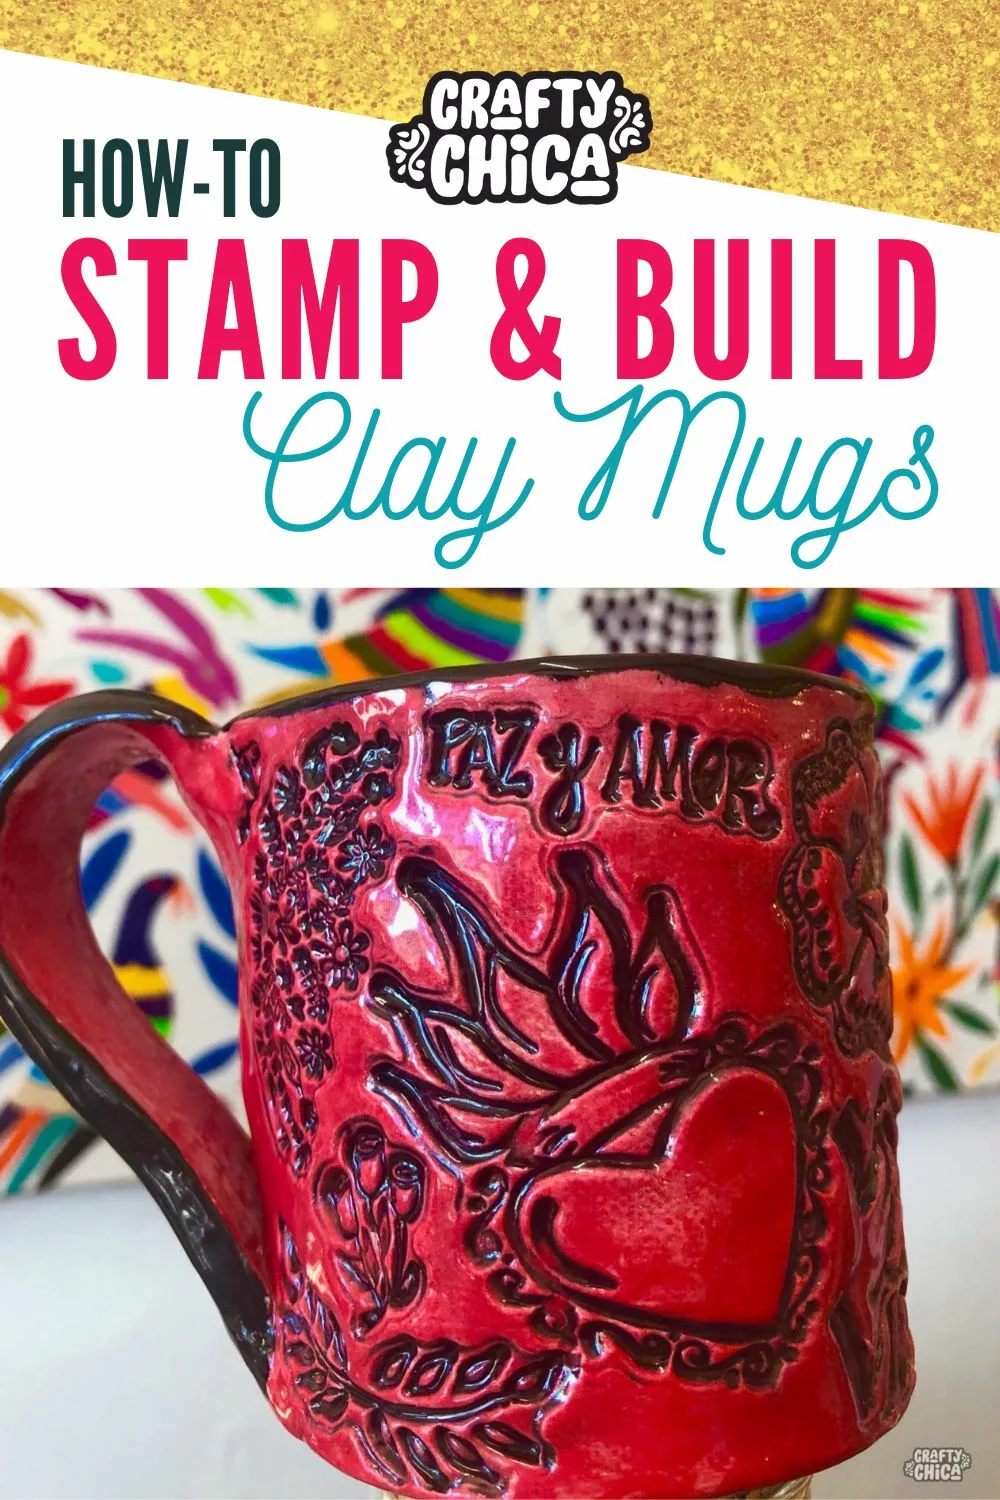
Here’s how to DIY Stamped & Handbuilt Clay Mugs. It was only a matter of time before I cross-pollinated my favorite crafty habits. These stamped and hand built clay mugs are proof! I’ve been working with clay for years. I’ve made bowls, hearts, shrines, plaques – but never made mugs because I thought I needed a wheel. Not so! I learned building mugs from slab clay isn’t only easy, it’s super fun too.
Disclosure…this was my FIRST attempt, so let’s go light on the critiques, okay?

I’ll surely be making these again and already know what I’ll do differently.
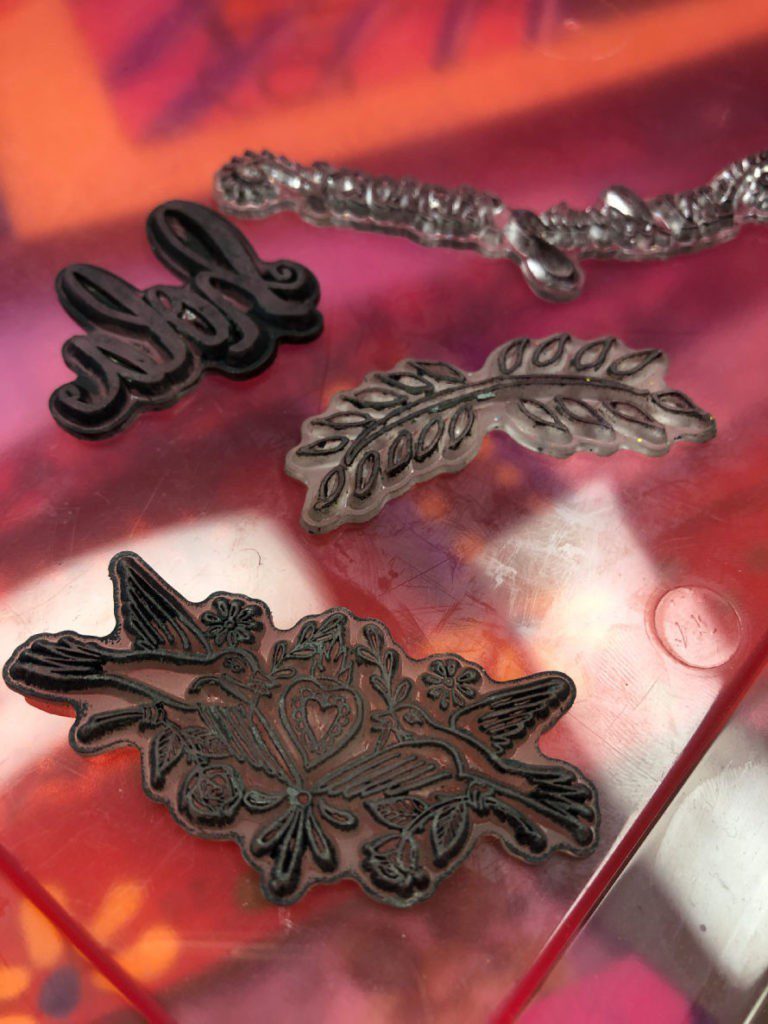
But for starters, in order to give them my own spin, I used cling stamps as embellishments.
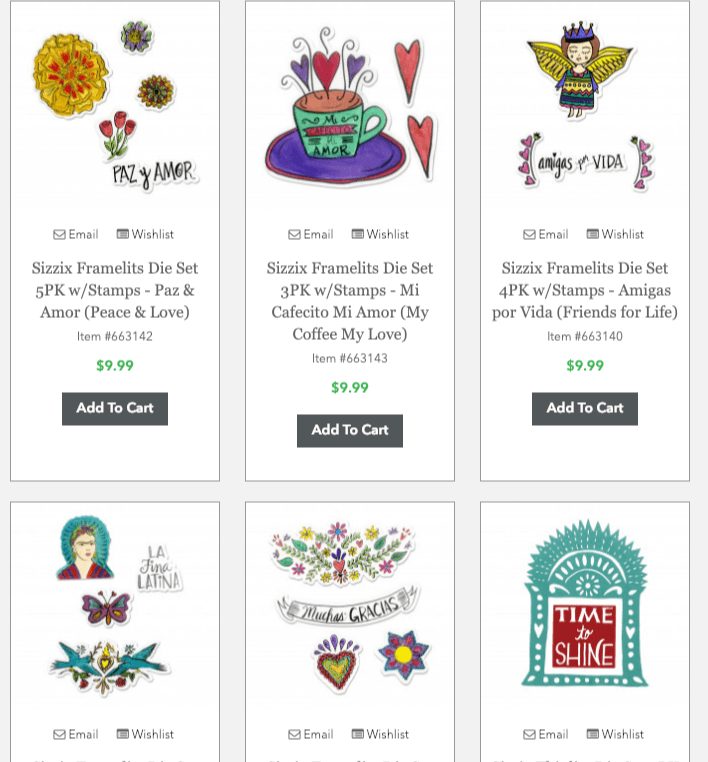
I designed some super cool cling stamps as part of my Crafty Chica Sizzix line and after stamping on all kinds of hard surfaces, I went for soft – clay mugs!
Supplies to make DIY Stamped & Handbuilt Clay Mugs
1 pound of clay (I used white low fire for cone 04 and 06)
Canvas covering for your table
Clay tools – wire, knives, sponge
Drying rack and plastic for covering
Cling or rubber stamps
Slip, paintbrush
Rolling pin
Wedge your clay
Wedge your clay. I use the “cut and slap” method. Cut off the chunk of clay with a wire and slice it in half. Slap it onto the bottom half and repeat. This is to remove all air bubbles from your clay.
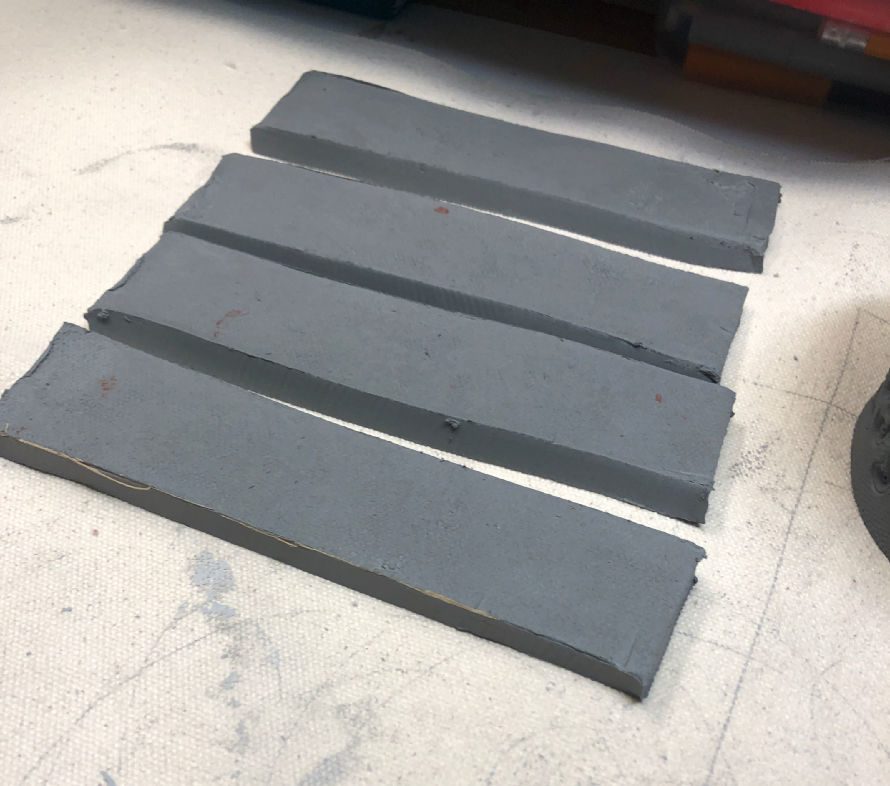
Roll it out and cut out the bottom of your mug
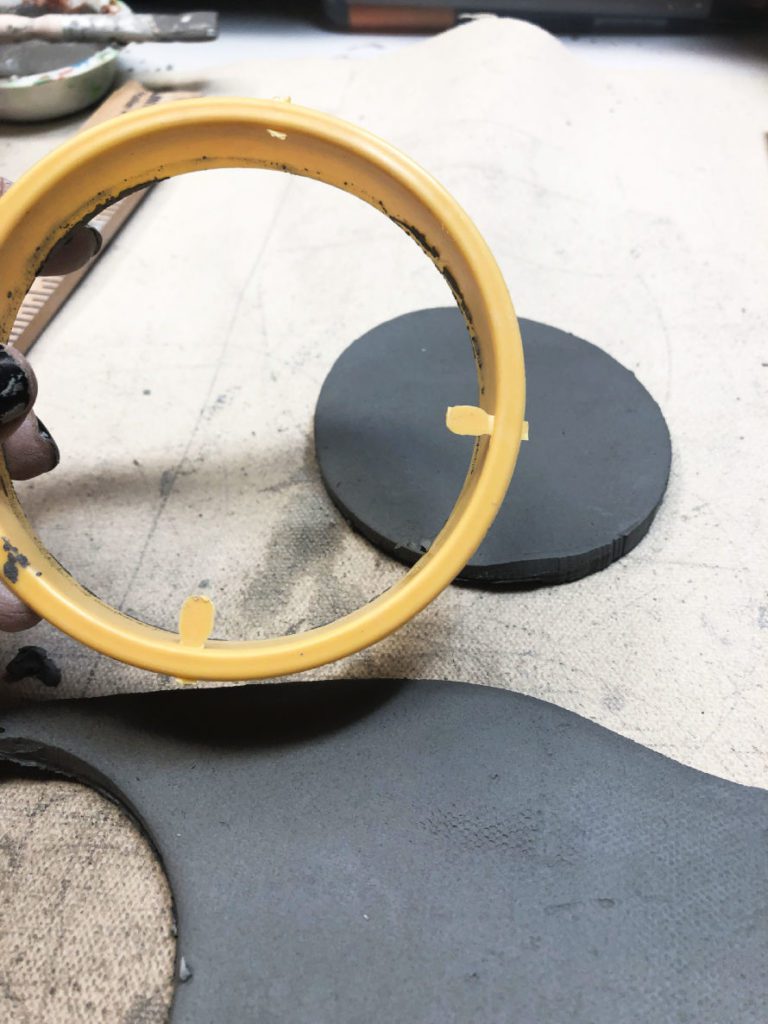
Let’s talk about slabbing. I don’t have a slab roller, but I don’t let that stop me. I took a wood yard stick and cut it in half. I place a half on each side of my workspace and then I grab a ball of clay and roll out the clay. The wood sticks keep the clay level and even. I used a large circle cutter to cut out the bottom for my mug.
Smooth it out with your fingers if you don’t want the canvas impression on your finished piece, you can even use a bit of water for heavy creases.
For this next part, I’m so sorry I didn’t snap pictures. I will next time I make these and come back and post them here.
To make the mug portion, use a piece of paper or ribbon around the bottom of the clay circle to determine how long your next slab should be. Then you can determine how tall you want your mug to be.
Keep in mind after you add stamped designs, it will press the clay out and up, making your slab longer, so be sure to account for that.
Carefully line up the stamped slab around the bottom portion of the circle amd press into place. Use a craft knife to slice off any excess clay, you want the ends to meet. Use your craft knife to score the ends and paint on some slips and join the ends. Use your fingers, slip and water to smooth out the lines.
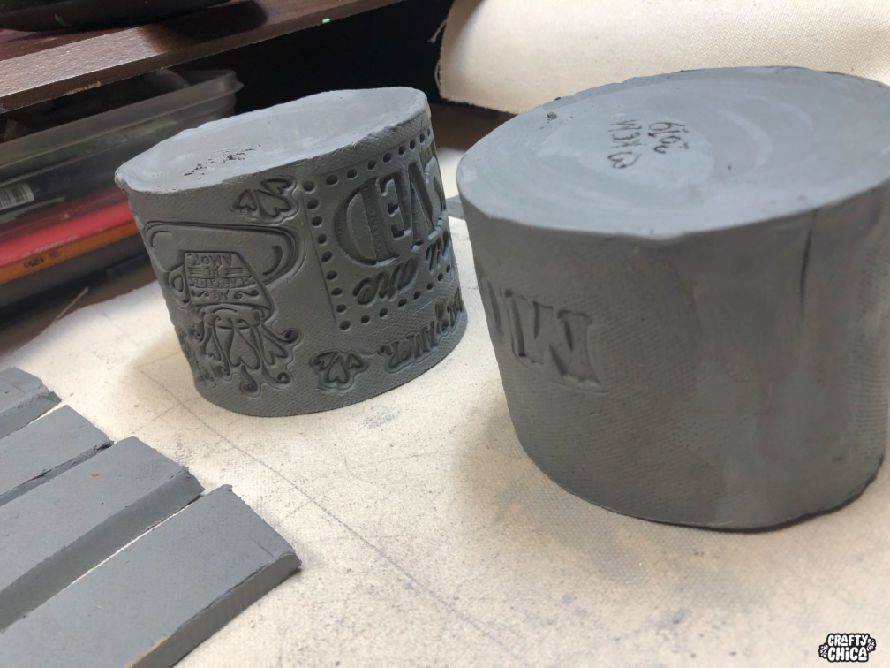
Also, smooth out the bottom joints so it looks nice and professional! It’s okay if it isn’t perfect, you’ll have time to go back and clean up as it dries.

Add the handle!
Oh man, I know, this stressed me out a little too. But the only way to figure it out is to do it, right? So let’s go! Roll out and cut slabs for your handles, then roll them and flatten them gently. These are a little thicker than I needed, next time I’ll roll them out a bit more.
From here you take the handle and pretend it is going to be on the mug, hold it up so you can see what side is going to be flush against the mug.
You’ll then need to cut off the end at a 45-degree angle. Score and slip that part on the mug and the handle area and press into place.
Smooth out the inside. Repeat for the bottom of the handle.
Here is a video I watched that was really helpful!
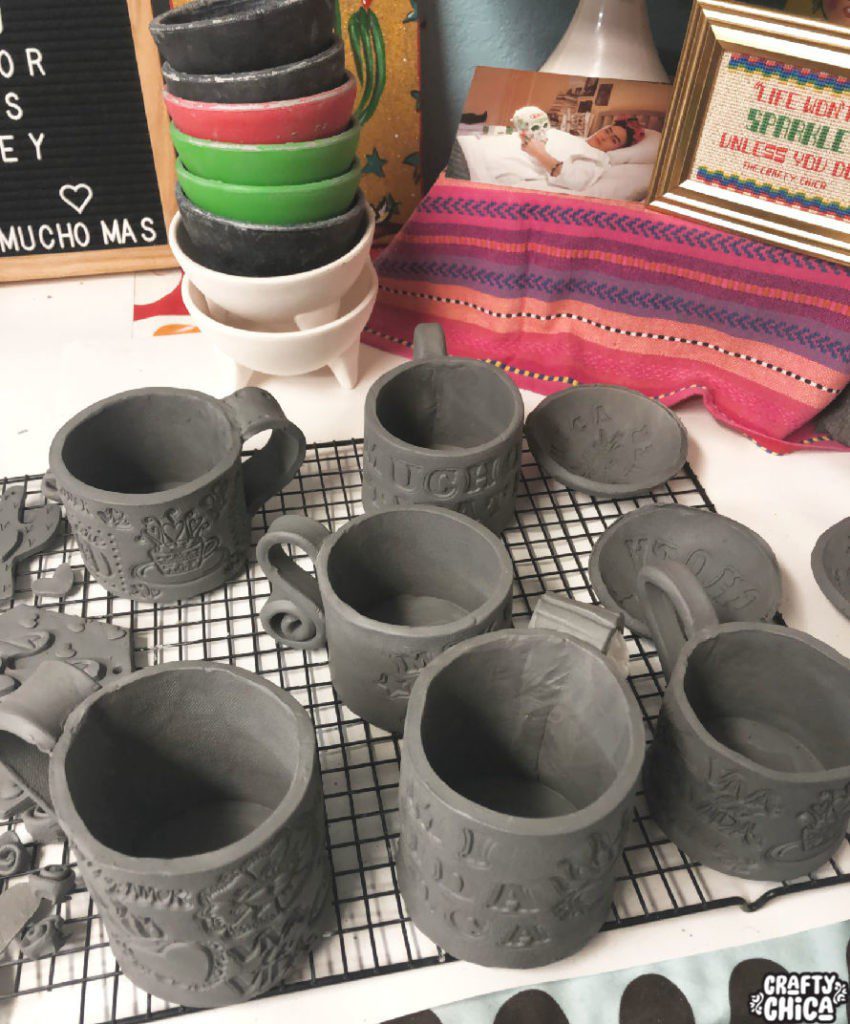
Here are my finished mugs. They are a little wonky in shape, but I love them! Cover them with plastic and let them dry slowly. Once they are 100% bone dry, you can sand down any areas to make them even.
One thing I did late in the game – I rounded the tops.
I posted the process on my Instagram stories and one of my followers replied to suggest I do this. “Go drink from your favorite mug, and see how the rounded top makes it comfortable.” So true! Also, it’s hard to pour from mugs that are flat like this.
Once the mugs are bone dry, they are considered greenware and we need to fire them to bisque. Fire them on low speed on Cone 04. Then add your underglazes and fire again at medium speed at Cone 06. Make sure to use food safe glaze before firing. I use Duncan Pure Brilliance.
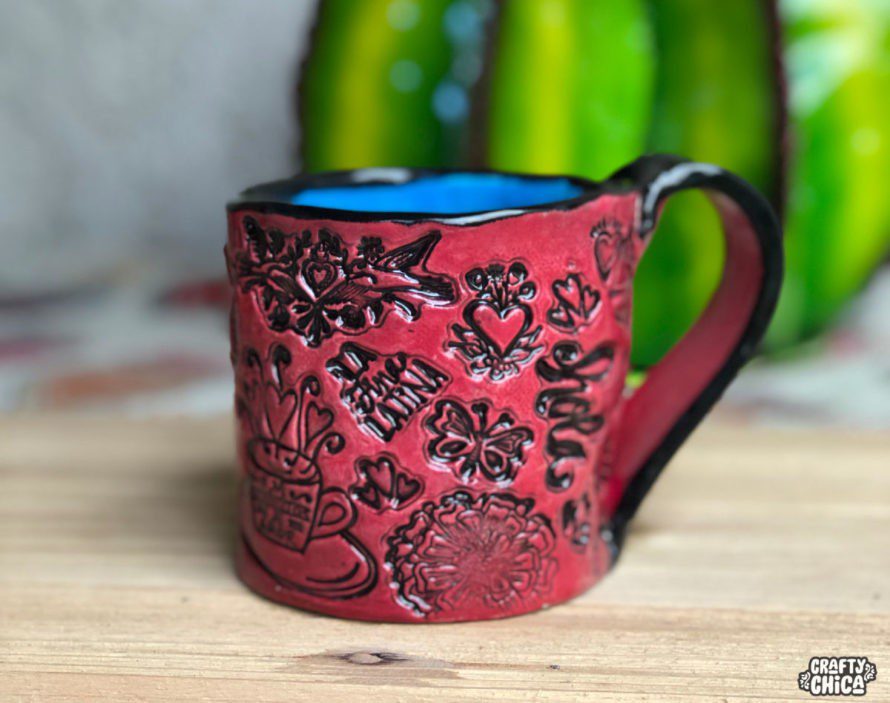
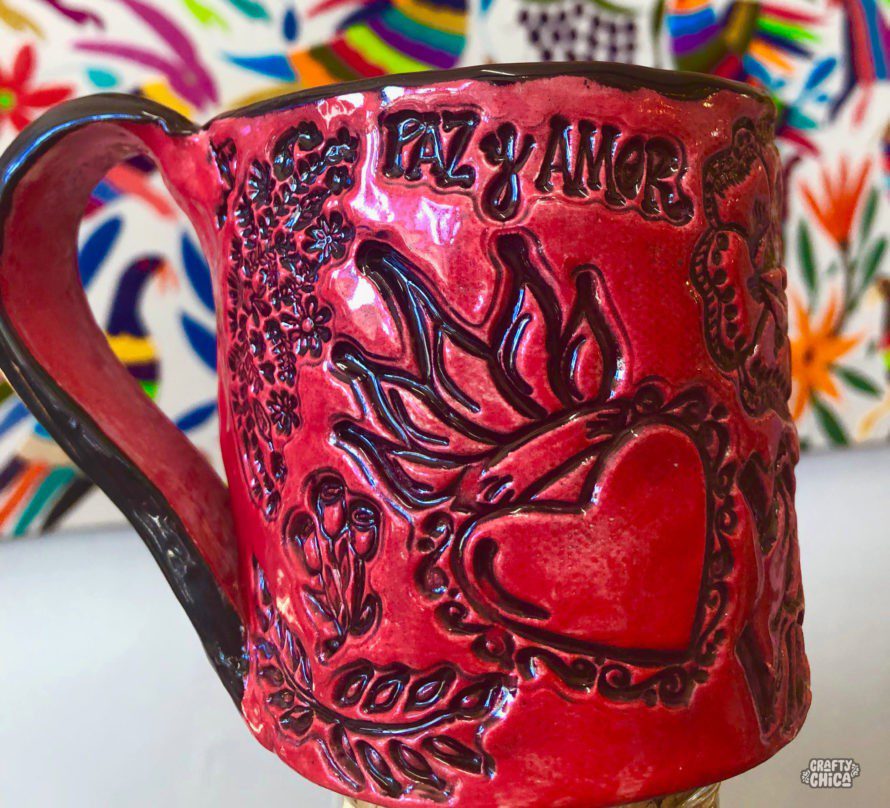
I didn’t even get to take pictures of all my finished mugs because they sold! But here is one I did get a picture of!
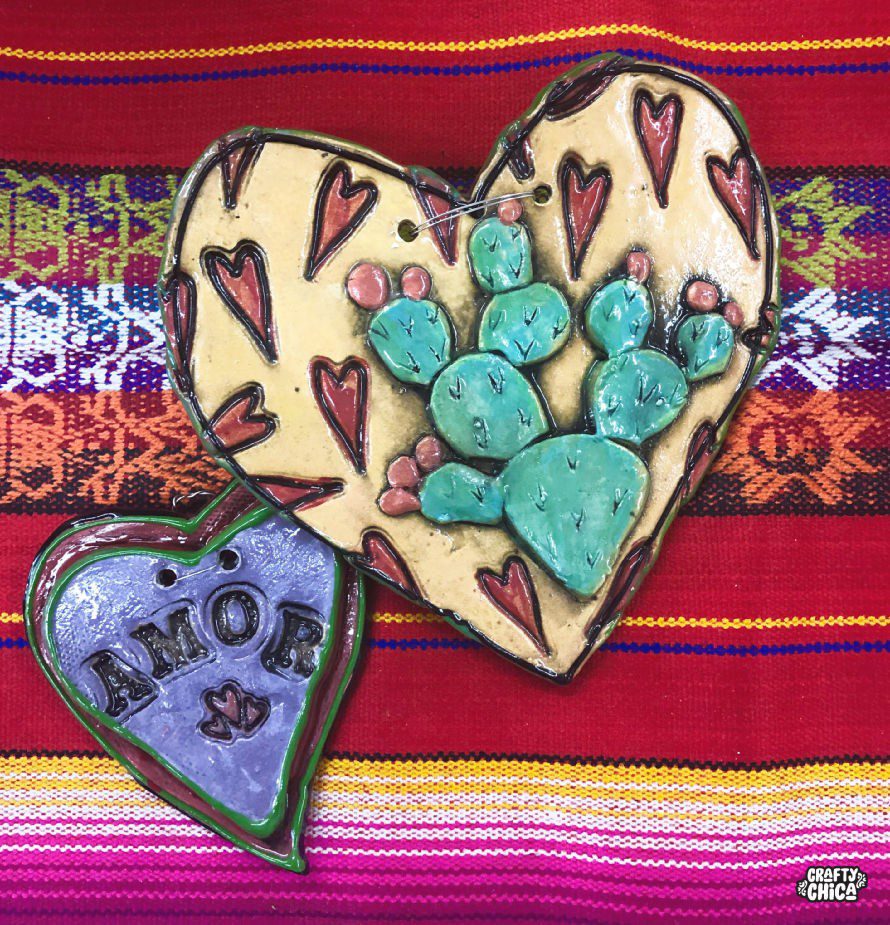
RELATED: Puffy Ceramic Hearts & Bowls
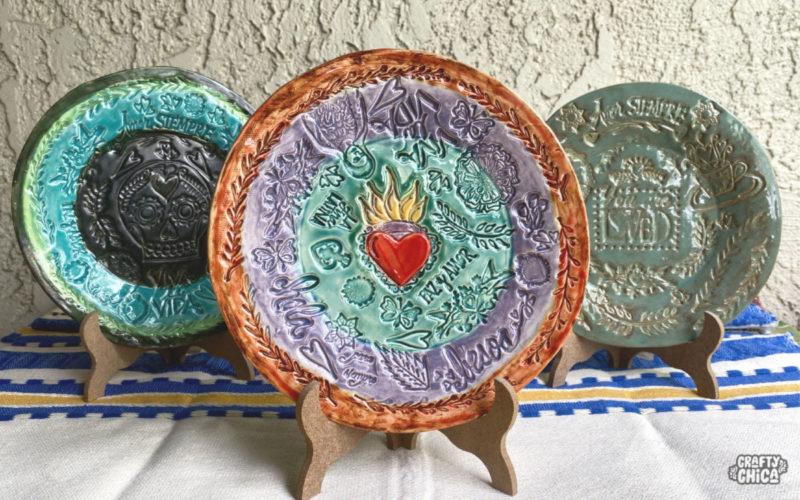
I also made a bunch of Valentine hearts and plaques!
RELATED: Stamped clay bowls
Glaze Technique
Here’s the way I glazed these items: Before the first fire, paint the accent areas with Duncan Cover Coat, these are opaque glazes – basically like a colored slip. After firing at Cone 04, you can add a wash of black underglaze (I use Duncan Concepts), let dry, then wipe away excess black with a damp sponge. Let dry and add top glaze. Fire at Cone 06. I normally love bright and brilliant colors, but this was a cool technique that has a vintage kind of look I liked.
Thanks for checking out my tutorial about stamped handbuilt clay mugs! If you are interested in the Crafty Chica cling stamps, you can find them HERE.


Kathy your mugs are awesome. Good job. Love em….
Thank you!