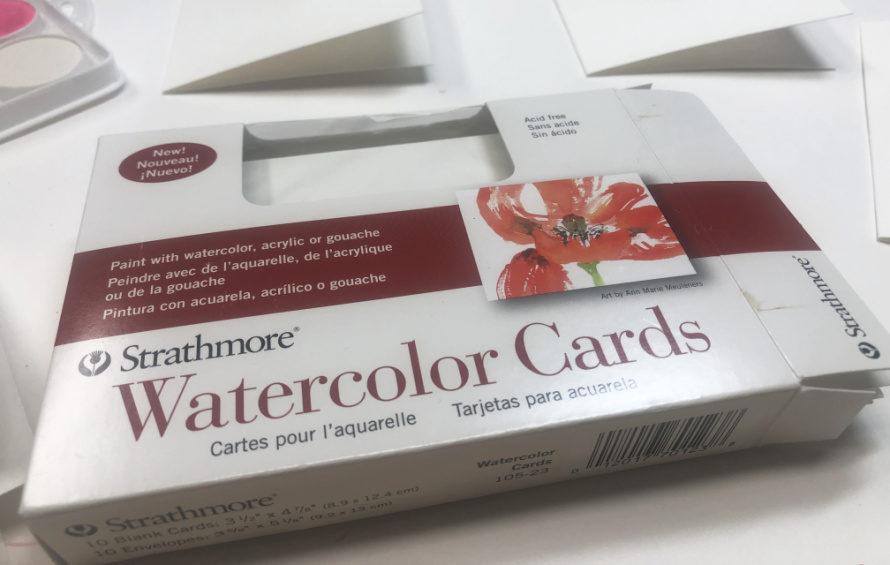
Here’s a tutorial for DIY watercolor cards! Now that I have a store here in Phoenix, I’m always making items to sell. Not just a few items, but full-on batches of merchandise. These watercolor cards are one of the product lines I have. I buy a box of blank cards and then use my paints to give them new life.
You can make a set to give away to friends or to sell and raise a little extra cash. Here’s my process!
Supplies for DIY Watercolor Cards
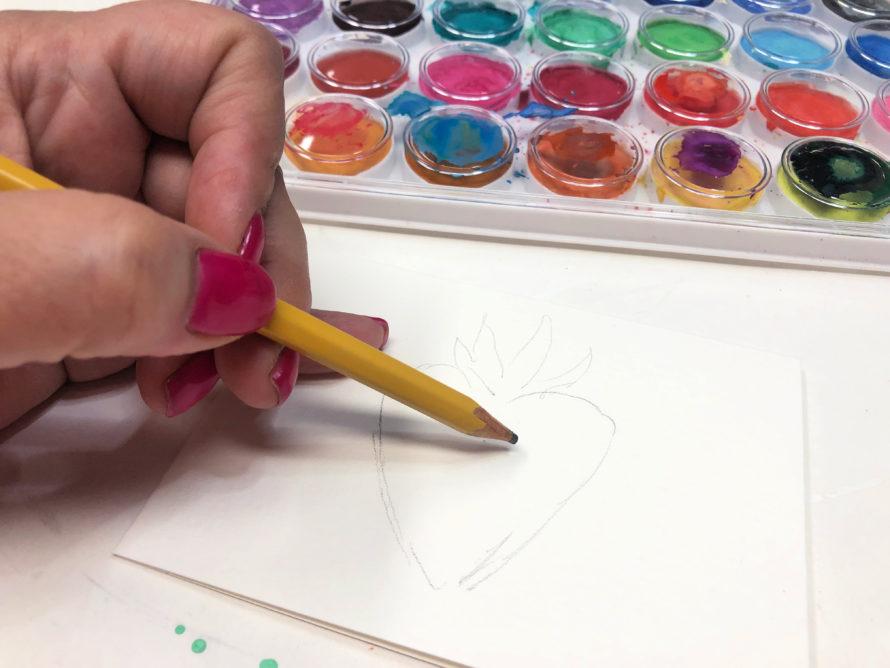
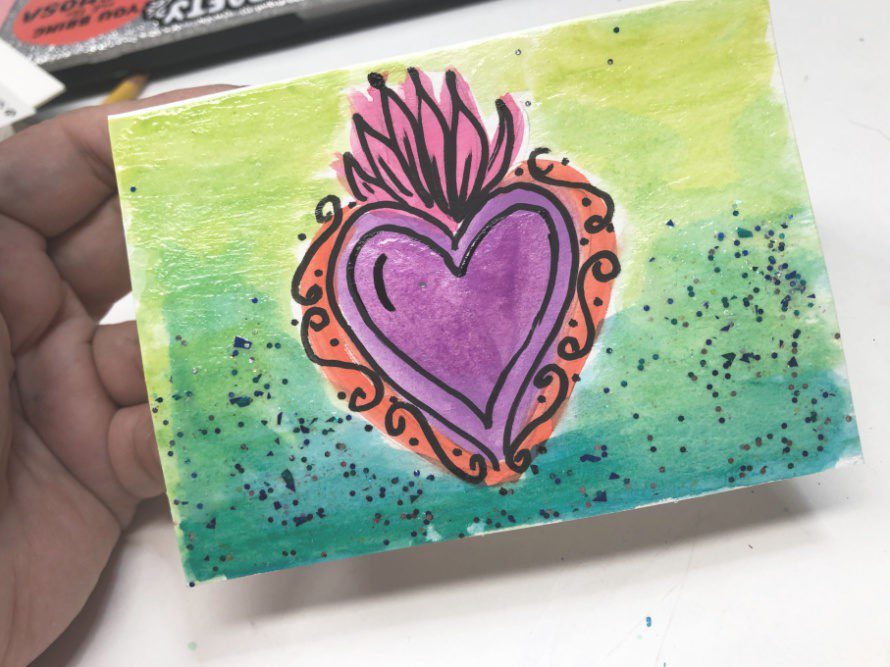
I have two ways to start. First I’ll sketch out designs with a pencil, or I’ll just paint backgrounds. This is my favorite part – laying the foundation for the magic!
TIPS for DIY watercolor cards:
Practice on a scratch paper first. You want to get the hang of the brush, the amount of water you use, the way the color glides.
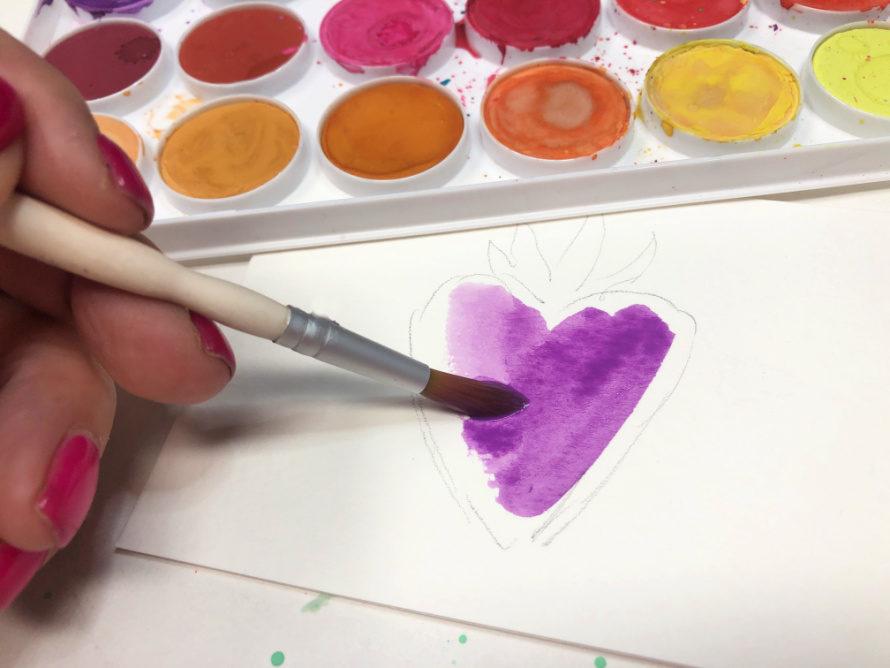
Use your brush lengthwise to add color. This is something to get used to! You can actually get ice big swooshes of color by using the side of your brush. Save your brush tips for fine details.
Be prepared to mix, mix, mix! Use your paint tray, or the lid to your paints, to mix and lighten colors before you use them. Know that you don’t have to stick with the colors given. Have fun and mix to find bright hues you love!
Go easy on the water. Adding too much is the quickest way to lose control! Start slow, with a dab, again, use scratch paper to get the best consistency. A little goes a long way!
Choose the right paper for your style. If you are heavy-handed like me, go with a heavier weight paper. ! like 140 lb cold press. Using too light of a paper could make it buckle or ripple too much.
Try not to cross-contaminate your colors on the palette. It happens. We all get excited and next thing you know, the yellow is streaked with blue! Relax. Use a damp sponge to wipe off the top and you are good to go!
After I’ve added all the color I want, I’ll let them dry completely. Sometimes they will curl, so carefully bend them back to shape.
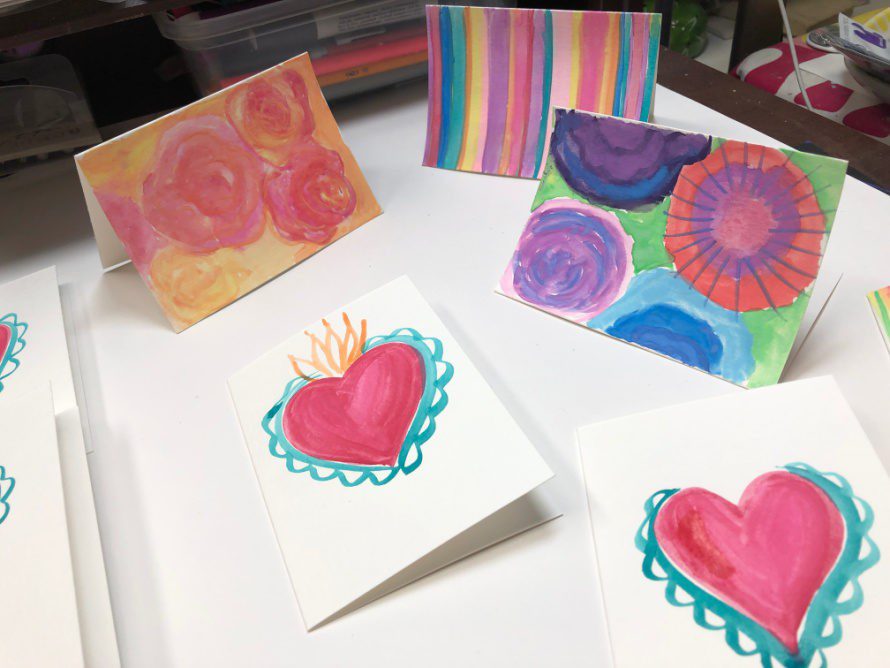
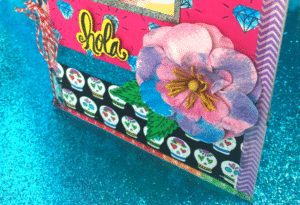
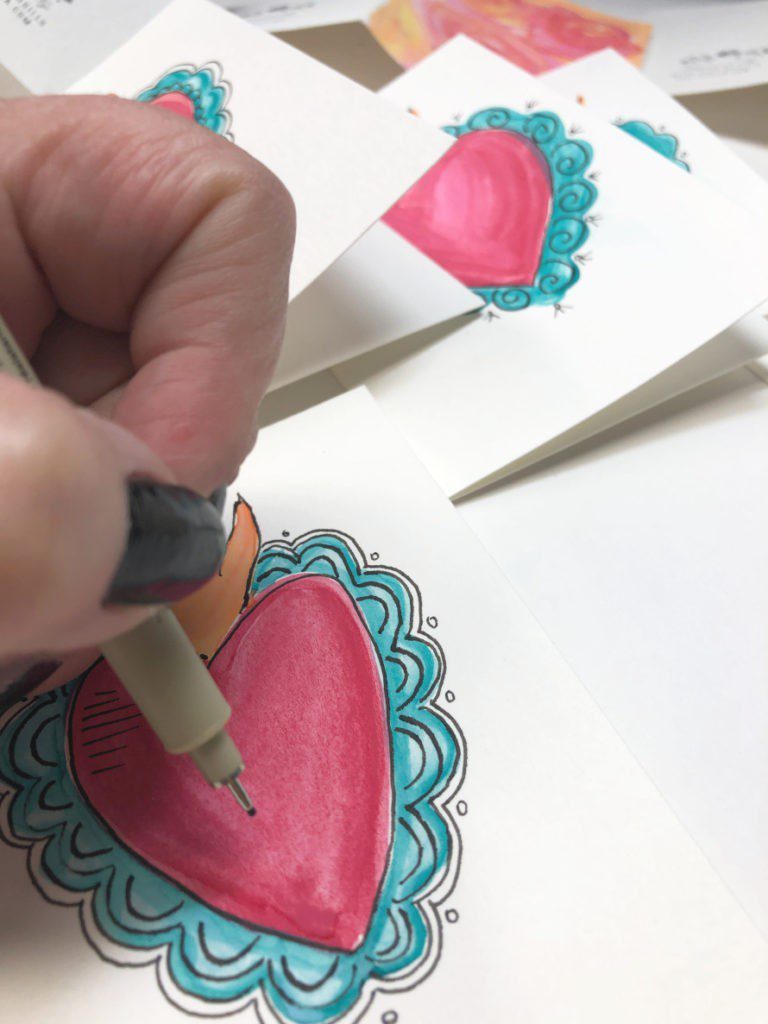
Then I’ll do different things with the cards. I’ll add washi tape or add black liner to the designs.
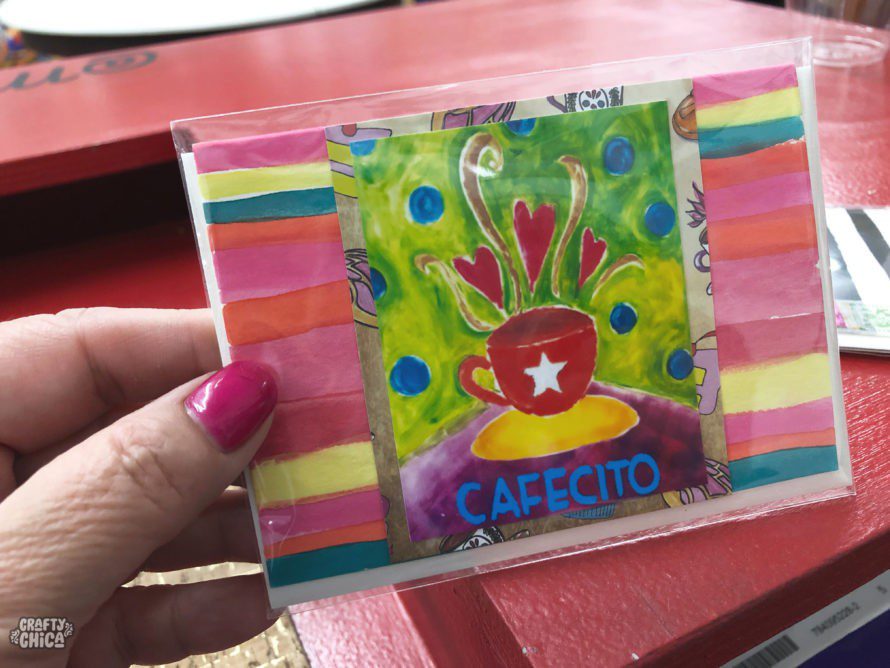
Make sure to sign the back of your cards, or use a custom stamp. Then slide them in a clear bag and they are ready to be purchased! One-of-a-kind art!

Something else you can do – invite a group of friends and make these for a senior center or kids home. Or give them out as a random act of kindness. So many possibilities! Thanks for checking out my DIY watercolor card project.
If you like this, here are some other projects to try!
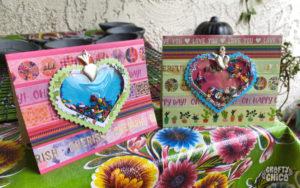
How to Teach a Watercolor Heart Class
Use Crafty Chica stencils to make stenciled watercolor art
Watercolor Paper Earrings