
In the mood for a layered resin collage art project? If you have worked with resin on smaller projects and wanted to try something a bit more challenging, this is for you.
The magic is all in the layering of the resin and trust me, it takes a LOT of patience…and resin!
What is resin?
Resin is a polymer that can be liquid or solid. It’s often used as a coating or sealant, but it can also be used for art.
To use resin for art, you’ll need to mix it with a hardener. Once it’s mixed, you can pour it into molds or onto surfaces to create your piece.
Once it’s hardened, resin is durable and waterproof. It can be sanded, drilled, and painted. In this case, we are using liquid resin that is clear.
SUPPLIES for layered resin collage art:
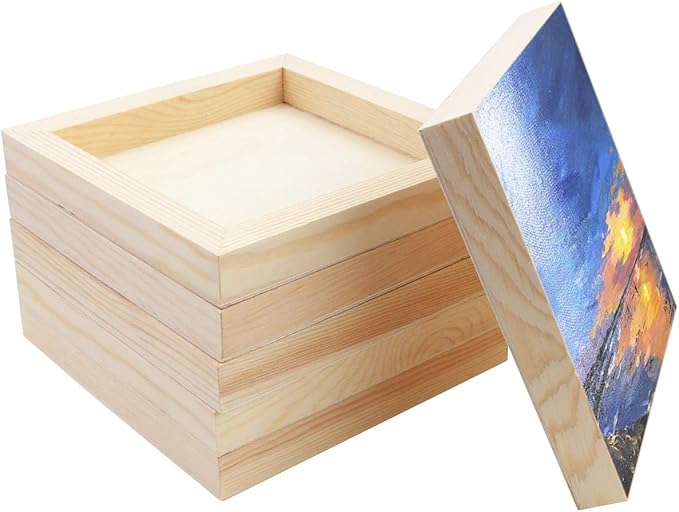
6×6 wood canvases (you’ll use the back side)
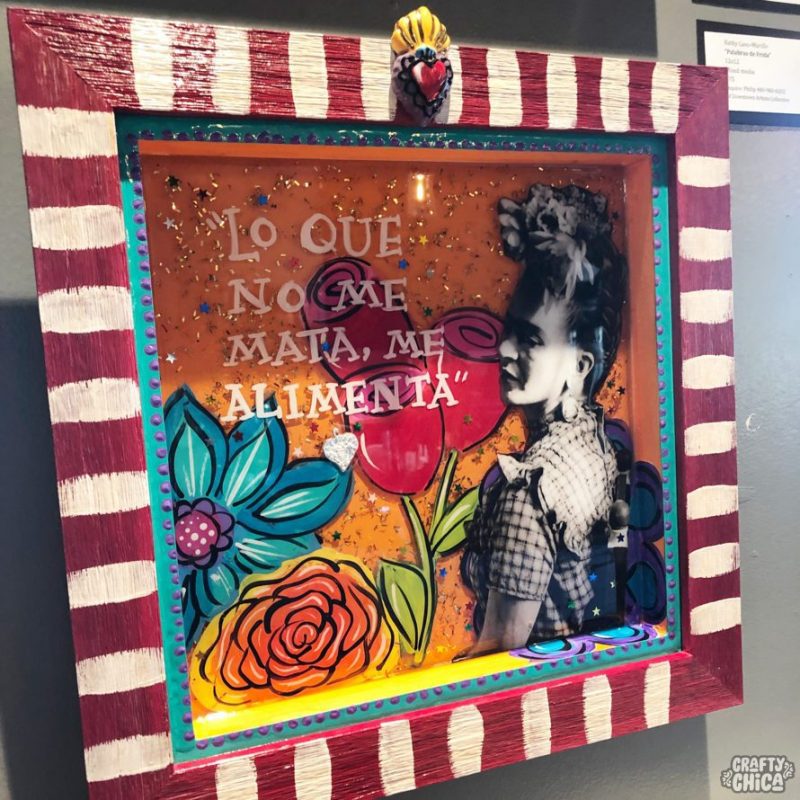
Images printed on glossy photo paper: One focal image measuring about 5″ (a cut out of Frida, etc), and fussy cut images of flowers, words, anything else you want to include.
White craft glue
Craft paintaint and any other embellishments you want
Scissors
Wax paper
Mixing cups, gloves, stirrer
Directions for layered resin collage art
Prep the shadow box
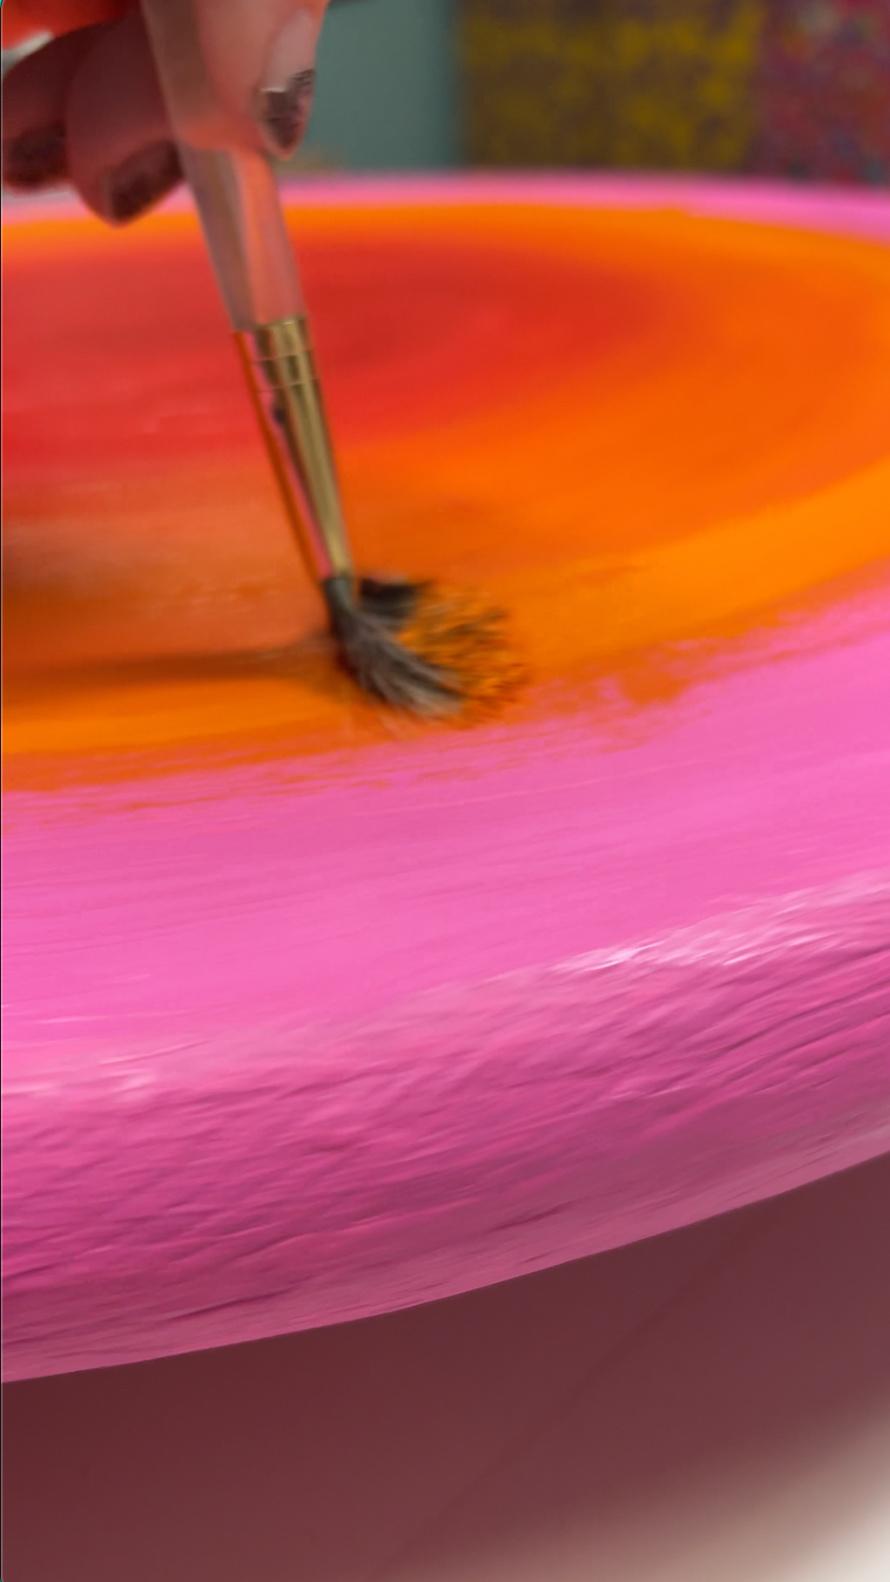
Paint the base coats of the backs of the wood canvases. We are using the BACK because it will become the perfect depth for a beautiful layered resin piece.
These work perfect for shadow boxes!
Let dry completely.
Mix the resin
Work in a well ventilated area. Wear a mask and gloves.
Make sure you work on a flat surface, otherwise your resin piece will cure uneven. Cover your work area with wax paper or a smooth plastic trash bag. Again, keep your surface even.
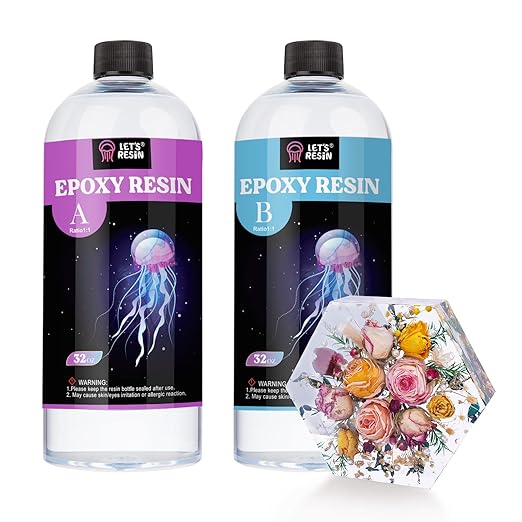
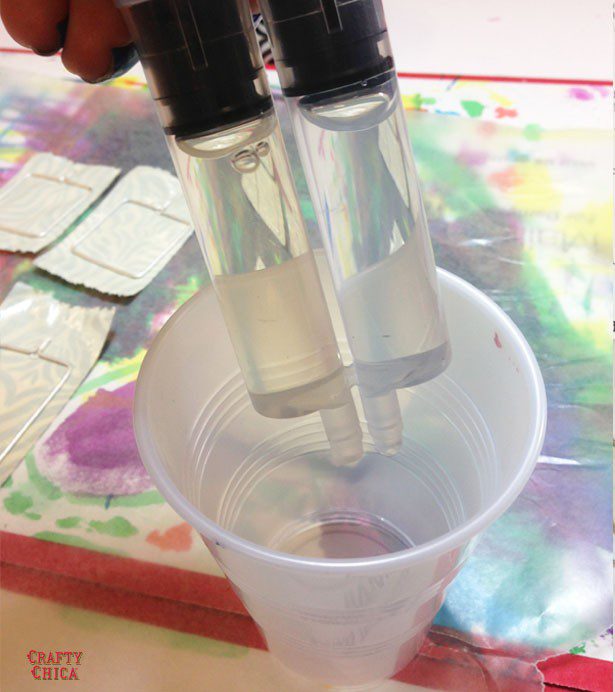
Read the directions on the package. But if you are using two-part resin, mix equal parts of resin.
Start with 2 ounces of Part A and 2 ounces of part B. Pour each part into a separate cup and then into a third cup together. Use a wood stirrer to slowly blend the two parts. Do not whisk or you will create a lot of air bubbles!
Let it sit for about 10 minutes.
Pour the resin in the shadow box (Layer 1)
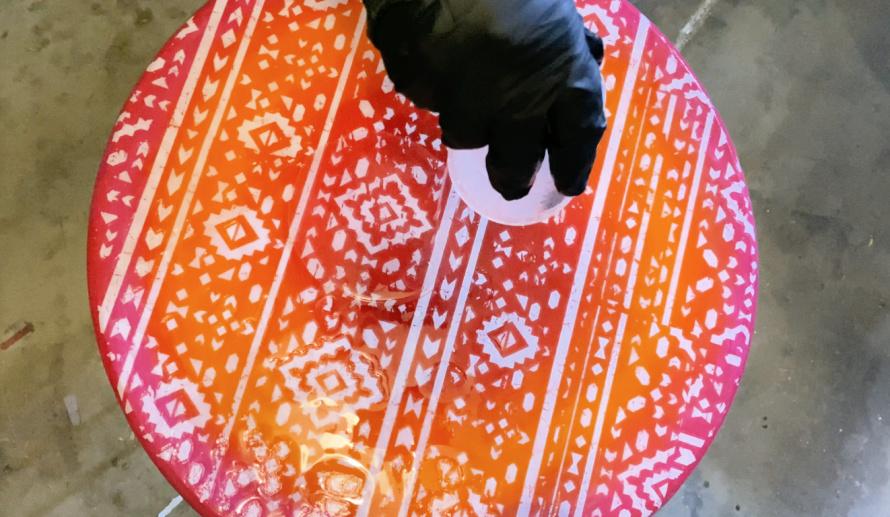
Then pour over the surface. Use a straw or heat gun to remove the gas bubbles. Let sit for 6-8 hours until fully cured.
For this piece, I did the above, then for the second layer of resin, I added in gold glitter flakes. I let it for another 6-8 hours.
Once it dries, use your craft paint to paint designs on the cured resin layer.
Add a second coat of resin (Layer 2)
This time, after you pour the second layer, let it set for about 15 minutes. This is so the resin will thicken just enough so the image will not move around.
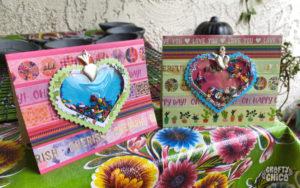
Hello, Frida! I printed out a large black and white image of her on glossy photo paper and used the craft glue to affix it to the surface of the resin. TIP: You want to make sure your resin cures evenly, so place it on a smooth, even surface. No tilting! No place where lint or dust can touch it!
You can also add quote art – I used one of Frida’s to offset the picture. Then I added the last layer of resin. I love how it looks like its floating!
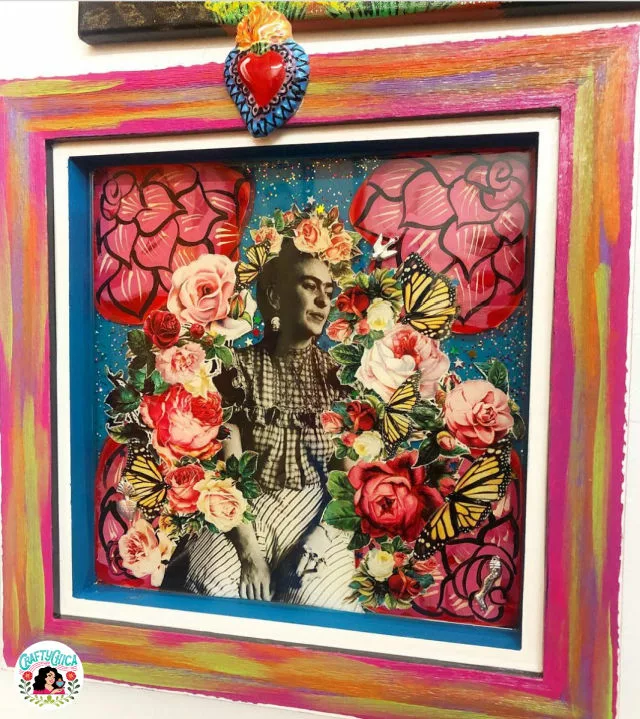
Insert the main focal point image into the resin, press it in place with a wooden stirrer.
Let it set for an hour and then add accents like gold metallic stars, small pressed flowers, etc.
After 24 hours, when it is fully cured. Go in with a paint pen or craft paints and add more designs. You can glue down words, add stickers, etc.
Add a third coat of resin (Layer 3)
This will seal it all in and give it depth. If you want to go longer, you can keep adding layer with more detail!
Finish off your piece
To really make it pop, find a frame to glue or nail on the front of your shadow box. Paint it up and add more embellishments!
I found some chunky wood frames and affixed them using resin (I used it like glue and let it set overnight). Then I added a ceramic heart on top and a wire for hanging on the back.
Here are some of my resin videos to help you with the process!
Have fun with your own layered resin collage art – let me know how it turns out!
Buy my book, Forever Frida: A Celebration of the Life, Art, Loves, Words, and Style of Frida Kahlo
Other resin projects you will like:
How to make a resin picture frame


Super idea, Kathy! I love your style and the colorful ways you express your art. Thanks so much for showing us your great projects. I love resin as well.