
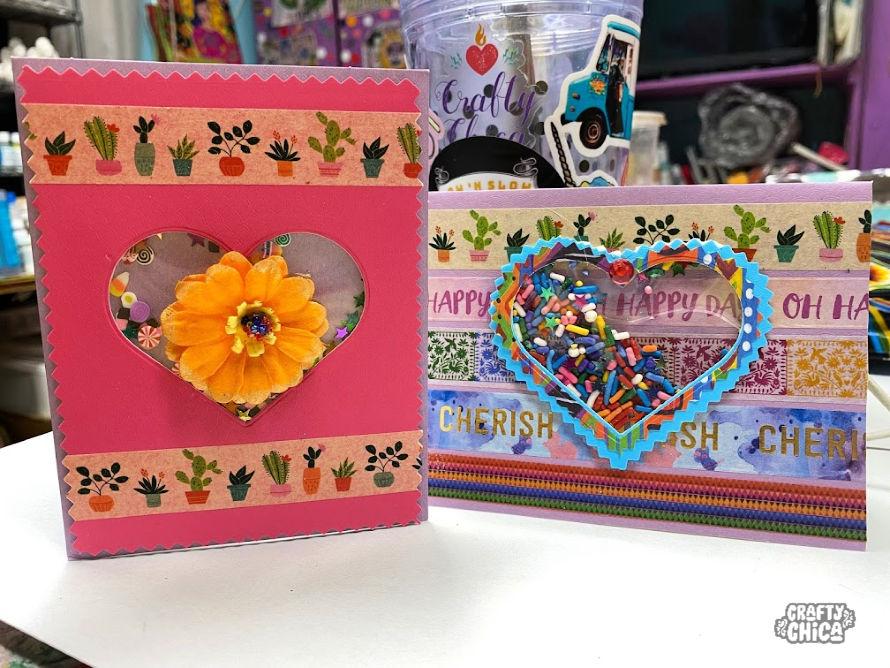
Have you made shaker cards yet? I promise once you learn, you’ll want to make one for everyone in the world! And here is the easiest shaker card tutorial EVER and even though it’s a breeze to make, it looks like the opposite! Before I go into details, here is a video tutorial I made so you can see the process!

Supplies for this shaker card tutorial
Heart die, punch or scissors
Tiny sequins, sprinkles, seed beads
Liquid glue
Directions for a shaker card
Use your heart die to cut an opening in a piece of colored cardstock. Keep the fall out portion, you’ll need it later!.
Take the cardstock, place it face down.
Cut a piece of acetate to fit over the heart, a rectangle is fine.
Add a thin line of glue (or skinny double-stick tape) around the outside of the heart and place the acetate sheet down. Press in place and remove any excess glue.
Cut a 3″ strip of the foam tape, and cut it in half lengthwise so you have two skinny pieces.
Peel the backing from the foam tape and outline around the heart on top of the acetate (still working while the card is face down).
Choose your card base and apply strips of washi tape in rows. Trim excess washi tape from sides.
In the center, glue the fall out heart piece from step one.
Carefully place your shaker items within the shape of the paper heart you just glued.
Peel the backing from the foam tape from the shaker portion you made and place it over the shaker items.
Press firmly in place.
Add other embellishments you want!

NOTE: There are all kinds of ways to make shaker cards, let me know if you make this project!


Very cute box! I love your blog and can’t wait to read more.
This is SO cute. Really whimsical and fun. I love the colors.
I’ll be on vacation in Phoenix July 20, and I’ll be by to pick it up.
YAY!!