
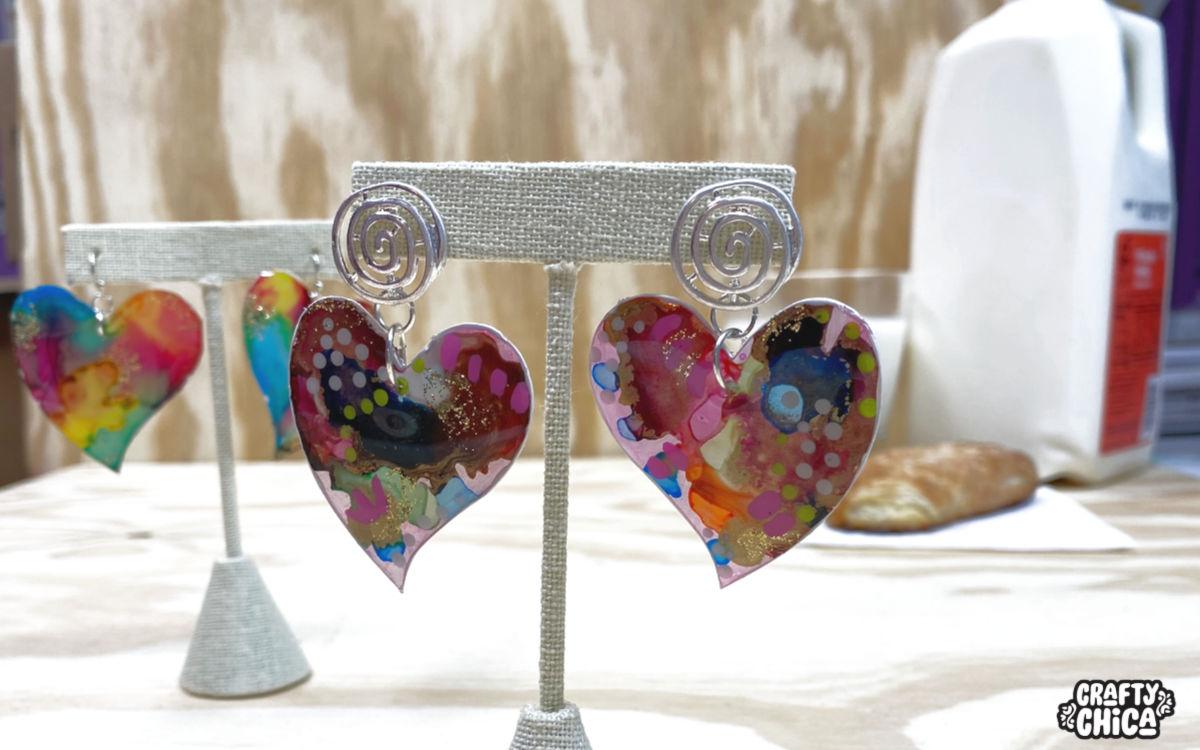
Check out these milk jug earrings I made! This just goes to show, you can make art with anything! Thee are great because you are literally turning trash into treasure. Try using a die cut machine or electronic cutter to cut custom shapes.
How to make milk jug earrings – click here to watch the video!
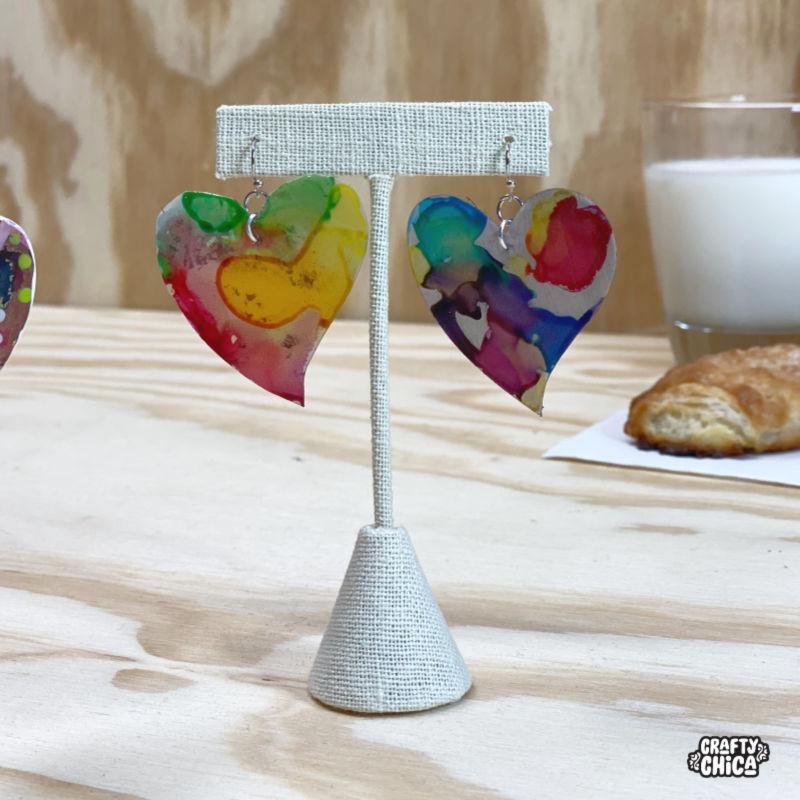
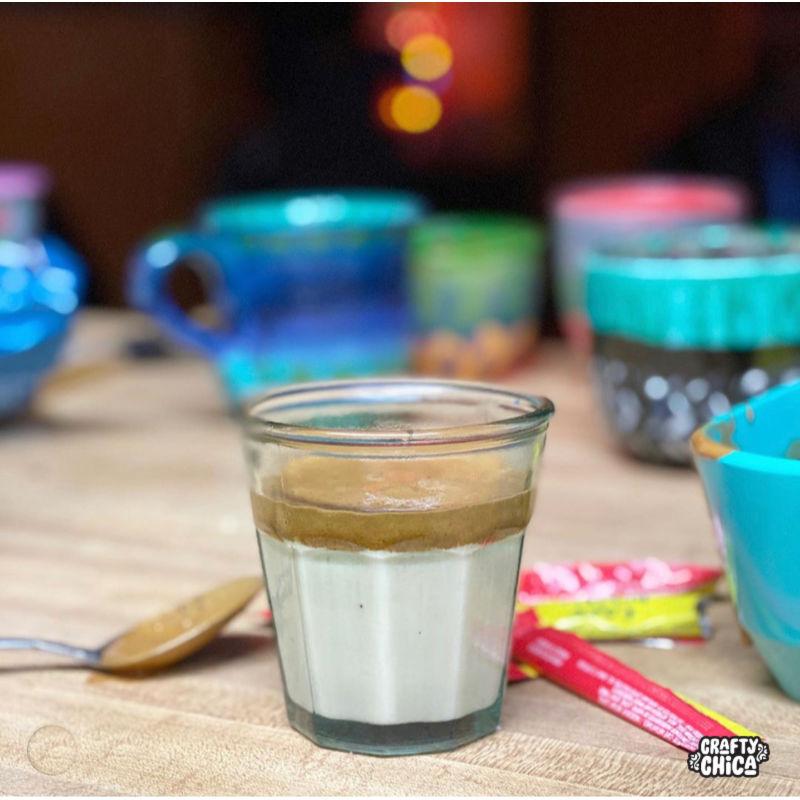
One milk jug – even the half-gallon, serves up not only a chilled refreshing beverage but also plenty of surface for crafting and making these milk jug earrings!
Supplies to make milk jug earrings:
Empty milk jug
Scissors
Heart template, about 2”
Alcohol inks or acrylic paint
Water-based brush-on varnish (two-part resin optional)
Awl or hole punch
Earring hooks and jump rings
Directions for milk jug earrings:
Wash and dry your empty milk jug. Use your scissors to cut at the top and down along the side. Cut out each side panel, keep all the smooth parts.
Cut out your heart shapes using a punch, a die or just by hand! You can also draw your heart on a piece of paper and use a pen to trace it on the milk jug.
When it comes to cutting out the hearts, I suggest cutting up a lot. Might as well! You can use the extra to experiment with the paints and then you can choose the best one. Or you can save them and use them for other craft projects.
Work on a smooth table, line with poster board or paper so you don’t get the alcohol inks or paints all over the place!
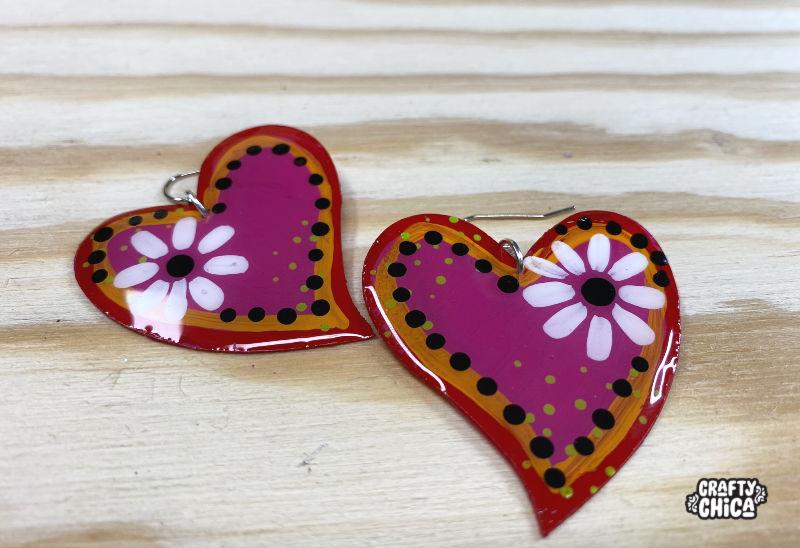
If you are using acrylic paints, add one thin coat of paint and let dry, then add another and another until it looks opaque. Add accents and then varnish.
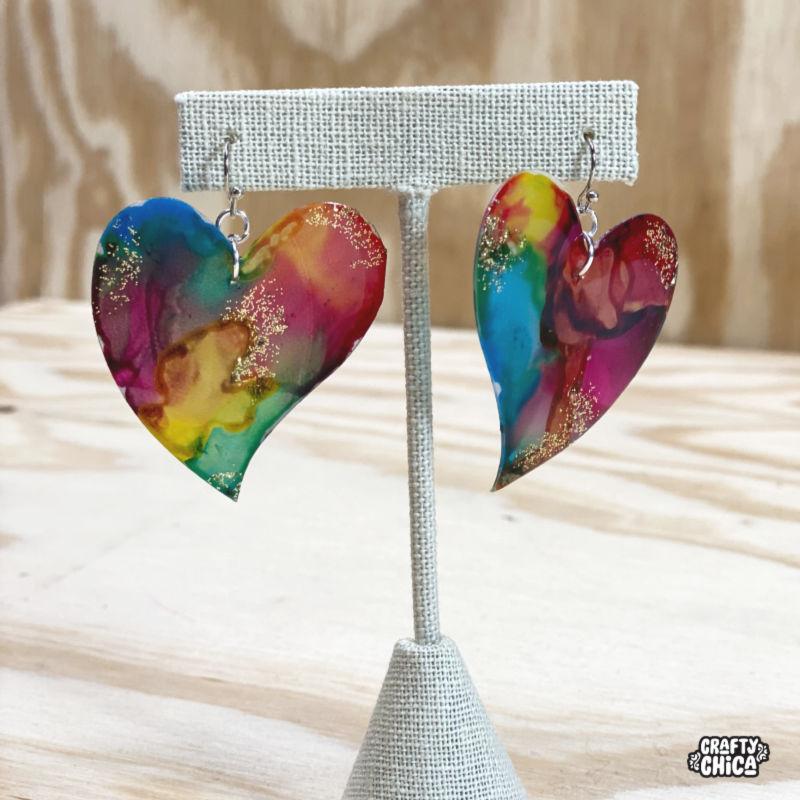
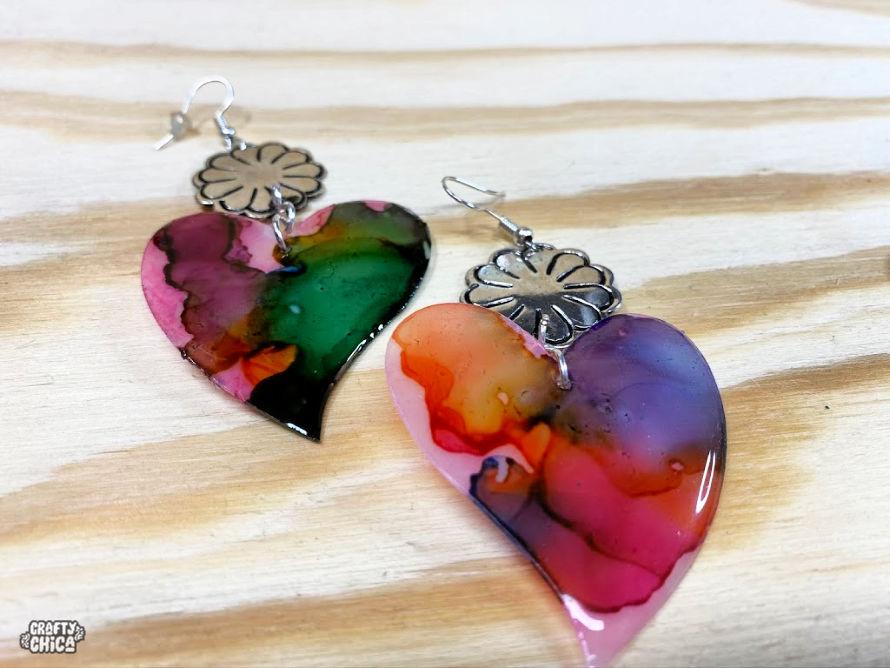
Alcohol inks – Use a dauber to apply a thin layer of dye on the heart. Add one or two drops of color around the heart. Use a blower to move the color around. You can also use a straw. There is also alcohol ink blending medium you can use to achieve cool effects!
Let dry and then varnish. I used two-part resin. Here is a link how to use resin!
After the varnish has hardened use an awl or a hole punch to create an opening to insert the jump rings and earring hooks. Use needle-nose pliers to open and close the jump rings.
Feeling extra? Go through your jewelry stash and take apart sets you can use to attach to the hearts. I used the tops of some old earrings to make these. It gives them way more personality! Thanks for checking out my post about how to make milk jug earrings!
Other earring ideas:
Resin Crafts: DIY Glitter Earrings – Sparkle Collage!
DIY marbled polymer clay earrings
Jewelry Hacks: Earring Makeover!


Love love love the ones with the flower design! So cute and colorful! Thank you for sharing this creative idea, I never think to reuse things like jug containers 😀 I will definitely need to try this out!
– Sabrina ♡
Thanks, a great FUN design
Fantastic earrings! Thanks for the tutorial!
Did not see how to use resin. Great video, great project. Don’t you have a craft book? Would love to see it. Besos~Nicki
I can’t wait to try this. But the link for the resin did not come through. Is there a brand that is glossy you recommend? Thank you for sharing.
Hi! I just added a link, hope this helps! Thanks and happy crafting!
I just stumbled on your site.
Love the milk jug earrings. The possibilities are endless!
Have you ever used Vinegar jug panels. The students I worked with loved making bookmarks, bag tags, gift tags, jewelry, ornaments out of the panels. We used Sharpie markers to draw designs and Rubbing alcohol sprayed through a spray bottle set on the finest spray possible. Let dry. Use a dark colored Sharpie to write any messages, poems, names etc… Let dry. Sprayed with clear coat to seal. I also used acrylic paint to make ornaments and clear sprayed to seal.
Great idea!!
can you make these without using resin. can you clear coat with something else.
Hi! Yes, you sure can! A spray gloss sealer will work.