
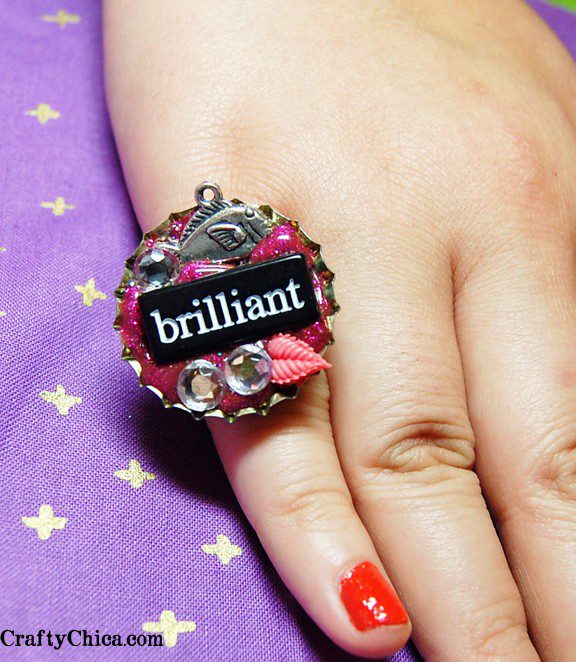
Check out my bottle cap magnets – because it’s always the right time for bottle cap crafts! ! All in the spirit of recycling, using what we would normally toss out. This one is a win on several levels because we’re also clearing out some of that stash in your art space.

This project is something I’ve been making for years – these bottle cap magnets are sooo therapeutic to make because you’re working with such a small canvas. It forces you to clear your mind and focus.

Here is a video I made showing how to make these bottle cap magnets!

Supplies for bottle cap magnets
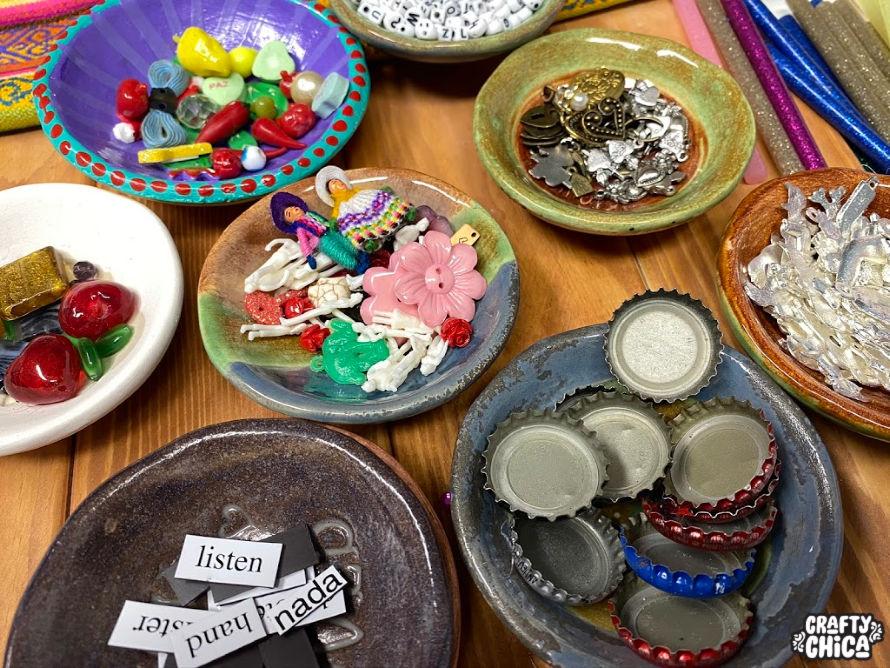
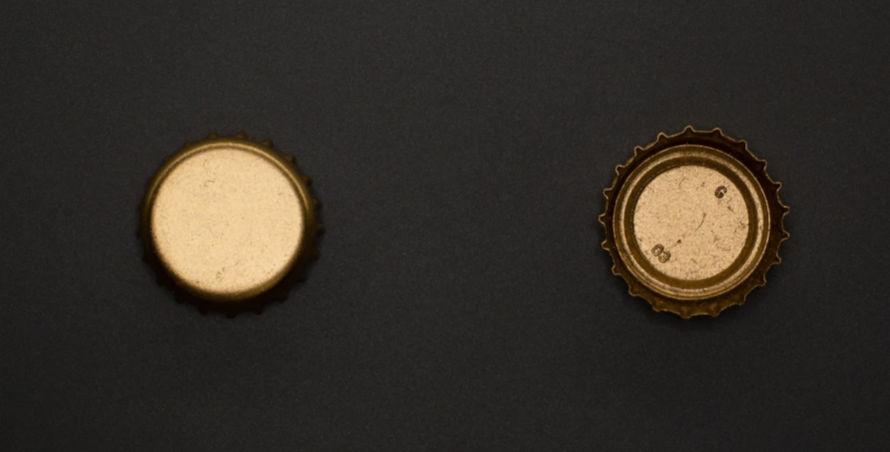
Bottlecaps – you can use metal ones, or even plastic ones! Don’t buy them – gather them from drinks you use!
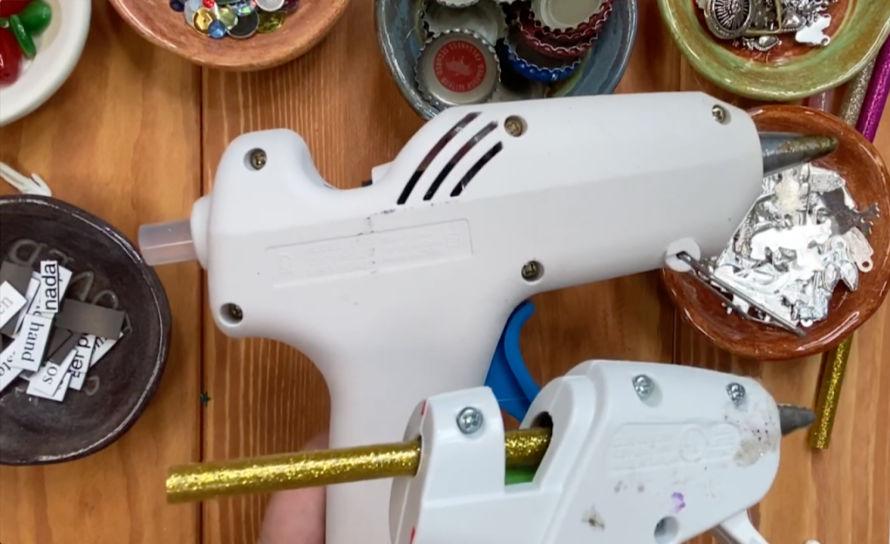
1 glue gun with clear glue sticks
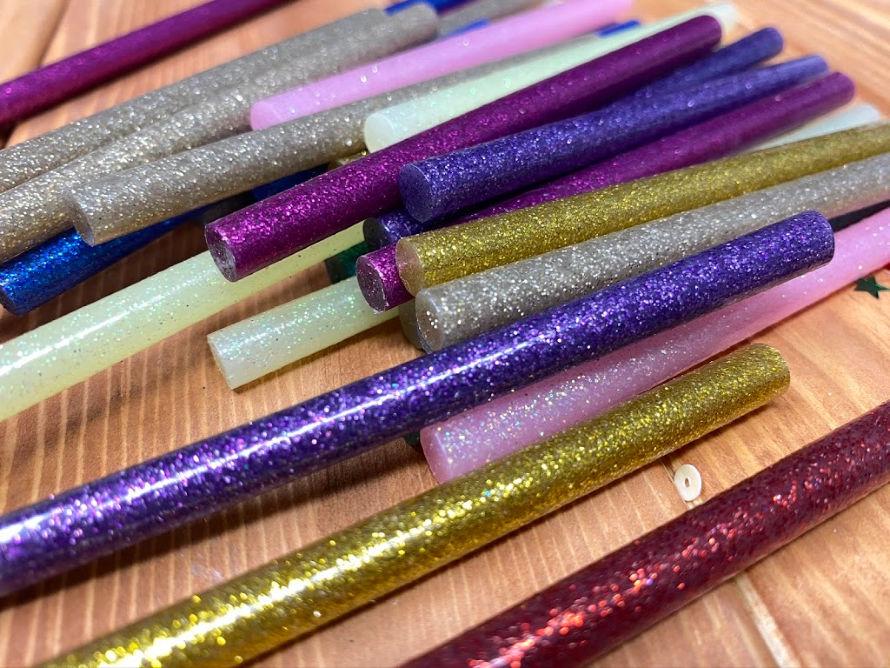
1 glue gun with glittered glue sticks
Assorted small charms
Beads
Letter beads
Crystals
Rhinestones
Small gems
Metallic confetti – such as stars, hearts, etc.
Heavy-duty magnet
Crayon
Directions:
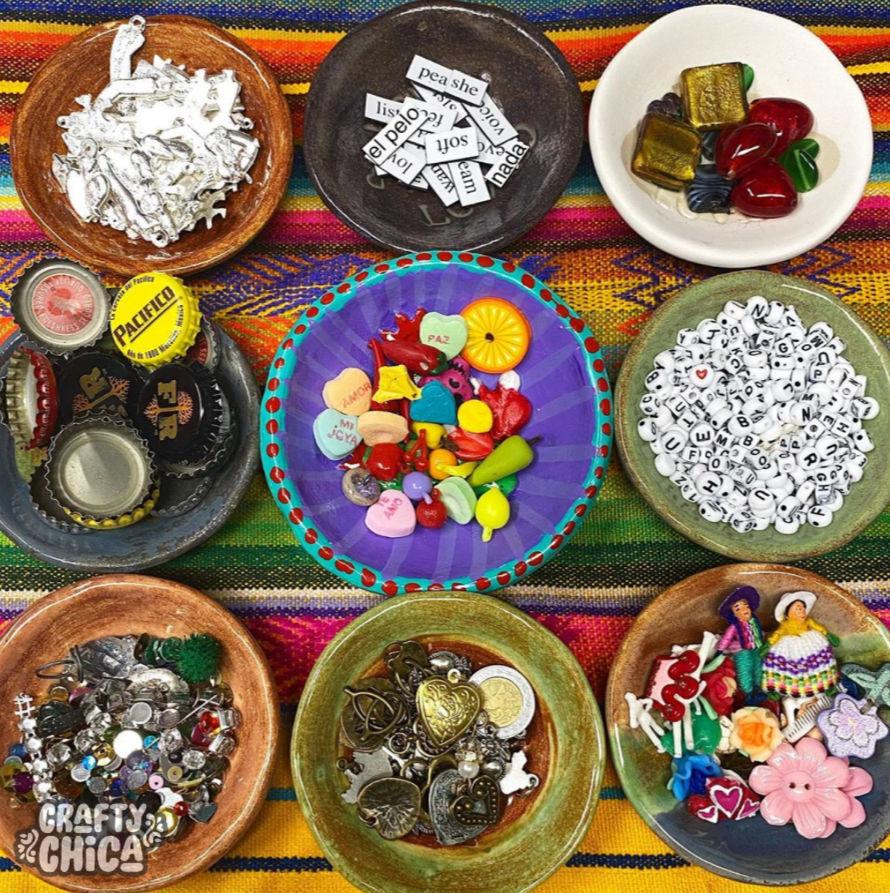
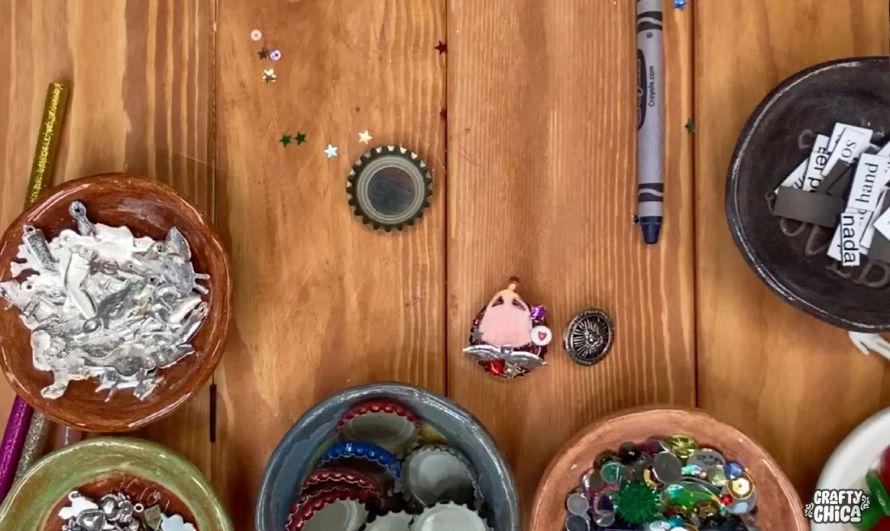
Sort all of your supplies into different piles. I use small ring dishes, it just makes it easier to have items sorted by size and even by color.
Plug in both glue guns, let them heat up.
NOTE: I do it this way so I don’t use up all my glitter glue sticks. The bottle cap needs to be filled a bit at the bottom, since we don’t see that part, just use the clear stuff. No worries if you only have one glue gun, just use the hitter glue sticks. And if you don’t have glitter glue sticks, just use hot glue! I’m always about the EXTRA so I always have my glitter glue sticks ready for action!
Choose the items for your first bottle cap.
Use different sizes and heights to make your finished piece more interesting. I like to have my items already chosen so I can work faster. You don’t want the hot glue to cool or nothing will stick!
Working on a cleared off area, set down one bottlecap. Fill almost halfway with the clear hot glue. Do not let it cool! Top it off with a layer of glittered glue.
Ready, set, glue!
Place your first item towards the back. Be careful! Don’t get the hot glue on your fingers! Add more little doodads working towards the front. Then you can fill in with small beads, crystals or metallic confetti. Use tweezers if it helps.
Let it cool before you touch – then add hot glue to the back and add the magnet.
Hot glue gun tip:
Before you insert a new glue stick, add a dot of hot glue to the end of it and then carefully insert it. It will connect to the glue stick in the gun and you won’t have to worry about pressing it down to feed it through!
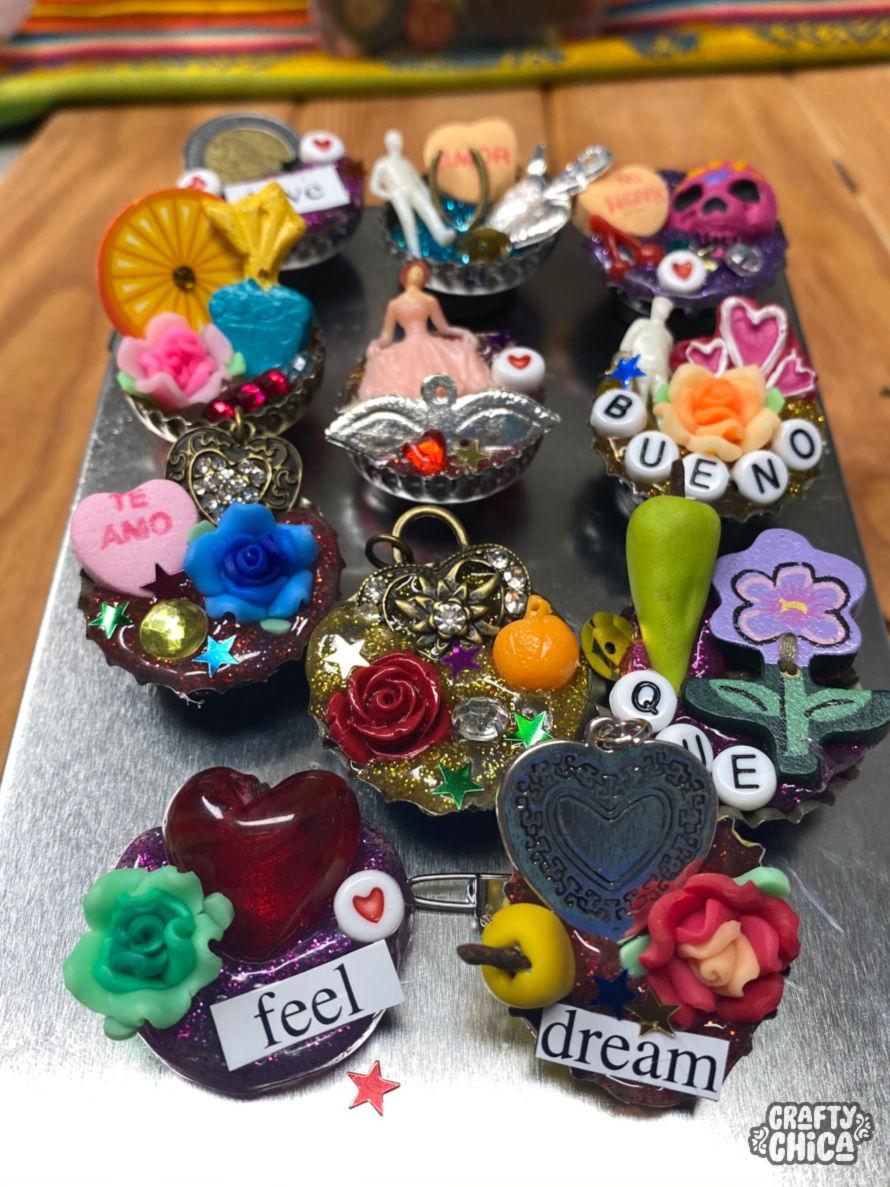
Okay, remember the goal here is to RECYCLE. So go through your crafty stash and look for small items like buttons, crystals, etc. You’ll be surprised at what you find. Plus, it just feels good to know you made these without spending any money.
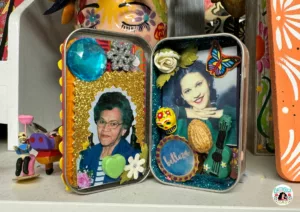
Really want to get into it? Let your bottle cap shrines tell a story. Use items that go together and bust out the paint to fine-tune them to your liking if you want!
Here are other bottle cap crafts!
Rather than make magnets, you can glue on a pin or a small hair barrette.
Gather up your pieces and use them to line a picture frame.
Use your bottle caps as mini-shrines and put them inside matchboxes to give as a gift.
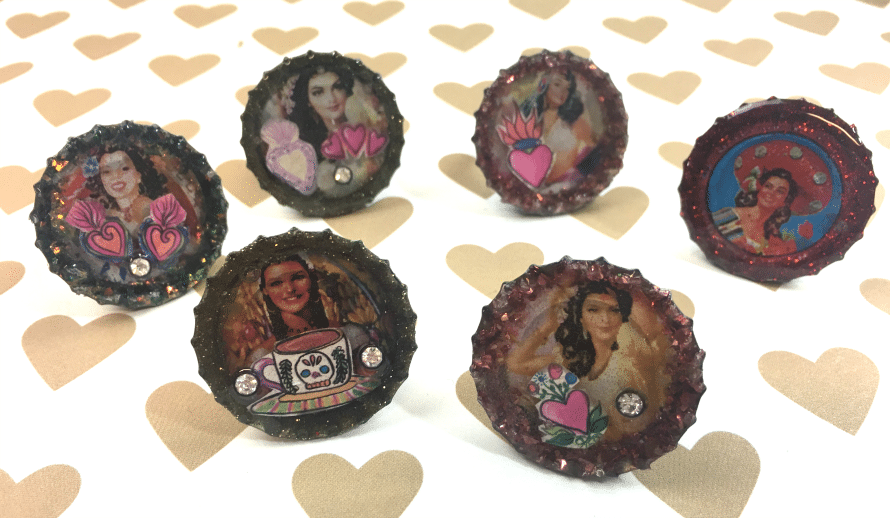
Use glossy coated paper to print small images, glue inside, and fill them with resin.
Add a picture and varnish and drill holes on the sides, then use jump rings to join them together to make a bracelet.
Use a circle punch for pictures, glue inside the bottle caps and use them to cover the front of a box, wood cross, mirror, or frame.
Drill a hole and make wine charms.
String them together to make garland.
Take the strands and glue them around a hoop to make a mobile or chime.
Sort them by color and then use the bottle caps as “paint” to create art work of images.
Use the flat side to make your bottle cap magnets.
Glue together to make fun drink coasters.
Layer the top of a table with painted bottle caps, add a piece of tempered glass on top. (OMG, I want to do this!)
Here are some bottle cap crafts from my blog!
DIY Pom Pom Picture Ornaments
Bottlecap Tree
Bottlecap Marble Magnets
Thanks for checking out my bottle cap magnets post! It’s part of a recycled craft series by my crafty friends, Laura, Meg, and Beth!


Inspiring. . .crafty and glittery. . your blog is the bomb!
I left you a gift on my blog – please visit and have a happy one!!
http://atthebluebarn.blogspot.com/
xxoo
Jennifer McIntyre
@atthebluebarn
Michael Lavine carrys your product now!!!!!!!!!!!! Sweet. Thats only 15 minutes away! Yahooo!
Super cool idea!
These are so perfect! Thank you so much for participating!