
You need to make a chair caddy. For real. I’m a techie, a sketcher, a journaler, a crochet fiend, and a reader. And I move around a lot. One day I’m at my boutique, another time on the back patio. I’m usually working with a journal, papers, my laptop or iPad, where to put all that stuff to keep my workspace clear?
The answer? a chair caddy! This brilliant solution holds your creative accessory-of-the-moment. No more putting items on the floor, or on the table and risk spilling your drink, etc. You can make this double-side pocket sleeve that hangs over your chair arm. What I love is it is portable too, you can roll it up and take it anywhere. It works for lawn chairs, beach chairs, office chairs – and seating that has armrests.
So say hello to my new friend – a caddy-to-go! It’s slim and thin and super easy to take with you when you need an extra pocket. Make one for your sewing area and another for taking on the go.
DIY Chair Caddy by craftychica on Jumprope.

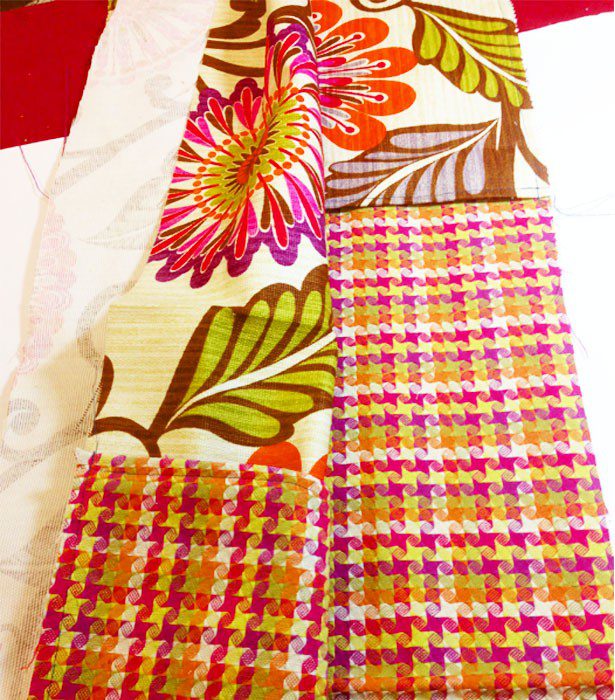
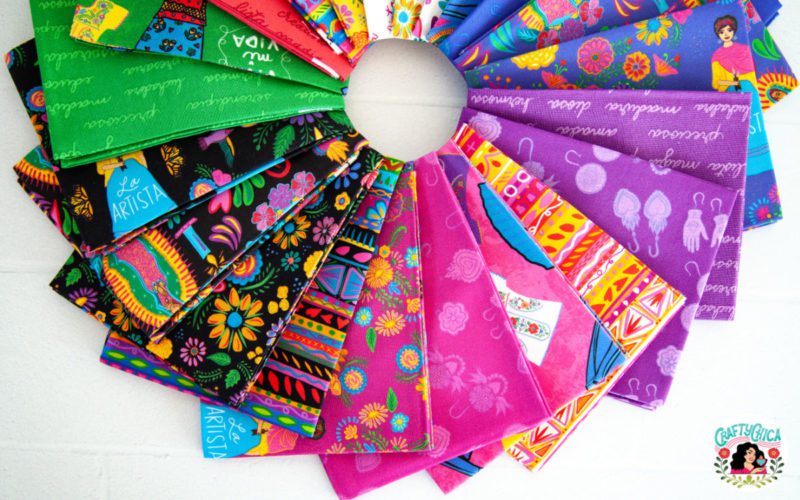
Fabric choices:
I used upholstery fabric because I wanted my chair caddy to be super sturdy and long-lasting. Good choice! Using cotton fabric? Insert stabilizer between your layers and it will give it that nice structure. and the beauty of this idea is it works for anyone at any age. Choose fabrics to fit the personality of the person using it. Make one for your kids for coloring books and crayons. So many options!
Supplies to make a portable chair caddy:
2 pieces of fabric, 28″x12″
2 pieces of fabric, 12×12″
Sewing machine, pins, thread, pinking shears
Puffy Paint or – Velcro
Directions:

Sew a double-fold hem on one end of each of the 12×12 pieces, these are the pockets. You’ll end up with both 12×12″ pieces, each with one double-folded hem on one side.
Pin one along the edges to the front side of each of the 28×12″ piece of fabric.
You’ll then have two panels, which will be the front and back of the caddy. Sew up the edges of the pockets, make sure to backstitch.
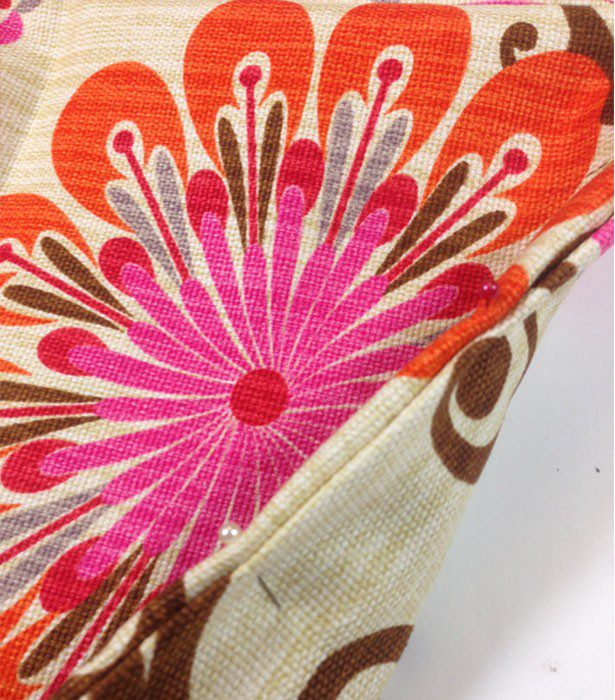
It should look like this when you are done sewing a pocket to each panel.
Right sides together, sew up the length on each side and along the bottom.
Leave the top open.
 Insert your hand in the opening and turn the caddy so the right sides are facing outward.
Fold in the top raw edges of the caddy. Pin, and sew across the top, backstitching of course!
Sew a 1/4″ seam all around the piece, this will give it a nice, finished look.
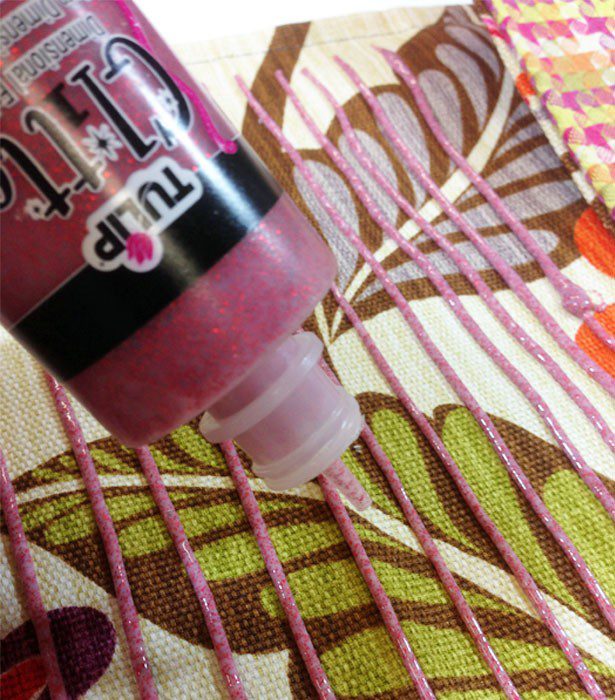
Create some GRIP!
Because of gravity, if you put a book in one pocket, the caddy will slide off the armrest of the chair. Therefore, we need to add an element to prevent that. There are different ways. You can stitch Velcro on the inside of the caddy on each side so it will be secured, you could sew snaps or jumbo buttons. I used Puffy Paint to act as a grip on the inside center, it works for smaller items, but I’m going to sew a big button and buttonholes on the sides to make it more secure.
Add some flair!
‘Extra’ is a mindset, and I live it every day. I can never leave things as is, I always have to embellish EXTRA in some way. In this case, I used glitter Puffy Paint and gems to liven up the pattern on the fabric. Don’t judge!
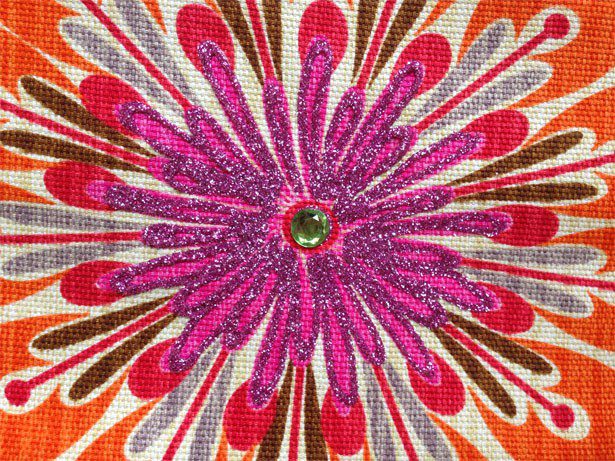
So if you’re feeling sparkly, you can glitter the flower and add a gem or two! It’ll make it even fancier!
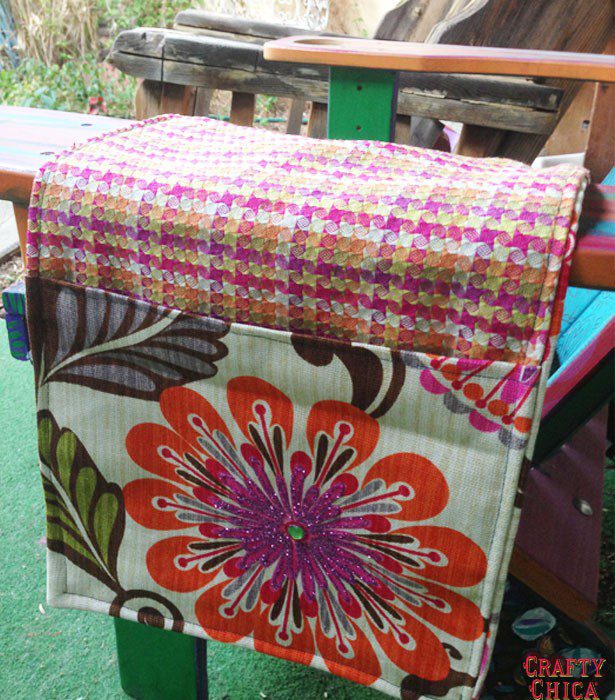
Here is my new caddy on the Adirondack chair on the front porch. Doesn’t it look fabulous?

And here it is in my art studio (pardon the dust). I love it because I can take it everywhere and have that little bit of extra storage! and it’s not just for books, you can use it in your craft room to keep things you use all the time, like measuring tape, or a paper towel, a sketchbook – anything! You could even make smaller versions. And yes, I was inspired by the chair caddies I’ve seen sold on TV where you can hold the remotes, etc. I always have to think of a crafty spin!
Thanks for checking out my chair caddy DIY, let me know if you try this!
RELATED:


Nice! I haven’t seen the selection of HGTV fabrics yet at Joanns (kinda overflowing w/fabric at the moment) and I’m impressed! Now I wanna run up there! Ahhh! Anyway..I’m thinking if someone doesn’t have the Tulip glitter or puffy paints…they really should tho… 😉 some hot glue squiggles should work just the same. Given the time to dry, with the right amount applied, etc. Assuming they use an upholstery grade or tight woven cotton type fabric obviously. I’m sure you could explain that better. Lol! <3