
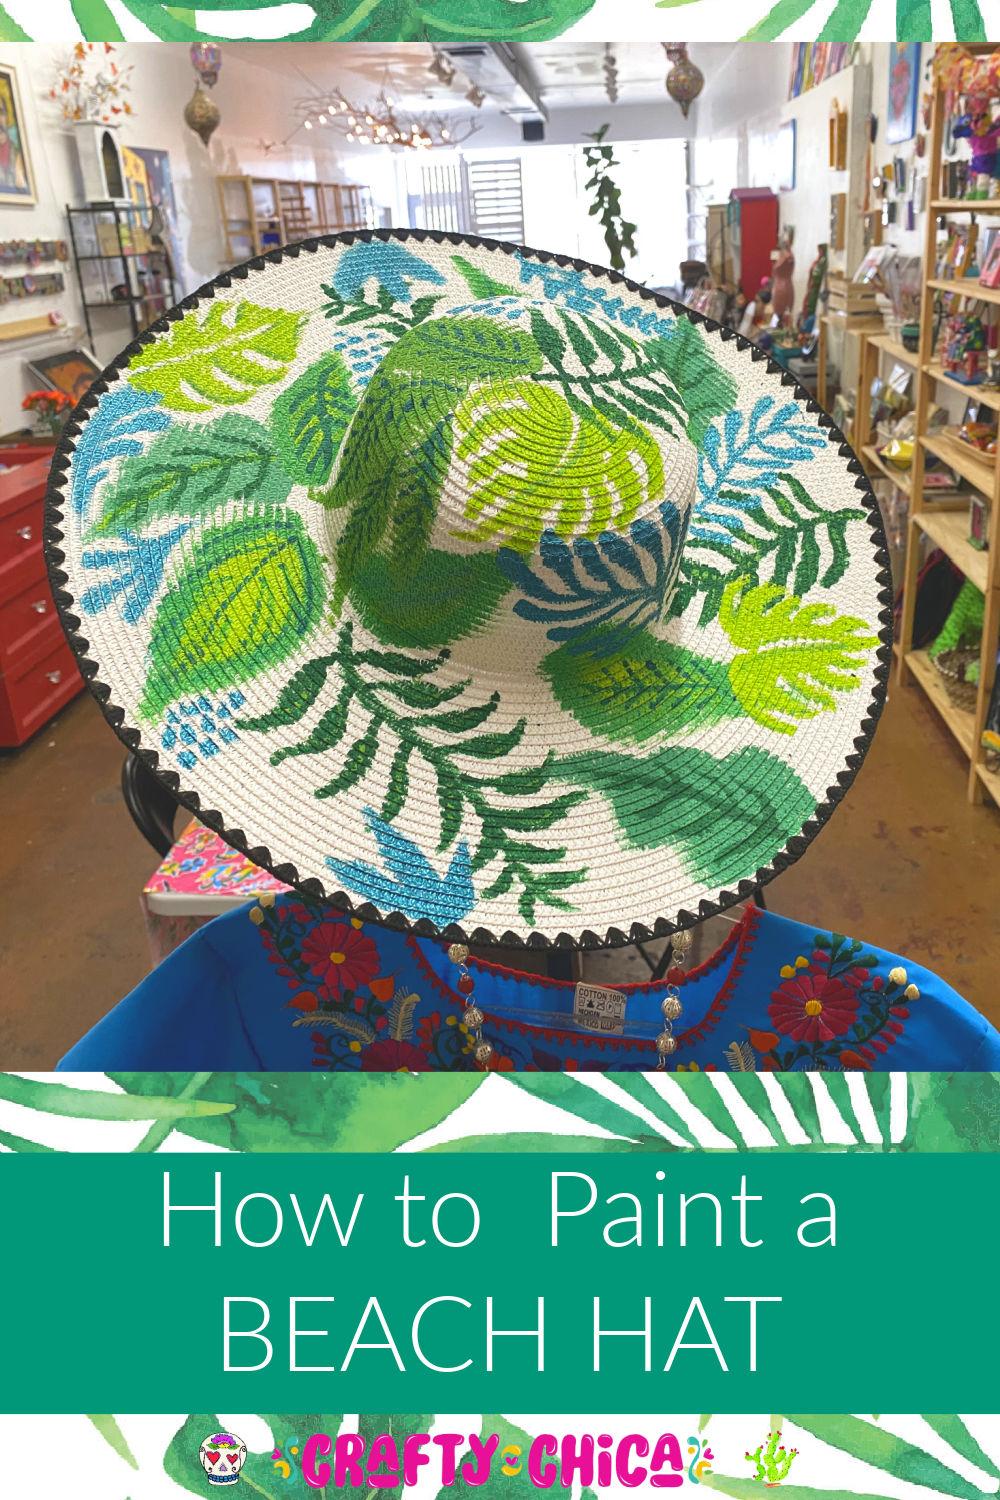
A chica buys one Fiddle Leaf Fig and now she’s a plant mama-in-training. I’m that chica! And my love of all things leafy spilled over into my craft projects. Check out my plant-themed painted hat tutorial!
I promise this is a DIY anyone can do, the trick is to use the right-sized brushes but we will get to that later! You’re probably thinking, “Kathy, where in the world would I wear this hat, we’re in the middle of a pandemic!”

Alrighty, I thought of that!
Here are ways this painted hat tutorial will come in handy! Wear your new hat for the following:
- Organize a virtual beach party with your friends over Zoom. Use a beachy background.
- Create an island escape on your back porch or even family room.
- When you go swimming in your backyard pool! If you don’t have a pool, ummm – use a water hose and pretend!
- Gardening, to shield your face from the sun.
- To the grocery store, with a matching mask and sunglasses. You will look so mysterious, yet chic!
- For a selfie photoshoot!
- Have a hat painting party over Zoom and invite your friends. You chicas can paint and share the chisme!
Convinced? Okay, good, let’s paint a hat!

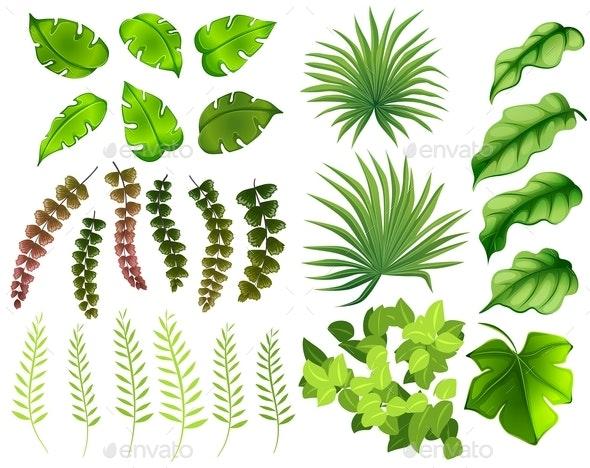
You can paint a hat in any theme – I already have ideas for other designs, but for now, we’ll go with this greenery goodness.
Before we start, know your plants. Practice drawing them on scratch paper so you won’t feel as shaky when you go to add that brightly-colored permanent paint to the brim! Relax, you got this!
RELATED:
Pom-Pom Beach Hat
Frida Tea Party Hat
Supplies:
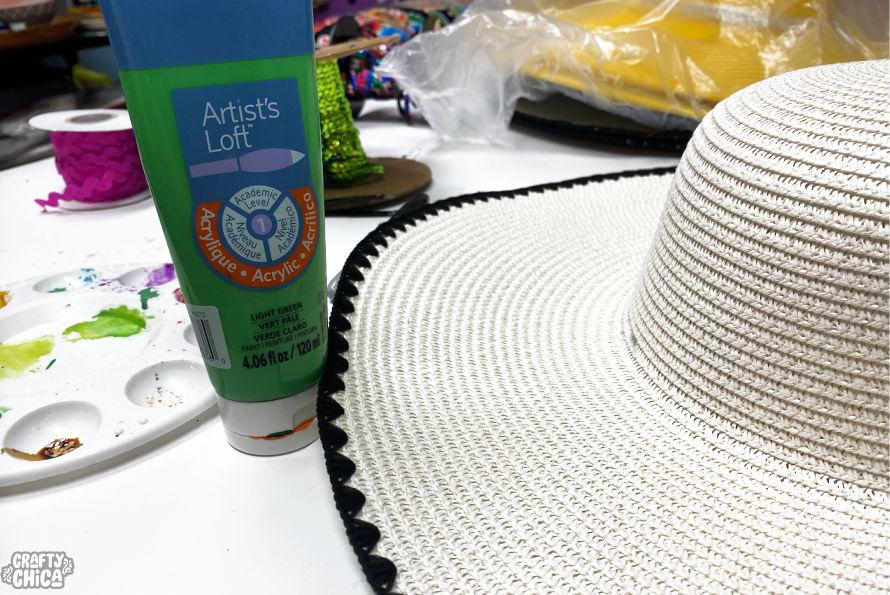
One large-brimmed floppy hat. You can find this on Amazon or I’ve heard that.99 Cent stores sell them for $1.99. Not sure if they are still in stock, it might be good to call first. I painted a white hat and a tan one. A yellow would be a nice base color if you can find one! Oooh, or metallic silver or gold! Or hot pink!
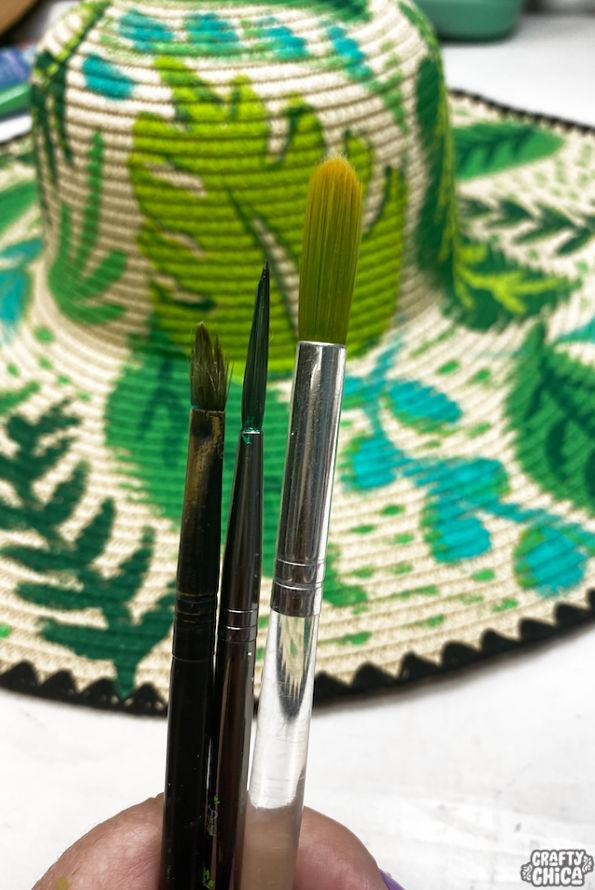
Assorted brushes. I used a large round brush, a long liner brush and a Filbert brush. You could also use flat brushes, anything will do, honestly. But I found these make it easier to get nice coverage.
Assorted craft paints. Granted, I used an array of greens – metallic, olive, neon, brights, etc. But who says painted plants and leaves have to be green? Next time I’m going to do this same design in pinks, red, and oranges. It would even look pretty in multicolor!
Brush on glitter – optional!
Directions:
Practice your plant and leaf drawing skills on a piece of paper. Nothing fancy, this is so you can get the feel of the shapes.
Prep your area with water to rinse your brushes and paper towels.
Remove any decorations on the hat’s brim, you can always add it back later if you want.
To make it easy, think of your hat as a canvas – you have one big space on top to paint, then like a clock, four spots for balance for your biggest leaves. 12, 3, 6, and 9. You don’t have to use this guideline, but if you are new to this, it could help!
Start with the largest brush and one of the greens. Add big similar leaves to the top and the four areas. Use a generous amount of paint, especially if the hat is textured.
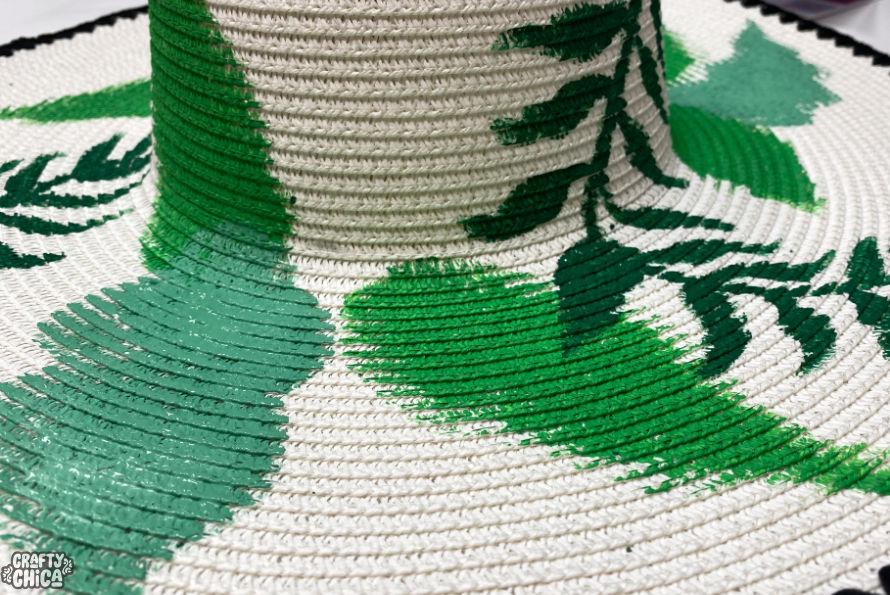
While those dry, choose a different color and add another kind of leaf design. Paint the shapes of those in between the other leaves.
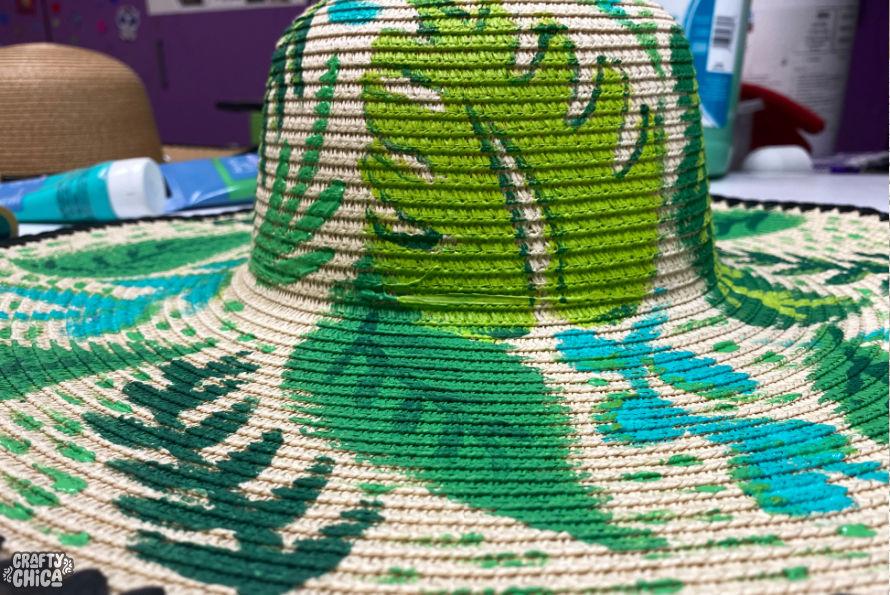
Fill in with a third color and another leaf variation.
Look to make sure everything appears balanced. Let it dry. Use a different color and the Filbert brush to add shading around the outer areas of each leaf design.
Lastly, use the liner and yet another contrasting green hue to add the veins of the leaves and stems.
I like to make each hat different so I filled in one with dashes of color! See photo above!
Add colorful fabric or embellishments around the brim.
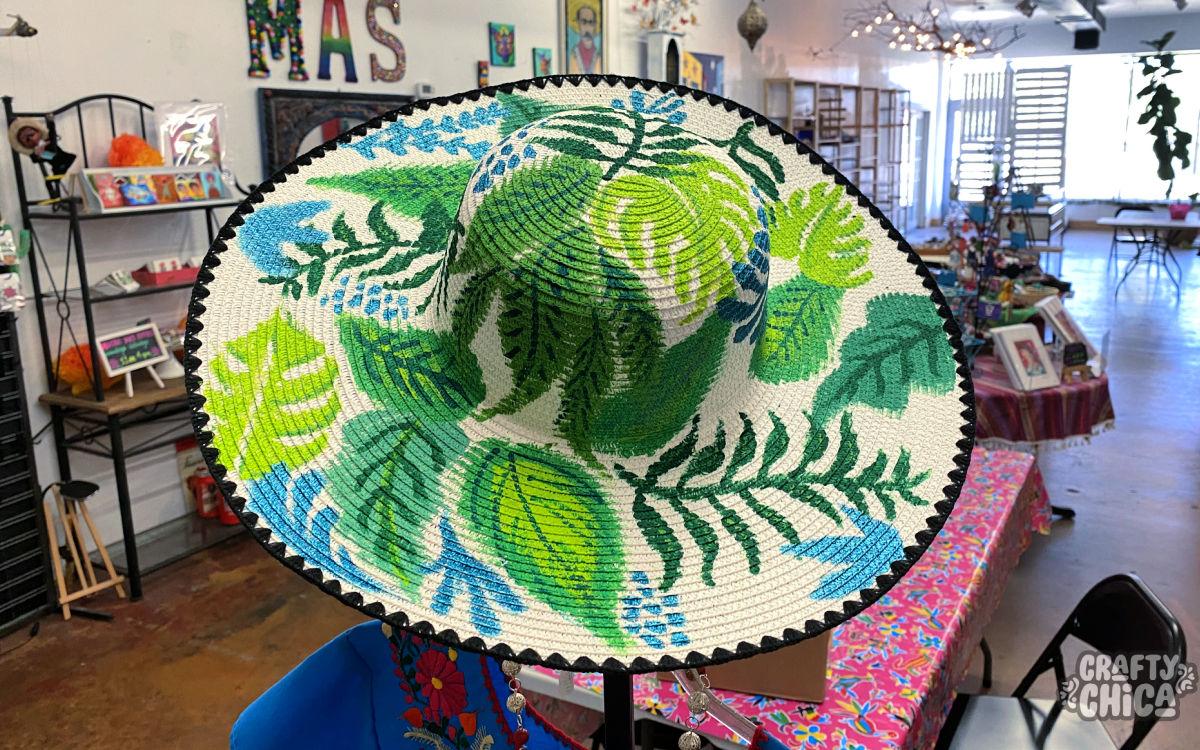
If you want sparkles, add brush-on sparkle varnish!
I love painting these hats. I painted the white one first and my friend, Sonia of Mujeron Movement, modeled it for my video and this post. Then I left it in the shop and it sold! I became so excited I painted a new one. I still have several and I’m thinking I better hurry and paint them as well before fall arrives!
Thank you so much for checking out my painted hat tutorial. I hope it inspires you get creative!


Cathy, can I seal it? I’m worried about it getting wet. Maybe some Modge Podge?
You can use a clear water-based sealer if you want, but if you use fabric paint or mutli-surface paint, it should be fine!