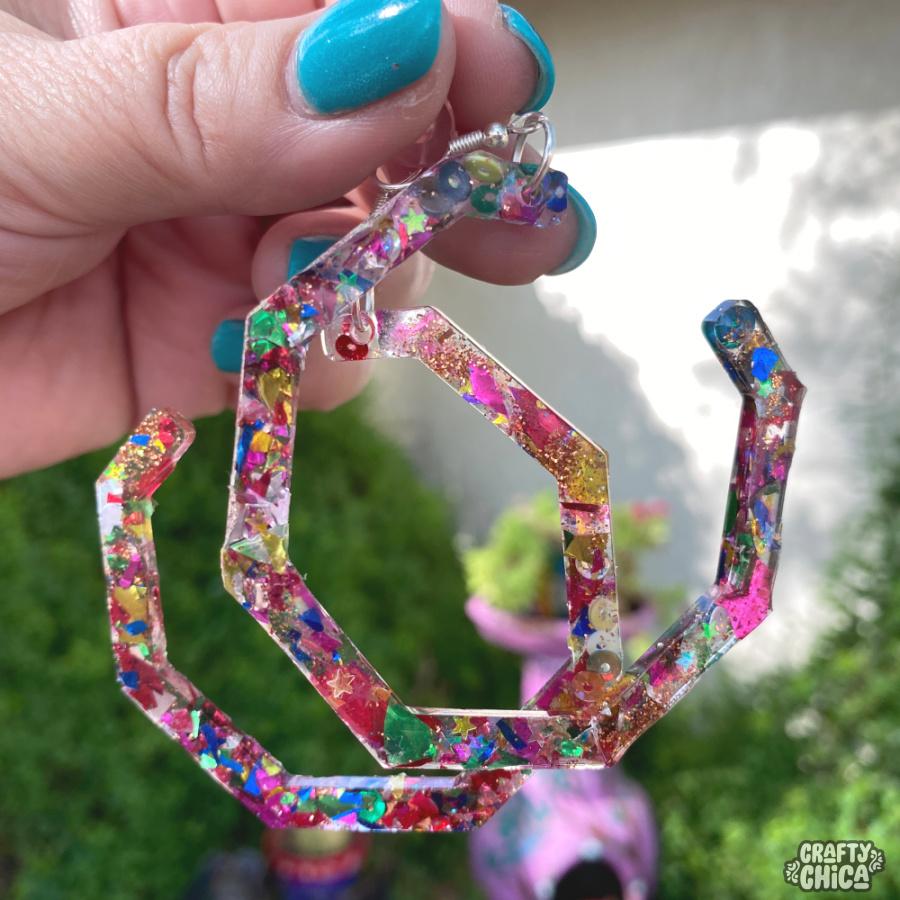
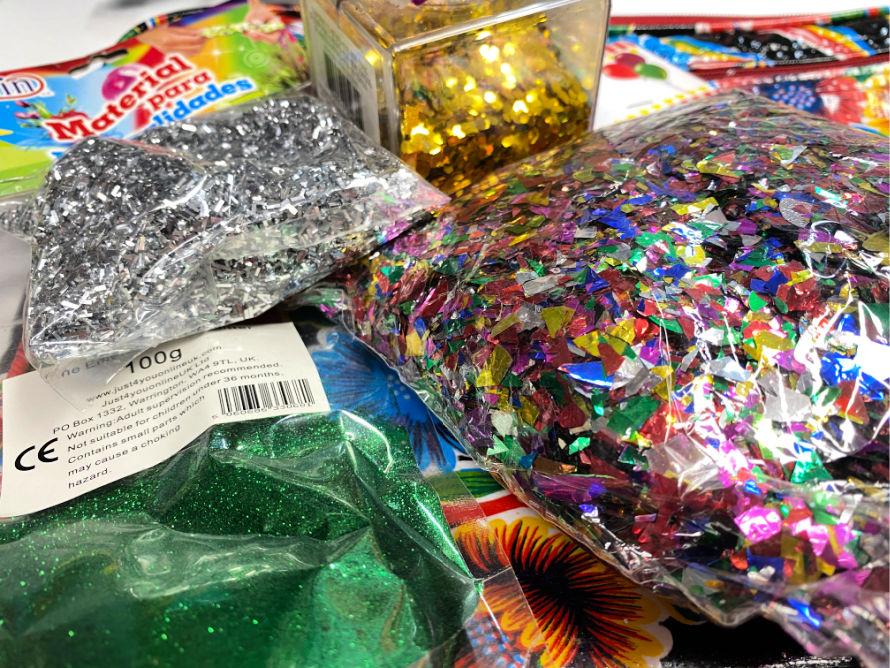
In the mood for resin crafts? DIY glitter earrings? YES! I call them Sparkle Collage Hoops! Here’s the deal: I’ve built up quite the sparkle library of embellishments and I’ve slowly been making my way through downsizing.
What does one do with a lifetime glitter collection when there is I know there is a movement to ban it all? I don’t want to pitch it, so I’ve been using it in ways that are embedded, contained, and functional. That’s where these glitter earrings come into play.
Side note – I’m 100% addicted to TikTok!
You can follow me here: tiktok.com/@craftychica – let me tell you, resin crafts have made a comeback in a whole new way. Not just old school bartop varnish or deep-dish pendants, but super creative techniques and projects like layered pyramids, geode coasters, custom silicone molds and so much more.
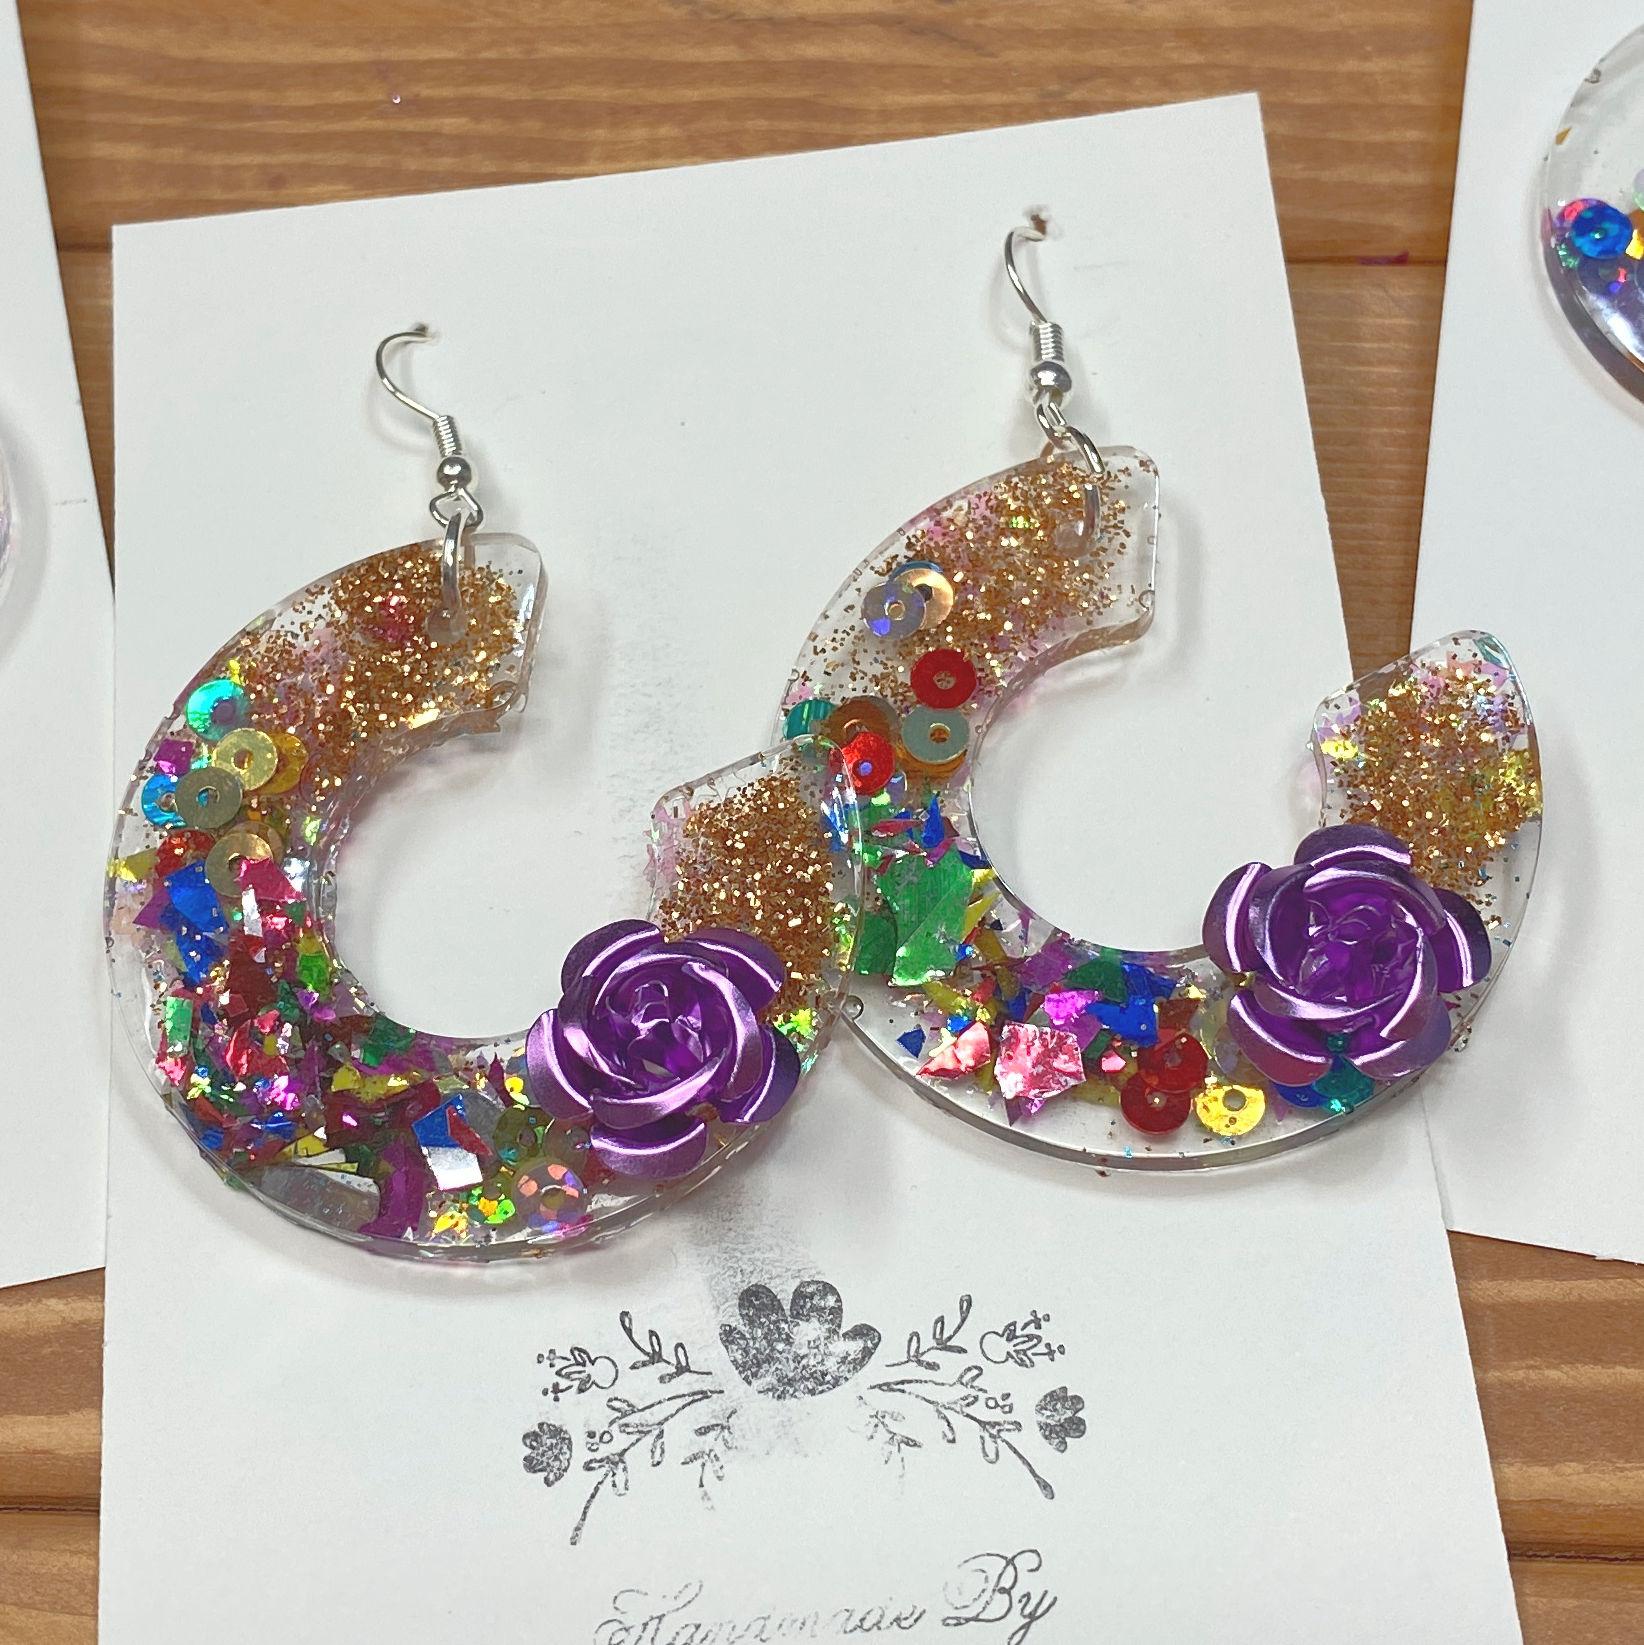
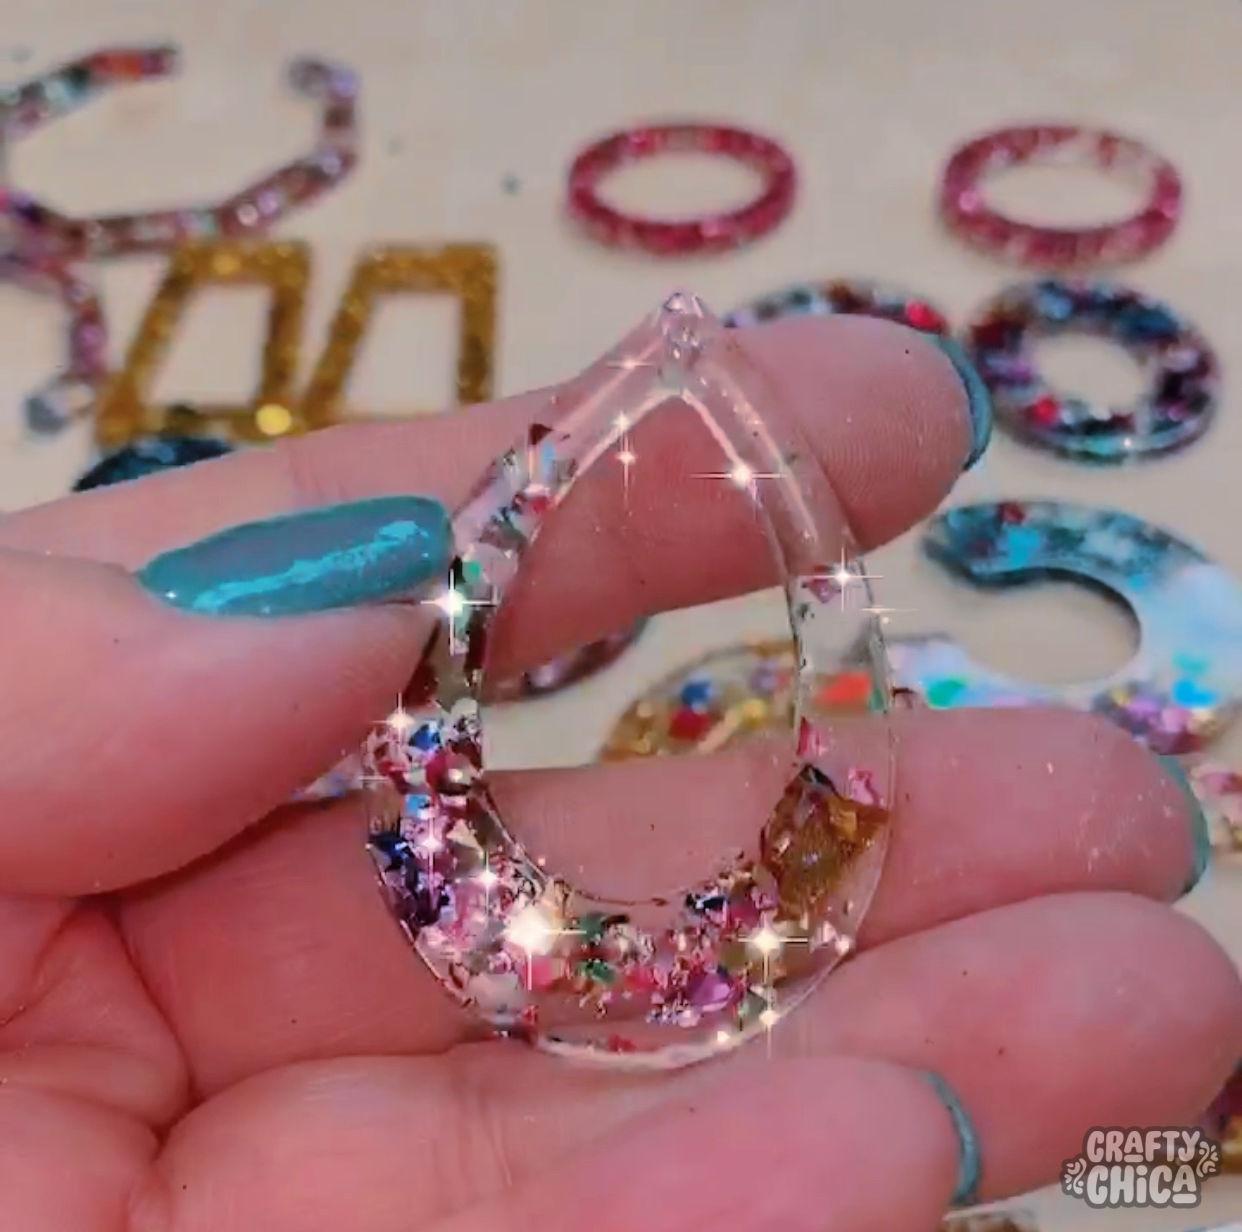
Um, hullo… I want to join the newfangled sparkle party! I looked at all my glitters, sequins, micro stars, etc, and decided to use them all together in resin earrings.
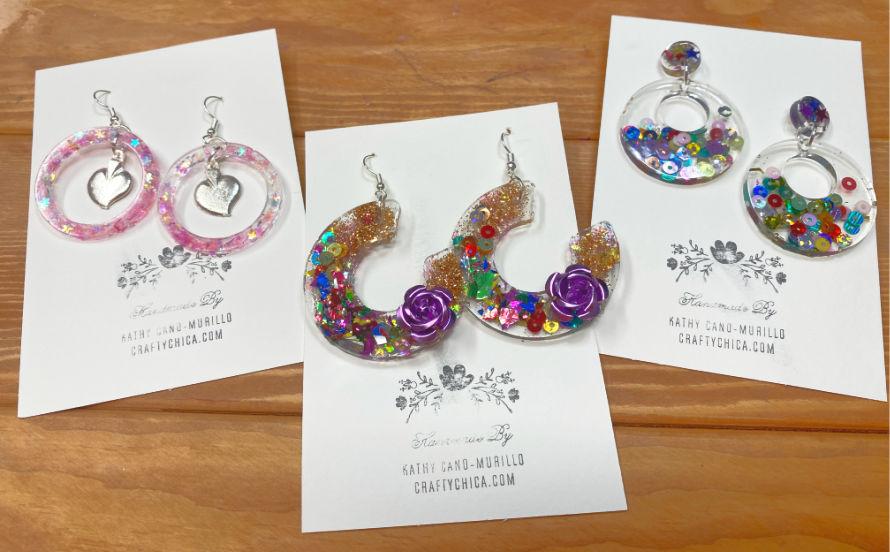
They turned out FABULOUS and I am so proud of them. I made about two dozen pairs and I’m selling them in my Phoenix store, and I’ll upload them to my online shop too. Each pair has about six different reflective elements!
Here is my video glitter resin earrings tutorial
Resin Crafts: Supplies to make DIY glitter earrings
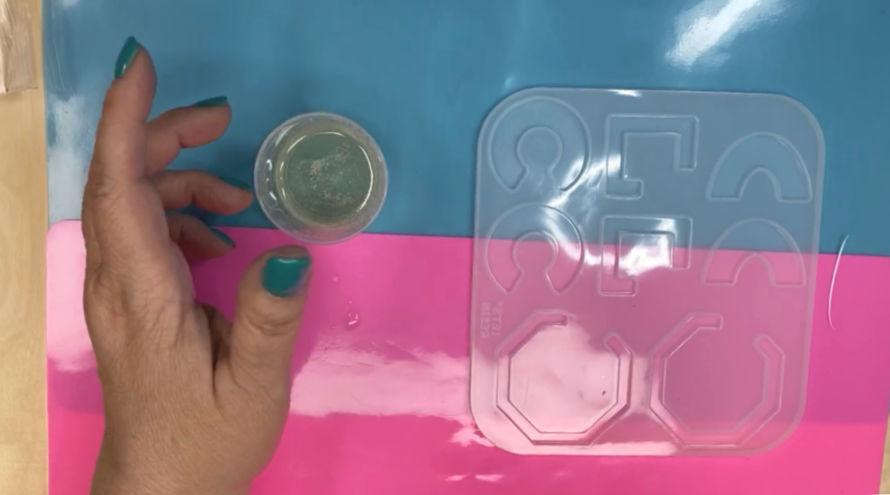
Silicone earring molds
Plastic gloves and mask
Very flat board
Wax paper
Heat gun or straw
Assorted glitters, sequins, shapes, etc
Sandpaper or nail file
Jewelry findings
Directions:
Work in a well-ventilated area.
Line your board and work area with wax paper or a silicone mat.
Open your kit, it should come with mixing cups and stirrers. Use one mixing cup and a stirrer.
Put on your mask and gloves.
Pour equal parts of each resin bottle into the cup. I used one capful from each.
Here is a video where I show how to mix the resin.

Use the stirrer to mix the two and then mix until your resin looks fully clear with no streaks. If you don’t mix it well enough, it will not cure. Scrape the sides of the cup to make sure you get every little bit!
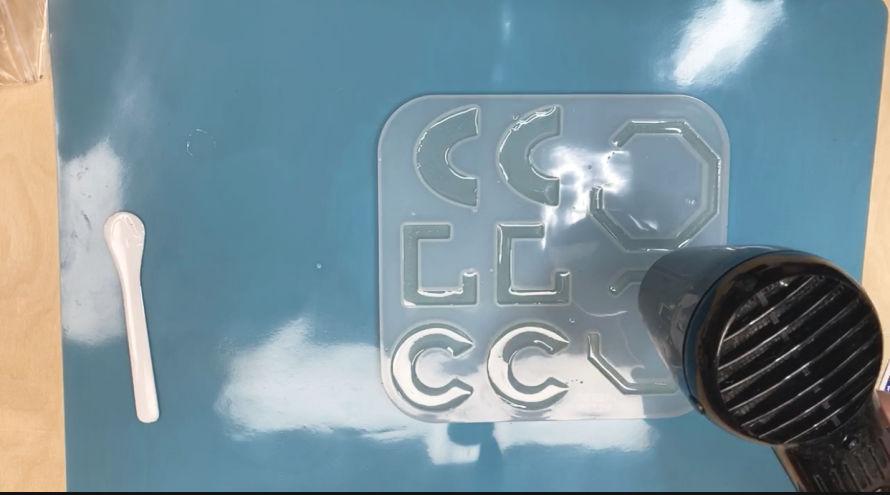
You’ll see air bubbles, that’s okay. Let your cup of resin sit a few minutes and they will pop. You can also use a high temp heat gun, such as an embossing gun.
Set out your mold. Use the stirrer to carefully add a thin layer of resin to the mold. Move it around for good coverage.
Add pinches of the glitters wherever you want them in the mold.
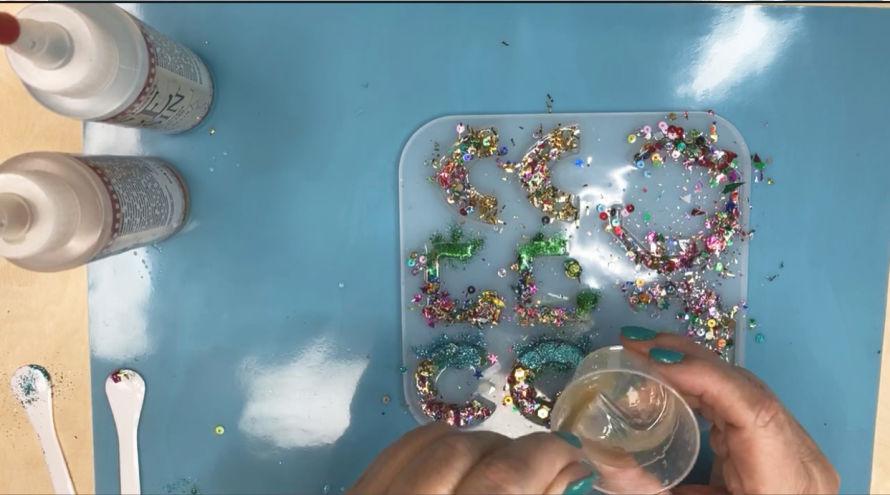
Use the stirrer to mix them in with the resin layer.
Top with another layer of resin.
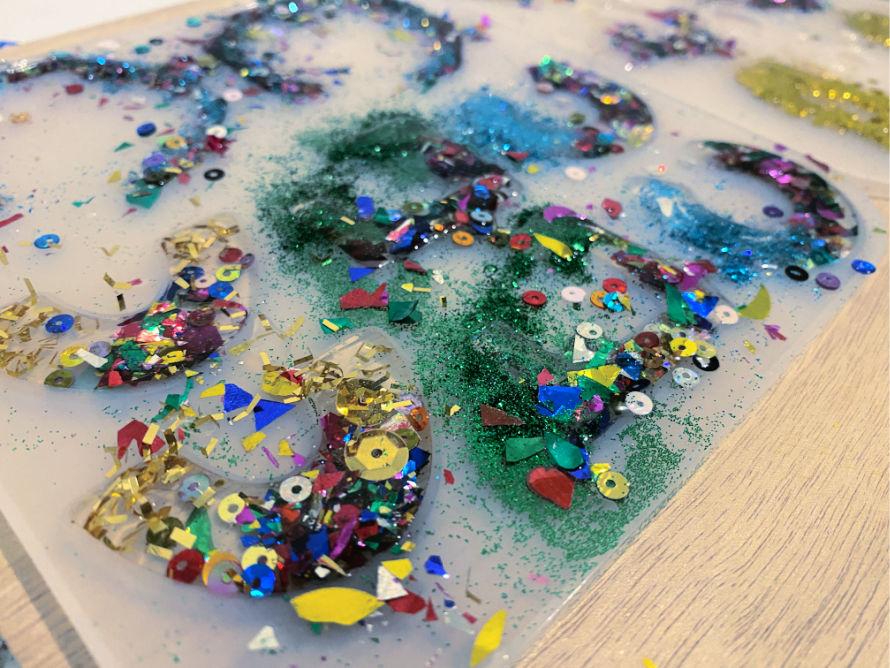
NOTE: This is a super messy project, it’s okay if it gets everywhere on your mold, just make sure to let your resin cure for 6-8 hours. After it is cured it will be easy to peel off the spillage. Make sure to let your resin mold cure on a very even place so your earrings don’t turn out lopsided.
Wearing your gloves, touch the resin in the mold to ensure its cured. Then pop out the pieces.
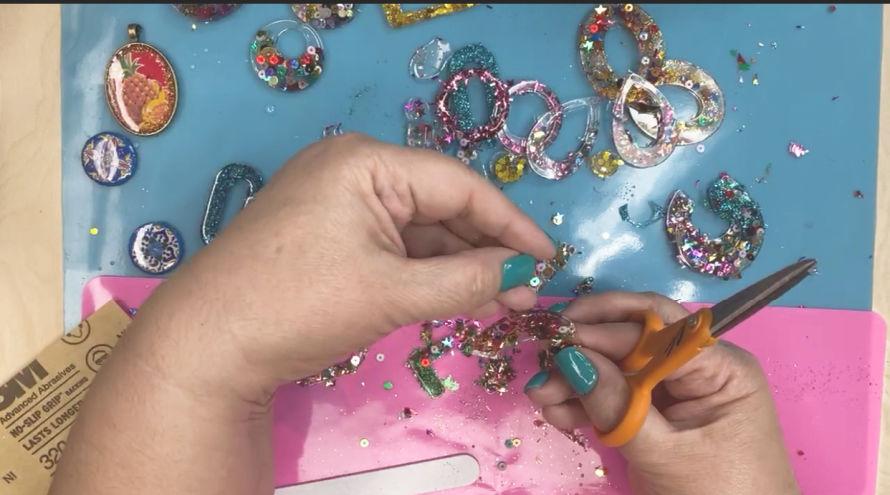
Small scissors are great for trimming the excess resin around the edges. Cut it all off so your earrings are flush on the back and front.
A nail file or medium grade sandpaper works to smooth out any sharp or rough edges.
Finish off your earrings. Next, mix up a new batch of resin and coat the backs of your earrings so they look even and shiny. Let cure overnight.
Drill holes after they are cured. Add the findings for your earrings!
Clean up:
Throw away any shards you cut off, and to clean your silicone mat, you can use nail polish remover. Or if you use wax paper, throw it away.
Glitter earring tips:
Mix just enough resin that you need. Have extra molds nearby to limit waste. You can use wood pieces, silicone molds, deep-dish pendants. It’s the ultimate multitasking!
Don’t forget to follow me on TikTok – I’m always uploading short tips for crafty fun!
Check out my other resin crafts:
Layered Resin Collage Art
Shrink Plastic Pins & Earrings with Resin
How to Make Resin Glittered TV Trays
Resin Pendants from Ice Cube Trays