I finally found an easy pumpkin carving method! The last time I carved a pumpkin was…ohhh, more than ten years ago. We all know it’s a high level art form that requires lots of patience and practice. Rather than dedicate my time, I have always gone for the foam pumpkins or hand painting real ones.
But that changed this season when I was asked to host a Facebook Live showing pumpkin carving to promote Hubie Halloween (check out my movie review here!). Hello, pumpkin carving, I knew I had to give it another try.
You know what else I suck at? Gingerbread houses! But that’s another story, okay, back to easy pumpkin carving!
Here is an edited version of my Facebook Live!
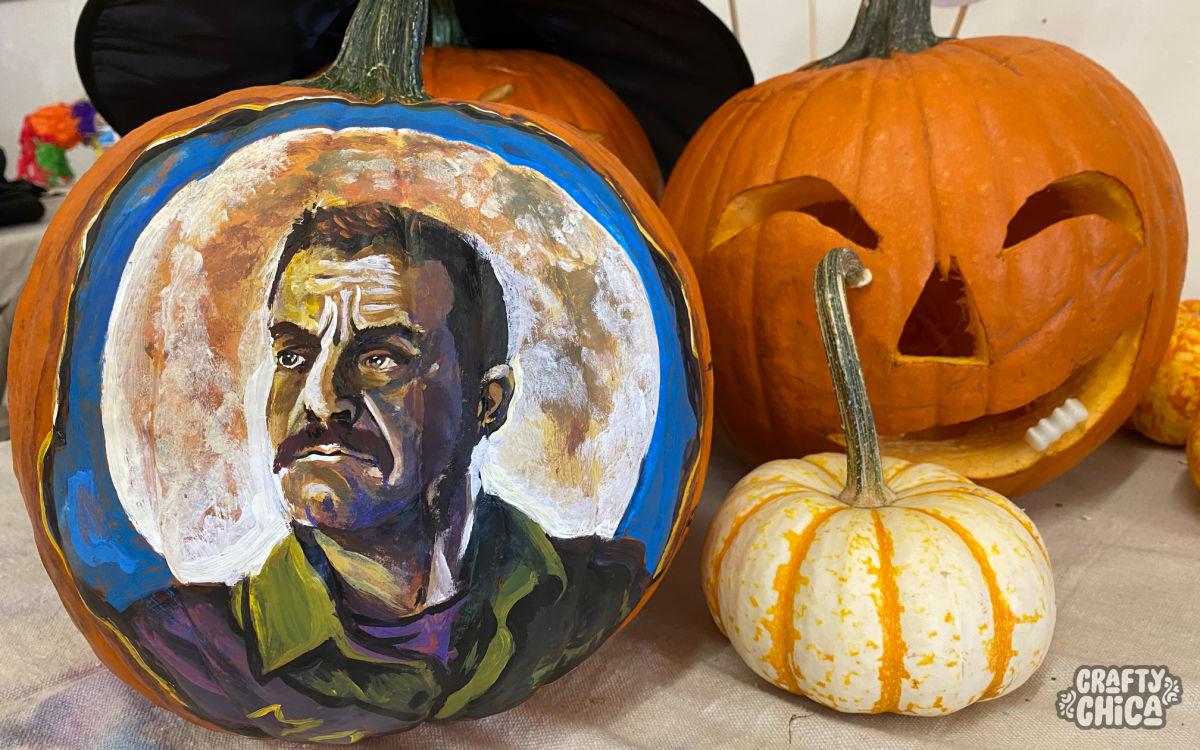
Before we go into this tutorial, I want to give a shout out to my friend Luisa of AzLotusArt! She had come over to help me with another project and ended up sitting down to paint a Hubie Halloween pumpkin for my display!
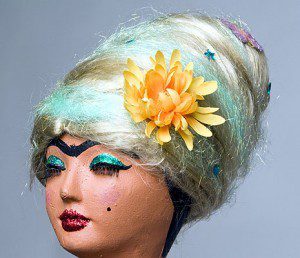
This is the picture I gave her.

and this is what she painted! She did such a great job! Check out her web site – AzLotusArt.com.
Shop now, carve later.
You want to find the best pumpkin, and that will happen early in the season, don’t wait too long! Visit a local pumpkin farm or a grocery store. Go for the pumpkin farm because you can make a day of it. Here in Arizona they have activities for kids, apple cider, local art vendors and more.
Once you have your pumpkin, wait until the day before or even the day of Halloween to do your best carving. This is because your pumpkin will start to turn brown and curl. You want everyone to see your glorious artwork at its peak!
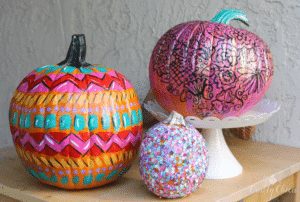
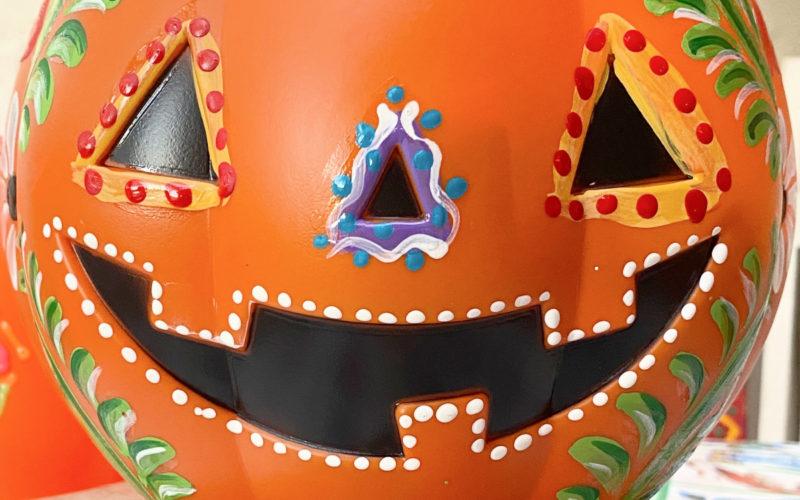
In the meantime you can decorate your pumpkin by painting it, adding sticker or ribbon.
Go firm.
Firmness is one of the most important factors. You don’t want to carve or clean out a mushy pumpkin. Pick it up and make sure it feels strong and solid.
No brown spots.
My dad used to tell me to pass on pumpkins that have brown spots because it means bugs have had their way with them. Even the smallest spots.
Tall or round!
If a pumpkin is too stubby it will be hard to carve a nice-looking face or design. Already know what you want to carve, bring your sketch while shopping so you can hold it up to each pumpkin. Then you’ll choose the best pumpkin to compliment your sketch.
Strong stem.
What’s a pumpkin without a stem? It’s like the crown jewel of the ultimate pumpkin design. Look for a sturdy stem on top that will also serve as a handle, and even for crafty opportunities!
Flat bottom.
A flat bottom will ensure your pumpkin sits upright and will not wobble or make your finished design look crooked.
Know the difference between a cooking pumpkin vs. a carving pumpkin.
A cooking pumpkin is dark orange and much smaller than a carving pumpkin. It’s much harder to cut or carve. If you do want to use a cooking pumpkin, I’d suggest painting on it. Your design won’t come out as good as if you carve a regular pumpkin!
Thickness!
A lighter pumpkin is likely thinner and easier to carve all the way through. If you plan to only carve the top layer and thin out the membrane, you’ll want a thicker pumpkin to give you more room to work with. Tap on the pumpkins and listen to see if its hollow sounding.
Have fun!
Don’t stress out about it, let your kids pick one out and just guide them along.
Alrighty, let’s do this: Easy pumpkin carving directions
Cover your work area with a plastic bag or a paper bag cut open.
This is tool set I used and I LOVE it! It made this whole process super easy! What makes this tool work is it has a study handle and a very long and wide blade. Kudos to the product development team!

![]()
Wipe down the pumpkin with a damp cloth. Use the marker to draw a circle around the top of the pumpkin.
Carefully insert the carver into the line you drew. Start to “saw” up and down around the line, going away from your body, keep it safe! Make sure the carver goes all the way through the pumpkin thickness. Remove the top and cut away the excess gunk from the lid you just created.
NOTE: Some people cut a hole in the bottom of the pumpkin, rather than the top. Why? Because then the lid won’t fall in and you can set the pumpkin on top of a candle or battery-operated light.
My take is… I like the top lid! I’m going to carve a new one on Halloween and I know the lid won’t fall inside the pumpkin in one day!
Clean out the inside.
Use the scooper to remove the seeds and guts, place in a bag and dispose or use for compost. Make sure the inside of your pumpkin is nice and smooth and clean.
Cut the face.
Use the marker again to draw the face. If you are a newbie, use a loose, easy, wide design. Big eyes, nose and mouth.
Repeat the process above to cut the eyes, and then rest of the face. Carefully remove the pieces. Trim any excess pumpkin flesh to help your design shine and look clean and crisp.

Add teeth!
This is super easy, right? You don’t even have to cut the teeth, I bought plastic screw-in teeth and they gave my pumpkins even more personality!
Hope this helps, good luck with your pumpkin carving!
Other pumpkin ideas!