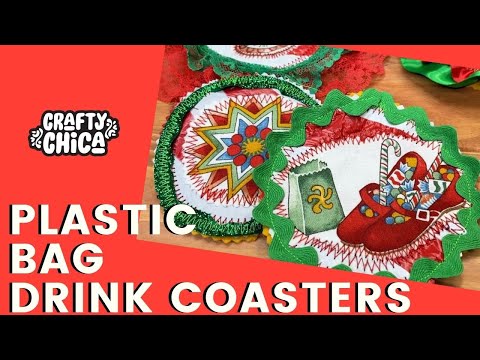
Here is a tutorial for plastic bag crafts. We’re making upcycled drink coasters!
This year, I’ve challenged myself to do more with recycling and repurposing. For those items that can’t be recycled at home, repurposing is a great way to give them a second life. At RecyclingSimplified.com by Republic Services you can get tons of information about how to recycle correctly, as well as activities that can be enjoyed by the whole family.
Plastic bags cannot be recycled in your regular household recycling because they damage the machines in recycling centers. With so many plastic bags in circulation, one way we can help prevent litter in our communities is to reuse these bags around our houses.
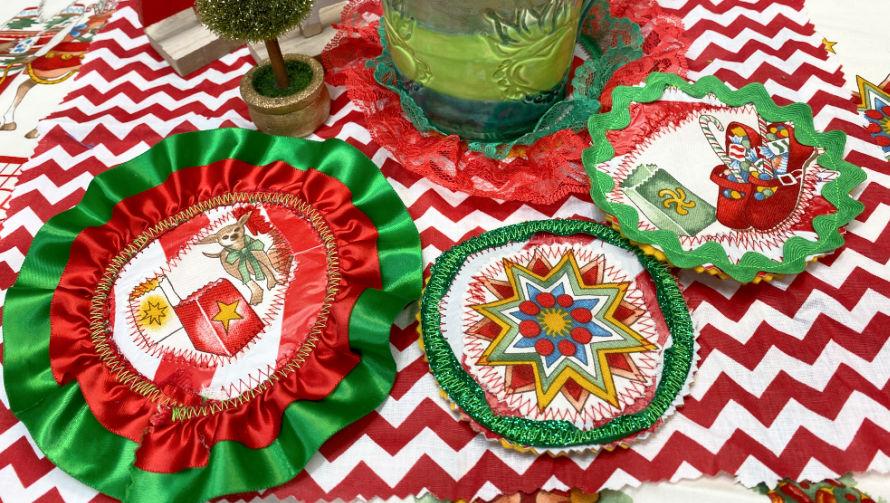
This time I ventured into plastic bag crafts by creating DIY drink coasters! All it takes is one bag to make a coaster. From there, you can decide how much you want to embellish them. As you can see below, I go overboard when it comes to the holidays. I used lots of red and green trim to make these coasters festive and holiday friendly.
Related craft: DIY Holiday Cluster Ornaments
Paper Bag Crafts: DIY Drink Coasters – Supplies
1 plastic bag per coaster
Sharp scissors
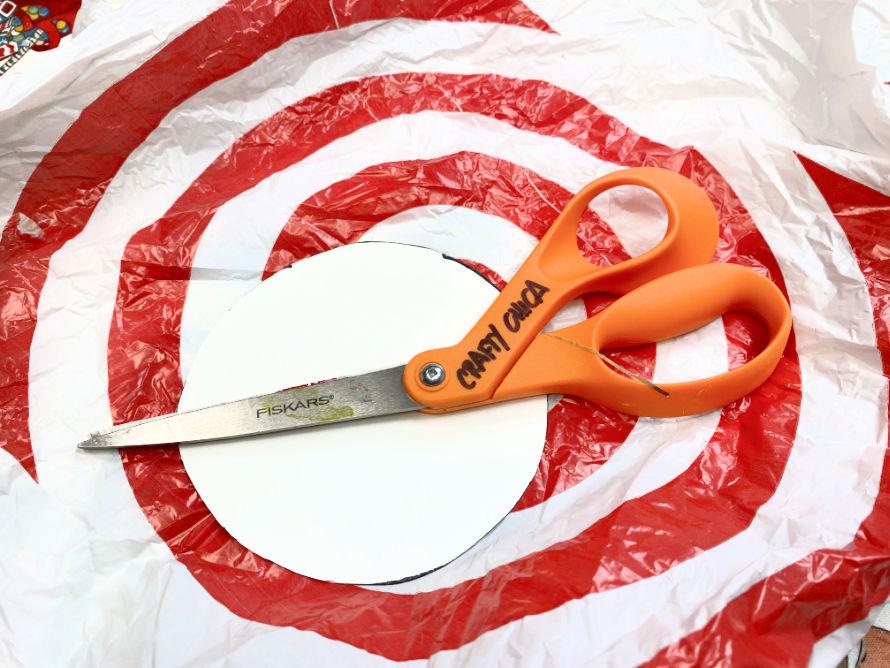
4″ circle pattern (you can make it by tracing the bottom of a jumbo mug)
Sewing machine
Trim – optional
Directions:
Cut a circle template measuring 4″ in diameter. You can trace the bottom of a can or jumbo mug on a piece of cardstock or paper.
Cut out the pattern.
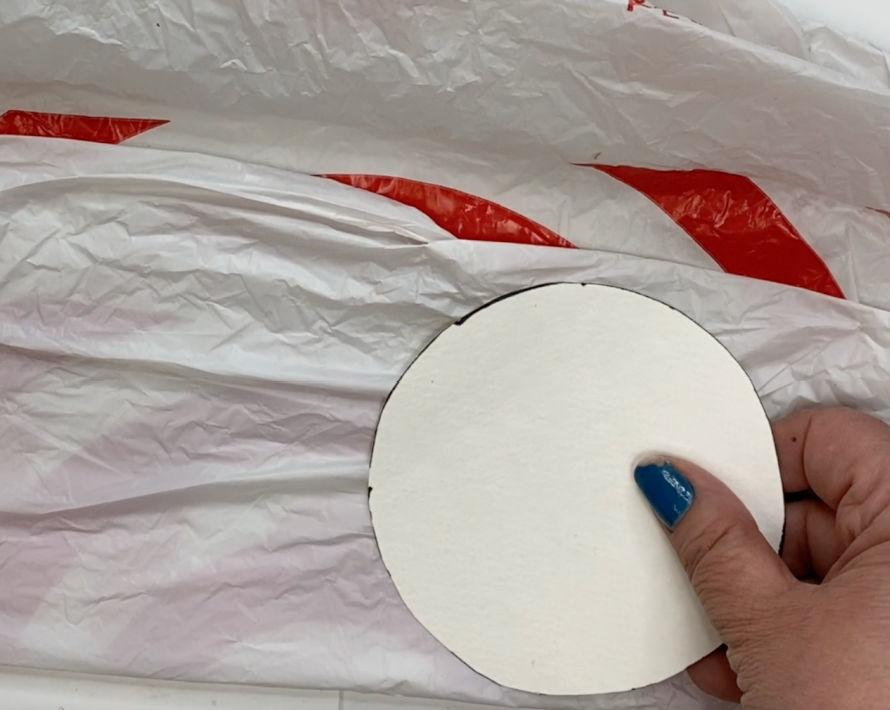
Fold the bag three times lengthwise, making sure the pattern will fit.
Fold it into a square to create even more layers.
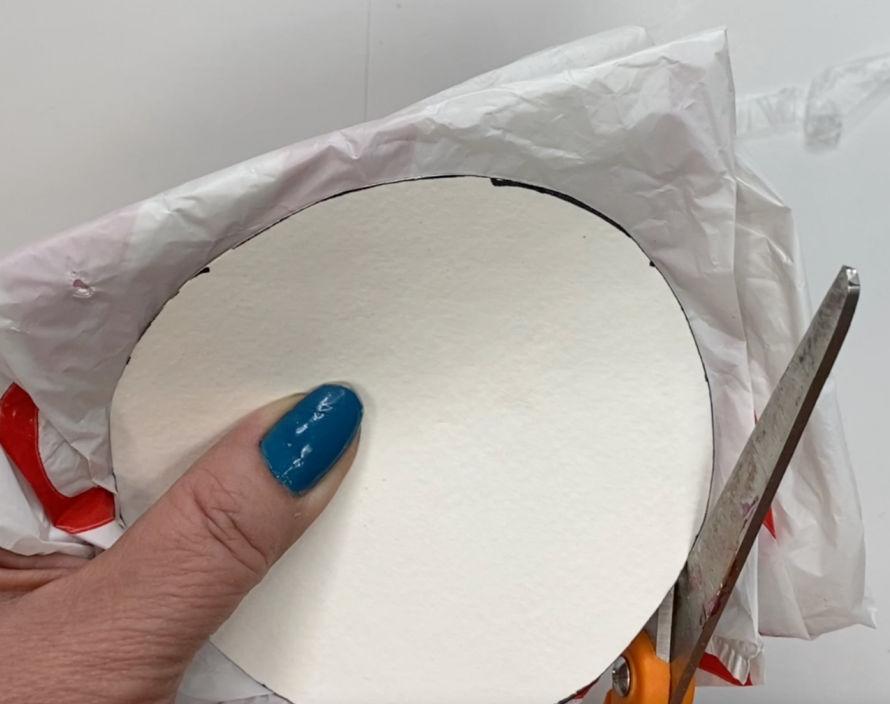
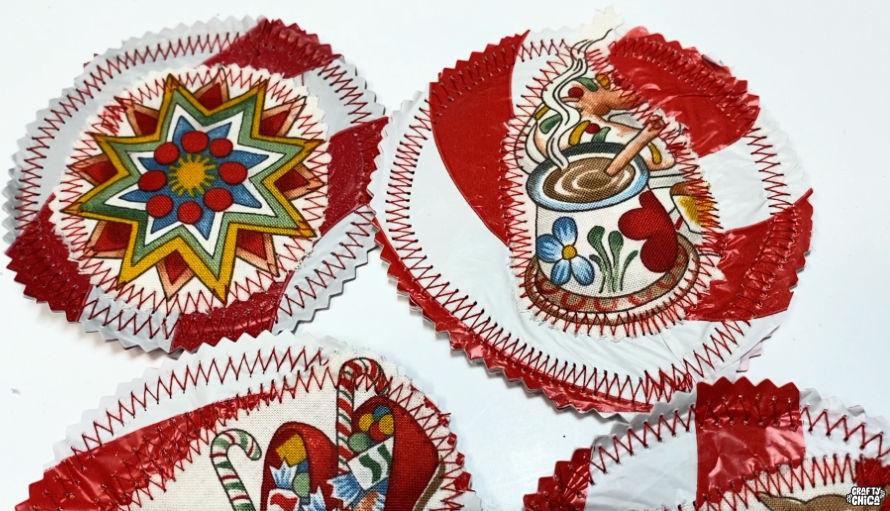
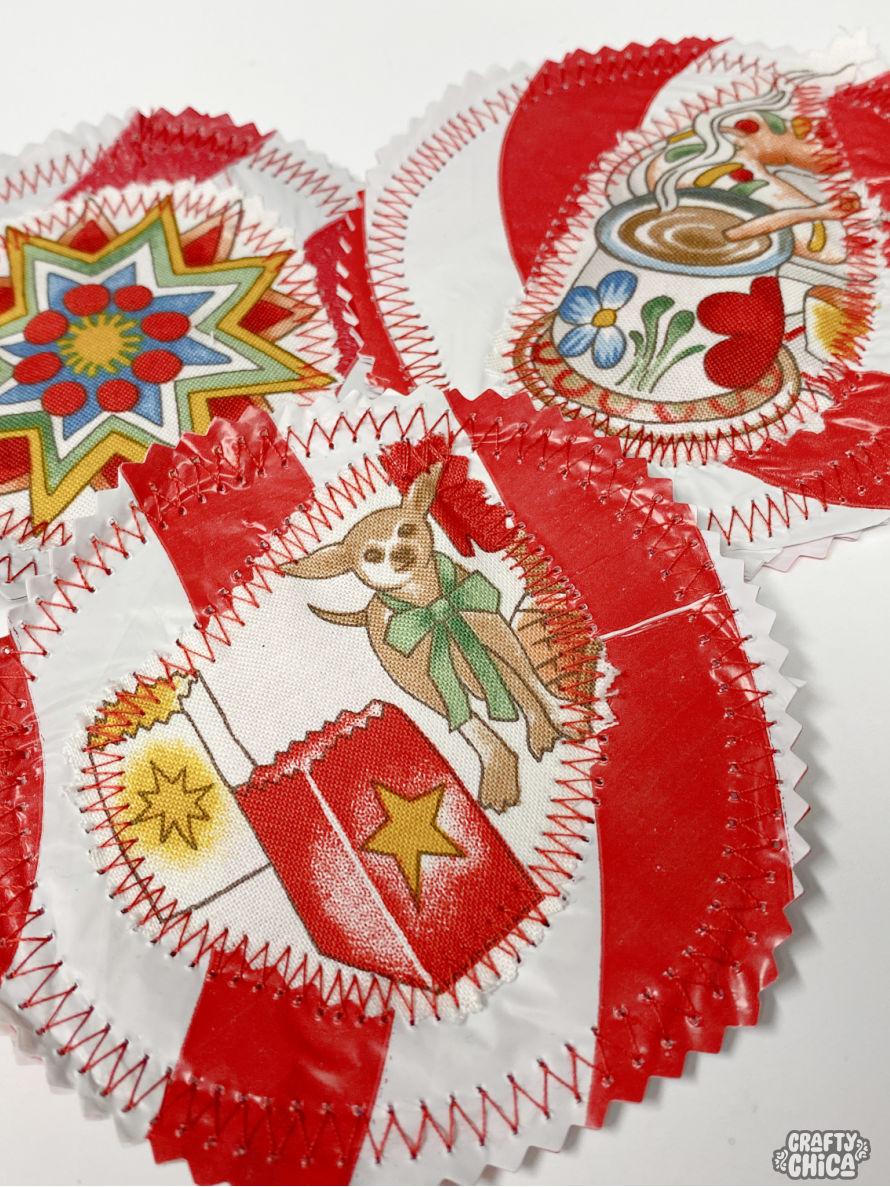
Cut out around the pattern, it’s okay if it looks rough, we can fix it later! You’ll end up with a stack of plastic circles. To add a holiday vibe, make sure the red printing in on the outside.
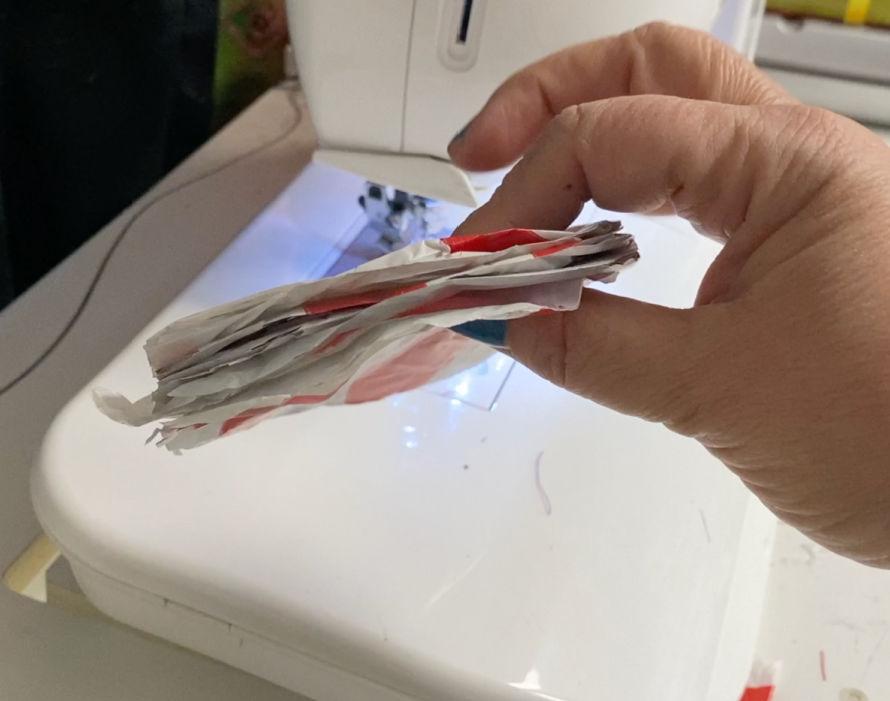
Time to sew
Use a zigzag stitch and sew all the way around the circle. The plastic will glide under your needle, no need to add tissue paper or even pins or clips!
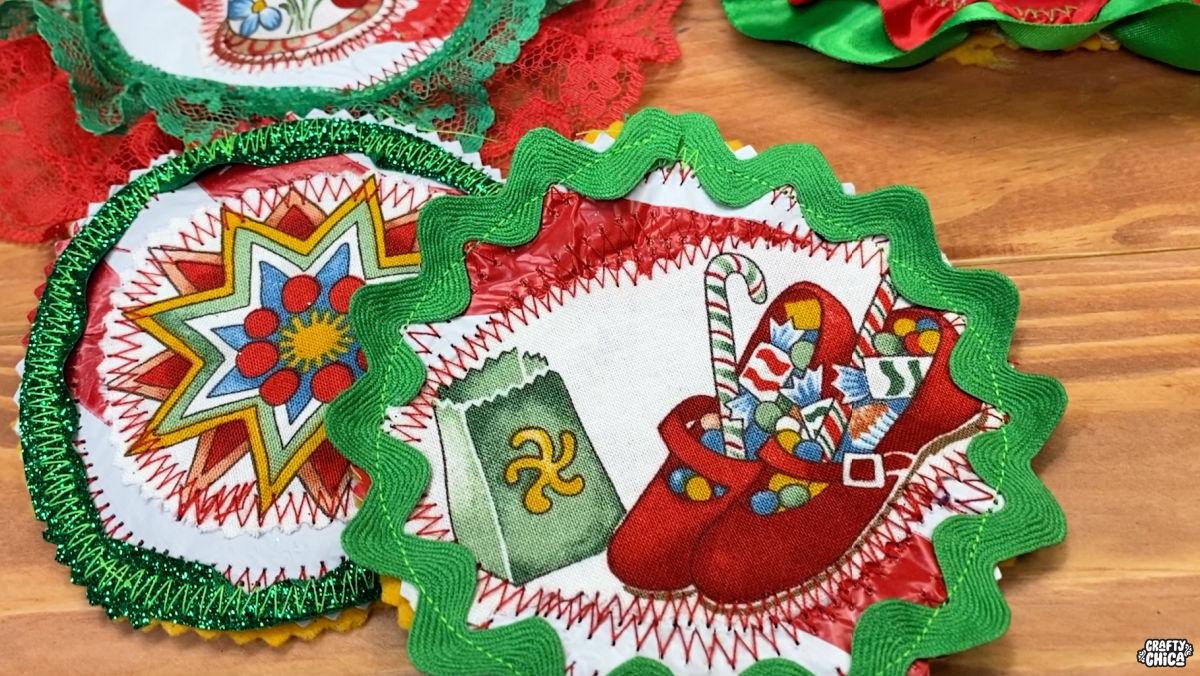
Once you have the outer seam, you can sew in the inside area if you want, maybe use different colored threads or stitch on ribbon in patterned designs. I decide to use some fabric stash. I cut out small motifs and used my pinking shears to cut around the edges, then I stitched them down.
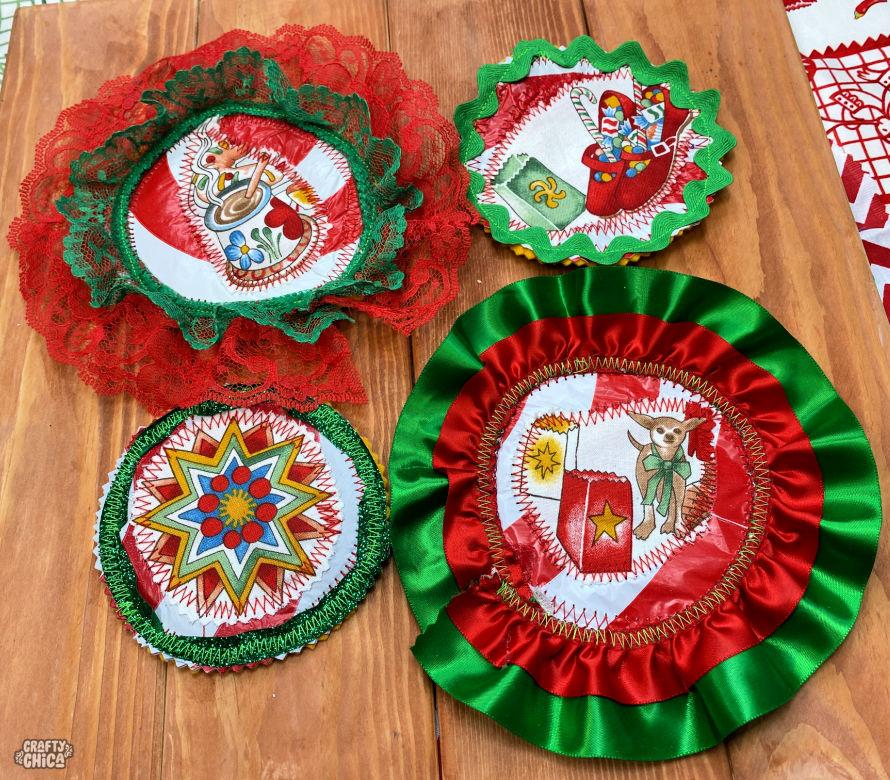
They look cute just like this! You could sew felt to the bottom or go to the extreme like me and pull out that fancy lace trim you bought in Mexico City last year!
I knew I’d find the perfect project! I also used rickrack and glittered ribbon.
Proud crafty mama over here! Great to give or even sell. And to think the base of them is made from a plastic bag – you can’t even tell! You can use the same concept to make your own plastic fabric and create pouches, ornaments, sleeves, coin purses and more.
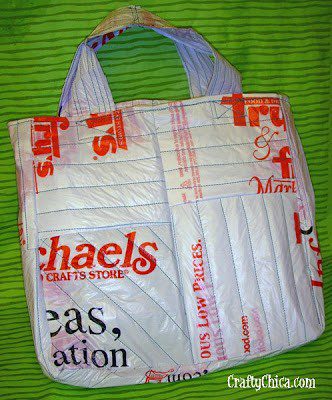
Check out this post I did years ago where I made a sturdy tote from layers of plastic bags!
Still used to this day!
RELATED: Bead Stash Charm Bracelet
Here are what my finished coasters look like! They are ready for action!
Again these are the coasters before the trim. I like this version as well. They are cleaner looking. Make them to fit your personality!
Other plastic bag crafts, aside from these upcycled drink coasters:
Connect the bags to make yarn, then crochet or knit with it!
Shred and use as package stuffing.
Use as stuffing for puffy ornaments or even throw pillows.
Cut the bags open and sew or tape together to make a table covering for messy crafts.
Keep them in a gallon container and reuse them for grocery shopping.
What other ideas can you think of for plastic bag crafts? What did you think of my DIY drink coasters idea?
RELATED: The Importance of Using Sustainable Crafting Materials