
The class is an hour long and here are the supplies you’ll need!
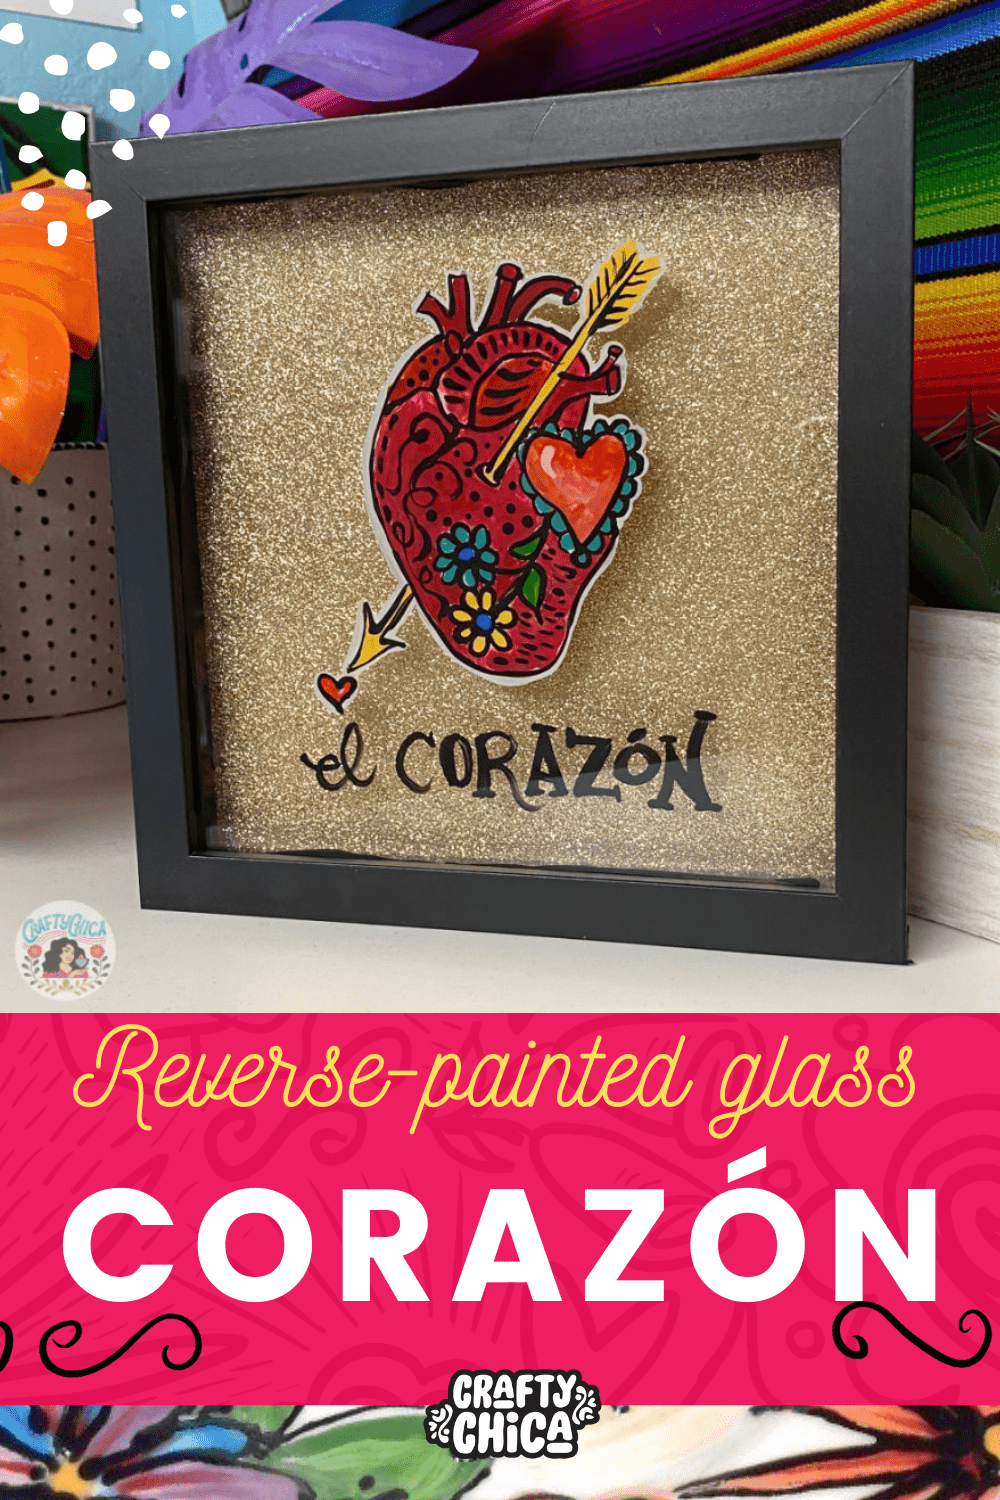
El Corazón Reverse Glass Painting Shadow Box
This project celebrates El Corazón (The Heart) – the key to all we do in life and love! I drew my own version of el corazón and made it the focal point of this piece. Reverse glass painting is a traditional art form that has renewed interest recently. And what really makes this project come together is that it is all contained within a shadowbox, which offers depth and beauty. Just like life!
Follow along with me and show me what you made!
Supplies (all purchased from Michaels Stores):
Square shadow box (9×9 used in photo)
reverse-painted-heart-template
(note: template is for personal use only, not for commercial use)
Mod Podge sealer, 2 ounce
Directions:
Set the template on your work surface, it should be printed backwards.
Take apart the shadow box.
Carefully remove the glass and place it over the template. Use glass cleaner to clean it if it has any smudges. Tape down the corners of the glass.
Starting with the thin liner brush and black paint, carefully trace over the outline of Kathy’s template. Let dry and add a second coat.
After the black paint has dried, go in and add layers of colors all over the heart. Start with one thin layer, let dry and add a second layer. The goal is to have the colors look opaque.
NOTE: Remember what you paint first on the glass is what will show through on the front of your finished piece.
Let dry and then coat with a layer of Mod Podge sealer.
Cut a piece of glitter cardstock to fit the backing of the shadow box. Use the dry adhesive to affix the cardstock to the backing.
Make sure the paint is fully dry on the glass, then remove it from your table and reassemble the shadow box.
Hang and enjoy!
P.S.
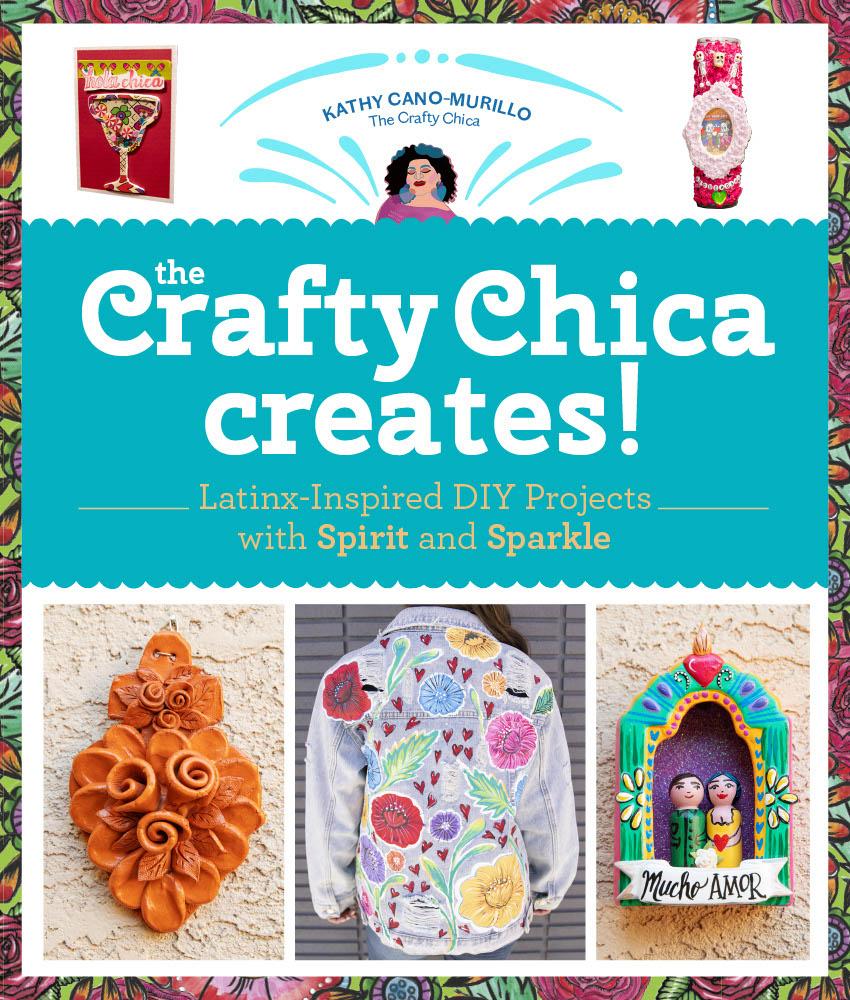
It’s finally time to preorder Crafty Chica Creates! This is my twelfth book and it’s super special because it marks 20 years of Crafty Chica!!! This book is meaningful in so many ways, first of all – it’s by the original publisher who gave me my first book deal back in the day.