Are you in need of how to make sugar skulls with icing? Here is a new version of mine, plus a video. And it also includes the royal icing portion – that’s where people get nervous. Both steps are very easy, maybe a little time consuming, but easy!
Sugar skulls are very special for Dia de Los Muertos.
The sugar represents the sweetness of life and the skull represents death. They are bright and happy to celebrate life and are placed at gravesites or ofrenda to honor those who have passed on.
Related: Three facts about sugar skulls
Each sugar skull is meant to represent someone who died, so make them with love and care!
Here’s my video tutorial of how to make sugar skulls with icing
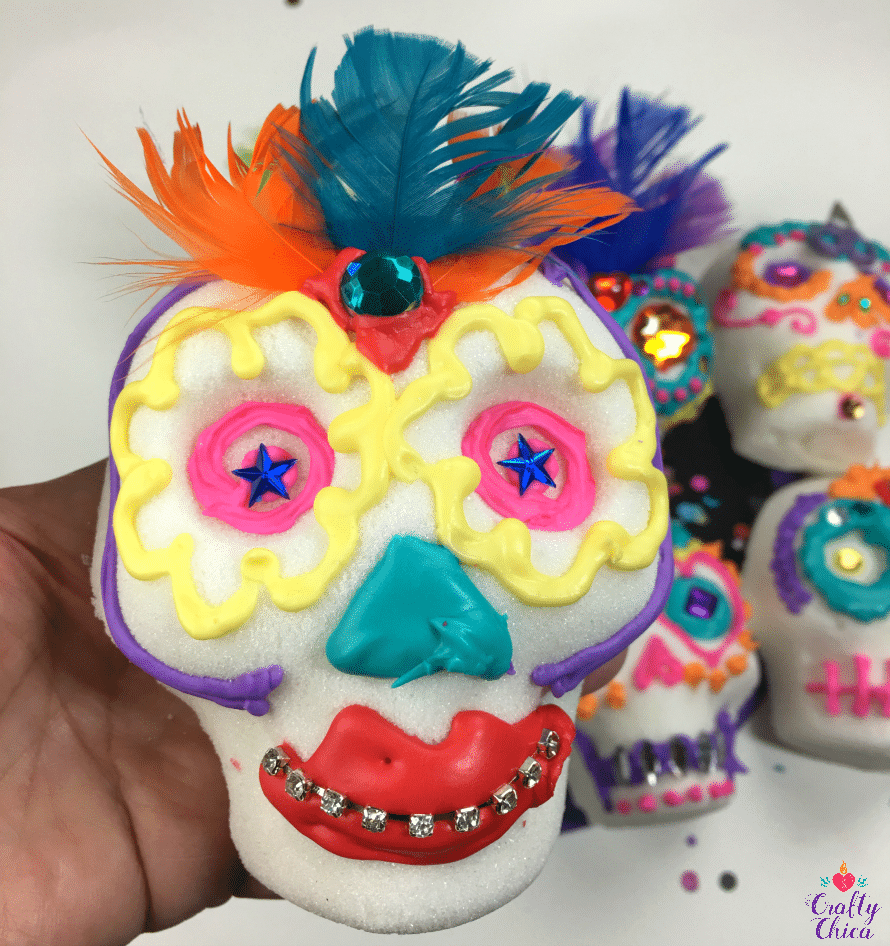
Check out the one I made with braces…

How to make sugar skulls:
SUPPLIES & DIRECTIONS FOR SUGAR SKULLS
Visit http://mexicansugarskull.com/ for supplies if you can’t find them locally.
1 set of plastic skull molds – I used the very small ones, and the larger ones.
Mixing bowl and spoon
2 cups of granulated sugar
2 teaspoons of meringue powder
2 teaspoons of water
Pieces of cardboard that fits over the size of the skull
Make the skulls
Mix the dry ingredients together in the bowl. Sprinkle the water in and continue to mix until the sugar is completely moistened and becomes the consistency of moist sand.
Scoop some of the mixture into the mold and pack it evenly and firmly. Place the piece of cardboard on top of the mold and quickly flip it over so the sugar skull pops out.
Set it on a flat surface to dry.
You can just use one piece of cardboard and carefully slide it off, but I cut up several. The skulls will harden after about 15-20 minutes, so you can easily slide them off and reuse the cardboard pieces.
Continue making the rest of the skulls. Let them dry for 24 hours in a dry place – store in a covered container.
How to make sugar skulls:
SUPPLIES & DIRECTIONS FOR ROYAL ICING
2/3 cup of water
1/2 cup meringue powder
2 pounds of powdered sugar
Electric mixer
Food coloring
1 icing bag for each color
Icing nozzle and tips (Optional)
Plastic bowls
Spoon
Mix the icing
Blend the ingredients with an electric mixer until the peaks form in the icing.
Once it’s is all beat, scoop small sections into bowls, add coloring and mix.
Here’s a helpful video showing how to fill the icing bags.

Continue until you have several bags of different colors. Keep sealed and refrigerated until use. Make sure to tie off the end of the bag so the icing won’t harden inside.
Okay, why not use frosting tubes from the store?
Because those do not harden, they will smear and make a mess. With the meringue powder, the frosting will stiffen rock hard. This also makes the sugar skulls harden as well.
Practice with different tips.
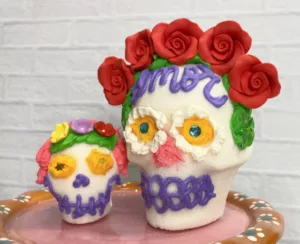
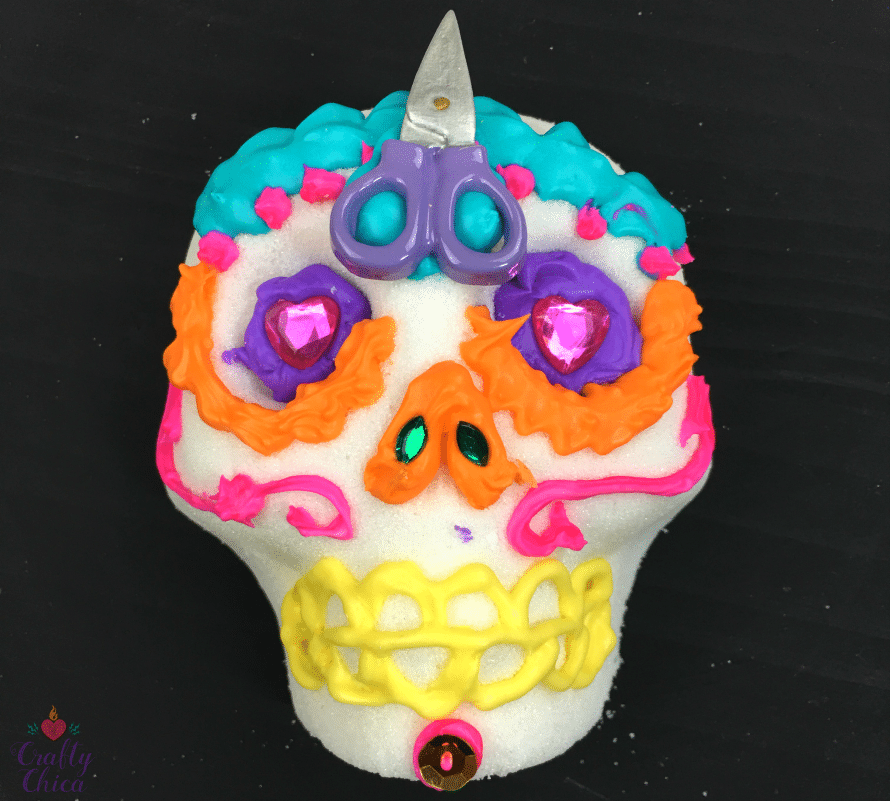
Don’t expect your first few skulls to be perfect, there’s a little bit of a learning curve. You can add sequins, gems, feathers, any little objects you have to make them come to life.
I used a strand of pronged crystals to represent braces for this one below!
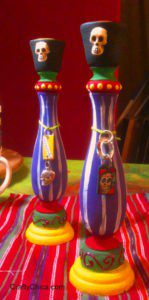
RELATED: Sugar Skull Reverse Glass Painting
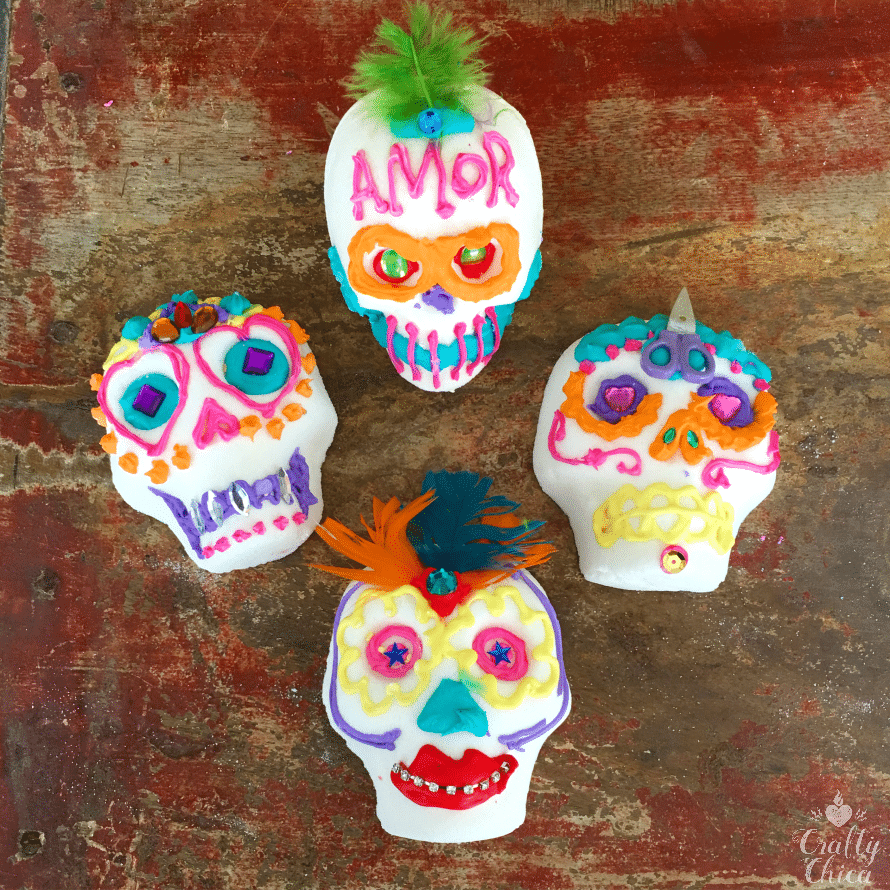
Thanks for checking out my new sugar skull tutorial, I hope you try this craft!
These are great to pass out as gifts, I wrap them in cellophane bags and add a ribbon. They make people so happy!
RELATED: Sugar Skull Apple Slice Pops
And here is a video from MexicanSugarSkull.com – this post is not sponsored, I just love Angela and her passion for Dia de Los Muertos!

I hoped this helped you with how to make sugar skulls!
Check out my other Day of the Dead crafts here: