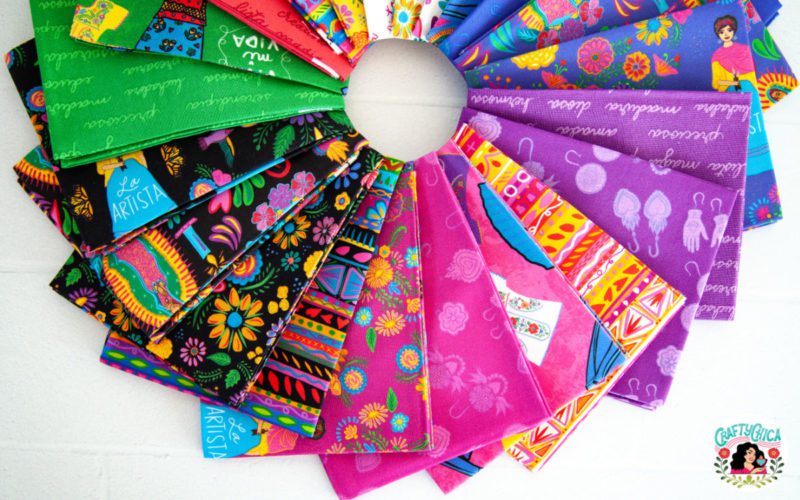
If you ever wanted to make new fabric from scraps – here’s how I do it! Now that I have my own fabric collection (YAYYY!!!), it’s hard to toss out my scraps. I’ve been stashing them in bags and I finally took action to do something with them. This will be a two-part series because it’s just too much fun to squeeze into one post!
Click here to purchase Crafty Chica fabric.
Before I dive in, here is a video of my whole process of making new fabric from scraps, but i’ll also break it down here.

Keep in mind, I’m a self-taught sewing enthusiast! So this is all by me “eye-balling” it, doing crafty critical thinking.
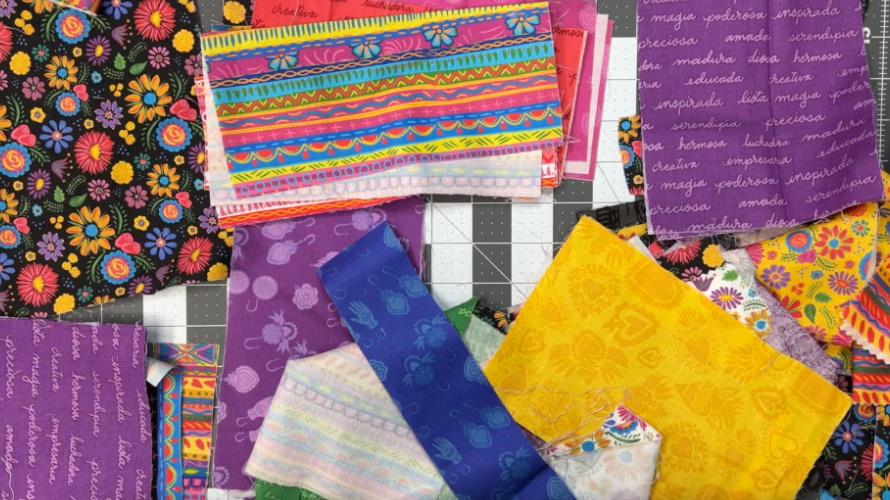
Gather all your scraps!
Gather them up and sort them by size and shape. We can figure out the colors and patterns later. This is super helpful because it is easy to choose components that will fit your fabric collages as you go.
I noticed all of my scraps were at least 4″ or bigger, this helped me to decide to make a bigger project, like a tote or pillow case, as opposed to something small, like a pencil case. That way more of the fabric pieces will show.
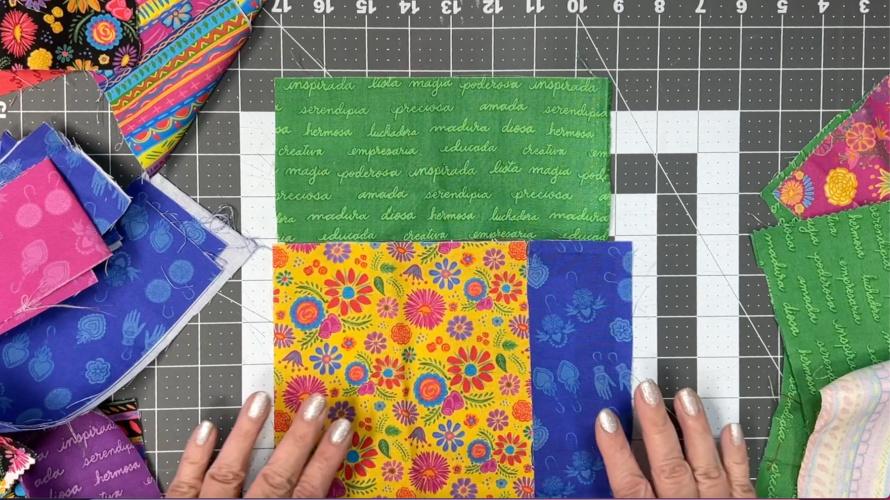
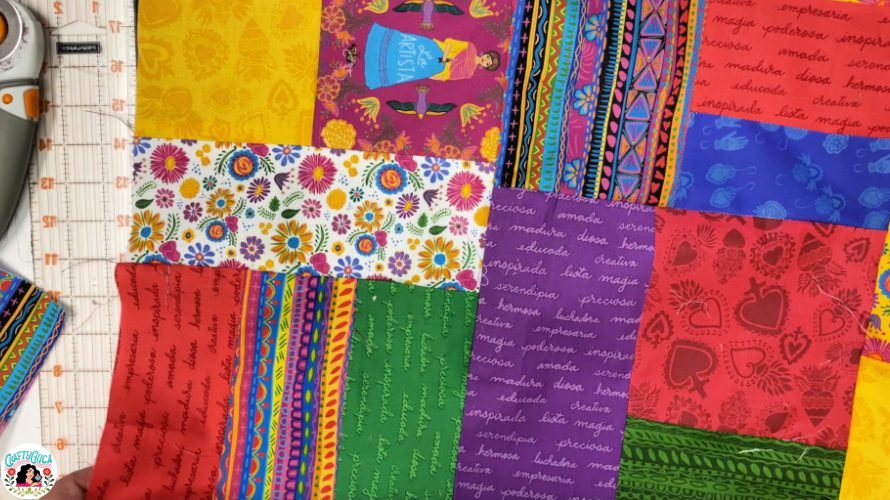
Create your collages!
This is the fun part. Create larger squares or rectangles by laying out the fabric pieces. I made my fabric non-directional, so I didn’t really care which direction the patterns went. I thought it would look more interesting in the end.
Don’t worry about any overages, we’ll trim those later.
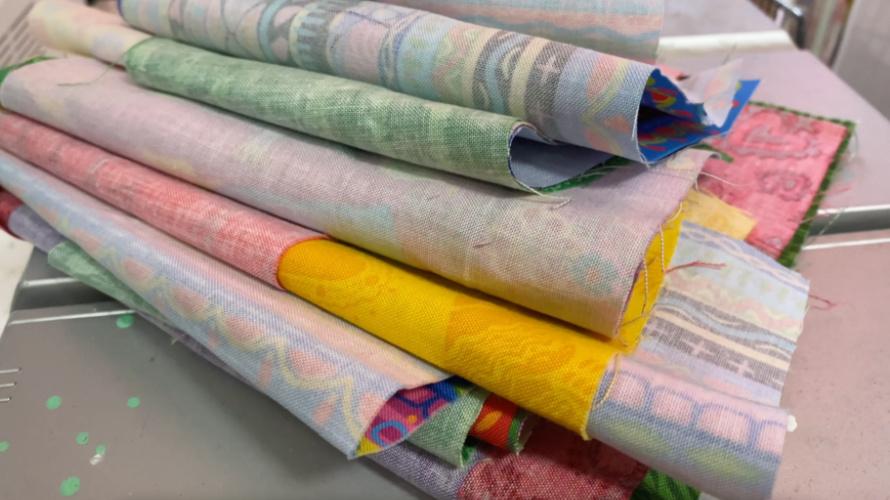
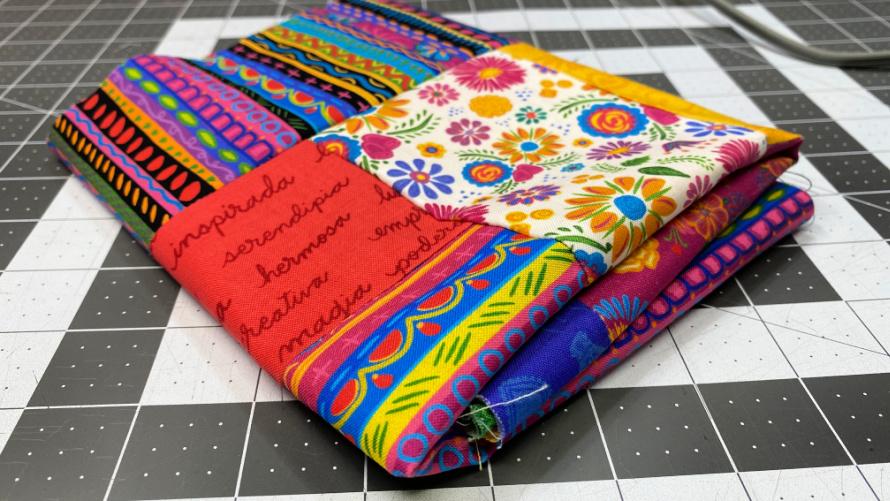
Pile them up!
I created about eight collages and I folded them together so I’d remember how to sew them in place.
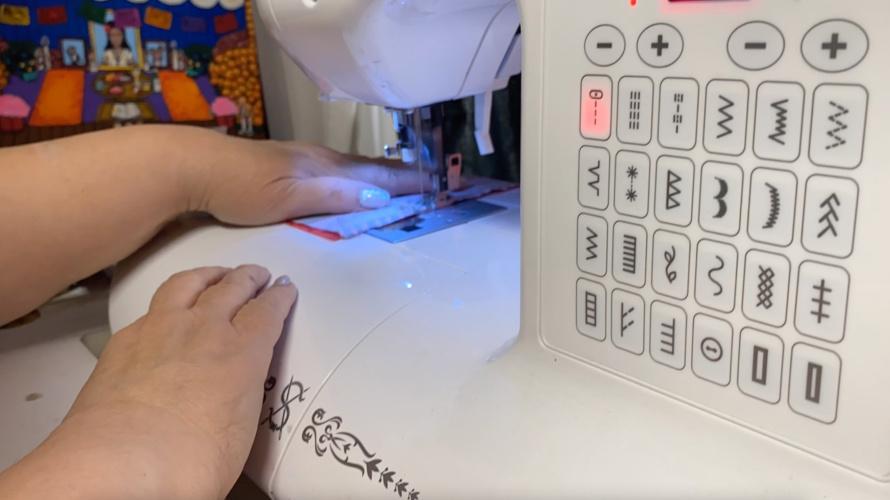
Start sewing!
Honestly, I didn’t use pins or clips at this stage. But I did line up two pieces of fabric edge to edge and then sewed on the third piece. Everything was neatly flushed to make an even piece.
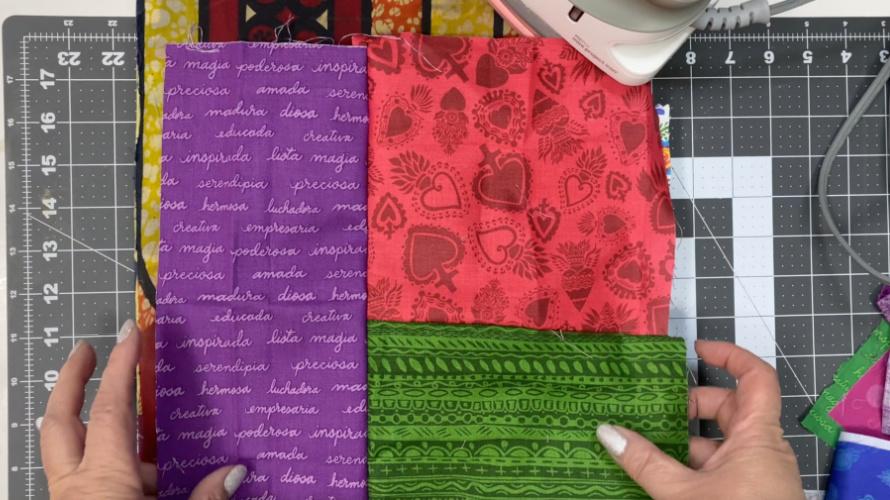
Iron away!
Iron all your seams opens on the back, and the all the fabric on the front. This will keep it nice and pressed so when you sew all these pieces together they will line up nicely.
Take a look at this picture, first I sewed the right two pieces top-bottom, then I sewed on the side piece.
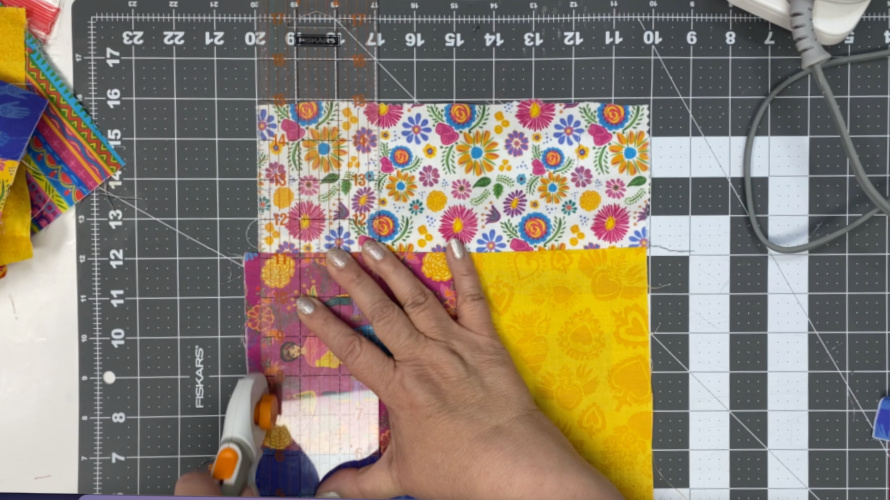
Trim the edges
If you have a measuring mat, use it to line up each piece and trim away any excess fabric. The goal to keep them all even!
They do not have to be the same size, they are all modular pieces so you can keep adding as you go!
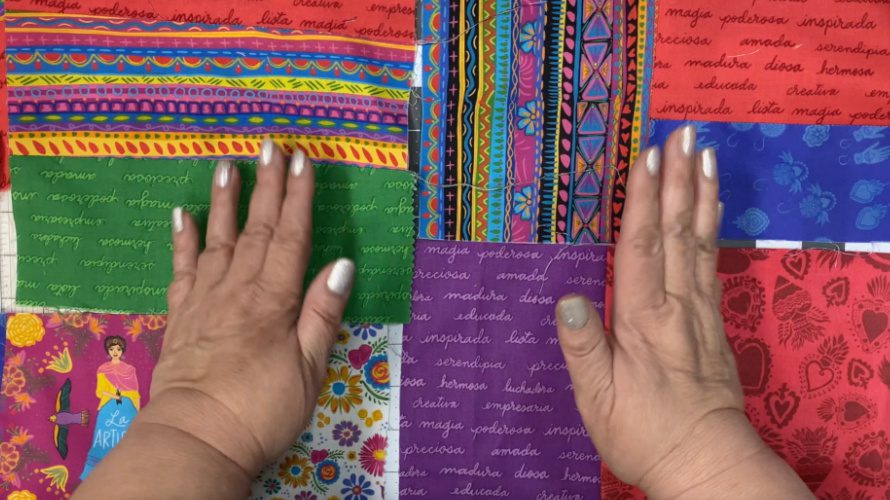
Clear your work space and lay out all the pieces and create your fabric!
To me, it looks more interesting to have patterns going in different directions. Take time to play until you love what you see. Even better if you already know what you’ll want to make with your fabric.
I had no idea, I was so excited, I just kept building the blocks!
Sew them together!
Again, I didn’t use pins or clips, I simply lined up the edges and sewed them. Once I finished, I pressed all the seams again. I ended up with a piece that measures 32×36″ – pretty good for free styling!
The whole process took about an hour, but that’s because I had bigger pieces.
Smaller scraps will definitely take longer, but will look even cooler because of all the contrast!
When I finished, I folded up my fabric and adored it. I LOVE how it turned out!
And YES! I did make something super fabulous! That will be in my next post! I feel like all I want to do these days is sit down and sew all my fabric scraps together – oh and you now what the best part is?
I had very minimal scraps leftover from this project!


What a great idea! I’m forever putting all my scrap fabric into a bag “to use later on” and then I never do, I just buy more fabric! It doesn’t even look like it would be difficult to do, I could probably get my teenaged daughters to have a go.
Really happy to see you to be a part of Thank with Google pilot program.