Here is how to lead your own crafty online retreat. I’m sharing what works for me, feel free to adapt to fit your own brand and business!
This has been a highly requested class for me to teach, but you know what? I’m happy to help other creativepreneurs get rolling on their businesses and brands, so I thought I’d share it here.
There is a lot more involved, but this is the basic rundown that works for me.

The inspiration for a crafty online retreat
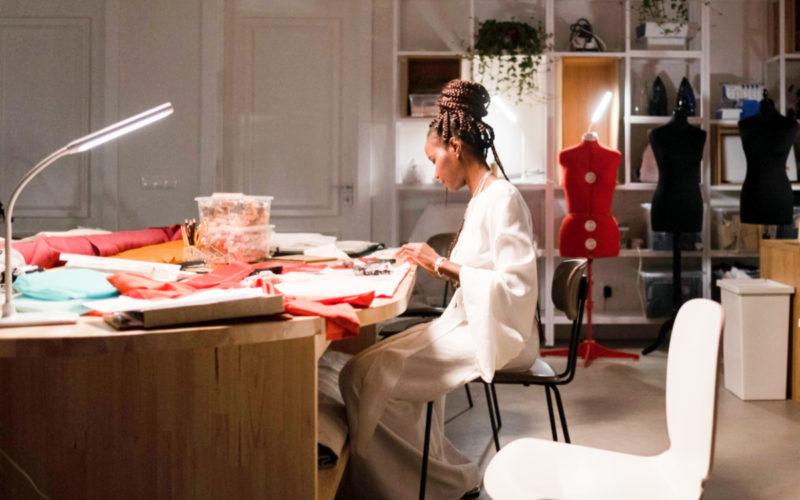
I’ve LOVED hosting craft retreats, I’ve been doing it for years – from cruise ships to my favorite cities in and out of the country.
So when the pandemic hit, I had to stop. Even though it is a heck of a lot of work, I really missed it.
The community, creative people coming together to craft and create, the laughter and sharing of ideas, all of it.
So I decided to try something new – host it online.
There was a double goal – to pull off a successful online retreat AND master a healthy money mind set. I set a goal to be able to buy a brand new car in cash with my first holiday retreat money.
This helped diminish my fears, I’m a very goal, action-list kind of person, you know!
Check it out!
@craftychica I bought a brand new car in cash! It’s doable, try it! #LearnOnTikTok #TikTokPartner #doit #moneygoals #personalfinance
I’ve since hosted three more retreats and all of them have been a hit!
Okay, so how did I make this online retreat happen?
I’m going to break it down for you and share pictures from my recent retreat. If you have any questions, leave them in the comments, I’ll answer them and I’ll likely do some content on my TikTok channel as well.
Benefits of leading your own online retreat
We are in a new era where taking classes online is the new normal. It saves on travel expenses for you and your guests, it also saves you prep and clean up. You can still do live classes but also build in the virtual aspect. It also helps to brand you as an expert in your industry – especially if people love your class!
Know your WHY.
This will be your north star in the process. Is it to promote your business? To hype up a new product? Build community (my goal)? Make stacks of cash? Sit down and write out why you want to lead a retreat and be very specific. You want to write down your target audience, and then write down what kinds of things they like.
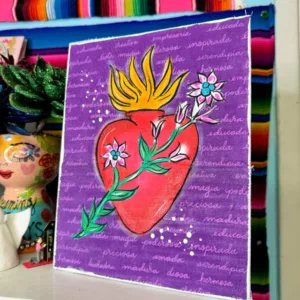
For me – I wanted it to be a retreat for other hyper-creative women like me. Lots of crafting, fun surprises, storytelling, organized with a bit of “just wing it” thrown in. I love to make Latinocentric arts and crafts and I love to share them even more. One of my FAVORITE things to hear is “We met through Kathy’s class!” Building community is my why. Every decision from there on out goes back to that as my north star. Not only the people attending but also the products and supplies I use.
Decide on a theme, date, and length.
Holiday, summer, spring? Or maybe paper crafting, ceramics, resin, or painting. Even cupcakes, cake decorating, jewelry making. This will be the hook to attract people. After that, choose a date. I’ve found AT LEAST a month and half (more is even better) is a good amount of time for you to sell tickets, order and receive supplies, pack supplies, etc. My first retreat was during the great USPS slow down and half of my boxes didn’t make it to guests on time. I was so embarrassed but made up for it by having a third class a week later so everyone could make the projects with me. My holiday retreat are a Friday night and all-day Saturday, the mini-retreat are one day.
Create an agenda.
How many projects/activities will you have?
Can you easily order supplies for them (via online bulk ordering through Michaels, Dollar Tree, Amazon, other wholesale outlets)
Add up the cost for each project and build in your time for creating and the creative mind work that goes into it.
Make the projects and see how long each one will take. Keep in mind your students may take longer if they are new to the technique.
Set up an online platform to host and sell.
There are several ways to do this, this is how I’ve been doing it, but research and ask other people for input. If you have a better way, please leave it in the comments!
I use Zoom, I bought the version to host up to 100 people. I can record and share the retreat with anyone who missed, who was late, or just wants to watch it over again.
As far as posting and selling tickets, I do that in my Shopify store. I like it because it’s easy for me to ship their boxes, follow the tracking all in one place.
Promote like crazy.
Don’t wait until you have the class listed for sale, start the hype early. Set a date and time when you are going to release the tickets. I like to set aside a batch to release later for anyone who missed. You can do an early bird sale on the first day, get creative! Use social media, newsletter, friends and family, etc.
Related: I taught my first beginner ceramic workshop!
Set up an avenue of communication.
View this post on Instagram
I started a new method this year I really like: Creating a living slide deck in Google Docs that has all the info, links, project directions and retreat notes. I tell the guests to check it for updates. That way I only need to send them the link, and I can update as needed.
Prep the kits.
View this post on Instagram
This is why you want to build out the time – so you have to pack each kit. I pack them all separately to make it easier for the guest. I use cello or paper bags and a sealer it so nothing falls out.
MAKE EXTRAS! You’ll need one set for you to demo, and extra for any mishaps if you need to resend something, it’s good to have a few extra.
I count the kits by sets of ten (it makes it easy). Then I keep the extras separate – have the same number of extras for consistency. This is so when you are packing you don’t freak out when you see extra kits. Been there, it’s not pretty. I reopened dozens of boxes one time only to remember I had an odd number of extra kits.
Prep the boxes.
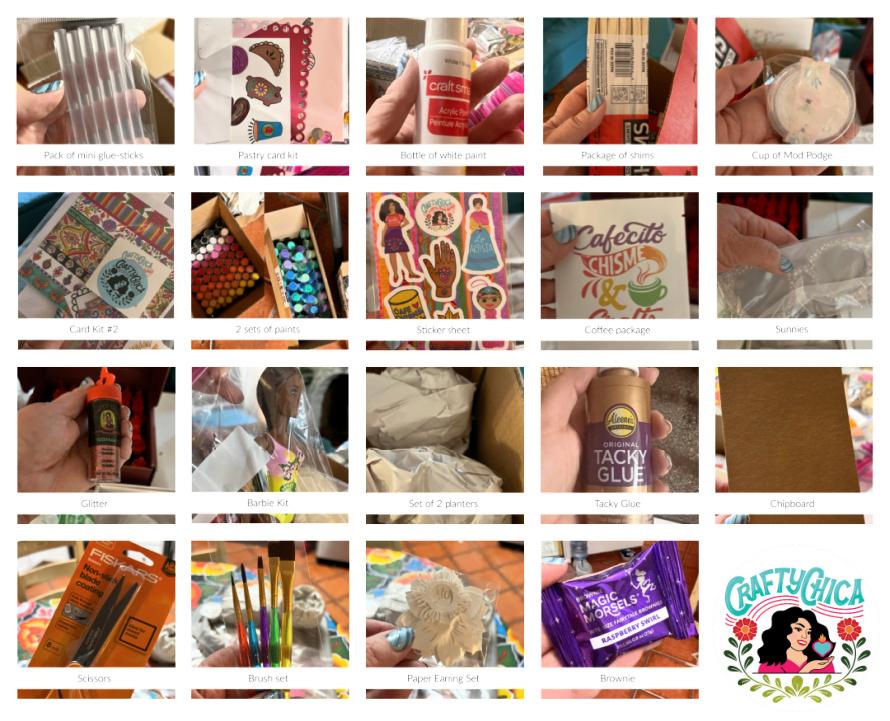
Do this at least a week and half (or longer) before your retreat guests to give you time to resend anything you missed. Packing the boxes is a chore! It takes us several hours. After doing this three times, I realized we needed a system for checking to make sure we didn’t miss anything. A typed list didn’t work, what worked was a PICTURE grid like this. We had one person pack the boxes, then I went through and marked off each item with a highlighter to confirm it was in the box. We then put the picture grind in the box so the guest could see what each item was. For the first time, we had a 99% success rate! You also have to allow room for bubble wrap, packing material, etc.
Ship the boxes.
I use the free USPS large priority mail boxes, and I fill out the USPS form for the postman to pick them up from our front porch.
Send out communication.
Let your guests know the boxes are on the way, what other supplies they might need, what to expect. I also have the project guide of a PDF of all the projects, pictures, and directions. Most importantly, the Zoom link!
Day of event.
View this post on Instagram
With my Zoom account I can broadcast on two devices from the same account. Keep the waiting room feature on while you get set up, sign on early to give yourself time to test everything out.
When your class starts, encourage people to introduce themselves, share their work. Ask them to stay on mute until they want to chime in. research Zoom hosting best practices so you know how to use all the features. You can do giveaways, show and tell, etc. Use Spotify to create an exclusive playlist, share the link with your guests. Make it fun. It’s a craft party!
Schedule in a break, just turn your camera and sound off to grab a bite to eat or use the restroom, make sure to let everyone know!
After the class.
Send out a thank you and the Zoom link!
Well, I think I covered it all about how to lead your own online craft retreat! I hope this helps! Let me k now if you decide to try this! There is room for all of us to succeed and be prosperous. We all have different styles, so let’s have fun and support one another!