Here is how to add gold glaze for ceramics. Granted, this tutorial is for anyone who works with fired ceramics and has access to a kiln. But if you are interested in the process, you can visit a local paint on pottery or ceramic studio and they will help guide you along through this process!
Scroll down to the end of this post to see how to add gold to ceramics if you don’t have a kiln!

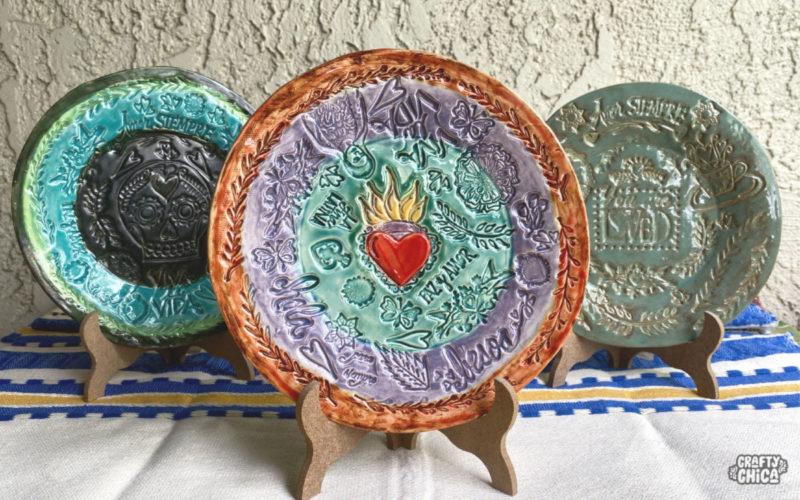
I have been working with ceramics here in my studio for almost 15 years. I am always amazed at the different things that could be done with this art form. Adding gold to my finished pieces are…CHEF’s KISS!
It’s a bit of a process because it takes an extra firing. And that little gold bottle is pretty spendy. It’s worth it. I’ve barely dabbled in this technique, but there is lots of inspiration on Instagram!
Here is a video I made showing a recent batch
View this post on Instagram
Know your gold
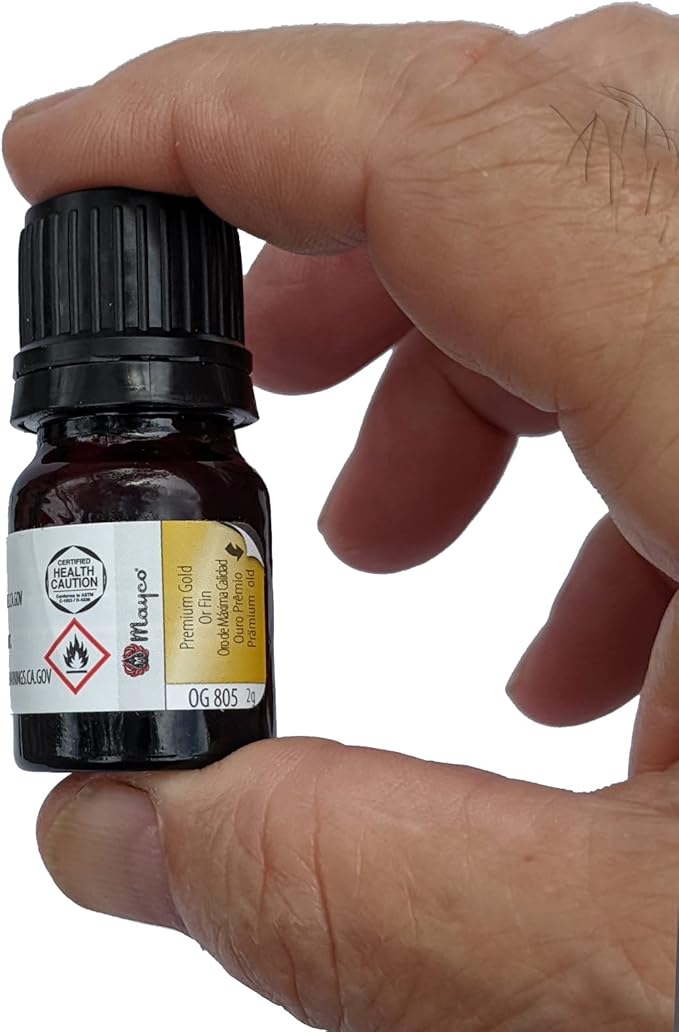
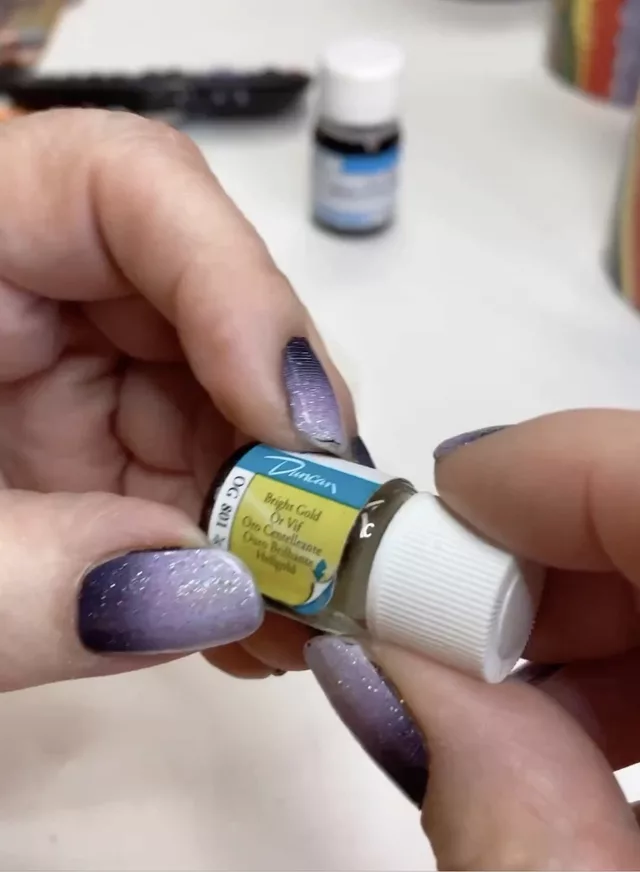
I’ve worked with two types of gold lusters for ceramics: Bright Gold (7% gold) and Premium gold (11% gold). The latter is more expensive, about $50+ for a tiny bottle, but is more forgiving.
I suggest starting with Bright Gold to practice. When you feel confident with your style, upgrade.
Supplies to add gold glaze for ceramics:
Finished fired ceramic piece
Gold lustre
Plastic gloves
Mask
Brush
Cotton Swab or clean cloth
Alcohol for clean up.
A kiln
RELATED CONTENT: More ceramic projects to try!
Directions
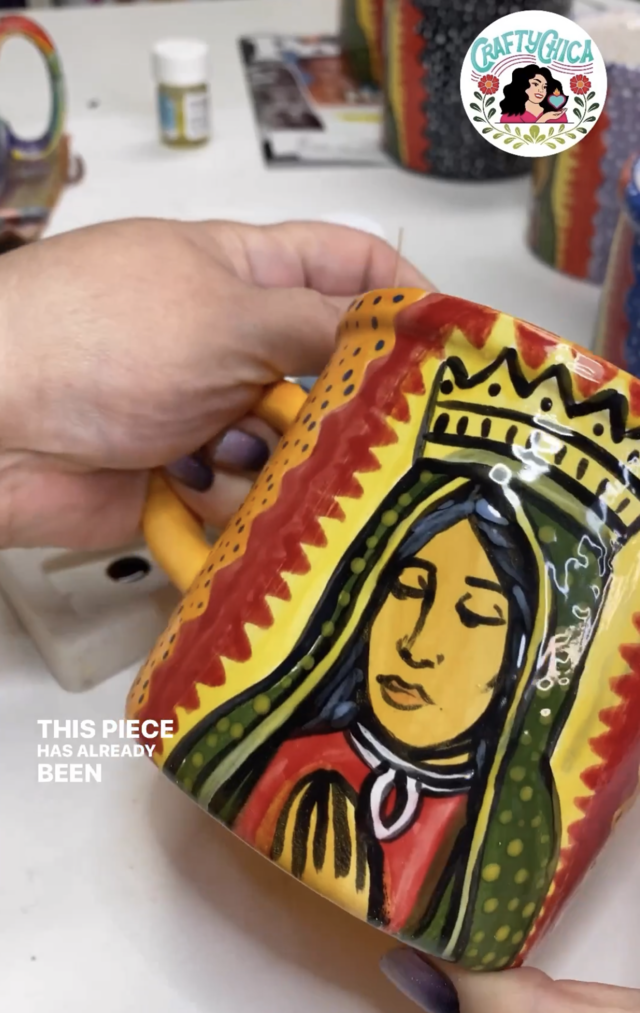
Start with a fired ceramic piece. This can be something you created yourself.
I’m not sure you could do this to ceramic piece bought from a retail store.
This tutorial is mostly for people who work in a ceramic studio and have their own kiln to use.
You will need to wear a mask because it is very stinky. And it is also very oily!
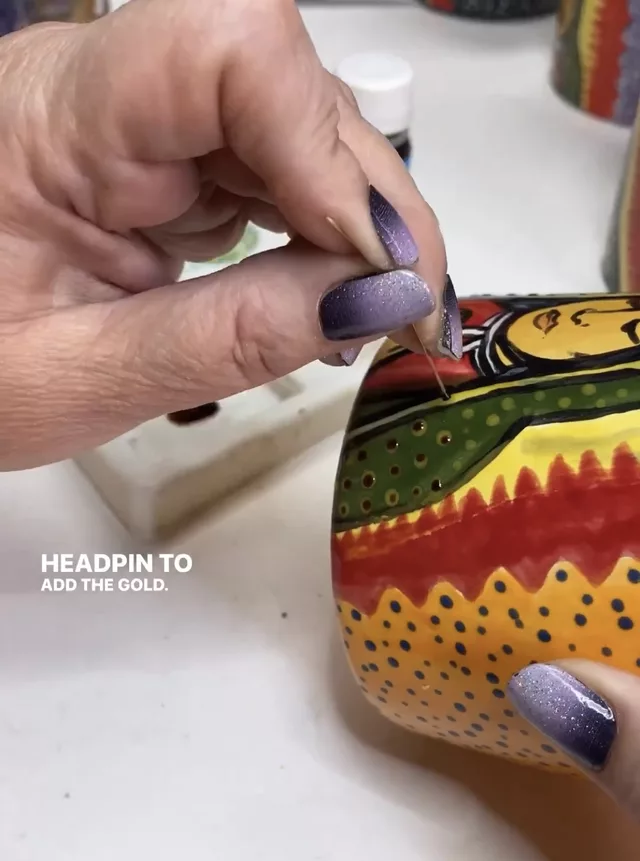
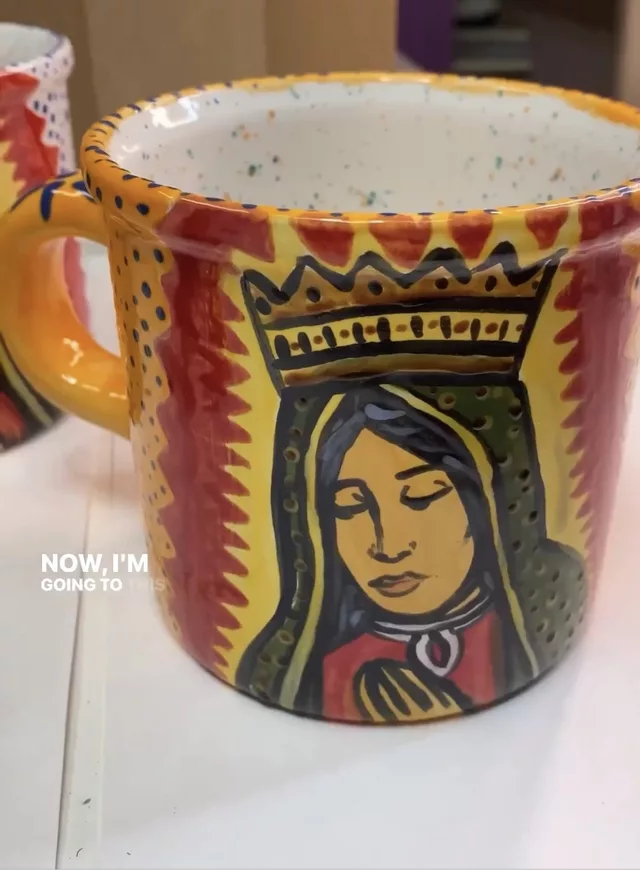
Decide where you want to add the gold on your ceramic piece.
Dip your brush into the bottle of luster and then apply to desired areas on your ceramic piece.
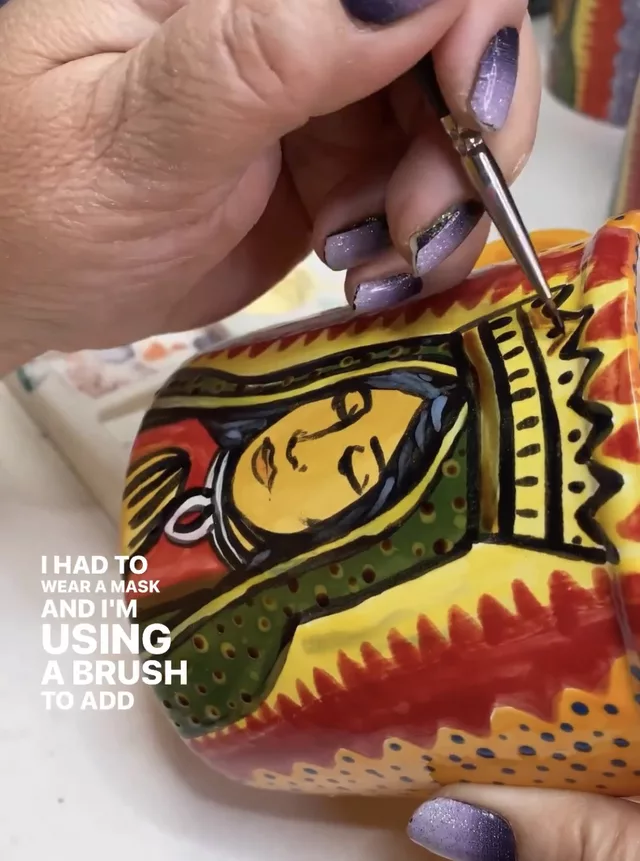
I wanted to add dots, so I used a head pin from my jewelry supplies to make perfect tiny dots.
You only need to add one coat. If you add too much, it will run and possibly drip.
CLEAN UP:
Mistakes happen! To remove the gold luster, simply dip a cotton swab in alcohol and carefully wipe away what you don’t want.
For larger areas, use a cotton ball or a paper towel.
Fire your piece:
Setting is Cone 018. You do not need to stilt your pieces because the kiln will not get hot enough to melt the glaze that is already on the mug.
Let your kiln cool after the firing process is done.
Remove and enjoy! Inspect your pieces to see how you can improve next time!
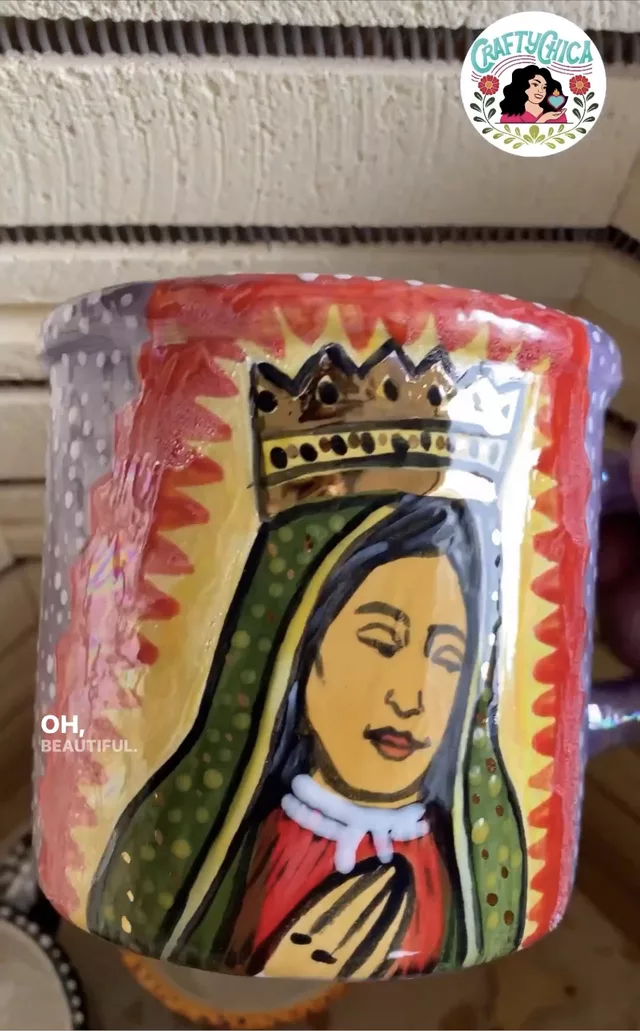
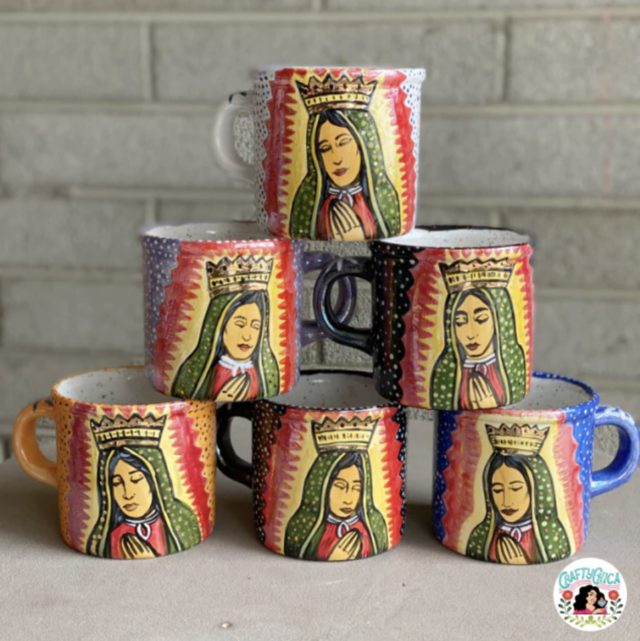
And that is it, that is how you add gold luster to ceramics. The possibilities are endless! I also added a pearl luster to other areas of these mugs.
It is the same process, and also fires to Cone 018.
Things to keep in mind:
You will not be able to microwave your piece after is has the gold. As with all metal in microwaves, it will cause sparks!
Use a product called Essence to clean the gold luster from your brush.
How to add gold to ceramics if you don’t have a kiln
I would go with something like this Pebeo Porcelaine 150 – oven bake gold. It’s not as permanent as fired ceramics, but it will get the job done!
Related content: DIY Non-fired ceramics

Sign up for my weekly digest of crafty goodness. Insider VIP stuff you’ll love!


What could be the schedule of the electric kiln for the gold lustre firing to cone 18?
Hi! I honestly do not know. I program it to Cone 018 and take it from there. It takes several hours, not as long as cone 06 though…