Here is how to paint a thrifted purse! This is a craft that is always on our minds, right? Well, it is time do it!

Ready for a thrift store makeover?
As a working artist and avid crafter, we all know the thrift store offers a gold mine of creative opportunities. Especially when it comes to an easy craft that doesn’t cost a lot.
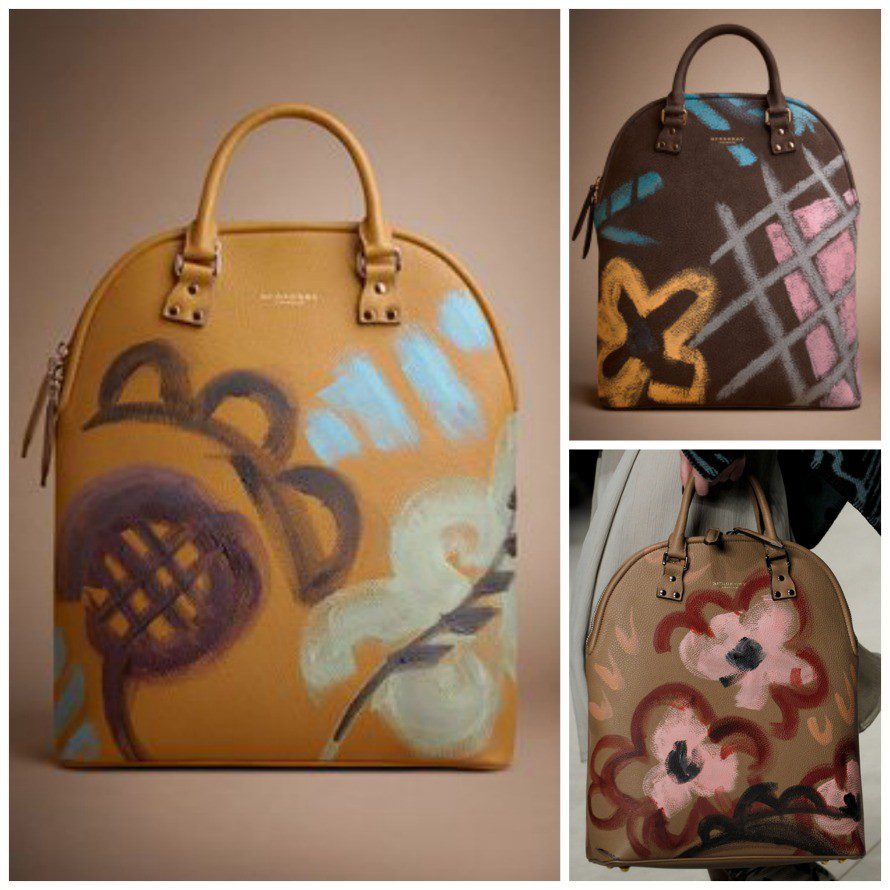
Here is my inspiration: Painted Burberry purses. Why not DIY this?
I wanted to put my own spin on the idea. First step – visit a thrift store
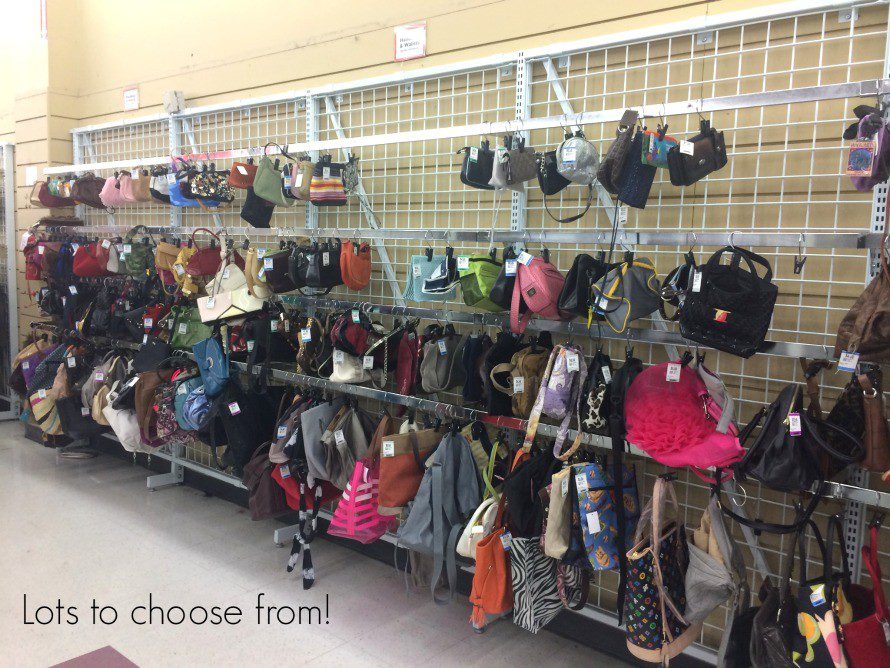
Here is what I look for when I’m selecting bags for how to paint a thrifted purse:
1. Surface: I go for leather, cotton or something that has grip for the paint. Patent leather is cool too, but you will have to seal it with varnish. I would not go for the cheaper type of purses because if you are going to put all that effort into painting, you want a nice bag to bring it all together. Especially if you are painting them to sell.
2. Area to paint: You want a bag that has a nice, juicy area to create your design.
3. Structure and hardware: Make sure the straps are sturdy, that the hardware works and is not too invasive to your design.

Here are my three choices. I really loved the leather mini-messenger bag, so I bought it!
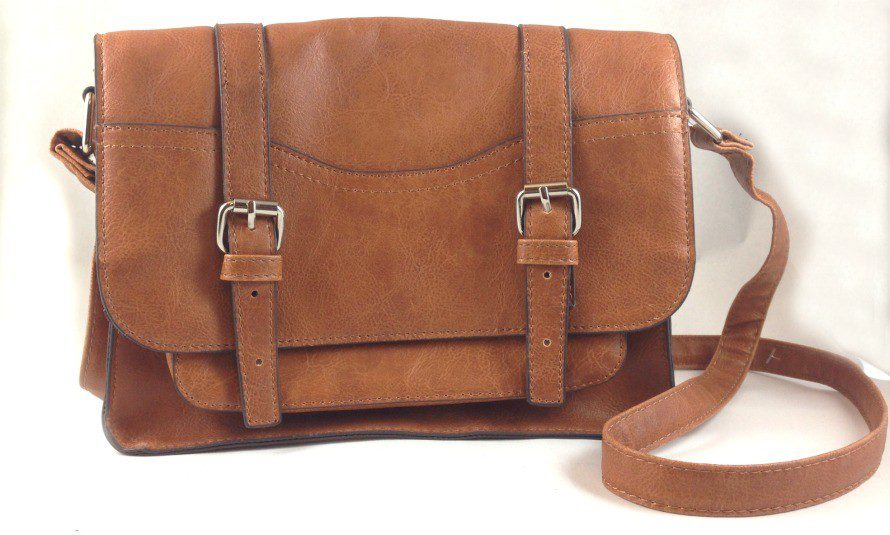
As I look at this bag, I can sketch out my design. It has stitching through the middle and two straps with buckles. I know that whatever I paint, I’ll want to extend it to the straps as well.
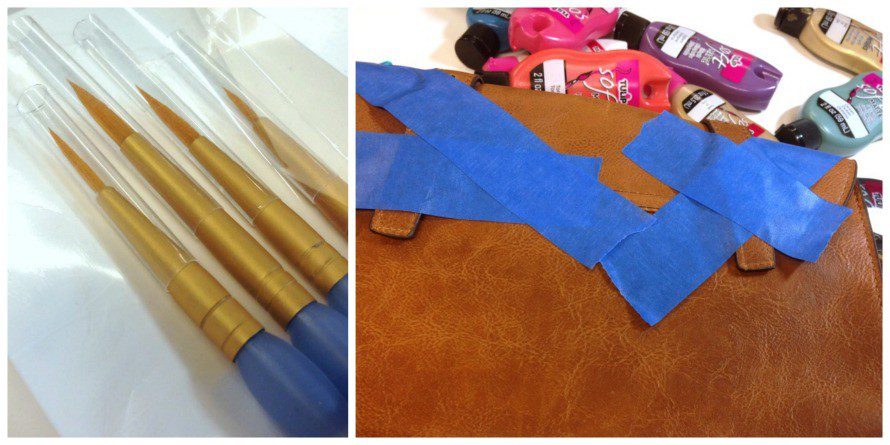
Here’s another cool thing about Savers, you can probably find brushes and paints.
I found this new set of brushes there! For paint, I’m using Tulip Soft Fabric Paint in a variety of colors. It’s important to use fabric paint because it is specially formulated to bend and curve – no chipping or flaking from the usage of the purse!
If your purses have buckles with straps on the front, use blue painter’s tape to hold them back while you paint.
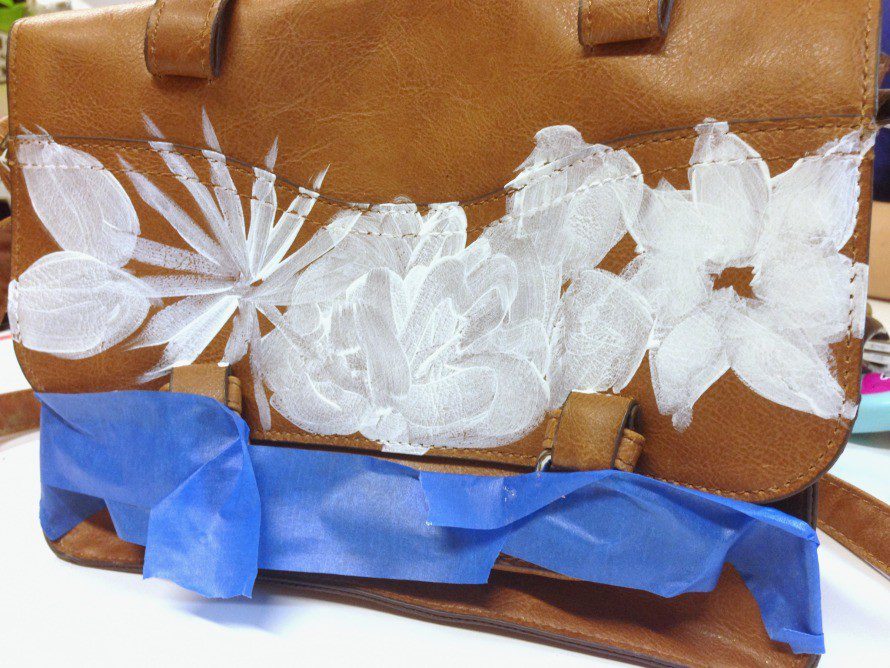
Use chalk to sketch your flowers on the bag, then fill in with white, so you have a nice even base coat. The white will make your colors pop! Let dry.
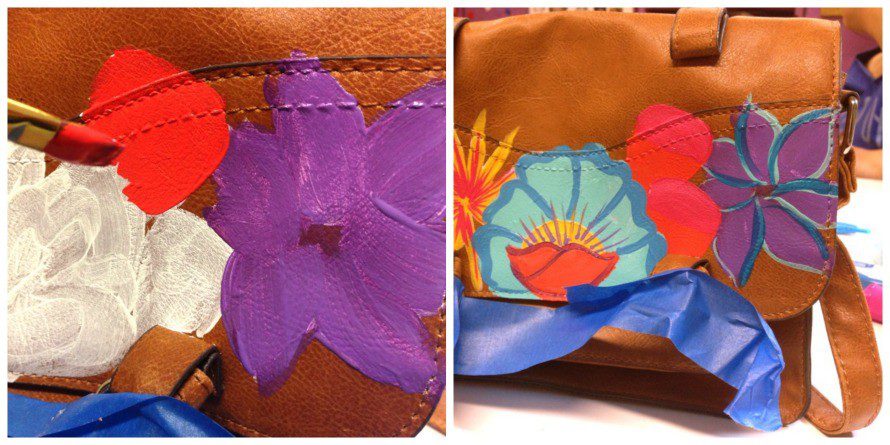
Once the white is dry, add the main color of each flower, use contrasting tones.
Next, use other colors to outline your flowers or accent them from the center outward. This will give them dimension.
Use black to outline and white to add “shine”.
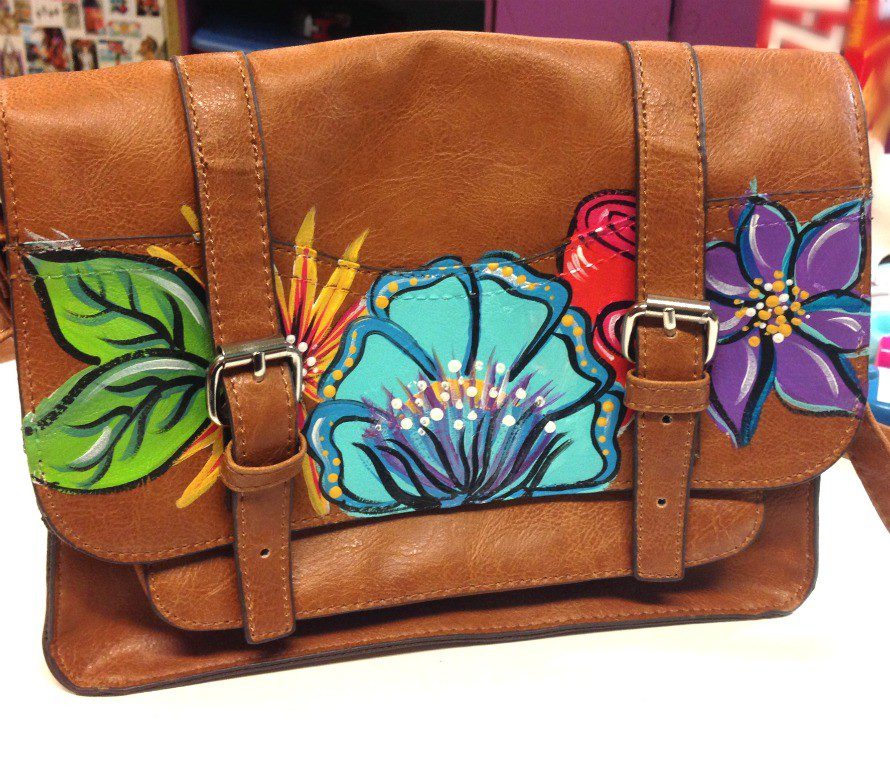
This could be finished, but I really want the straps to match. So I went ahead and unbuckled them again and taped them out of the way and painted the front of the straps.
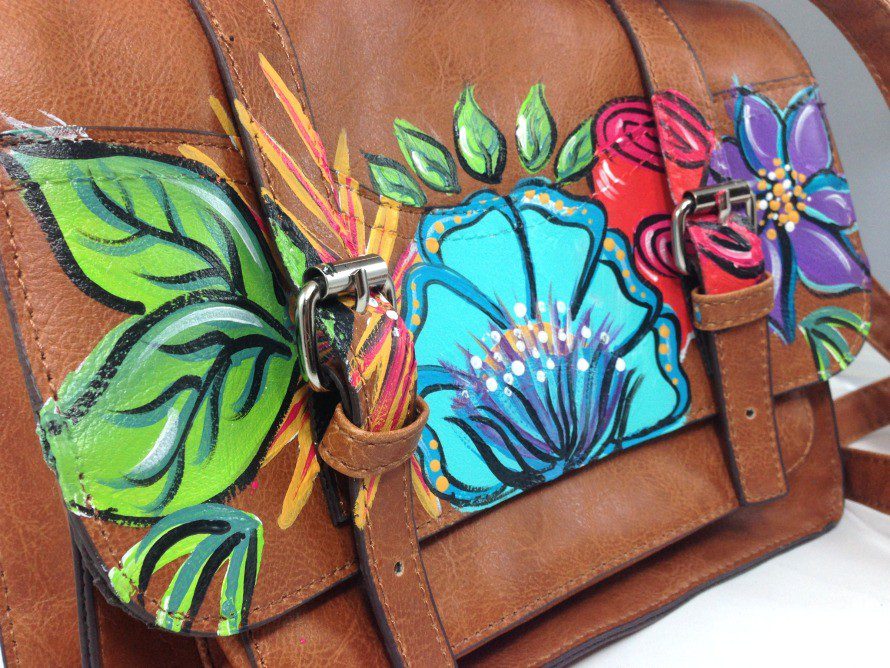
And here it is all finished! I think this came out fabulous! and that’s how you paint a thrifted purse!
Other ideas:
15 Purse DIYs that are in the bag
DIY upcycled flannel shirt w/ a T shirt applique


Luv it. Thanks for the details and tips.
Kathy thousand times I like your bag model designer
Love this idea of creating art on thrift store bags, it’s amazing and beautiful.
Loved your design and the colors! I thought the Burberry examples were photos of early-stage work that wasn’t finished; they should definitely adopt YOUR designs!
Your purse looks so much better than those Burberry’s. Ugh, maybe if you PAID me to take one!
Ok, Chica, you inspired me. I painted my own purse and decoupaged an image of the Virgen de Guadalupe, my patron saint. I love it!! Can’t figure out how to post my pic. I will go to your FB page and try there.
Honestly your art work is much more prettier and refined compared to the Burberry one’s. Regardless what look they want to achieve, the artwork seem too cheap looking for the brand and of course the price.
Amazing work! How can you protect the paint is there a spray or something else to protect the artwork you created???
Hi!
You can use a water-based brush-on sealer.