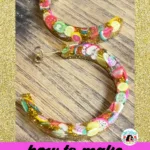
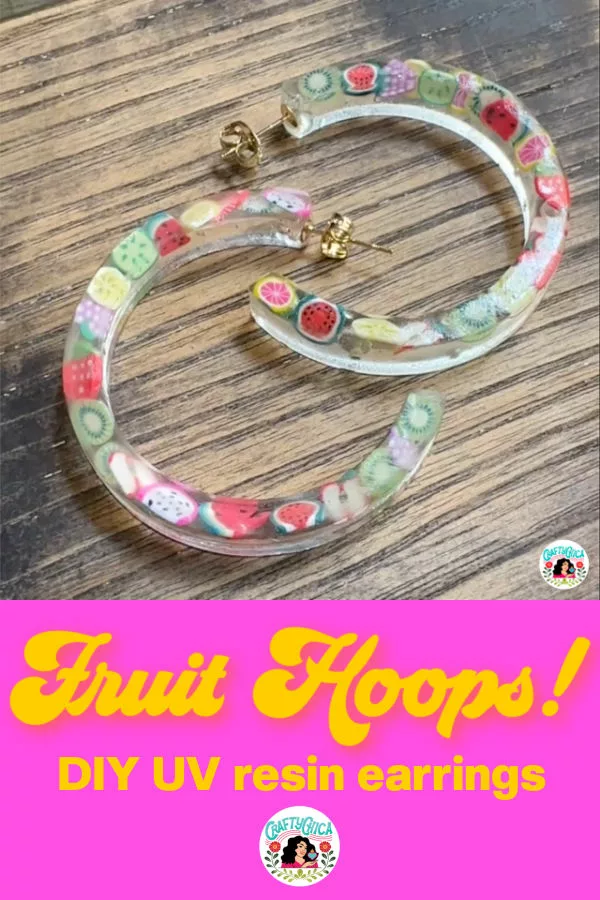
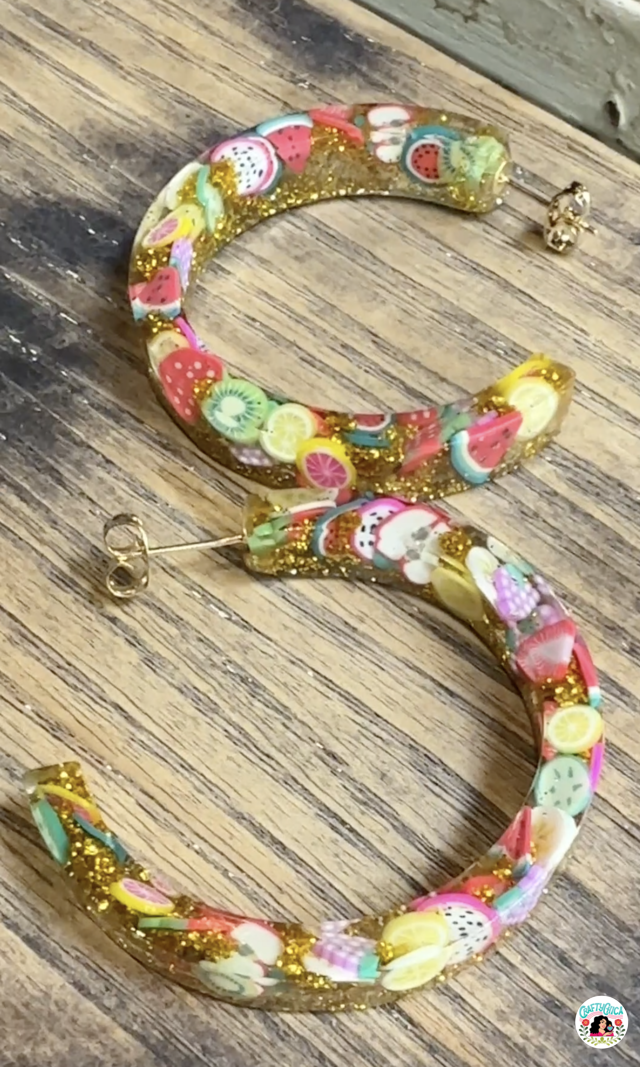
Do you love resin crafts? These UV resin hoop earrings are super cute and perrrrrfect for cheery summer outfits.
I used mini-clay fruit slices and embedded them in the resin using a silicone mold. These mini-pieces are normally used for nail art, but use crafty gente likes to mix and match all our supplies. That being said – you can use this concept to make all kinds of different themed earrings. Or even bracelets and rings too.

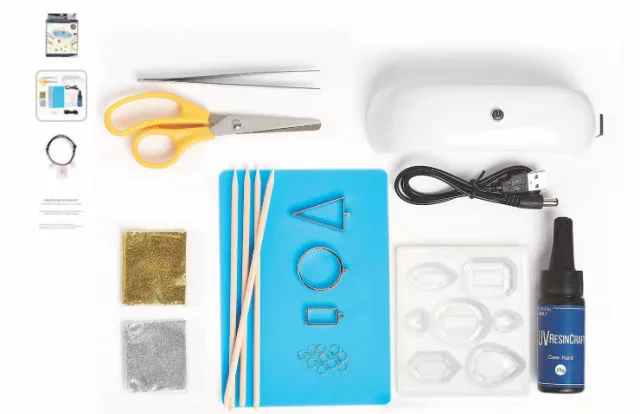
You can buy a UV resin kit online or from the craft store.
I invested in a kit because I wanted to experiment with the basic before I bought larger quantities. I’ve already purchased a bigger bottle of the resin. I love UV resin because there is no mixing involved with the brand I purchased.
It’s an easy start into resin because it is so simple to use. You’ll literally have cured resin in minutes. These earrings took about 45-minutes to make.
This tutorial for resin earrings will work for traditional 2-part resin as well, it’ll just take longer to cure.
RELATED: UV resin vs epoxy resin
NOTE: UV resin is a one-part type of resin that cures using a UV lamp or even direct sunlight.
Supplies for DIY resin hoop earrings
– UV resin (or a kit like this)
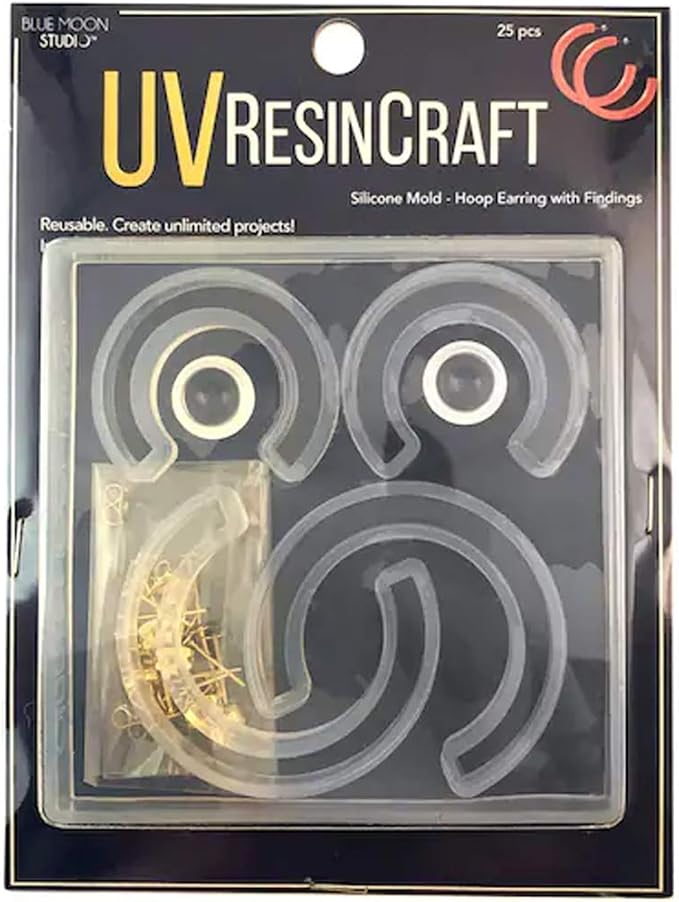
– Small UV lamp (comes with the kit)
– Toothpick
– Mini-sliced fruit (the kind used for nail art)
– Earring posts or ear wires, and jump rings
– Small bag of glitter (microfine)
Check out my instructional video of how to make these UV resin hoop earrings
View this post on Instagram
Directions:
Work in a dry area, free of dust and debris. Use resin on top of a silicone mat for easy clean up. you can also use a teflon craft sheet, wax paper or a plastic bag.
Safety precautions: Keep resin out of reach of children and work in a well ventilated area. Wear gloves and a mask. Do not touch your face while working with any kind of resin, it may cause eye irritation.
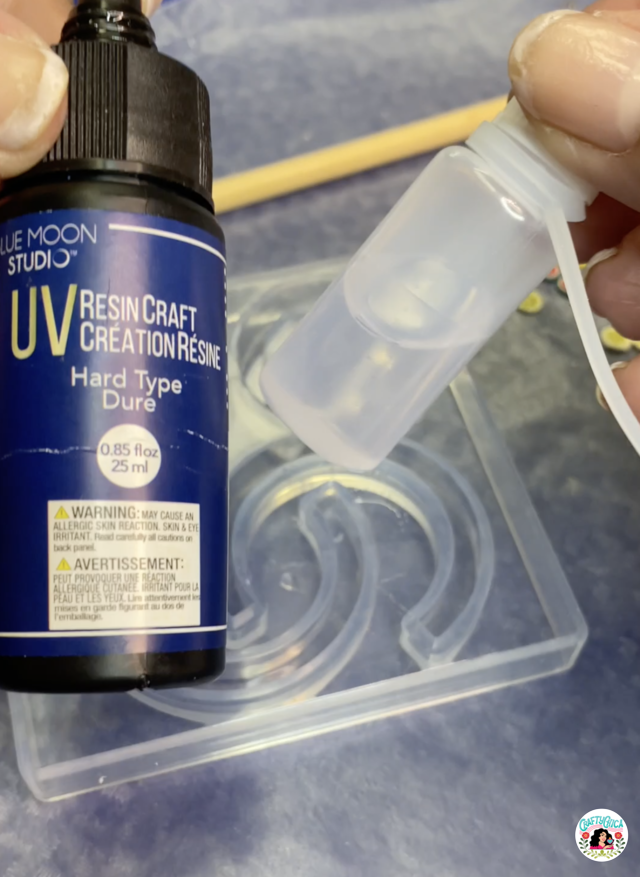
Measure the amount of UV resin you need to fill the mold.
Make sure to follow the instructions on the resin package, as the amount needed may vary depending on the mold size. Remove the lid to the resin and carefully squeeze rein into the mold. If the mold is very small, pour the resin in a bottle with a skinny nozzle. This will work much better!
Fill the silicone mold.
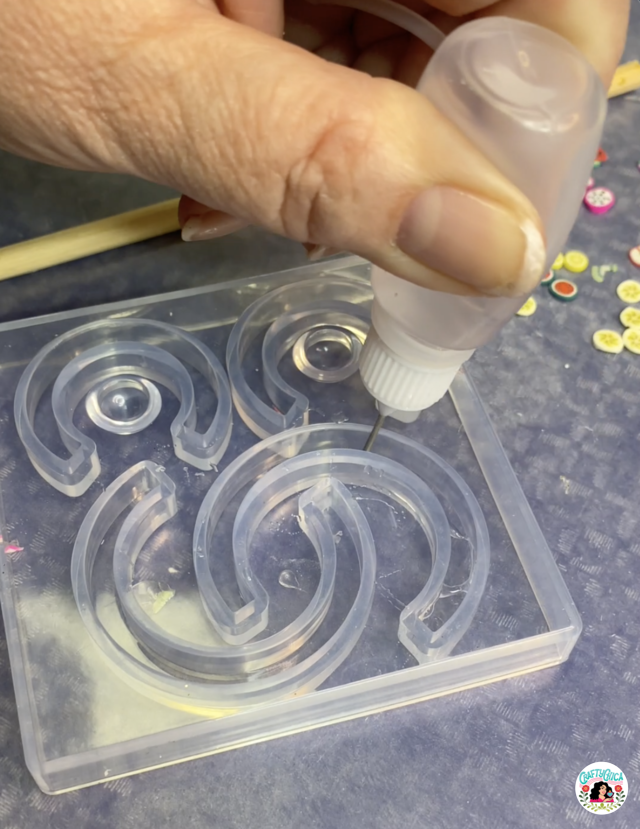
Using a stirring stick or toothpick, carefully pour the UV resin into the silicone hoop earring mold. All you need is a thin layer to coat. Use a toothpick or other tool to push any bubbles or excess resin to the edges of the mold.
Add the mini-fruit slices.
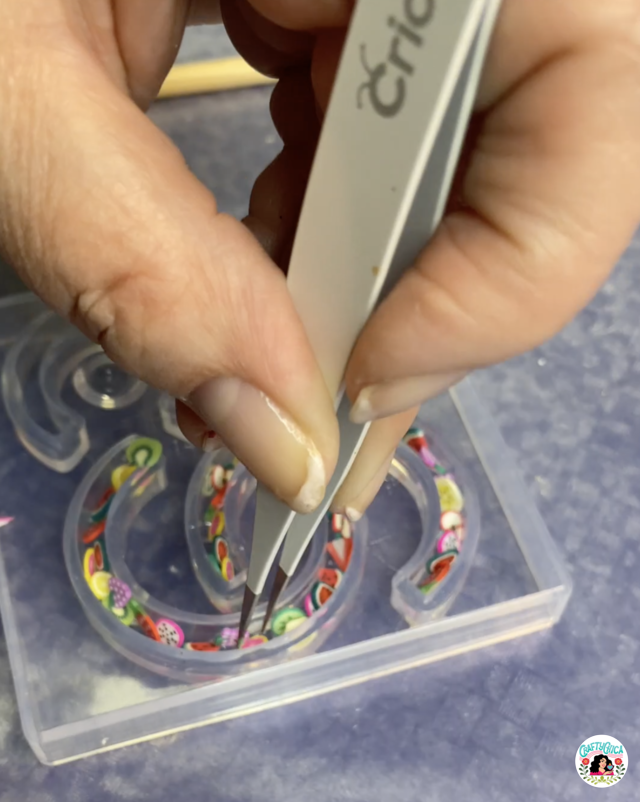
Use long tweezers or the toothpick to carefully pickup and place the slices all inside the mold to create your jewelry pieces. Fill with more resin, make sure to get in all the grooves! Use the toothpick to pop any air bubbles. Pack that fruit in there nice and tight!
Cure the resin.
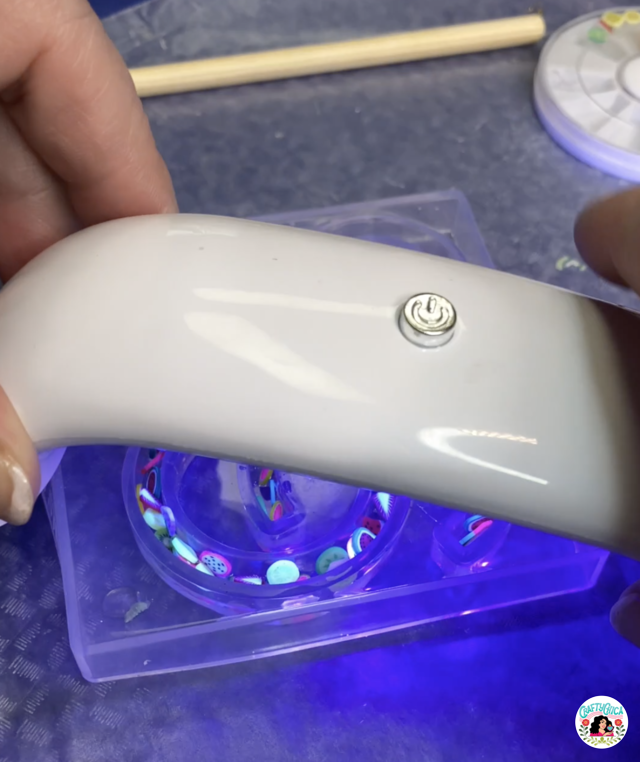
Place the filled mold under a UV light for the time recommended on the resin package. Usually, this is only 1-5 minutes, so be sure to keep a close eye on the mold as it cures. My lamp lights up in one-minute intervals. I ran it three times to make sure my pieces were fully cured.
Add the next layer.
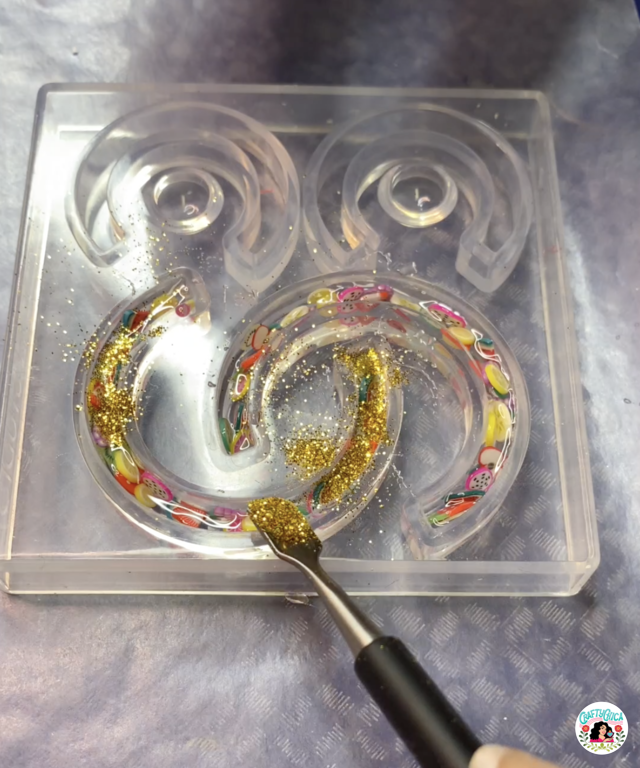
Carefully add glitter of your choice in the mold, then top with more resin and another round of the light. It may take three or four times to run the light (each round is one-minute).
Once the resin is fully cured, carefully remove the hoop earrings from the mold.
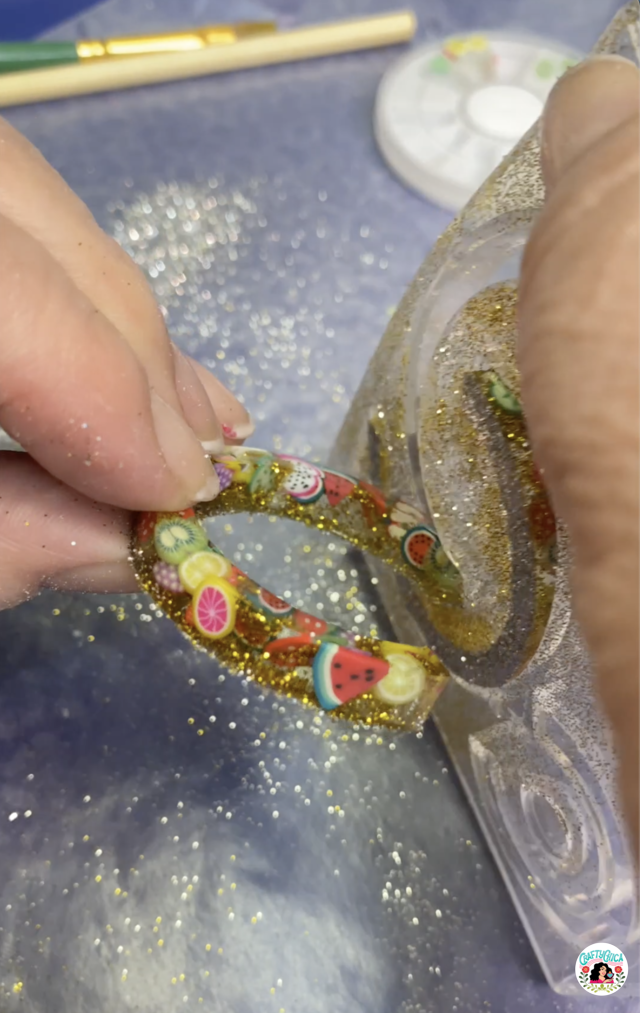
Sand the edges or make these custom earrings smooth and even.
Attach earring hooks and jump rings to the resin pieces. I used posts. Add a dot of UV resin to the back of the post and the back of the earring and place under the UV light.
If you want to use earring hooks, use a drill to create hole and use a jump ring to attach. Make sure that they are securely attached, and that the earrings hang straight.
NOTE: If your pieces feel just a little soft, place them in direct sunlight for about 30 minutes and they will harden up. I never had to do that, but that is what other people told me!
Tips:
– Work in a dry place.
– Use a high-quality silicone mold for best results.
– Make sure to follow the instructions on the resin package carefully, as the curing time and amount needed may vary.
– If you are using glitter or other embellishments, make sure to use a small amount to prevent the resin from becoming too thick.
– Use a toothpick or other tool to carefully remove any bubbles from the resin before it cures.
– To create a unique look, experiment with different colors and shapes of silicone molds.
– Use the same method to make flower earrings or confetti earrings too! Even cake sprinkles!
– Skip the hoops and use other shapes of earring molds.
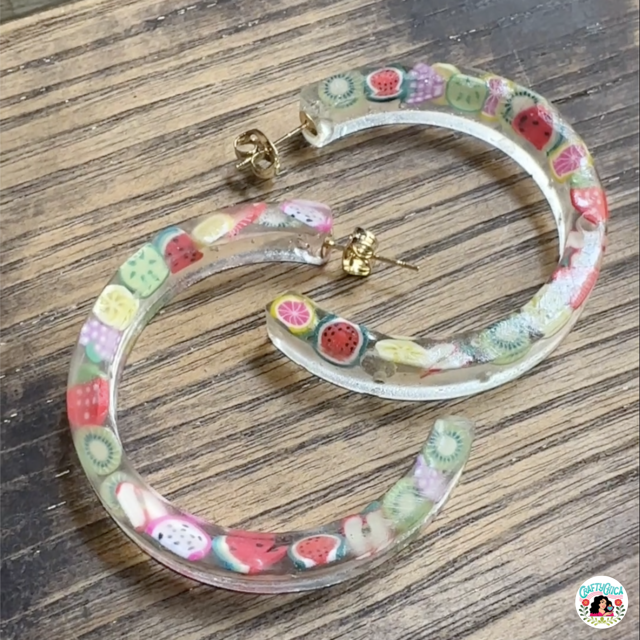
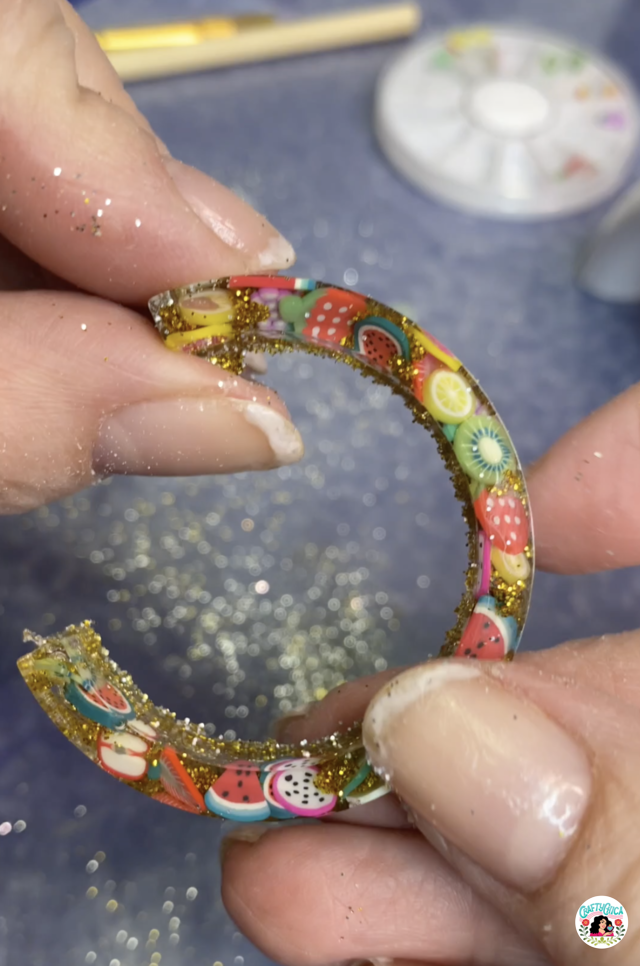
These Fruit Hoops earrings are sooo cute, lightweight and will definitely match with a lot of outfits. I’m excited to make more of these. Can you see that I made one pair with glitter and the other without?