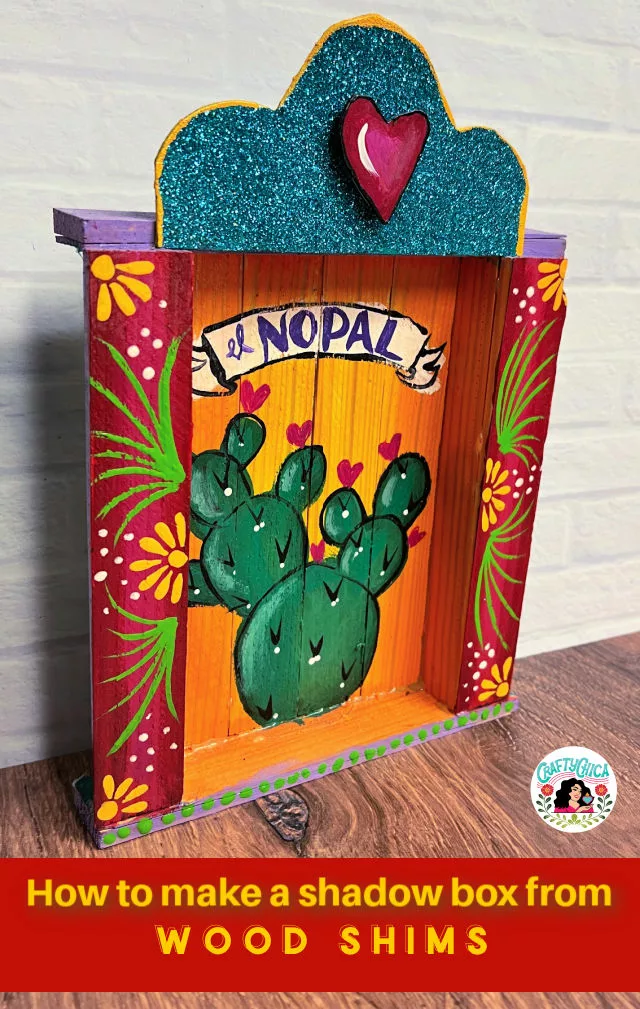
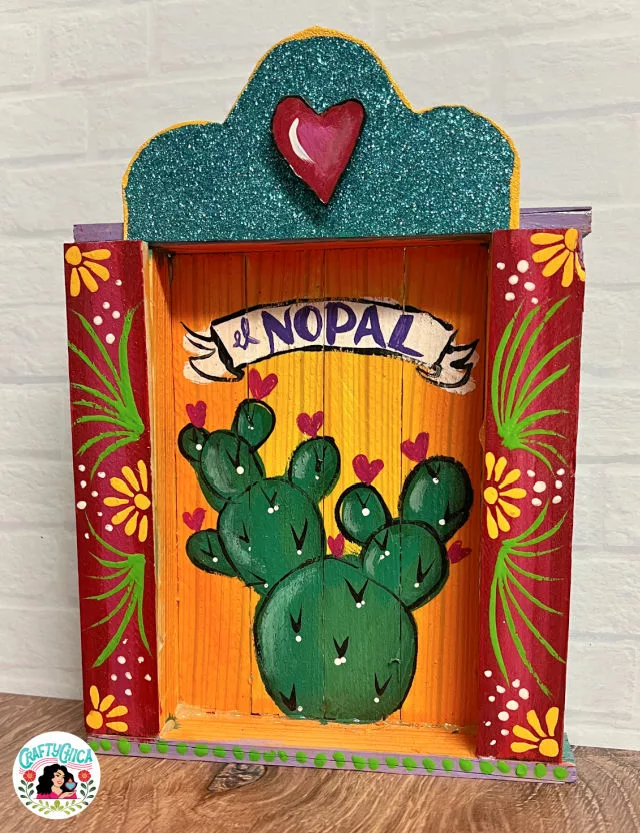
Here is how to make a nicho from wood shims. A nicho is a box, like a shadow box – and here is a cool way to create one from an inexpensive package of wood shims!
This idea is inspired by the fruit crates that are taken apart and repurposed into shadow box frames. I saw them in Mexico and they look so beautiful, I knew I wanted to recreate the look.
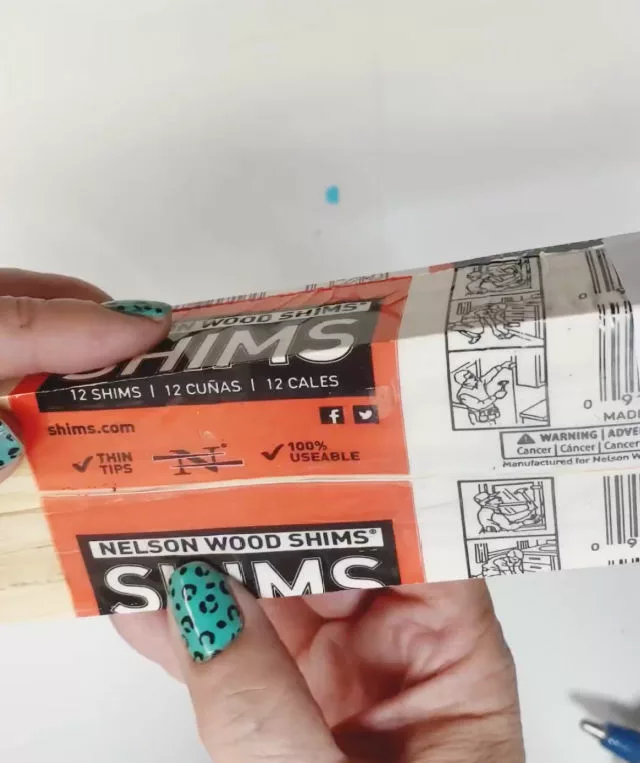
And the beauty is you might even have a package of these in your garage. This is a great way to put them to use. And they also work great for group craft projects!

What are wood shims?
Wood shims are thin, wedge-shaped pieces of wood typically made from cedar or pine. They are used to fill gaps, level surfaces, and provide support in various construction and carpentry projects.
Here’s how they are used:
- Leveling and aligning. When something needs to be adjusted to fit properly or to be plumb, shims are inserted in the gaps to bring it into the desired position.
- Supporting and stabilizing. Shims are used to provide support and stability to various structures. For example, they can be placed under furniture legs to prevent wobbling or under the base of a wobbly table or chair to stabilize it.
- Framing and carpentry. During framing or carpentry projects, shims are often used to ensure that surfaces are even and aligned. They can be placed between wall studs and the surrounding structure to provide a solid and straight surface for attaching drywall or other finishes.
- Adjusting angles. Wood shims can be used to adjust angles and create the desired slope. For instance, in roofing projects, shims are sometimes used to create a slight slope for proper water drainage.
- Soundproofing and insulation. Shims can be used in soundproofing applications to fill gaps and create a tight seal around doors, windows, and other openings. They can also be used in insulation installations to ensure proper fit and reduce air leakage.
Wood shims can be trimmed or stacked to achieve the desired thickness or shape. Nailed or glued in place – they are a lifesaver!
Now let’s get creative with them!
We’re using the wood shims to make a nicho!
SUPPLIES:
Package of wood shims
Wood glue or hot glue gun
Measuring tape
Heavy duty scissors
Sandpaper (if needed)
Picture or item to display
Paint or stain (optional)
Paintbrush or foam brush (optional)
Spray varnish
Cardboard or chipboard
Directions:
Prepare the wood shims
Open the package of wood shims and lay them out to inspect their condition. Ensure that they are straight and free from any defects.
If needed, use sandpaper to smooth any rough edges or surfaces of the shims.
Determine the dimensions
Decide on the dimensions of your shadow box, considering the size of the picture or item you want to display.
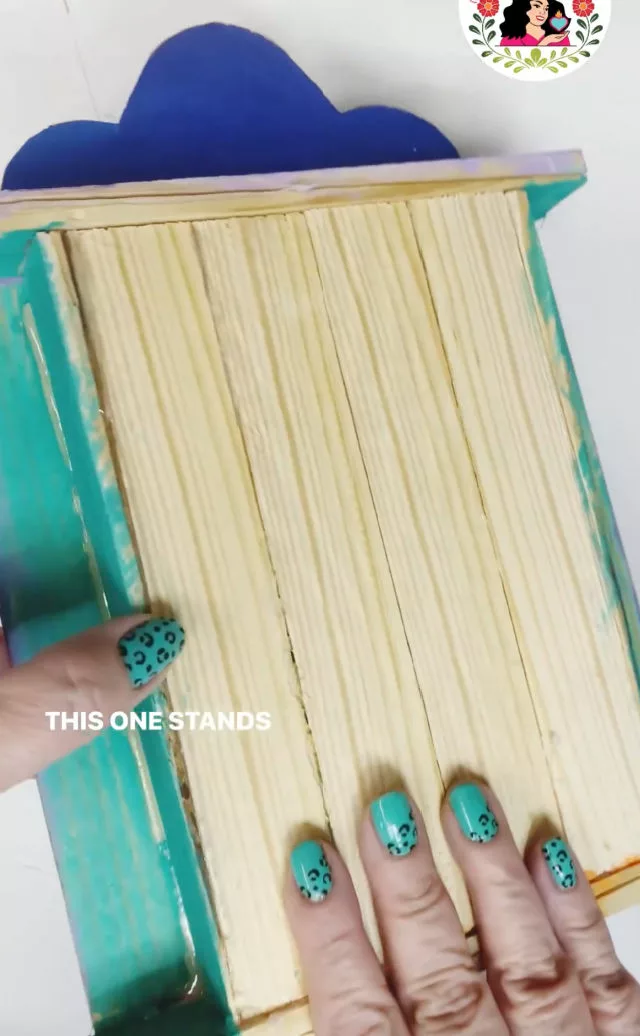
For mine, I used four shims glued vertically and crafted my box around that.
Glue the shims
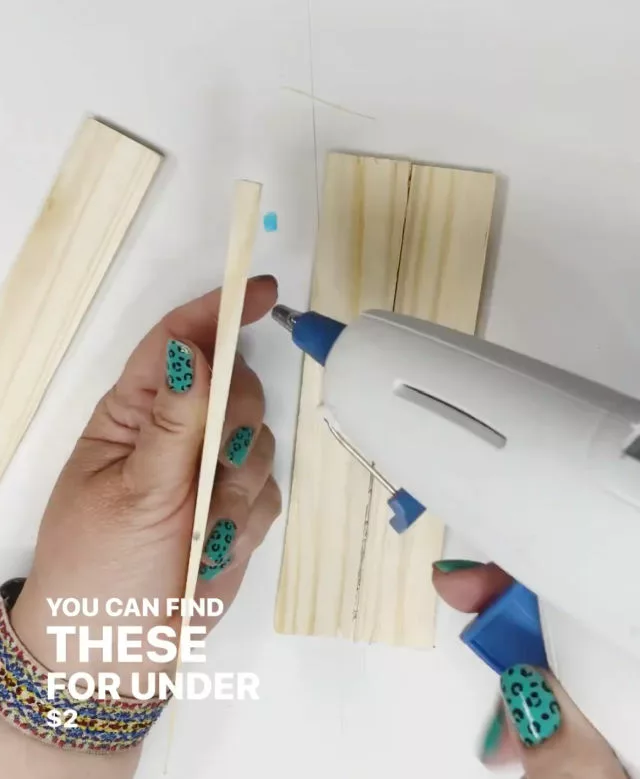
The shims are wide on one side and thinner on the other. Take four shims, decide if you want to glue them all at the same angle or alternated.
Apply wood glue or use a hot glue gun to attach the shims together, forming the backside of the nicho.
Add the sides
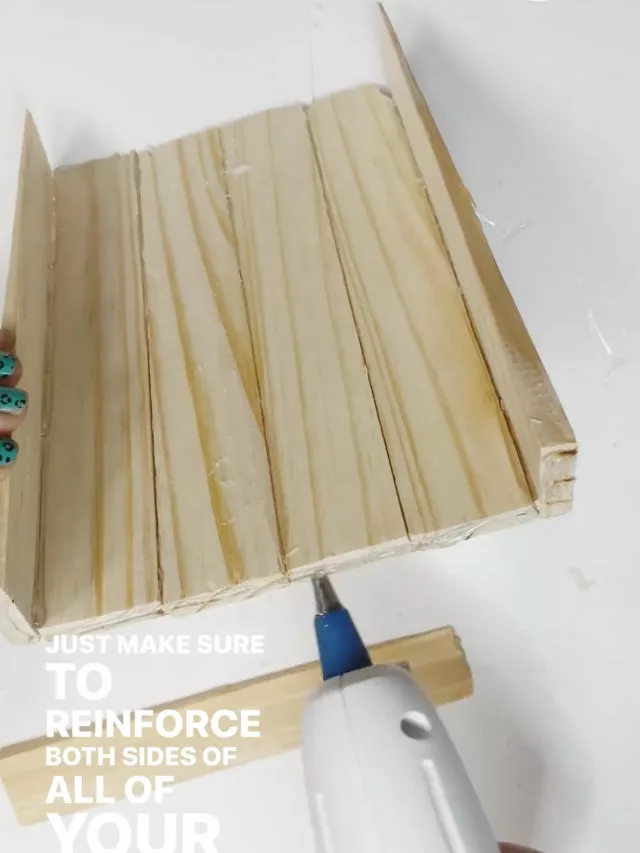
Glue shims on each side. Now add shims to the bottom and top. Make sure to reinforce.
Add embellished designs for the front.
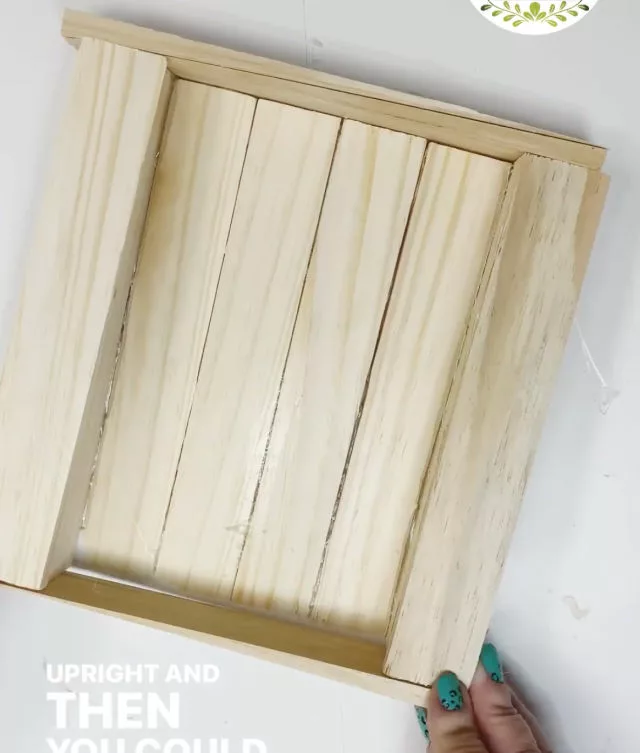
It can be a scalloped piece or anything to give the top some personality.
Reinforce it all with glue
Paint the base coat color and then embellish!
Once the paint or stain is dry, place the picture or item you want to display inside the shadow box.
You can attach it to the backing using glue, double-sided tape, or other suitable methods.
Your wood shim shadow box is now complete! Hang it on the wall or display it on a shelf to showcase your picture or item while enjoying the unique texture and appearance of the wood shims.
RELATED:
Cardboard Crafts: DIY Shadow Box