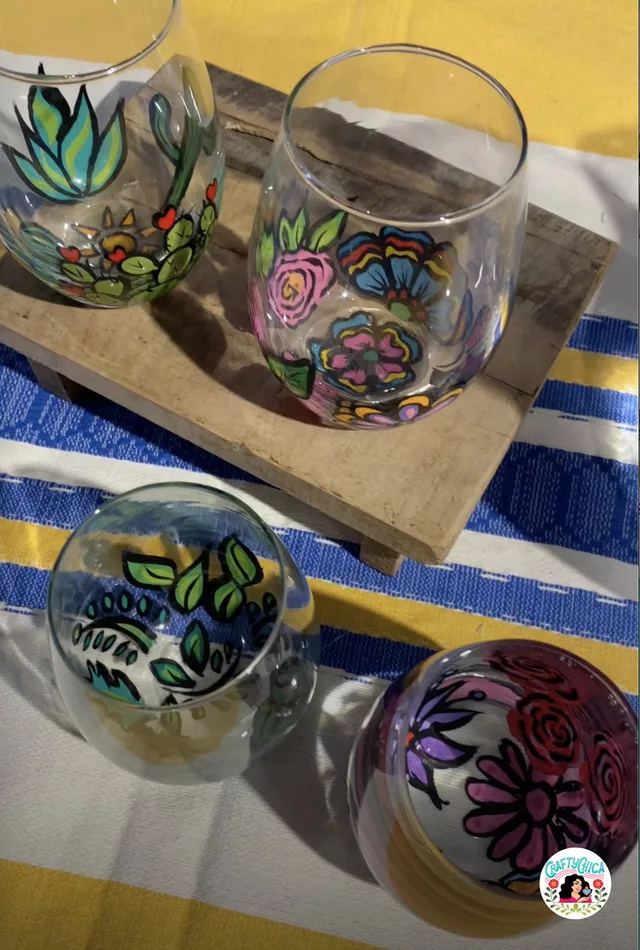
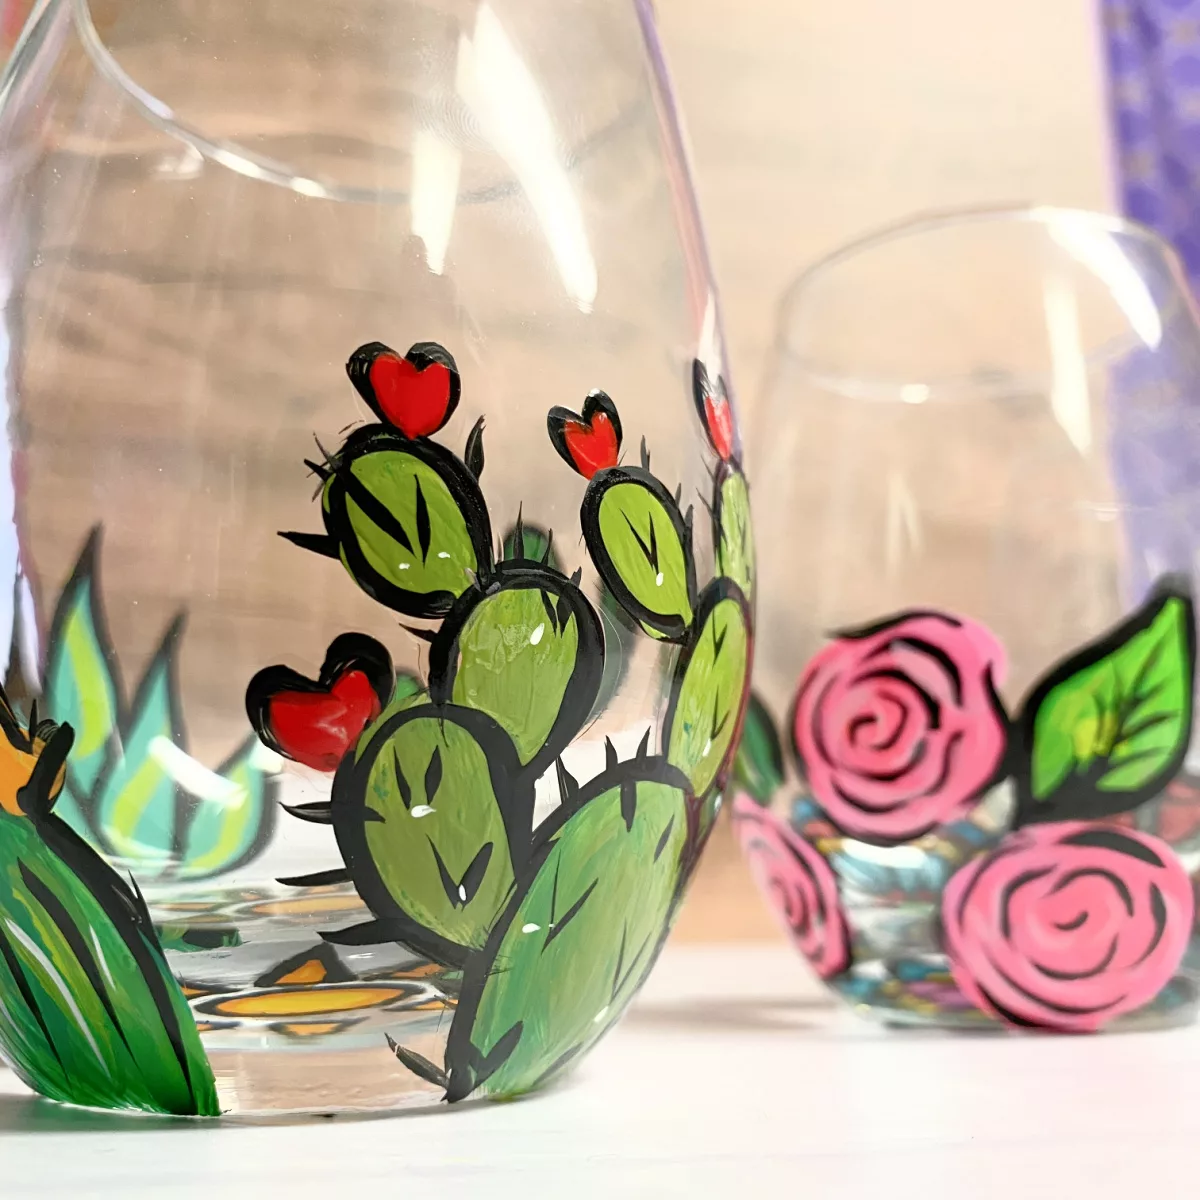
This reverse painted glassware project is sooo cool. It goes above and beyond reverse painted glass techniques and decorative arts in general.
We’re giving double duty with the concept to create an original work of art!

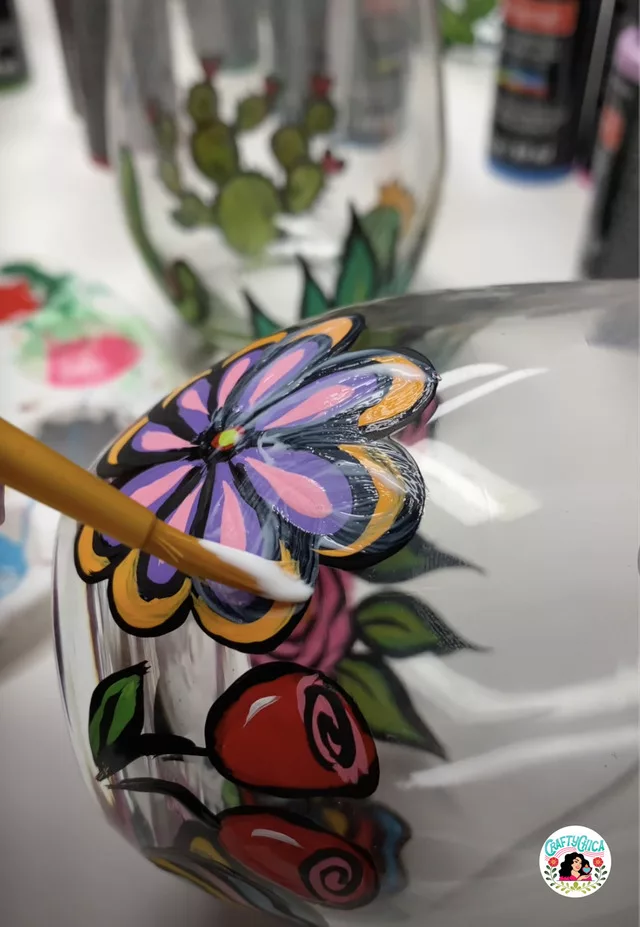
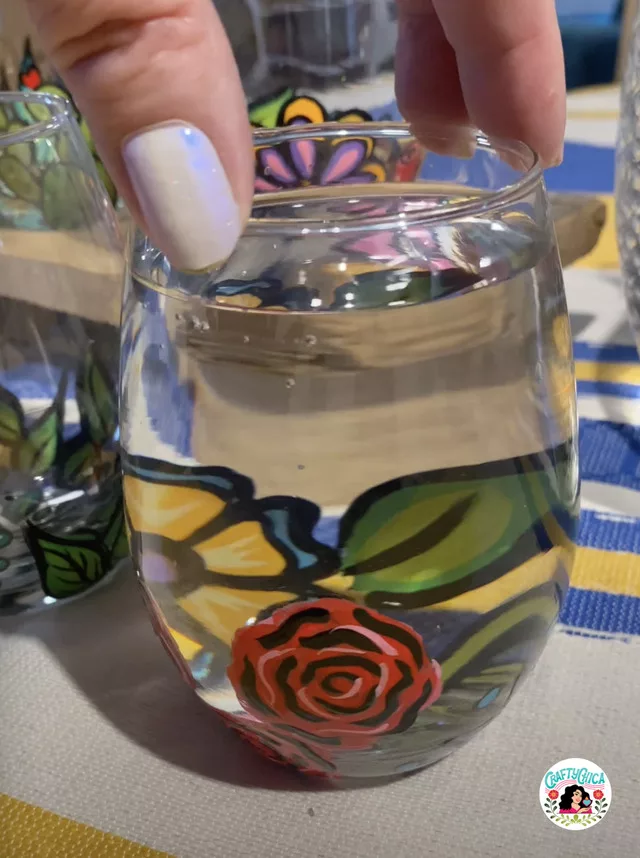
The accents are painted twice. The result looks like it is painted from the inside of the glassware as well as the outside!
View this post on Instagram
Reverse painted glassware is a popular technique and art form where images or designs are painted on the backside of a glass surface. It creates a smooth and glossy finish on the front – and the inside of the glassware too!
Easy themes:
Let yourself have fun with this project. Freehand motifs that come easy to you for best results. Here are some ideas for a folk art look:
- Flowers
- Clouds
- Polkadots
- Happy faces
- Leaves
Supplies:
Stemless wine glasses (or any glassware)
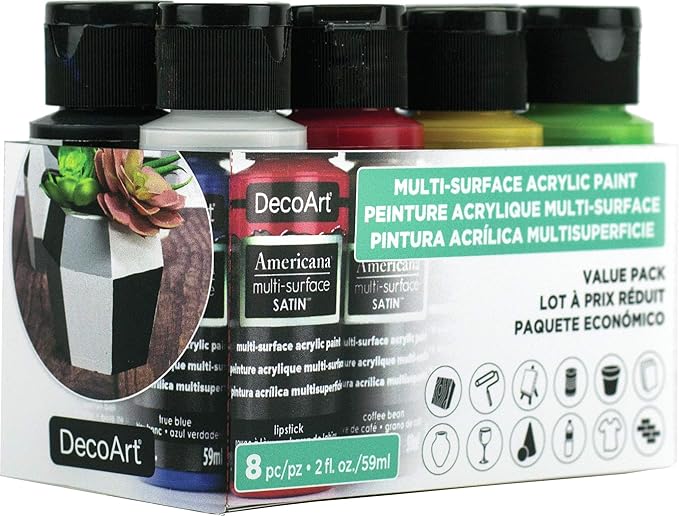
Multi-surface black paint (or a paint pen, but not plain acrylic paint)
Assorted brushes
Rubbing alcohol and cotton ball

Paint pen vs/ multi-surface paint
Paint pens are definitely easier to use and control, however I’ve found they don’t last as long as using multi-surface paint. Multi-surface paint grips much better and is longer lasting for your finished project.
You may want to use a paint pen as you practice to build your confidence though! There is also glass paint you can use. This is a little more expensive. I like using what I have, but I do want to try glass paint someday!
Directions for reverse painted glassware:
Prepare the glass
Pay special attention to cleanliness! The paint won’t grip to smudged or dirty surfaces. Start by cleaning the glass surface thoroughly to remove any dirt, fingerprints, or grease. Use a glass cleaner and a lint-free cloth to ensure the surface is completely clean and dry.
Design and trace the image
Decide on the design you want to paint on the glassware. You can either freehand the design or use a stencil for more precise results. If using a stencil, secure it to the inside side of the glass using tape or adhesive, making sure it’s centered and aligned correctly.
TIP: Rather than use a stencil, freehand. Give yourself permission to practice your creative intuition!
Outline the design
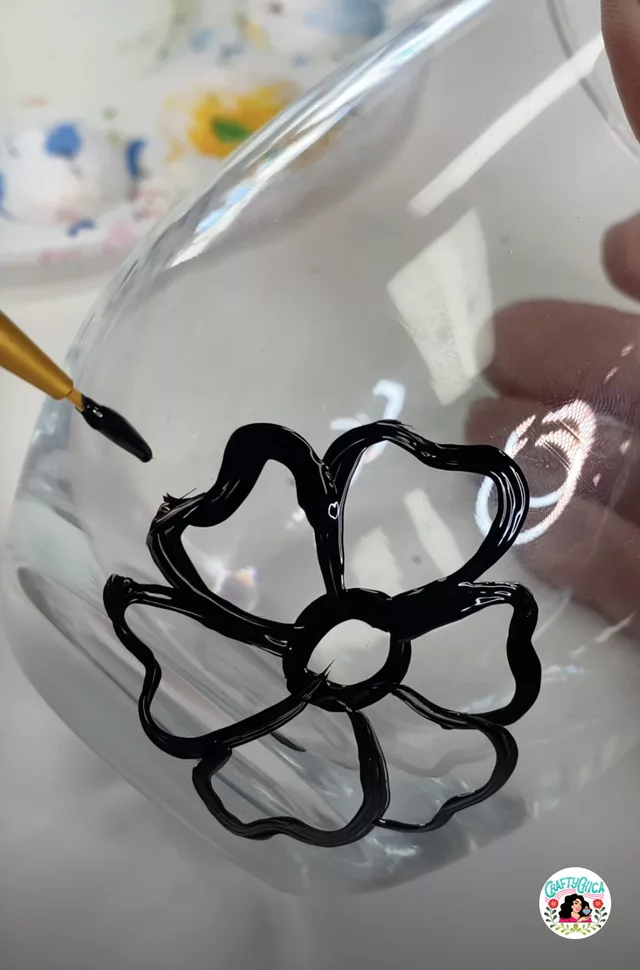
Use a fine-tip paint pen (or a liner brush) to draw/trace the design onto the reverse side of the glass. I always use black to outline and add accents. This will serve as a guide for the subsequent painting process. Take your time and ensure the lines are clean and accurate.
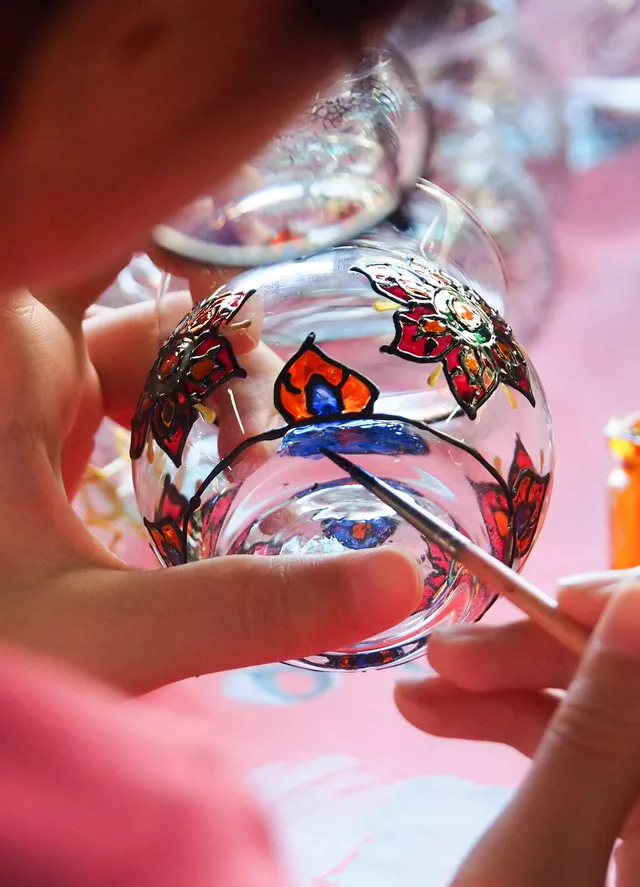
Paint the accent designs and shading
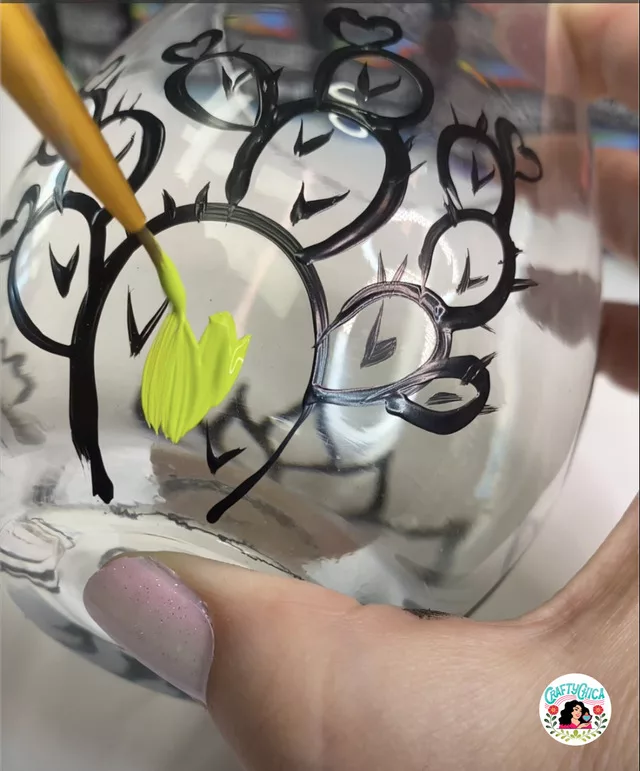
Add black accents, like the spins on a cactus or the shading for a flower. Next, lighter colors that will serve as the shaded areas.
Background color
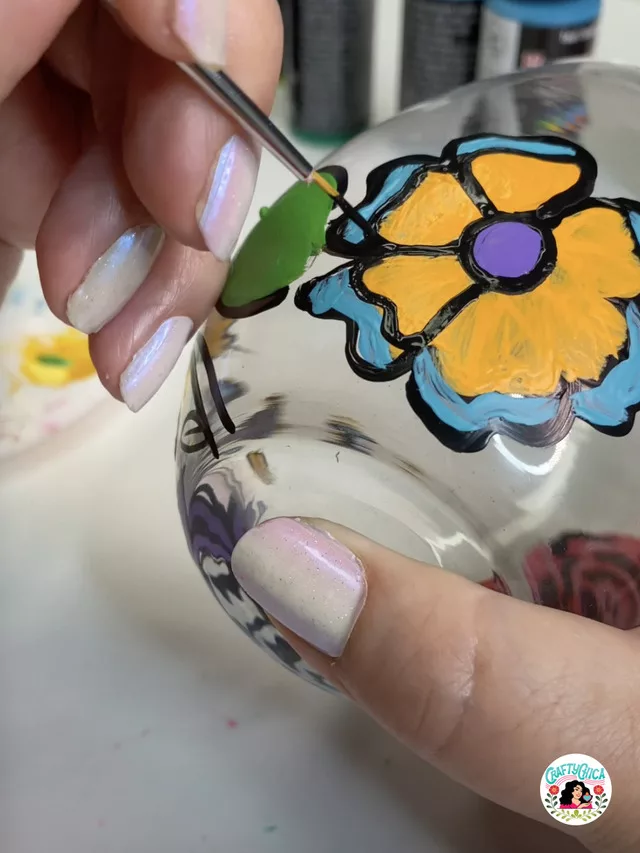
Apply the paint to the areas that are not part of the design. Use a small brush to apply a thin, even layer of acrylic or enamel paint. Allow the paint to dry completely and then add a second layer.
Add more refined outlines and accents
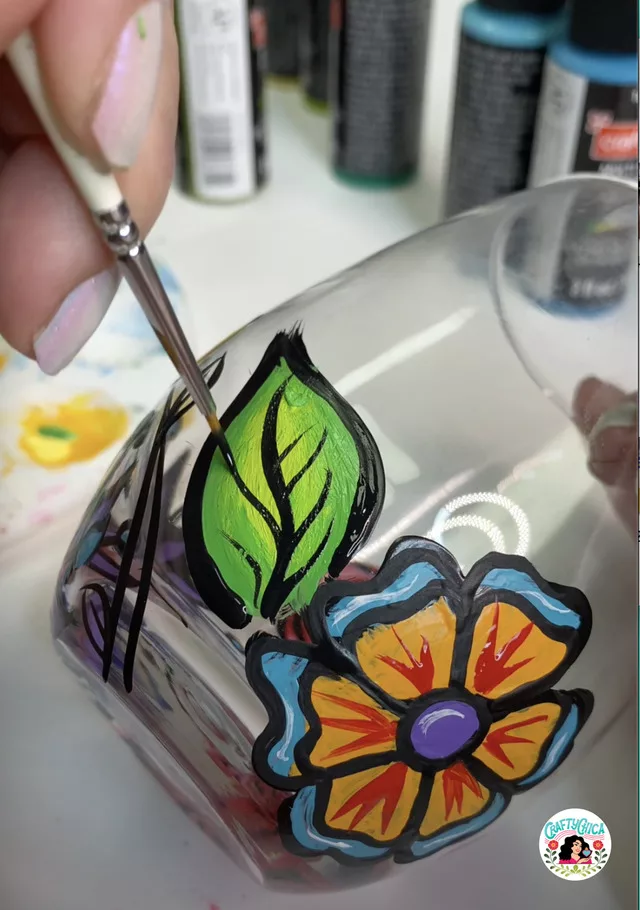
Repeat the process of adding the accent lines, clean up your outlines.
Seal
Let it dry completely (not a super long time, maybe 30 minutes) and then add two layers of waterproof brush-on varnish. Let dry between layers.
Clean and maintain
Once the painted glassware is fully cured, you can clean it gently using mild soap and water. Avoid scrubbing or using abrasive materials that could damage the painted surface. Handle the glassware with care to prevent scratching or chipping the paint.

Remember to read and follow the instructions provided by the specific paint and sealant manufacturers you choose to use, as different products may have variations in application and curing methods.
This reverse painted glassware idea will come out so beautiful – or cute – or whatever spirit you want. A nice piece of art! You can adapt the idea for any season. I promise people will ask you about them! And you’ll want to make more!
Other reverse painted glass ideas:
Glass panels
Glass windows
Glass lampshade
Glass picture frames
Thanks for checking out my post about the art of reverse painting!