UV resin vs epoxy resin – let’s break it down.
I’ve been using resin for many years, but the old school two-part epoxy version. When UV resin came out on the market, I didn’t try it for a while. The UV lamp, the one-part resin – it kinda turned me off.
But you know what?
A big part of being an artist is to always strive to evolve and embrace new tools! So I went and bought a UV resin kit, and I LOVE it! Very easy and fast to use, quick clean up.
These days there are all kinds of resin to try. Casting resin, polyester resin, polyurethane resin, even water-based varnish that dries almost like resin…
Now it is time to find the best option for you and your projects.

So bring on the resin craft projects!
Quick overview
UV resin uses a UV light to cure the resin in minutes. But you can only cure an area as big as the light, which makes it best for smaller projects. It also cures a bit soft, but you can put it in sunlight to properly harden.
Epoxy resin is two-parts you have to mix. It takes 24 hours to cure but is super strong once it is fully cured.
Detailed break down of the two versions!
Conventional epoxy resins
This is what many of us have used – a two part formula. Part A is the resin and Part B is the curing additive that creates a chemical reaction. Equal parts are mixed thoroughly together and left to set for 24 hours until fully hardened.
Two-part epoxy resin kit on amazon
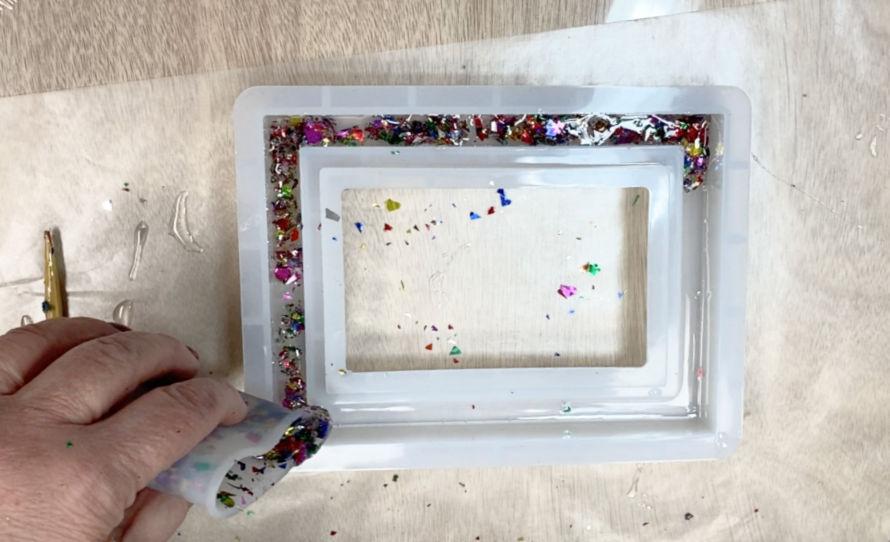
Versatile. You can pour it in thick or thin layers on flat surfaces or in molds, easily remove air bubbles, resin casting, and it works great as a thick varnish or for smaller projects as well.
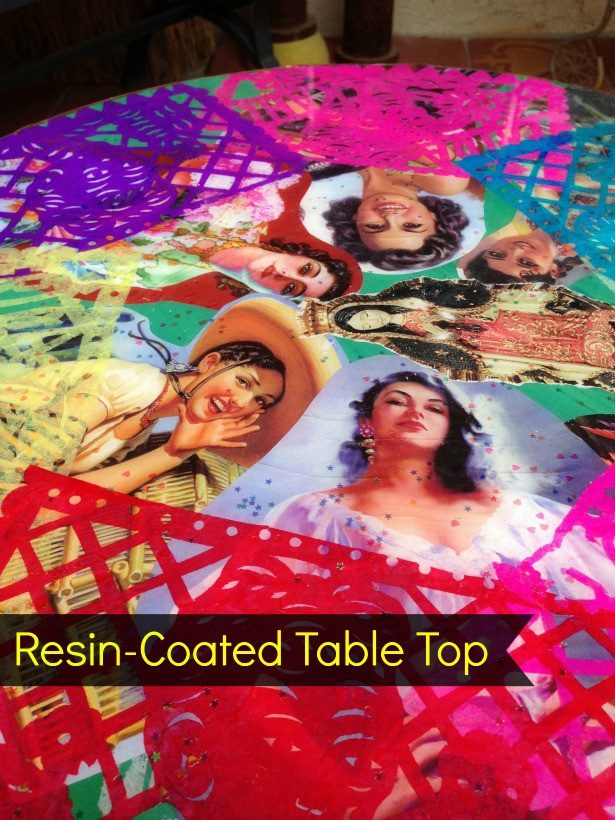
Great for big DIYs. It is commonly used for larger projects, such as furniture or countertops. It cures at room temperature.
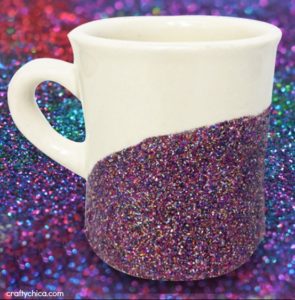
Easy to add embellishments. Alcohol inks, glittered, embeds, mica powders, paper, and you can even coat food items.
Epoxy resin is known for its strength and durability. It can withstand high-impact and high-stress projects.
Great for a variety of projects, including jewelry making, woodworking, and home improvement.
Two-part epoxy resin is waterproof! Perfect for projects that will be exposed to moisture or water.
Easier to work in layers. Mixed media resin projects need to have space for adding, fixing, changing. Epoxy allows you to apply more layers over bigger areas.
Sand and/or polish your finished project to achieve a smooth and glossy finish. That means your jewelry projects, craft projects, home decor DIYs will all come out great.
Okay, now the down side of epoxy resin
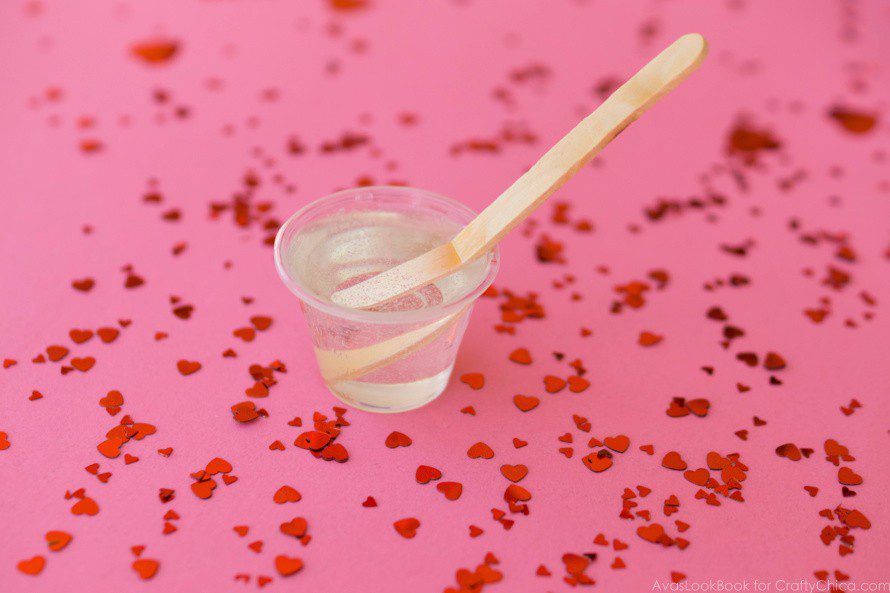
Mixing process: You gotta get it right! Two equal parts and you must blend smoothly to avoid air bubbles, yet thorough enough so it cures properly.
Extra tools needed. Mixing cups, stirring sticks, heat gun for bubbles.
Long curing time. Epoxy resin takes much longer to fully harden than UV resin, often requiring 24-48 hours or longer. If you are in a hurry, UV resin might be a better choice.
It stinks! Epoxy resin has a strong odor, which can be a drawback for those who are sensitive to strong chemical smells. You absolutely must wear a face mask, safety glasses, gloves and work in a well-ventilated room.
Yellowing over time. Depending what brand you use, it can yellow over the years and look really gross. Look for resin that has a blue tint, this will help keep it nice and clear-looking.
Spotty coverage at times. Your surface has to be very clean or the resin will separate.
UV Resin
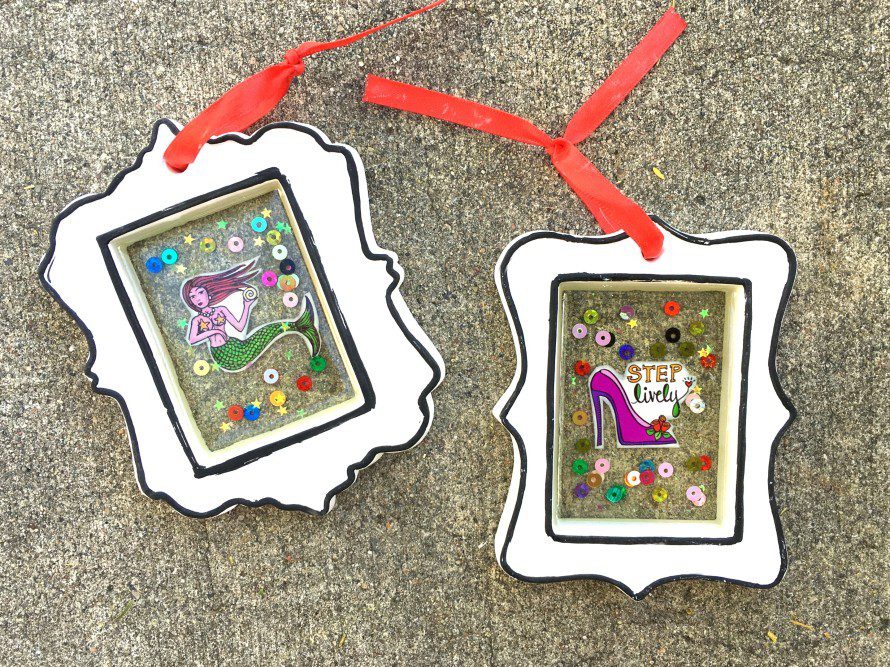
UV resin is a type of resin that cures (hardens) quickly when exposed to ultraviolet light. It is typically used for small projects or for adding a protective layer to other crafting projects.
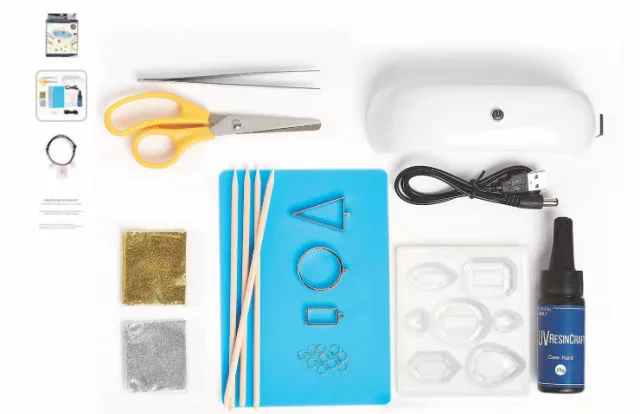
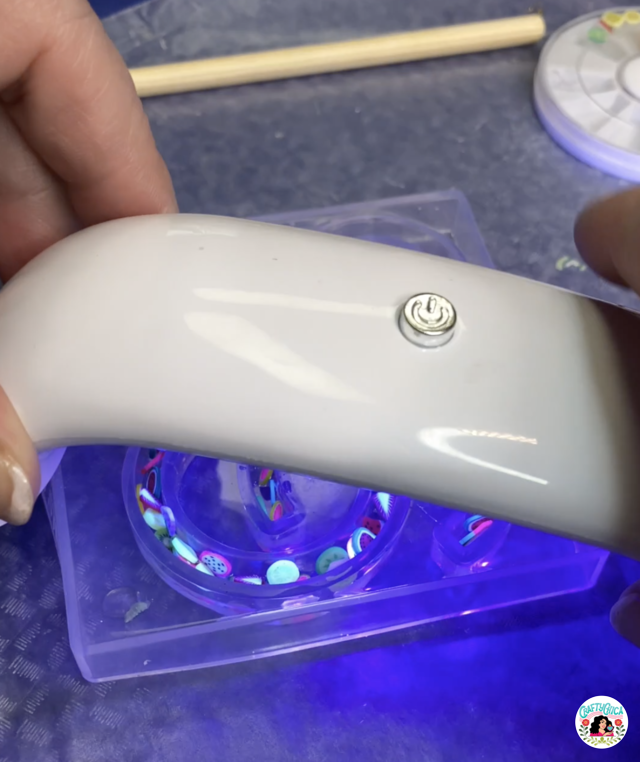
Quick curing process. High-quality UV resin cures within minutes when exposed to UV light. The kit I purchased has a little UV light that stays one for one-minute at a time. I always do three rounds of curing with the light. The kit also has additional equipment like a silicone mat, tweezers and a plug to charge the light.
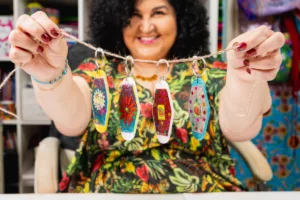
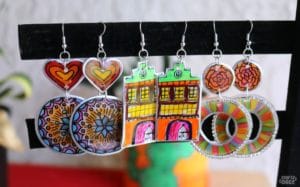
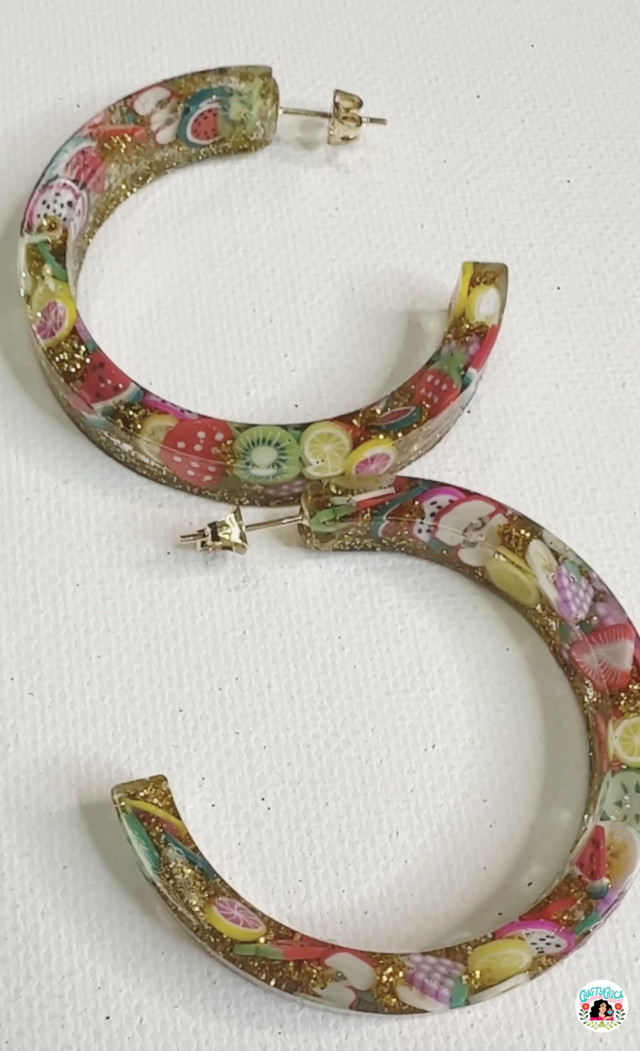
Super easy to use. OMG, this is what I love. My kit has one-part resin. No mixing. Simply squirt it on, apply it as desired and then hit it with the light to cure! It’s now my go-to for glueing the backs to my earrings.
Low odor. This is a very important factor. UV resin has a lower odor than epoxy resin. A HUGE difference!
Clear and transparent. A nice feature for jewelry pieces!
Additives welcome! Glitter, alcohol inks, etc work well with this.
Works great in resin molds. Easy to remove!
Nice tool for attaching earring backs without waiting for permanent adhesive to cure.
These are significant differences, especially if you love working with all types of resin.
The down side of UV resin
It’s a little bit brittle at times. It could chip or flake while sanding.
Not as strong. Sometimes it can be soft in areas, unlike normal epoxy resin. In that case, you can put it in direct sunlight and it will cure rock hard.
Limited working time. You really have to work fast, once you turn on that light over your resin, it hardens very quickly!
Wear gloves and face mask, just to be safe!
Use a heat gun to remove bubbles.
In summary, both UV resin and epoxy resin have their own pros and cons. UV resin is quick and easy to use, while epoxy resin is strong and versatile.
As for me – I use both.
UV resin: Affixing jewelry findings such as earring posts, using it as a permanent adhesive for small items. Making resin earrings.
Epoxy resin: Larger projects, layering, etc.
My best advice is to experiment and have fun. Work fast because resin does have a shelf life.