aze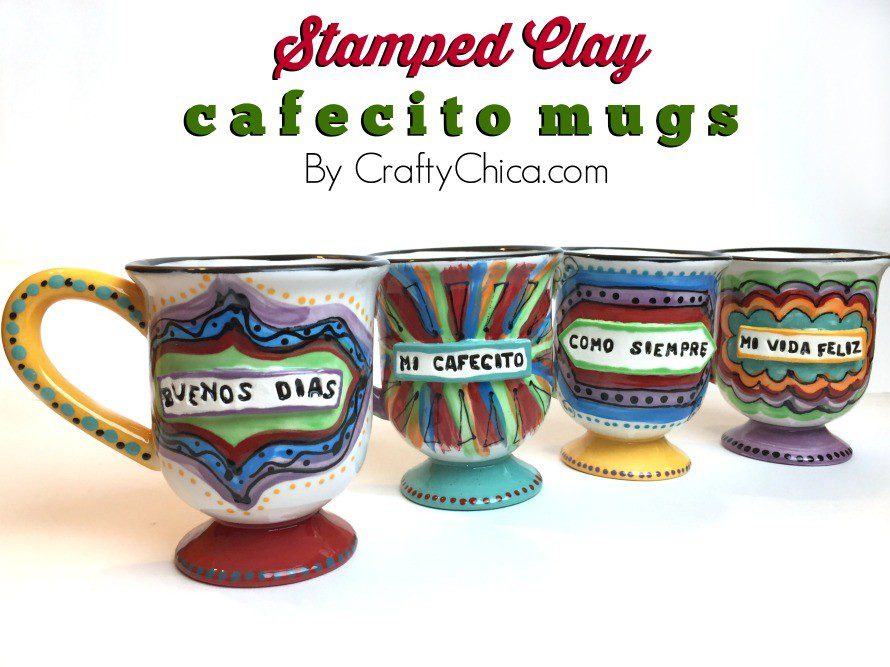
How to make stamped clay mugs using pasta letters!
Painting coffee mugs are my thing, I’m always looking for new ways to make them.
For these stamped clay mugs, I used pasta letters! I’m not sure if I’ll be making these again, they are pretty labor intensive, but worth it!
Pasta letters are an all-time fave of clay artists. The letters burn out during the firing process in the kiln. It’s pretty genius!!
SUPPLIES for Stamped clay mugs using pasta letters:
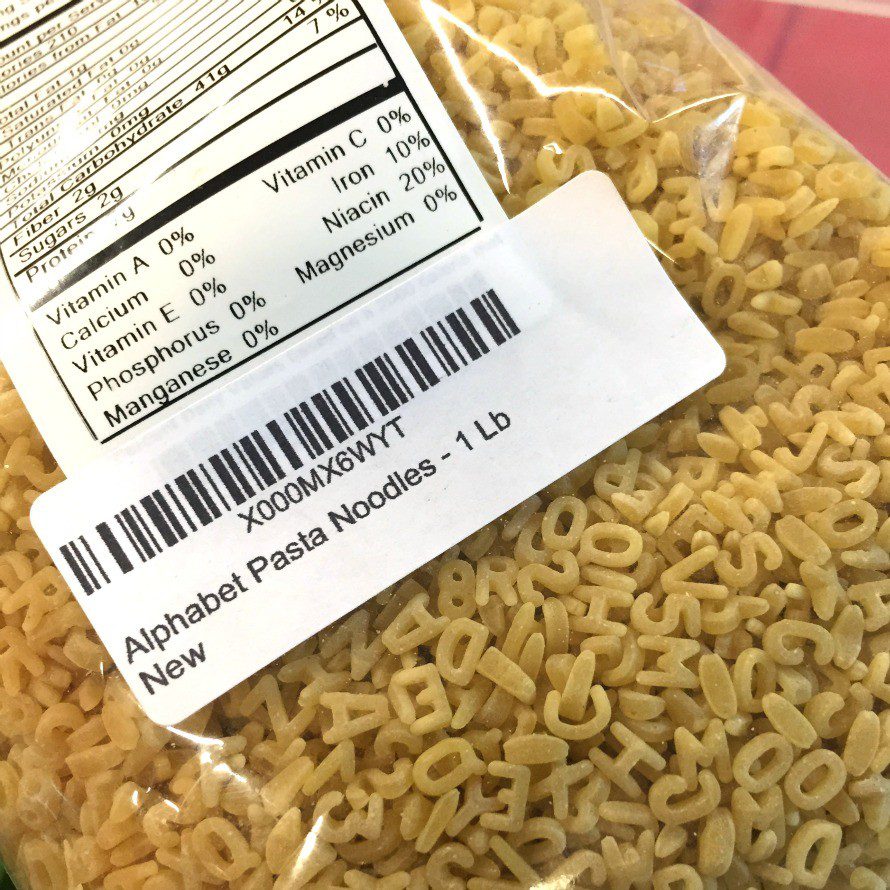
Letter pasta (I purchased it on Amazon.com)
White clay
Roller/brayer
Bisque mug
Packing tape
Undertgl
Duncan Pure Brilliance Clear Glaze
Duncan French Dimensions, White
Stilts and a kiln
Directions:
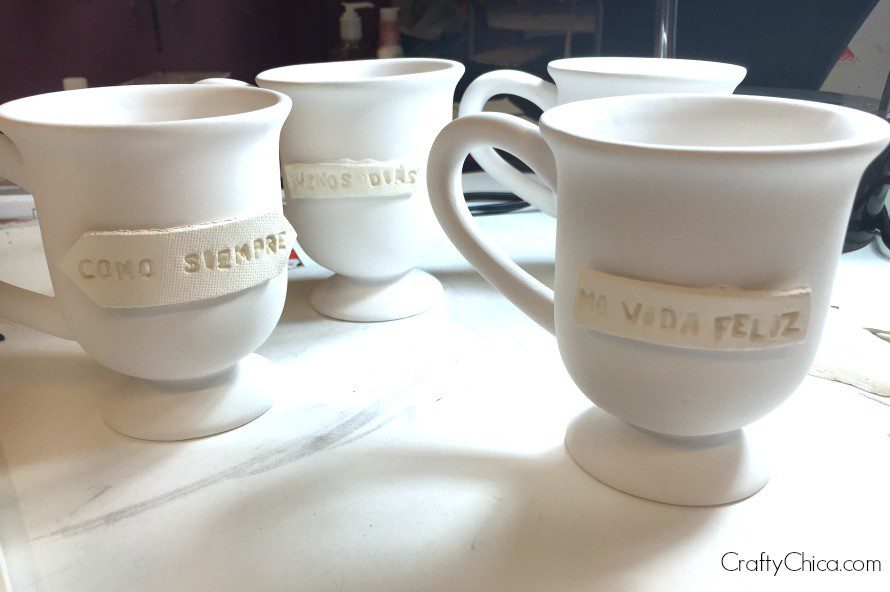
We are starting with pre-fired bisque. There are a few steps to make sure everything fuses together correctly.
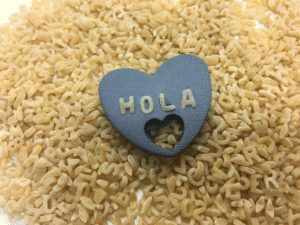
Roll out your clay and cut out small rectangles that will fit nicely around the mug. Press the letters into the mug, press so they are in deep and snug.
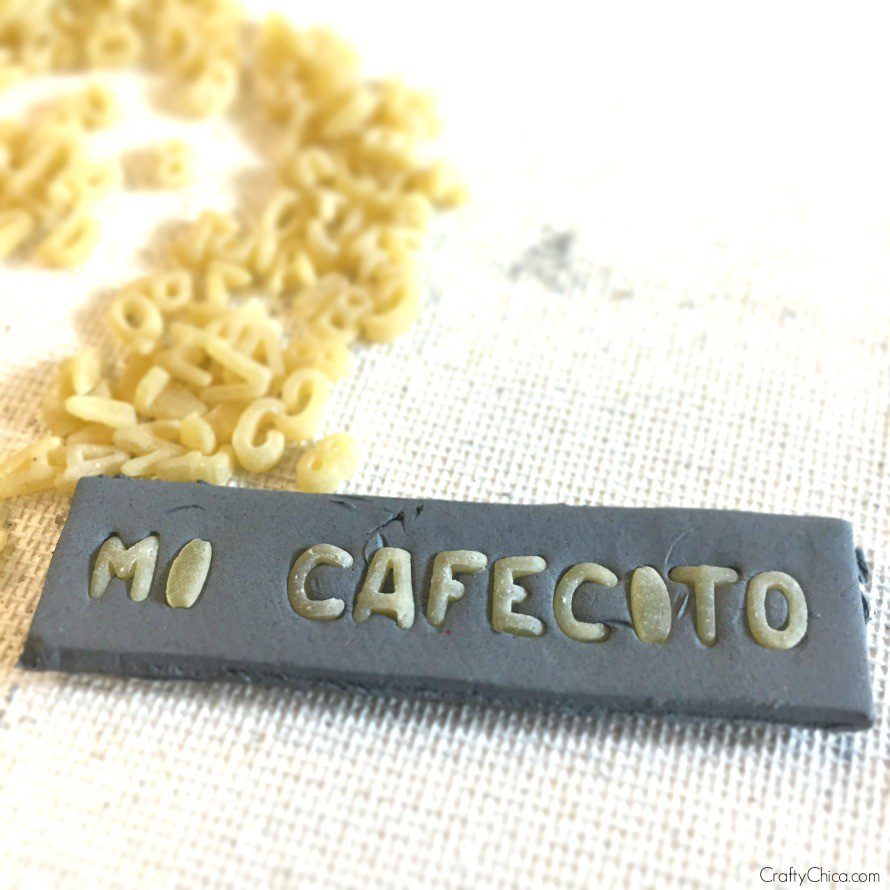
This is the important part – you have to have the clay pieces form to the shape of the mug.
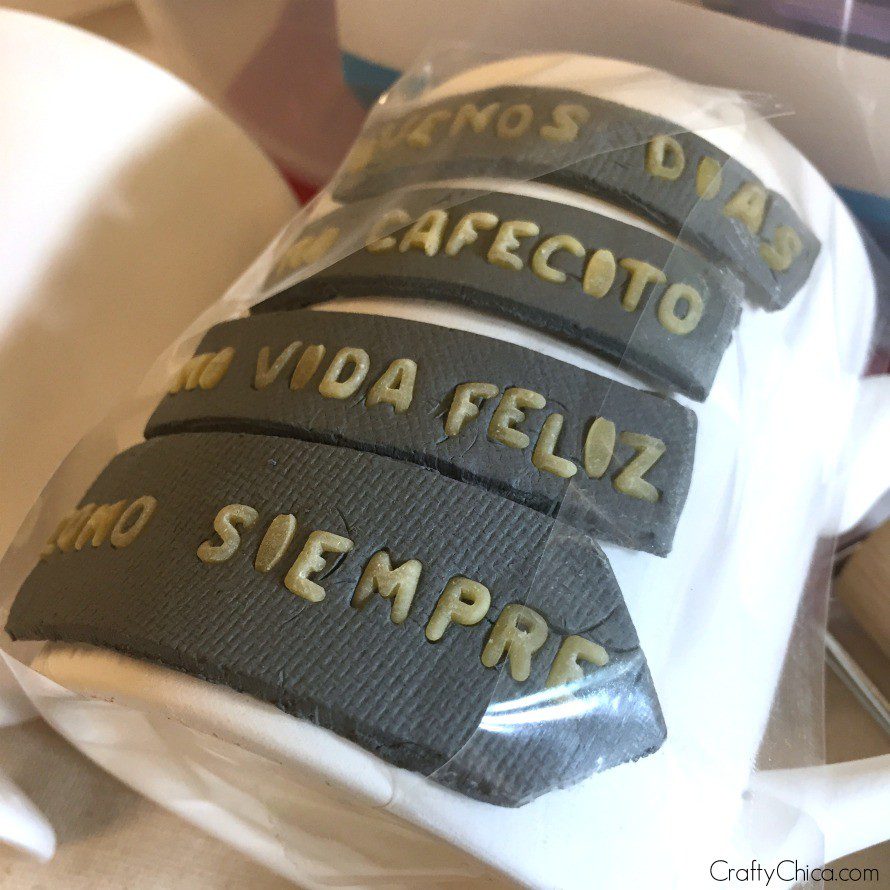
Use packing tape or washi tape to make sure they dried as close to the curve of the mug as possible. Let dry until they are BONE DRY.
REMOVE the pieces from the mug. Remove the tape.
THEN fire the pieces in the kiln at cone 04 (cone 06 will work fine too).
Once they are cooled, remove the pieces from the kiln.
You’ll find some ash from the pasta letters left over in the grooves. simply use a hard brush to get rid of those.

Now add some Duncan French Dimensions to the backs of the pieces and press onto the mugs.
Let dry completely. French Dimensions is like puffy paint for ceramics. It also works to fuse pieces together!
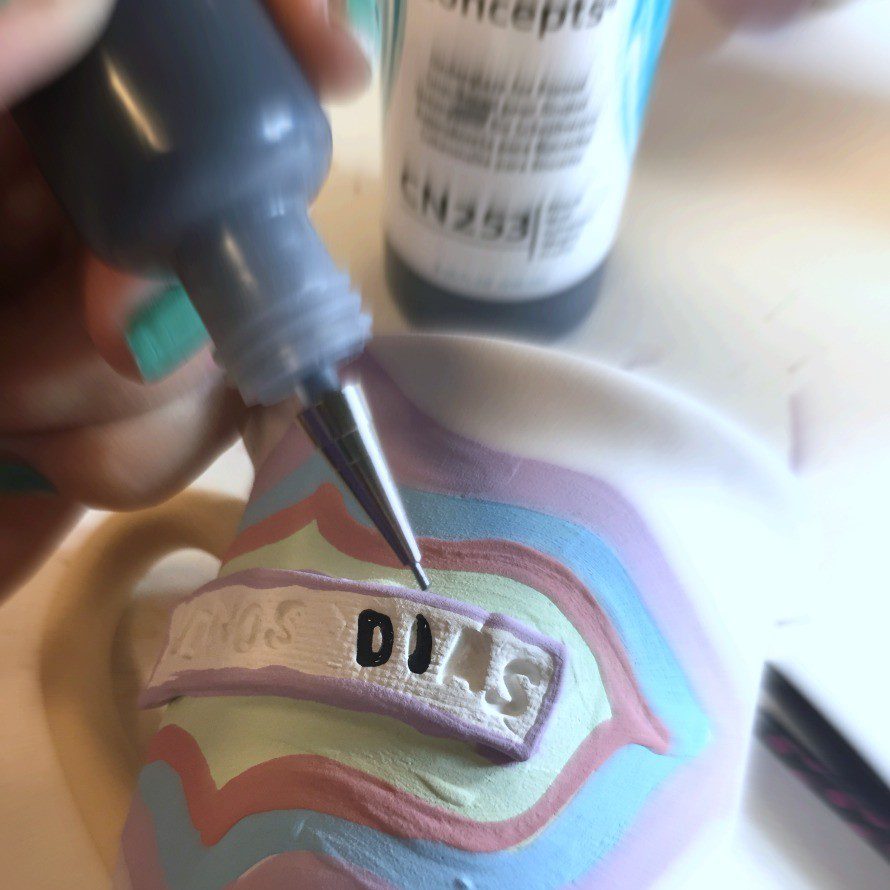
Once the pieces are dried and glued, then paint with the underglazes.
Add underglaze to a small writer bottle to fill the lettered areas. It worked perfectly, no mess at all!
Let dry, then dip glaze in clear glaze.
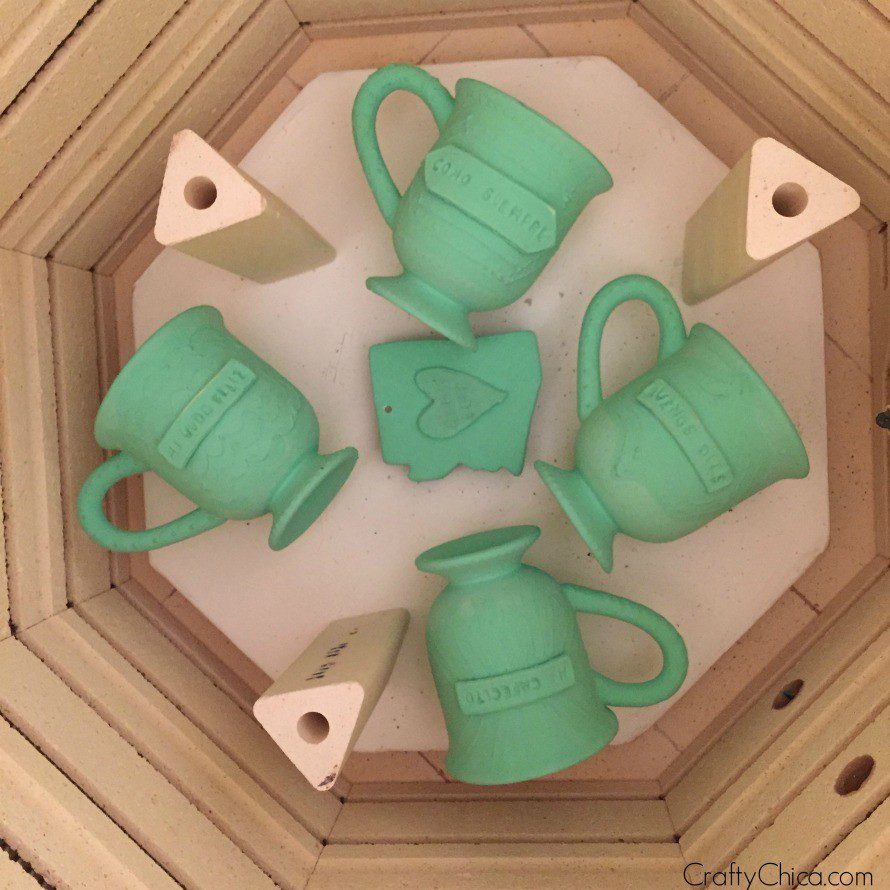
Now in order to fire these without the pieces sliding off, you’ll have to stilt them from the back. After firing and cooling, use a nail file to smooth down the parts where the stilts were.
Try to use newer stilts with sharper points so you’ll have smaller marks where the stilts were. Fire to Cone 06, medium speed.
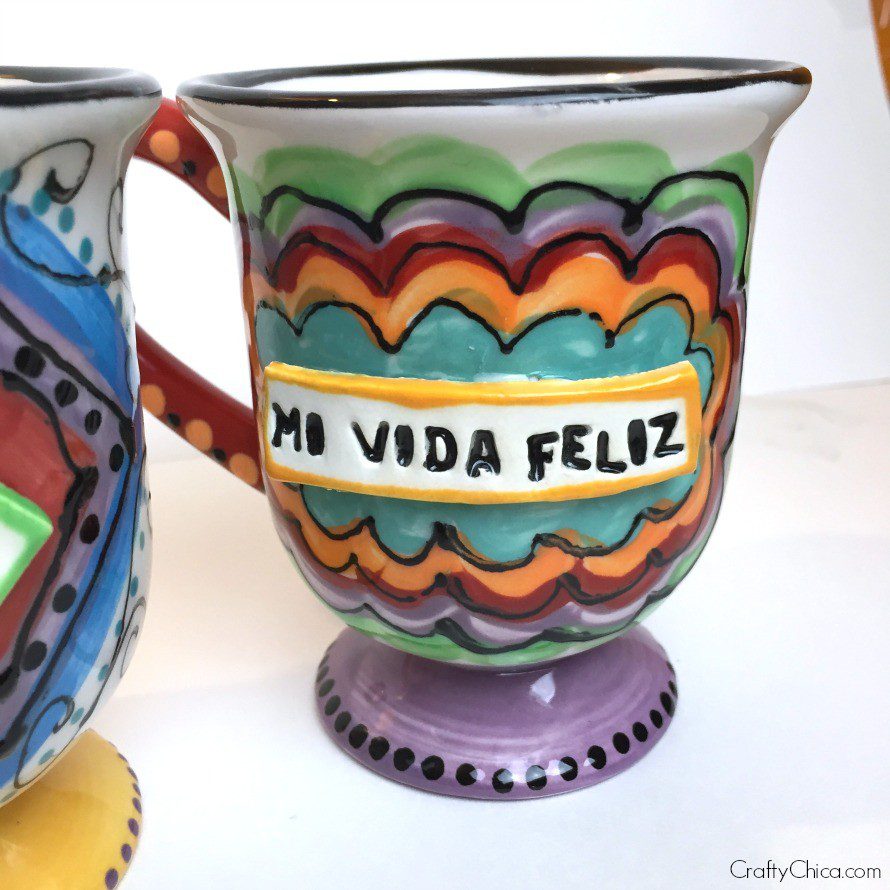
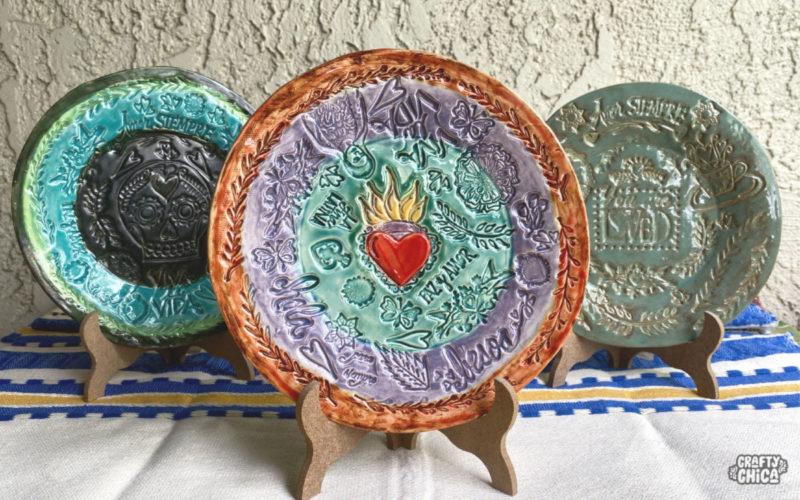
And here they are! Wow! I love how they came out, so gorgeous!
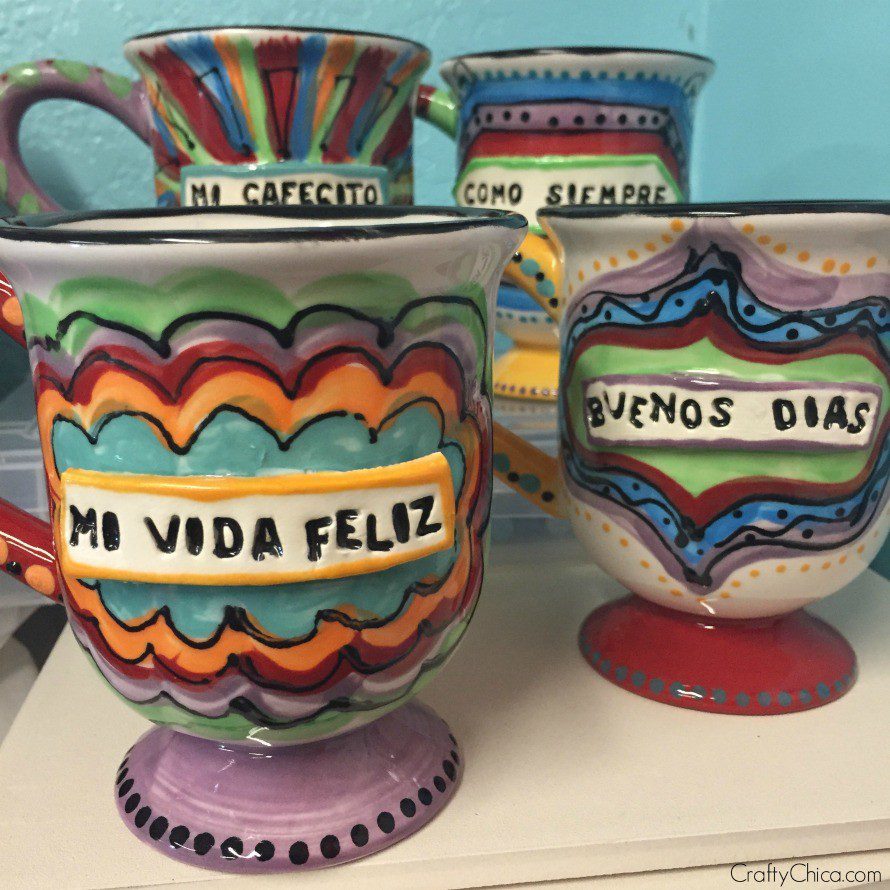
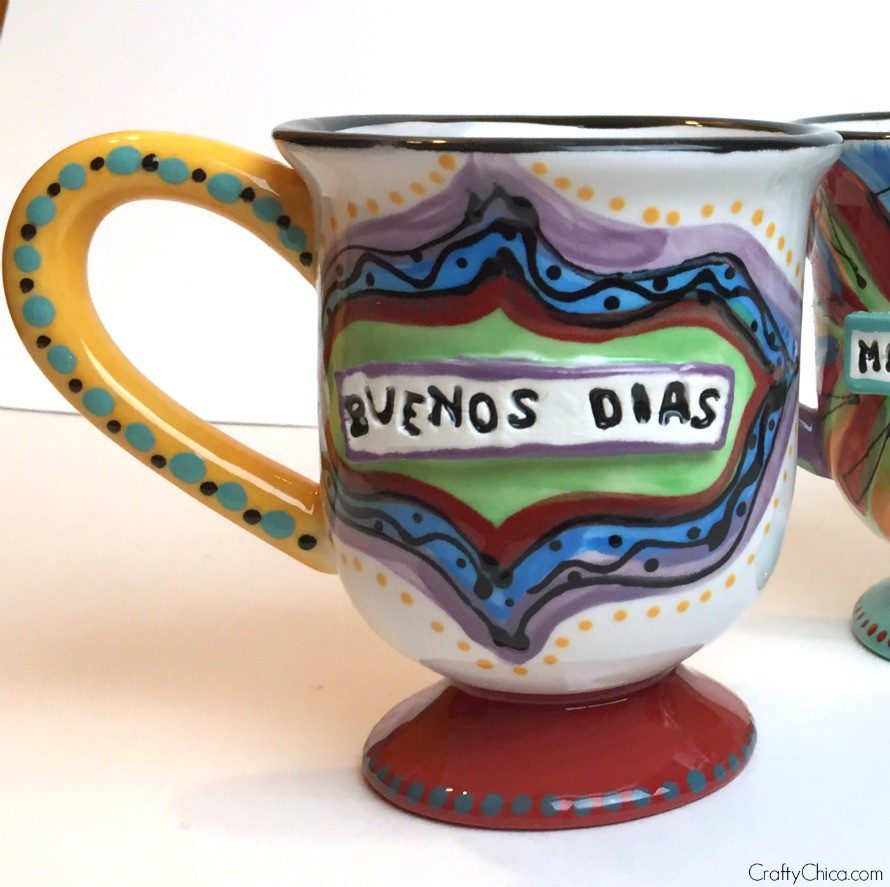
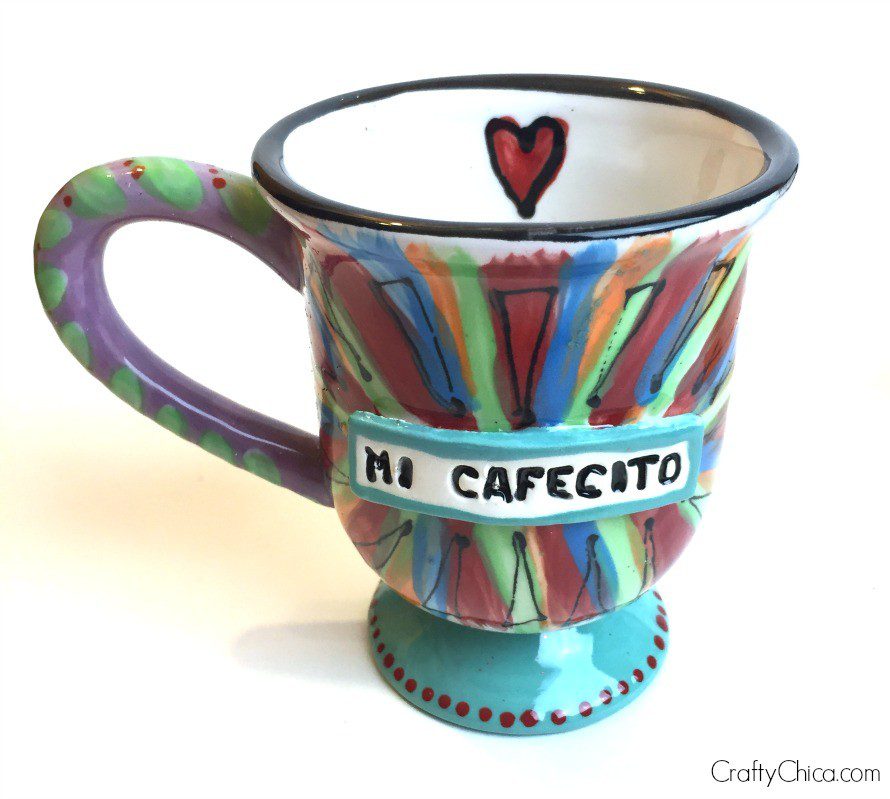
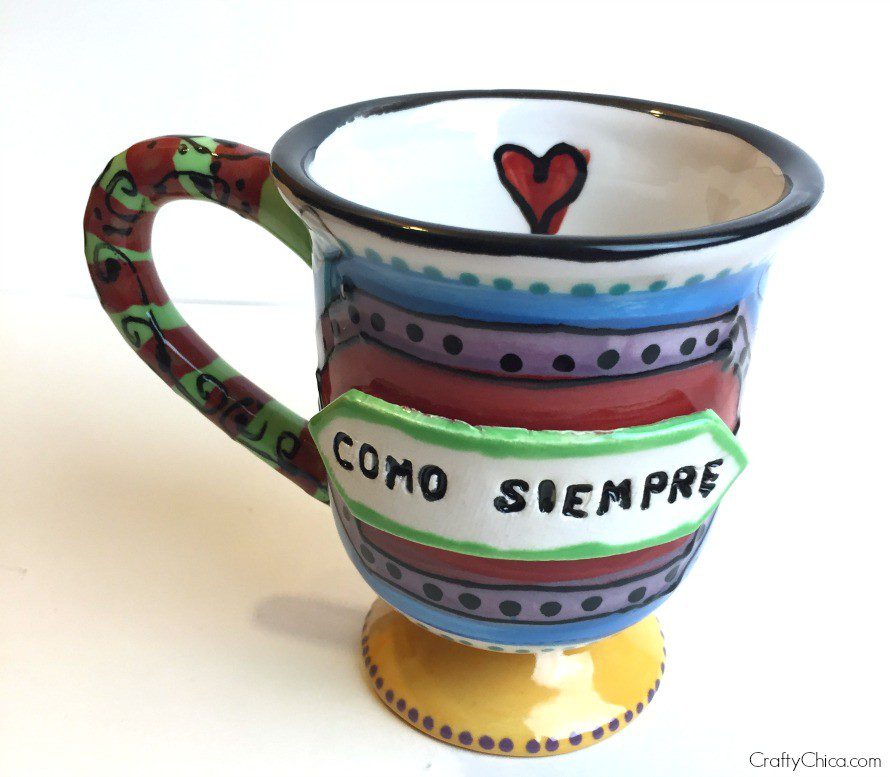
Thanks for checking out these stamped clay mugs using pasta letters!


LOVE these, Kathy – they’re so cool!