I’m here to inform you, there is a bit of a learning curve. Once you master it, you will have the BEST time!

Let’s get acquainted with sugar skulls and their meaning. Dia de Muertos is a 3,000 year-old tradition where we honor our loved ones who have passed away, as well as ancestors we’ve never met.
It’s believed on November 1 and 2, these souls can return to the land of the living. An ofrenda is created in their honor, and it is layered with items with very special meaning.
Dia de Muertos has nothing to do with Halloween. I always like to add that in…
RELATED: Elements of a Dia de Muertos Ofrenda
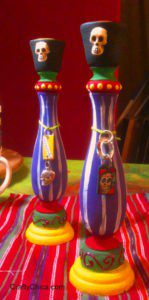
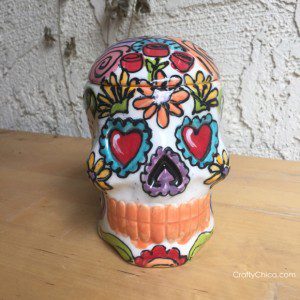
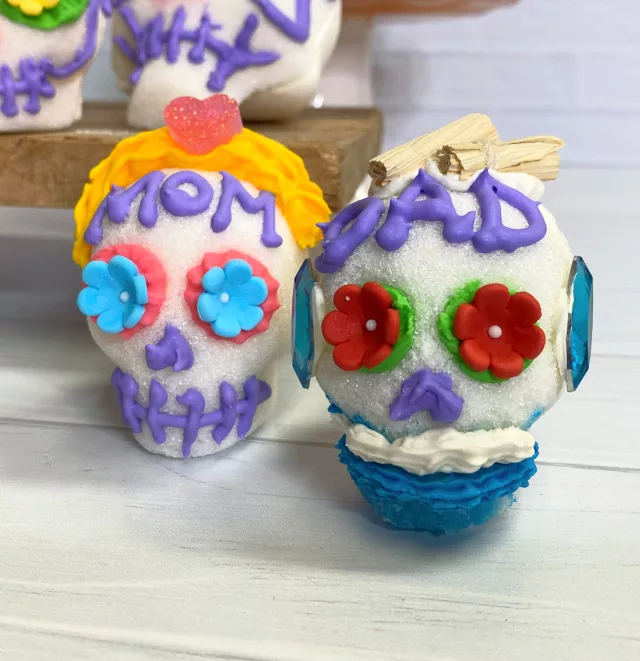
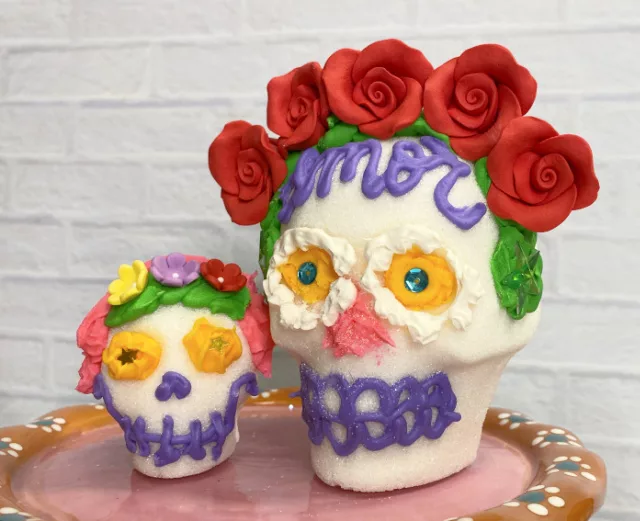
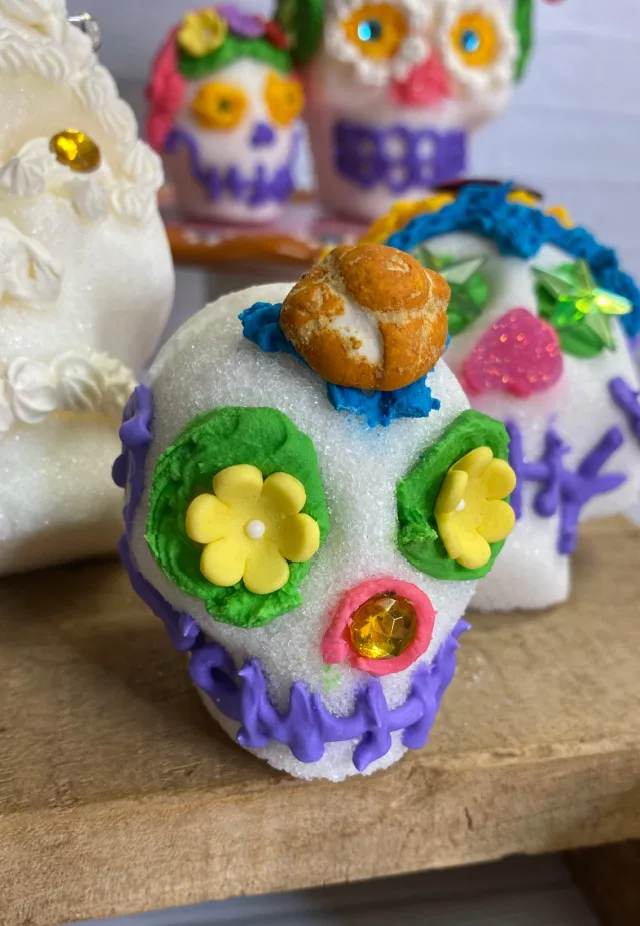
Calaveras – sugar skulls – are an important part of Dia de Muertos because they represent the sweetness of life. They are decorated in bright icing, trimmed with embellishments and placed on the ofrenda. You can lick them, but they really are not meant to be eaten.
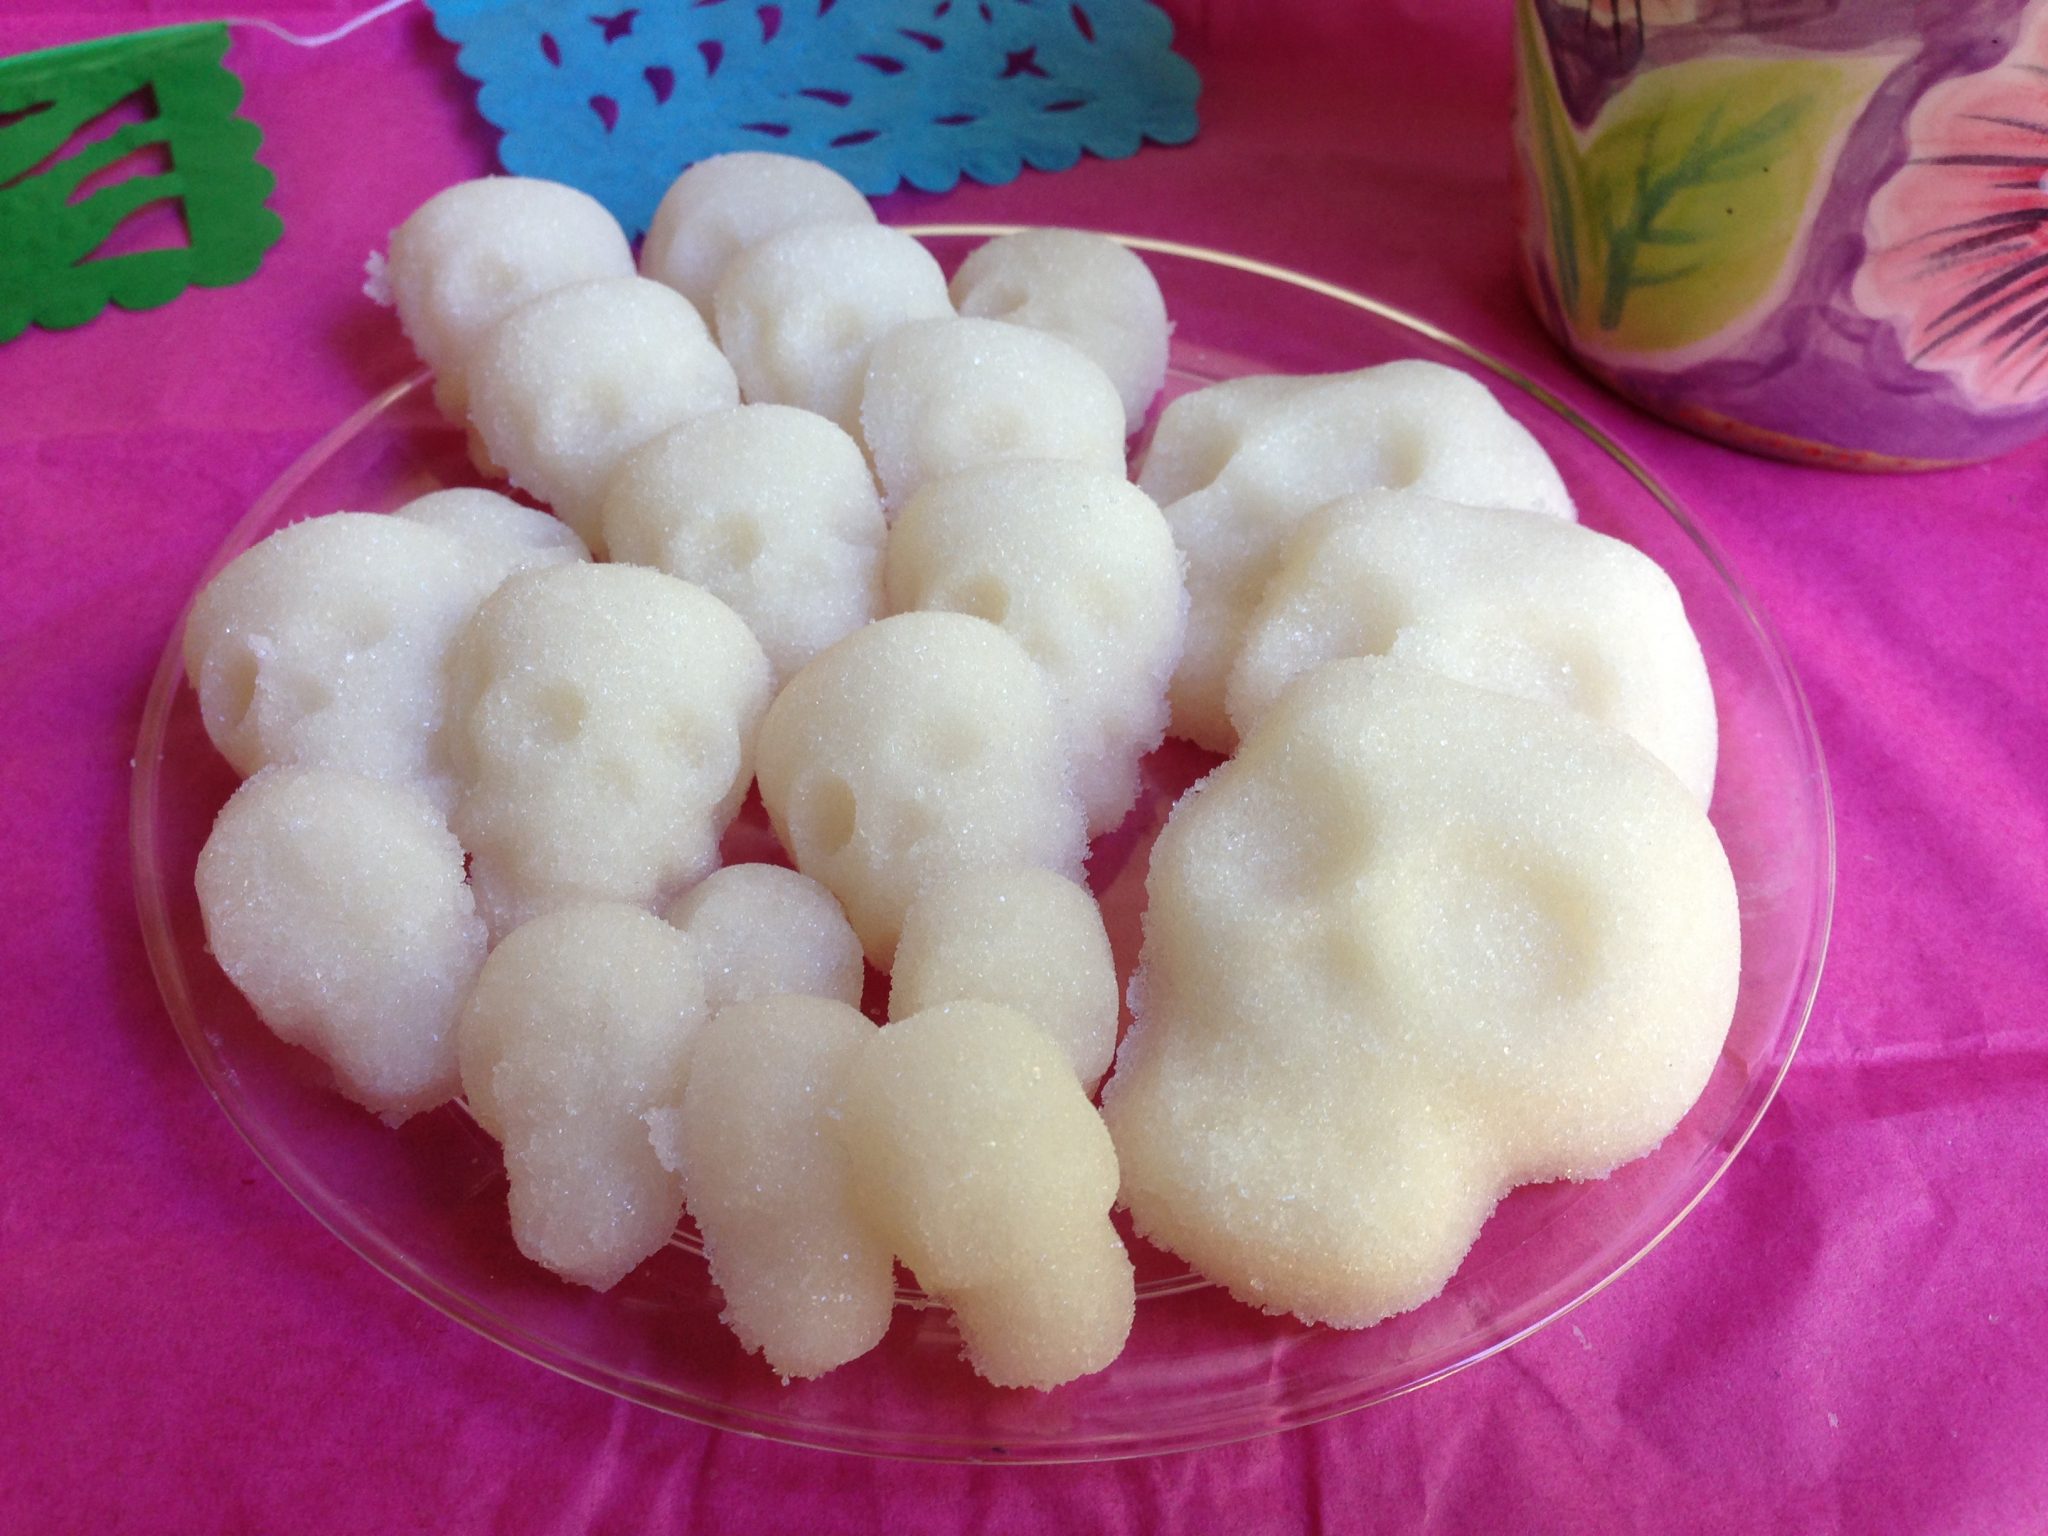
Make your sugar skulls – here is a tutorial I made a while ago.
How to make sugar skulls with Icing
Once they are hardened, they are ready to be decorated!
SUPPLIES for how to decorate sugar skulls:
2/3 cup of water
1/2 cup meringue powder
2 pounds of powdered sugar
Electric mixer
Food coloring
1 icing bag for each color
Icing nozzle, coupler, and tips (Optional)
Plastic bowls
Spoon
Blend the ingredients with an electric mixer until the peaks form in the icing. Once it’s is all beat, scoop small sections into bowls, add coloring and mix.
ALTERNATIVE – this stuff! White Royal Icing – in a little tub! It’s ready to go, simply scoop some out, put it in a bowl, add your coloring and mix. Add to the forsting bag and you are ready!:

How to choose colors:
Yes, even the colors have special meanings! However, you can incorporate your own as well.
Yellow – the sun.
Yellow-orange – marigold flowers.
Red – Blood of life.
Pink – lightness and joy.
Purple – grief or in some cases, royalty.
White – purity.
Black – Death.
Blue – Sky.
Green – Growth
How to decorate sugar skulls:
Before you start squeezing anything, you need to prep the icing bags with color. Here is a step-by-step to help you!
You’ll need a decorating (or piping) bag, a coupler (if you’re using one), and a decorating tip. Additionally, have your prepared icing at the ready.
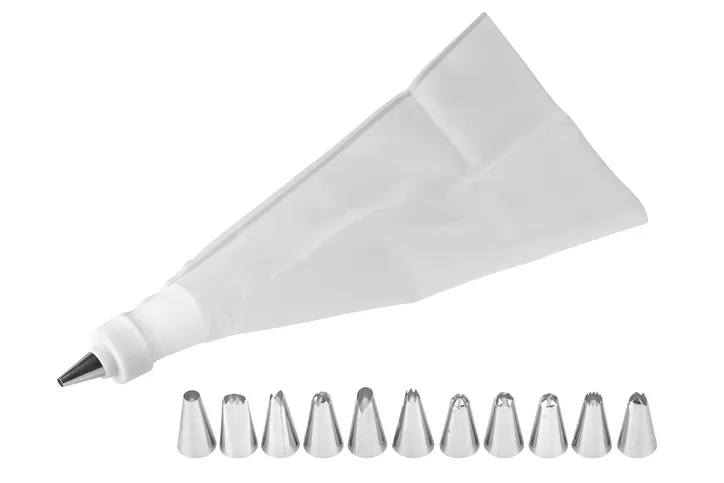
Prepare the Decorating Bag
If you’re using a disposable plastic bag, snip off the pointed end, but only a small bit. You can always cut more if needed, but you can’t add it back.
Insert the Coupler (if using)
Drop the larger, threaded part of the coupler into the bag, pushing it down as far as it will go.
Mark where the coupler’s threads end on the outside of the bag and remove the coupler.
Cut the bag’s tip at the marking, ensuring that the coupler will fit snugly when reinserted. Do not cut too much; you want the threads of the coupler to be exposed slightly so the tip and coupler’s ring can screw onto it.
Insert the Decorating Tip
If you’re using a coupler, place your chosen decorating tip over the protruding coupler threads on the outside of the bag. Screw the coupler’s ring over the tip to secure it.
No coupler? Use your chosen tip into the cut end of the bag.
Fold and Fill
Cuff the top of the decorating bag by folding it over onto itself about halfway, creating a larger opening and forming a kind of “well.”
Holding the folded cuff with one hand, use a spatula or spoon to fill the bag with icing. Fill only halfway or up to two-thirds to ensure better control and to prevent icing from spilling out the top when squeezing.
Unfold the cuffed top and twist it closed to prevent icing from coming out the wrong end. This twisting also helps create pressure for when you squeeze the bag.
Push the icing down towards the tip by squeezing the bag and releasing any air bubbles.
Check for Consistency
Before you begin decorating, test the icing on a piece of parchment paper or a plate. The icing should flow smoothly from the tip. If it’s too stiff, you might need to adjust its consistency by adding a little milk or water. If it’s too runny, adding more powdered sugar can help thicken it.
Start Decorating
With the bag twisted at the top and held securely with one hand, use your other hand to guide the tip. Apply steady pressure to the top of the bag to pipe the icing.
Clean Up
When done decorating, always empty any remaining icing from the bag before cleaning. If you’re using a reusable bag, wash it thoroughly with warm, soapy water, rinse, and allow it to dry completely before storing.
Tips and suggestions:
Use smaller icing tips for little sugar skulls.
Work section by section, and take your time.
Add a bit of water and stir to thin the icing if it is too thick.

The icing will take about 30 minutes to harden.
Choose vibrant colored icing, which is traditional and reflective of the lively spirit of the celebration.
More tips:
Opt for edible glitter or metallic edible paints to add some shimmer and shine to your skulls. This gives them a festive appearance that catches the light beautifully.
Incorporate beads, sequins, or colored sugars for additional texture and visual appeal. These can be pressed gently into the icing before it dries to ensure they stick.
Use fine-tipped piping bags or squeeze bottles for detailed work. This allows you to create intricate designs, such as spider webs, flowers, or other patterns, on the sugar skulls.
Experiment with patterns. Swirls, dots, waves, and zigzags can all look stunning. You can even incorporate heart shapes or cross motifs, which are often seen on traditional sugar skulls.
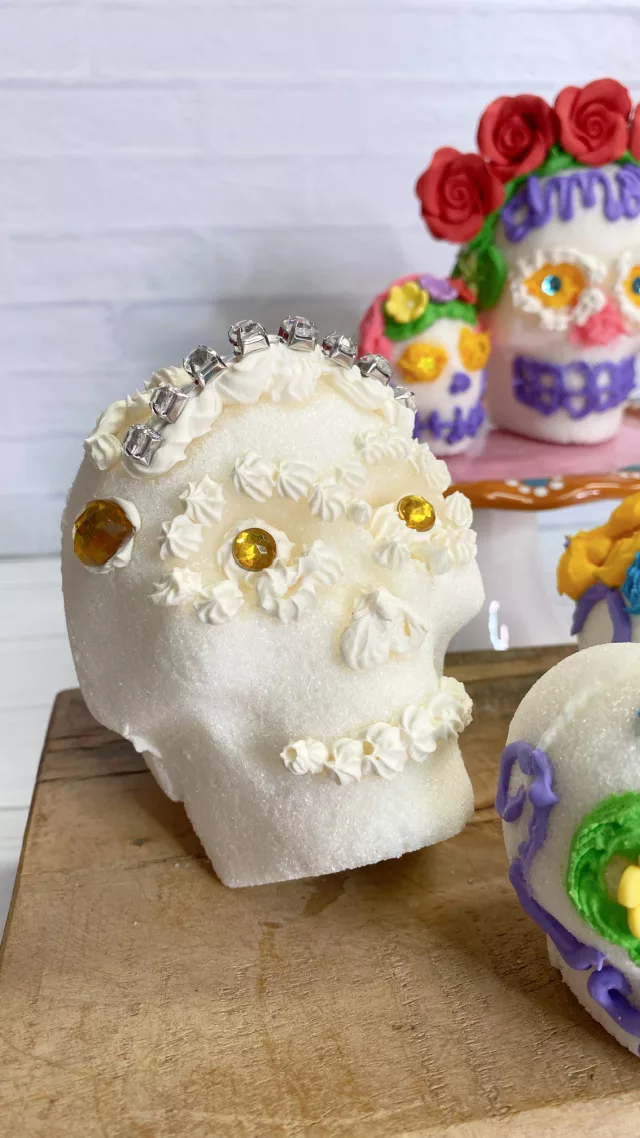
Floral designs are particularly popular. Consider creating roses, marigolds, or other flowers around the eyes or on the forehead of the sugar skull.
Try adding little pieces of craft foil for shine.
Consider adding other edible decorations like candy pearls, dragees, or chocolate chips to add depth and dimension.
For a unique touch, use thinly rolled colored fondant to create three-dimensional designs or accessories on the sugar skull.
Play around with facial expressions. While many sugar skulls have a neutral expression, giving them a smile, frown, or other facial expressions can add personality.
Include names or short phrases on the forehead of the sugar skulls. This can be a way to honor a specific individual or express a sentiment related to the Day of the Dead.
Remember, there’s no right or wrong way to decorate a sugar skull – have fun and use the time to reflect on your loved ones!