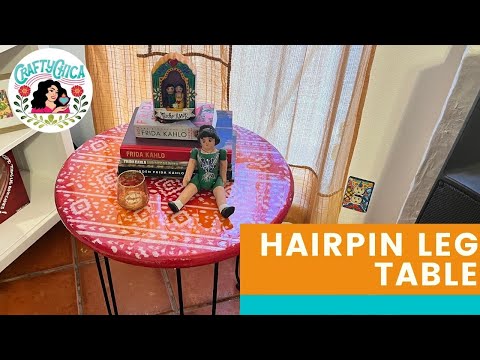
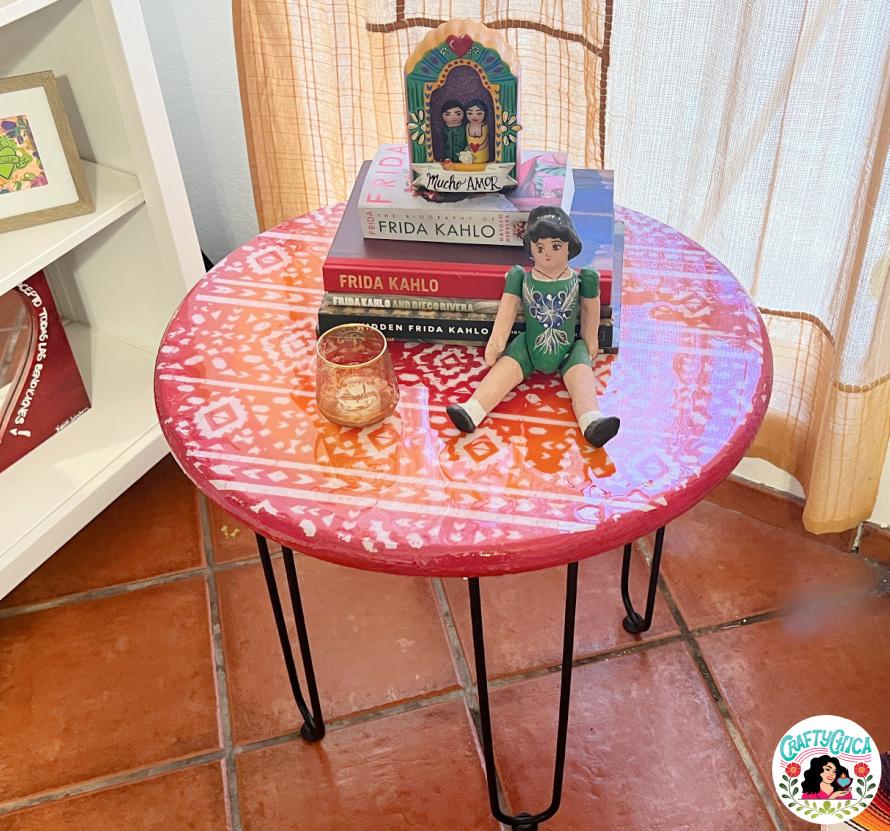
This hairpin legs table was such a satisfying project, I made it in a weekend. As an avid (ie – addicted) consumer of TikTok, I kept seeing hair pin DIY projects pop up. So of course, I had to drop whatever I was doing to find something to turn into a table.
Here is my video, if you just want to get to the good stuff.
I came across a wood table top I bought a long time ago at Lowe’s. Perfectly sanded and ready to be transformed.
I found some on Amazon, there are lots of different styles.
I suggest one that is 1″ thick so the screws won’t go through the top.
What’s cool about this project is you are into fine art, you can create a painting, or keep it crafty and decoupage or use a rub-on decal like I did.
SUPPLIES for this hairpin legs table
Wood table top
Two-part resin, mixing cup, stick, measuring cup, plastic table cover, mask, gloves
And of course – hair pin legs!

First thing
Prime your table and then paint it. Keep in mind, maybe you want to use an old suitcase or silverware drawer – get creative. Once it is all dried, time to add the rub-on decals.
I suggest adding a thin layer of gloss sealer, this might help the rub-ons stick on easier. I kept my table with just the paint and I had a bit of trouble with the designs sticking.
RELATED: Flaming heart wood table DIY
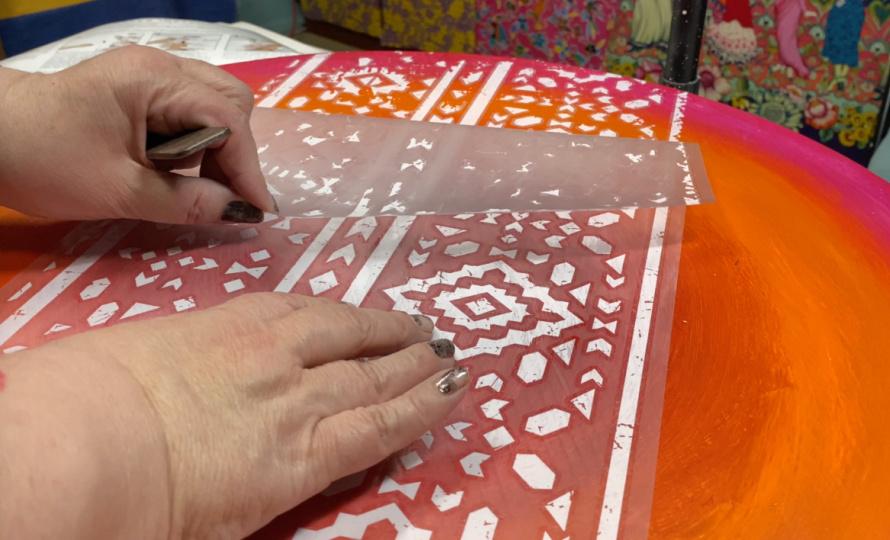
Rub-on decals
They come with a backing sheet to be removed. Then place the sheet of designs on your surface and press with your hands.

Use a burnisher to transfer the decals off the protective sheet and on to the surface of the table. Keep burnishing the decals little by little as you remove the plastic backing.
Cover the whole table! If you are going to add resin, coat the table with a layer of sealer so the resin won’t separate. That’s what happened to me and I added sealer on the unresined parts and then gave the whole thing a second coat.
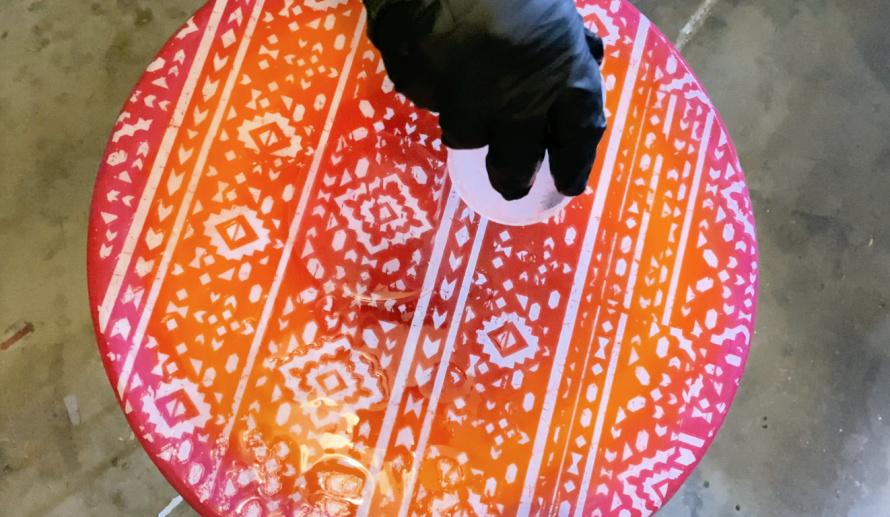
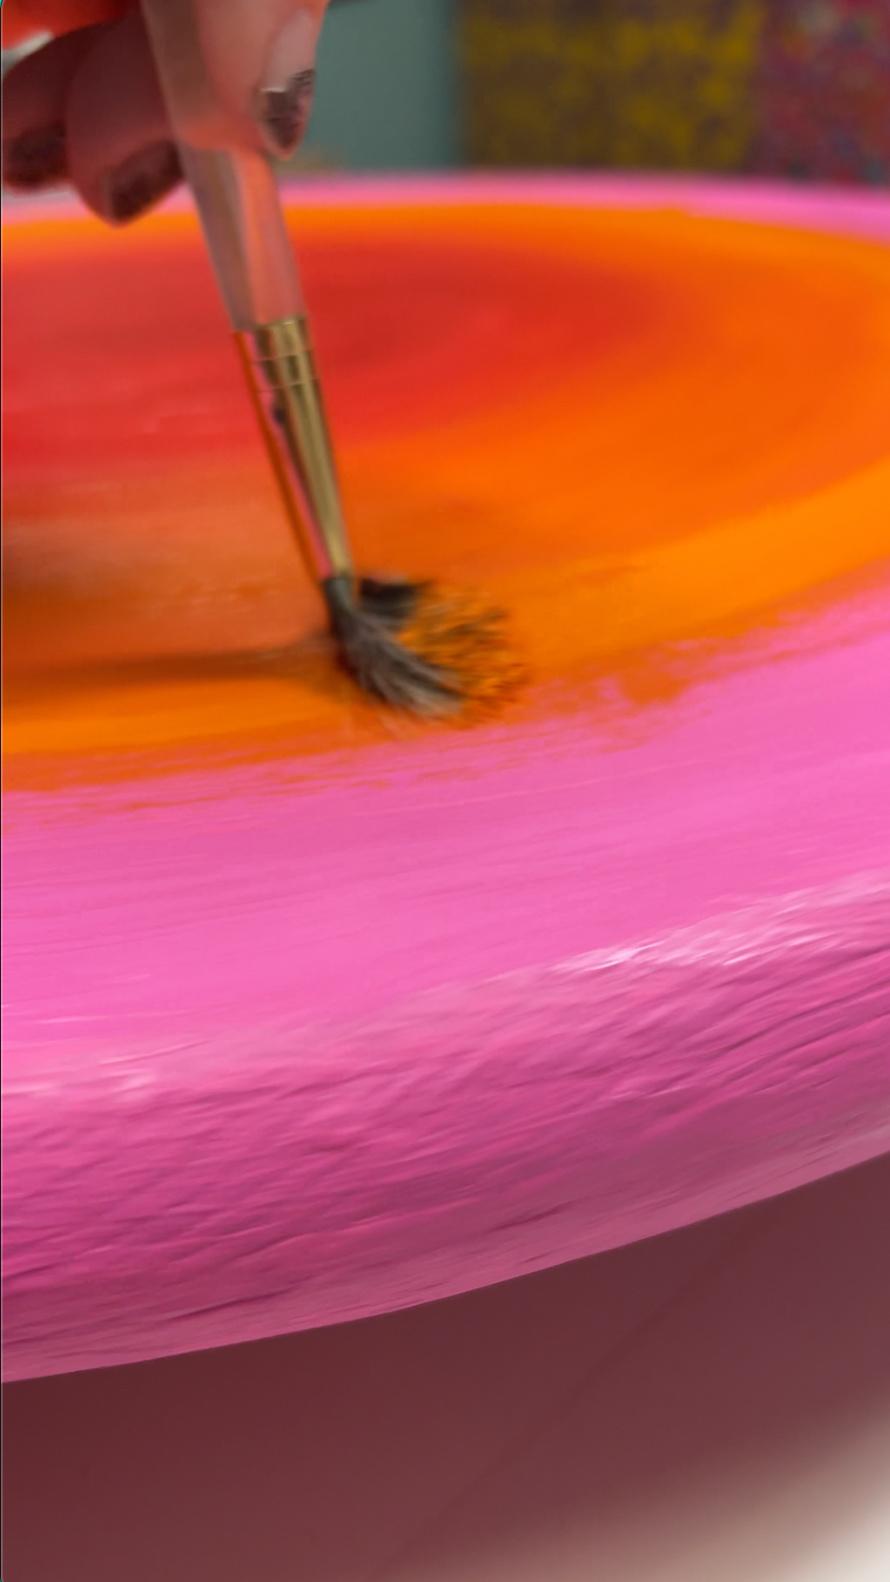
Mix your two-part resin (wear gloves and face mask) and pour over the table top. Spread with a soft brush so it is evenly coated. Don’t get too close to the edges, the resin will spread and drip over!
Let cure overnight.
Use a power driver to attach the hairpin legs!
Thanks for checking out my post about hairpin legs table, let me know if you make one!