I love masking tape crafts, so many possibilities, and it is super affordable. Let’s focus on one of my faves – DIY washi tape!

Crafting enthusiasts and art lovers like you and me are always scoping out innovative ways to make something new. Making your own washi tape fits perfectly in this quest!
This is one of those masking tape crafts that you’ll want to make over and over. Yes, there are lots of washi tapes on the market, but nothing compares to this one-of-a-kind version.
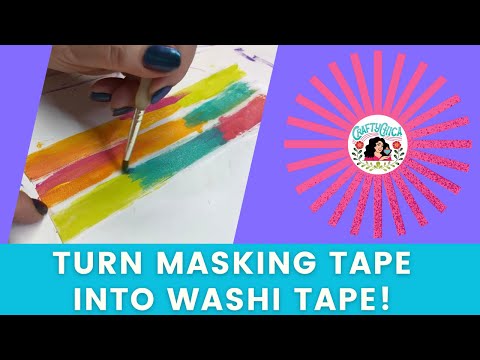
Here is my video about DIY washi tape
Benefits:
- It’s cheap: It’s an affordable alternative to purchasing pre-made washi tape. By repurposing masking tape from previous home projects, you can enjoy a thrifty and eco-friendly creative journey.
- Customization Galore: When you create your own washi tape, you have complete control over the design, color scheme, and patterns. This allows you to match the washi tape perfectly to your project or personal style, ensuring a truly bespoke experience.
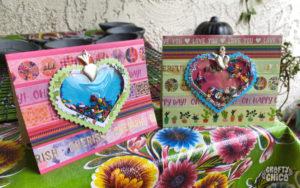
- Versatility: Handmade washi tape offers endless possibilities for paper crafting, scrapbooking, journaling, mixed media projects, and more. From embellishing cards and gift wrapping to decorating photo frames and bookmarks, the potential is limited only by your imagination.
Choosing paints
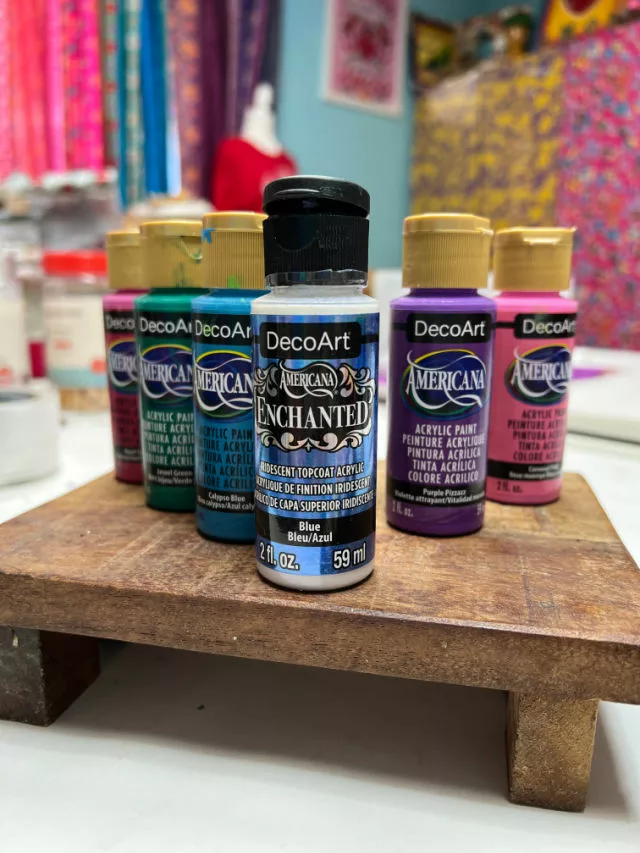
- Acrylic Paint: Acrylic paints are widely available, budget-friendly, and versatile. They adhere well to masking tape and offer a wide range of colors and finishes. Additionally, acrylic paints dry quickly, allowing you to continue crafting without delay.
- Watercolor: Watercolors can create stunning translucent effects on masking tape. They are particularly well-suited for a softer and more delicate aesthetic. Experiment with layering and blending to achieve beautiful gradients and washes.
- Alcohol Inks: For vibrant and bold designs, alcohol inks are an excellent choice. They create unique patterns and color variations when applied to masking tape. Remember to work in a well-ventilated area and protect your work surface when using alcohol inks.
- Paint pens. Once your tape is dry from the paint, add lettering with a fine tip paint pen.
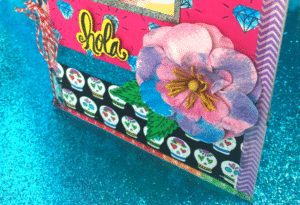
- Embellishments: Glue on small gems and jewels.
- Textures: Use stencils, stamps, etc.
Design ideas
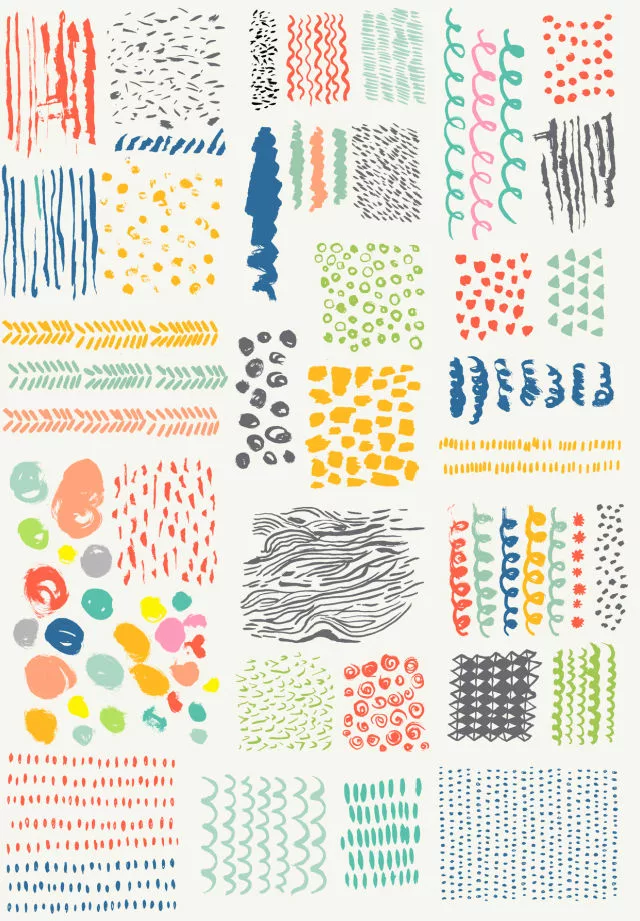
1-Geometric patterns: Create striking patterns such as chevron, stripes, polka dots, or herringbone designs. Experiment with different tape widths and colors to add depth and visual interest.
2-Nature-inspired motifs: Paint delicate flowers, leaves, or branches on the masking tape to bring a touch of nature to your crafts. These designs work well for journaling, greeting cards, or scrapbooking projects.
3-Abstract art: Unleash your creativity with bold splatters, brush strokes, or fluid abstract designs. These vibrant and expressive patterns can transform any project into a unique work of art.
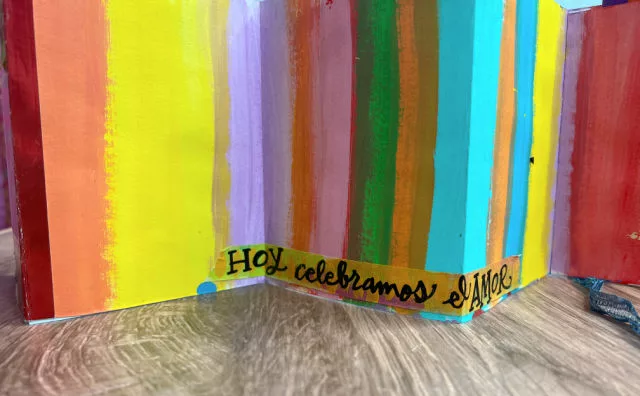
4-Affirmations: Write inspiring quotes, song lyrics, or meaningful words on the masking tape using a fine-tip marker or a calligraphy pen. These personalized messages can add a special touch to gifts or handmade cards.
More creative uses for DIY washi tape:
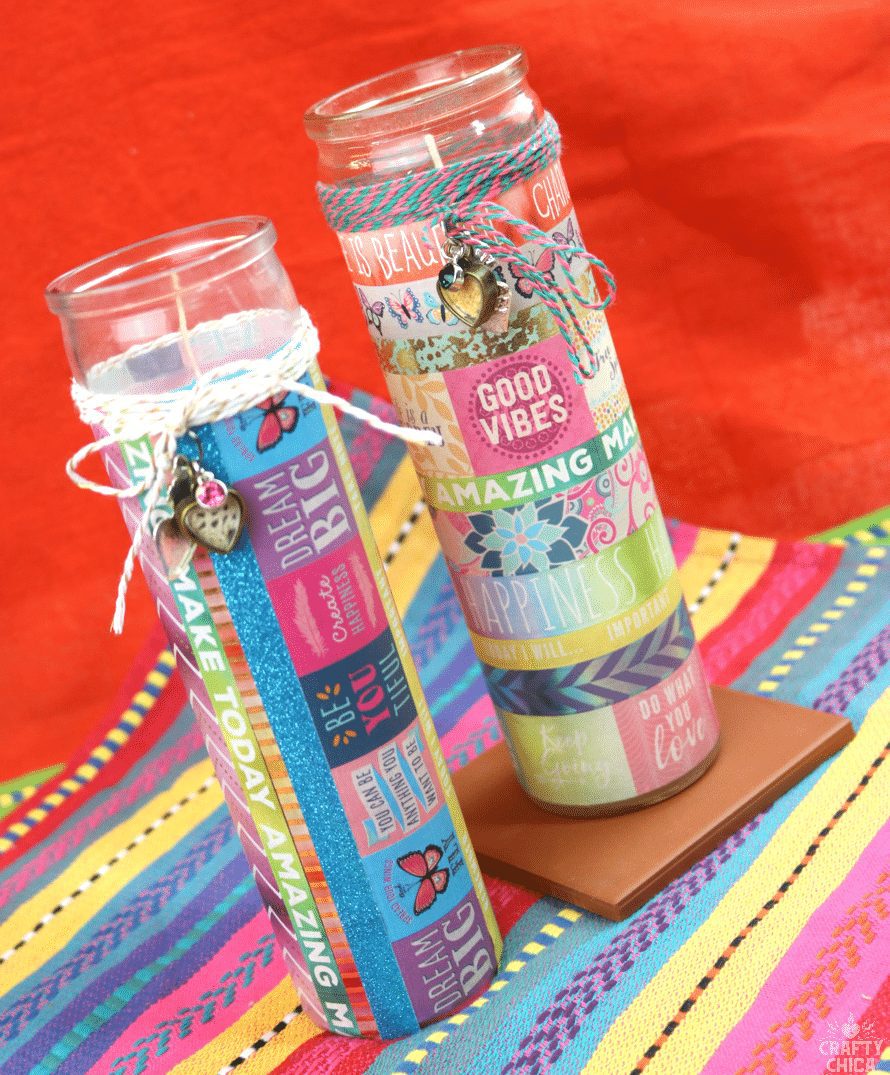
5-Decorative borders: Use the handmade washi tape to create decorative borders or frames around photographs, artwork, or journal pages. This adds a pop of color and texture to your creations.
6-Adorned stationery: Jazz up plain envelopes, notebooks, or diaries by embellishing them with strips of hand-painted masking tape. It instantly transforms ordinary objects into charming and personalized keepsakes.
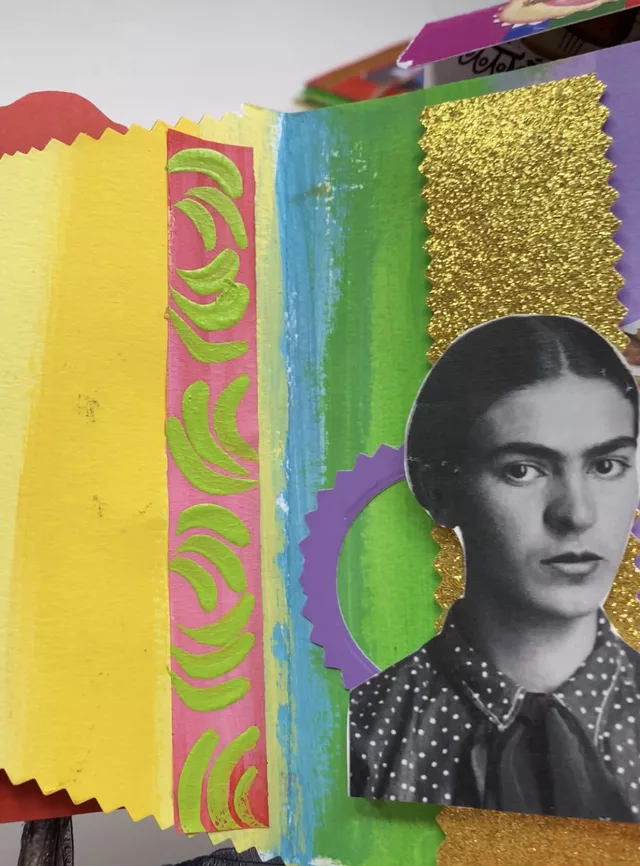
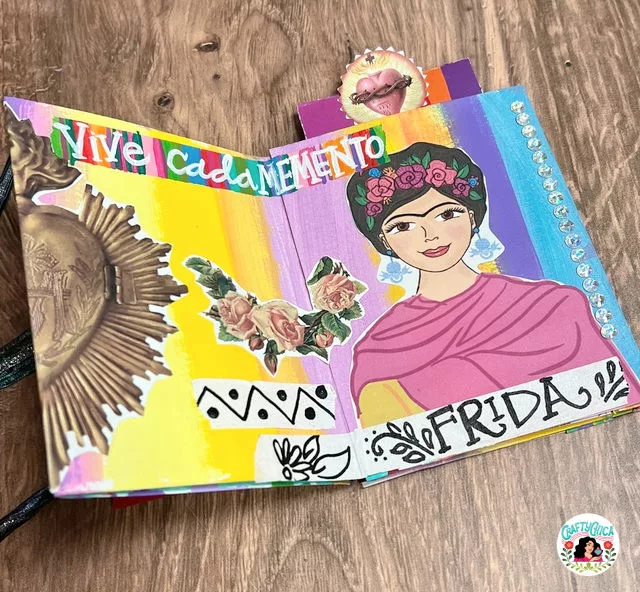
7-Washi tape collages: Cut or tear the hand-painted masking tape into different shapes and sizes, and create collages on canvas, wood panels, or other substrates. Experiment with layering, textures, and compositions to bring your artistic vision to life.
8-Customized gift wrap: Wrap presents with plain kraft paper or colored wrapping paper, then use your homemade washi tape to add delightful accents and borders. This elevates the presentation and makes your gifts truly memorable.
9-Artful labels: Rather than buy label stickers for organization, use decorated washi tape you made. You can even color code for specific tasks or people.
10-Mixed media: Use it on paintings, working with resin, different textured glazes and more.
Masking tape craft: DIY Washi Tape
Here’s a step-by-step guide for DIY washi tape using masking tape:
Materials Needed:
– Masking tape
– Acrylic paints or watercolors
– Paintbrushes
– Scissors
– Wax paper or non-stick surface
– Optional: Markers or pens for additional designs
Let’s make it!
Prepare
Find a clean and well-lit area to work in. Protect your work surface with wax paper or a non-stick surface to prevent the tape from sticking.
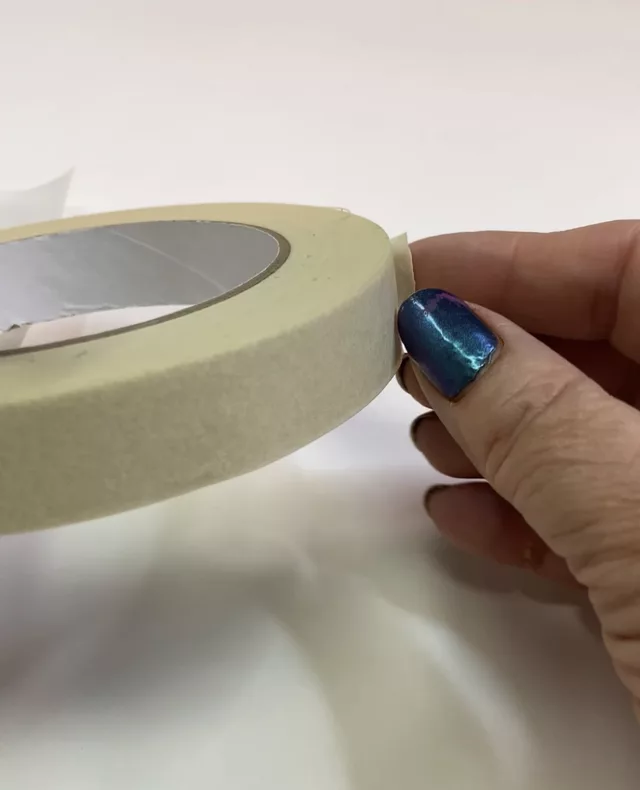
Prep the tape
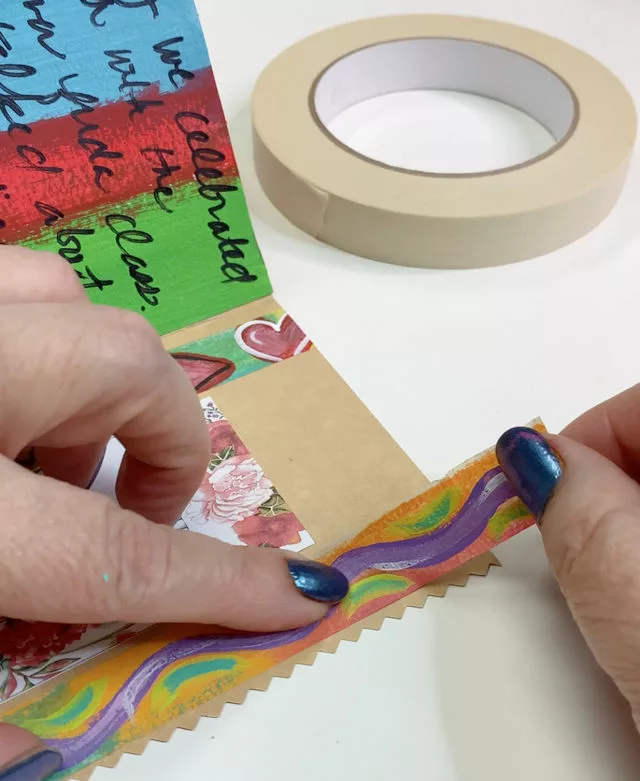
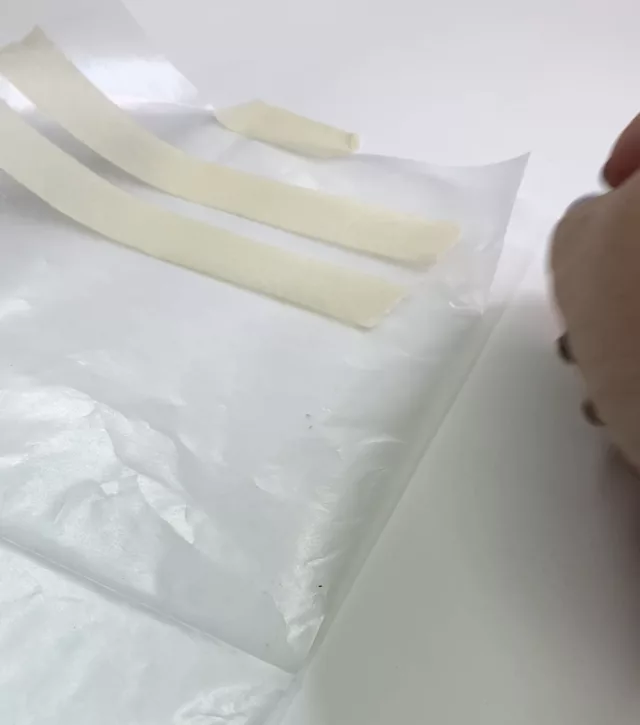
Measure and cut strips of masking tape to your desired length. Apply each strip to a piece of wax paper. You can also use a plastic bag or even parchment paper. You can create various lengths depending on the projects you have in mind. Make sure the strips are straight and even.
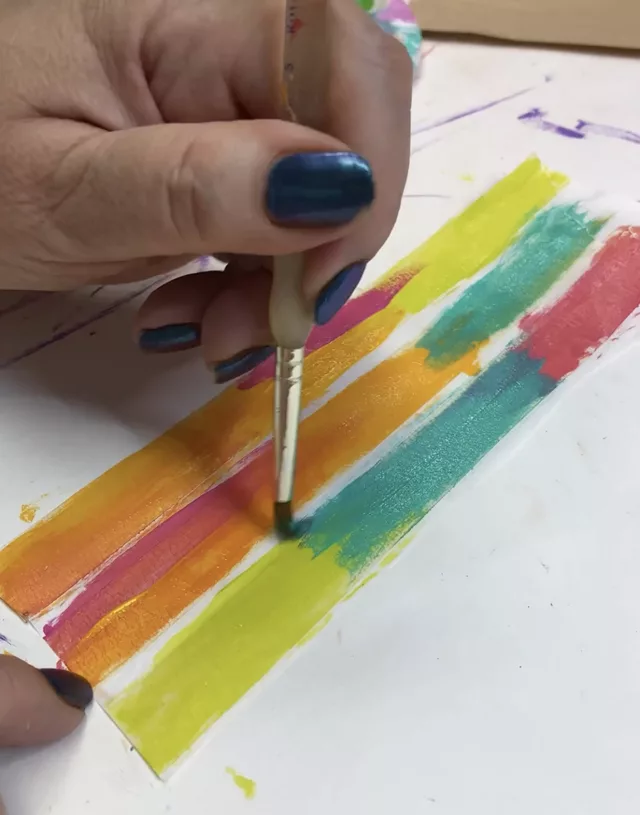
Paint a base coat
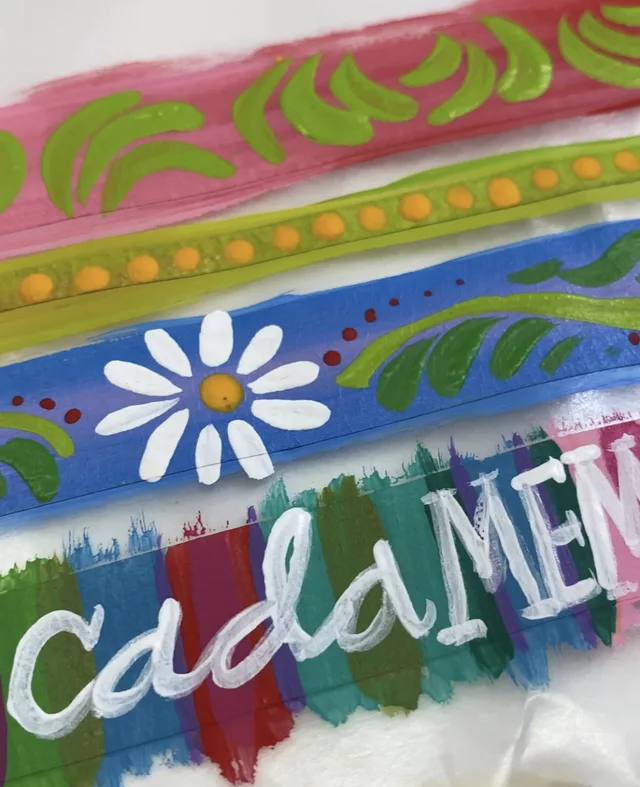
Using your preferred paints (acrylic or watercolors), apply them to the surface of the masking tape. You can use a single color or create unique designs and patterns by combining different colors. Be creative and experiment with brushstrokes, splatters, or any other techniques you prefer.
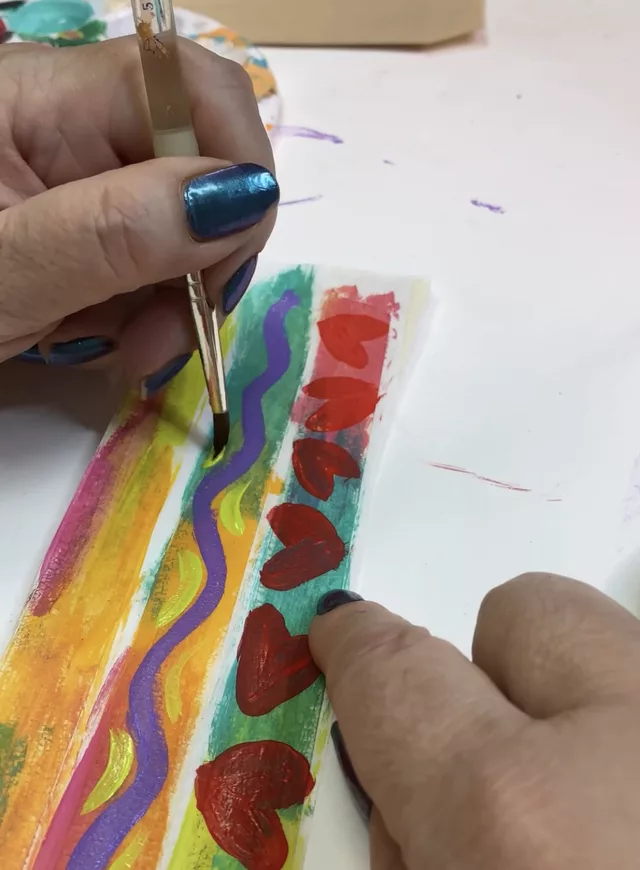
Add details and accents
This will make your tape pop! Add detail motifs on top of the base coat, then go in and add little accents.
Let dry
Allow the painted masking tape to dry completely. This usually takes about 15-30 minutes for acrylic paints, but drying times may vary based on the brand and thickness of the paint used. Ensure that the tape is fully dry before proceeding to the next step to prevent smudging or sticking.
What to do next
Cut and store your washi tape
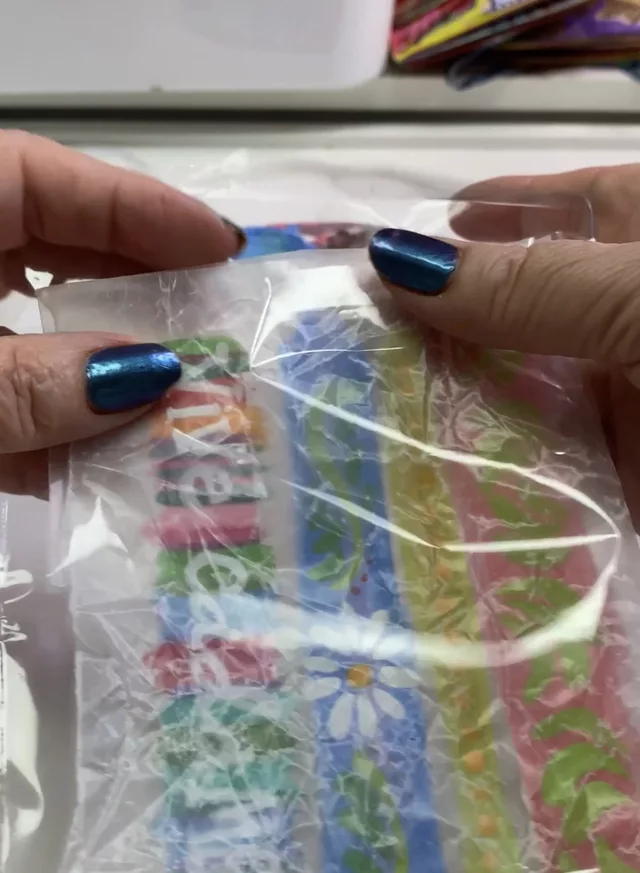
Once your painted masking tape is fully dry and any additional designs are complete, carefully cut the tape into desired widths and shapes using scissors. Trim the edges neatly to achieve a clean finish. Store your homemade washi tape in a cool and dry place, preferably in a sealable bag or container, to prevent dust or damage.
When you’re ready, peel off and use at will. you can even add Mod Podge to make it sparkle!
Note: It’s important to remember that the adhesive properties of masking tape may not be as strong as commercial washi tape. Test the adhesion on different surfaces before using it on your final project. Additionally, hand-painted washi tape may not be as durable as commercially produced options, so handle it with care to maintain its quality.
Related posts:
Scrapbook Paper Journals – with Pockets!
Thanks for checking out my post about diy washi tape!