Let’s make custom shadow boxes for your favorite person, a neighbor, teacher, family member – or for you!
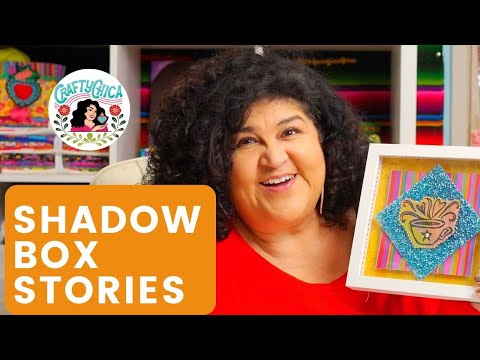
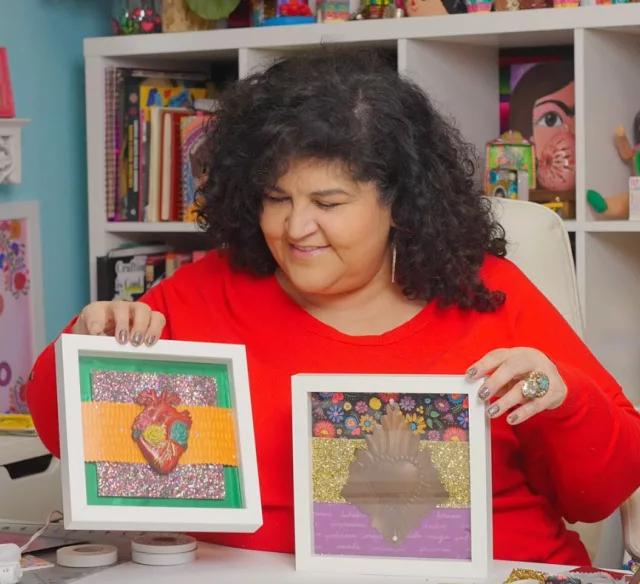
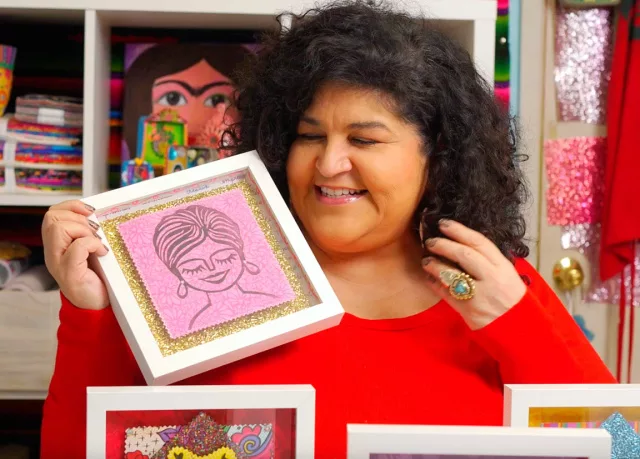
The back story: I created a series of these mixed media shadow box art pieces as a part of a gallery show here in Arizona. I made them very personal, to tell the story of my crafty vida over the years.
NOTE: I shared this project as part of a new TV series for Made It Myself TV. You can stream dozens of craft shows just like this!

Not only was it therapeutic, but it helped me remember and celebrate all the defining moments I’ve had over the decades.
Visual storytelling: DIY mixed media shadow box art
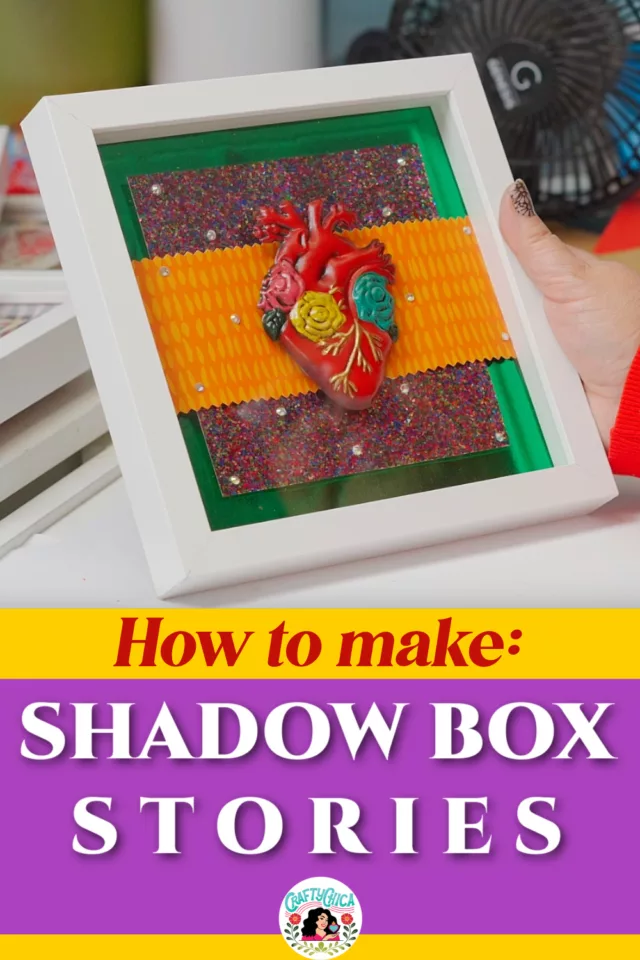
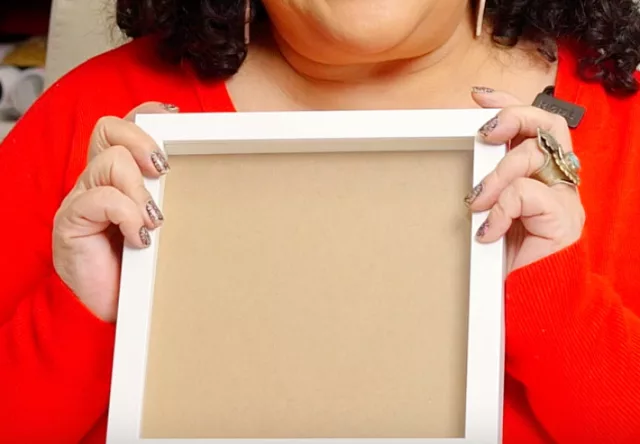
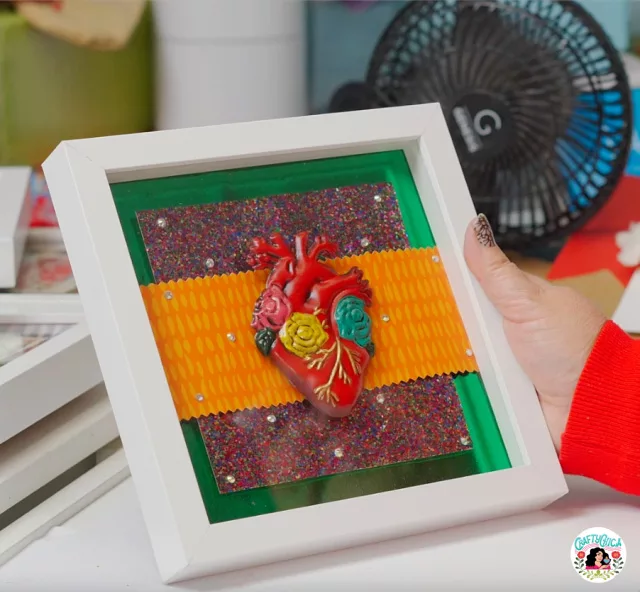
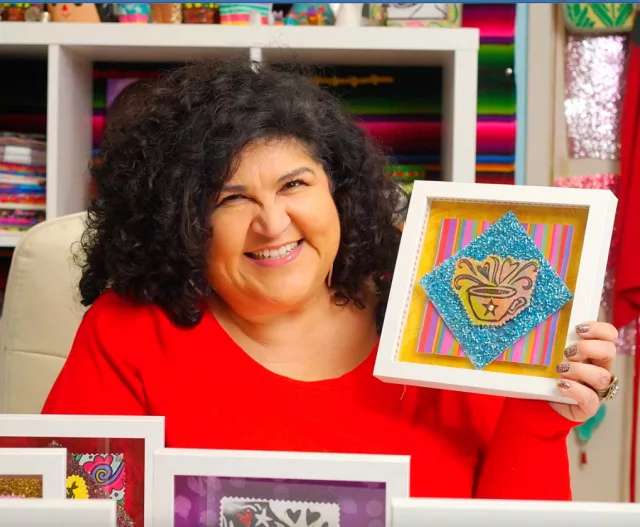
I started with 8×8” shadow boxes I bought at Michaels. While each of my boxes ended up one-of-a-kind, I used the same “formula” to create a consistent theme.
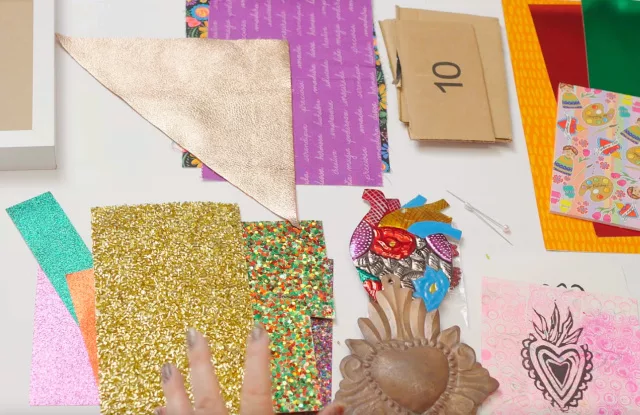
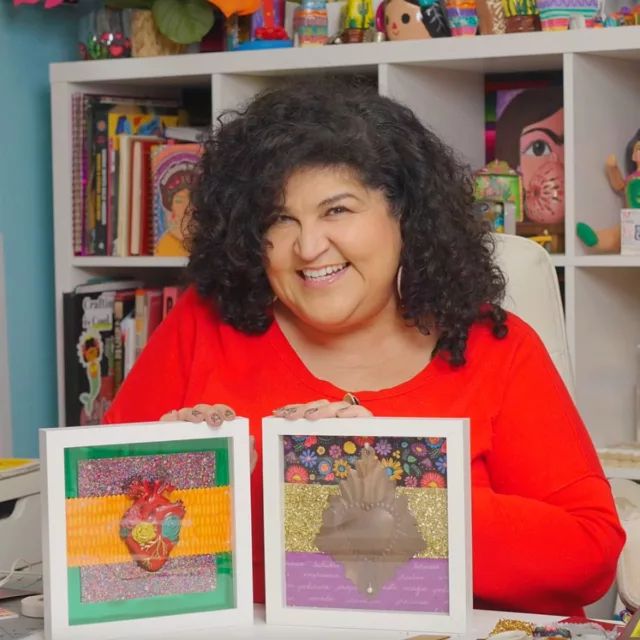
They all had some sort of sparkle, Crafty Chica paper or fabric, layered with foam tape, and then topped with a print from a carved stamp.
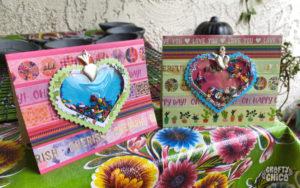
The result was a beautiful collection. I’m currently selling them, too!
Alright, let me show you how to make these.
They are nice to make as a group for the new year, vision board style – or for Valentine’s Day for love, or for the holidays as a gift!
Every shadow box you create tells a unique story about its honoree. Imagine a 3D scrapbook brimming with cherished items – maybe photos, keepsakes, or even a beloved concert ticket. It’s all about infusing your creation with your favorite visual anecdotes.
While traveling in Mexico, I saw layered mixed media art everywhere – galleries, storefronts, markets. It’s the beauty of using excess papers, fabric, and more and transforming them into art.
Creating an 8″x8″ layered shadow box story is a wonderful craft project that combines creativity with a bit of technical skill.
Here’s a step-by-step guide to help you create your own:
Materials Needed:
Shadow Box Frame (8″x8″): This will be the base of your project.
Foam Tape or cut up cardboard boxes: To create depth between layers.
Scrapbook Paper and Card Stock: For the layers and background. I LOVE to use the thick glittered or sequined cardstock!
Focal Point Item: This could be a photo, a printed image, or any item you want to highlight.
Additional Papers or Embellishments: For extra decoration.
Dry adhesive or tape runner
Extra strong wet glue, for heavier objects
Cutting Tools (Scissors or Craft Knife): For precision cuts.
Ruler and Pencil: For measuring and marking.
Directions:
Design Your Theme
– Decide on a theme for your shadow box. It could be a memory, a season, a holiday, or anything that inspires you.
– Sketch a rough layout of how you want the layers to look.
TIP: Look at what you have to worj with. I like to choose the focal point first and then build the design around it.
Prepare the Background
Remove the backing from the box and set the frame and glass aside.
Cut a piece of card stock or scrapbook paper to fit the back layer of your shadow box.
– This will serve as the backdrop for your story.
Create Layers:
– Using different patterns and colors of scrapbook paper, cut out shapes and elements that align with your theme.
– Consider varying the sizes to create depth.
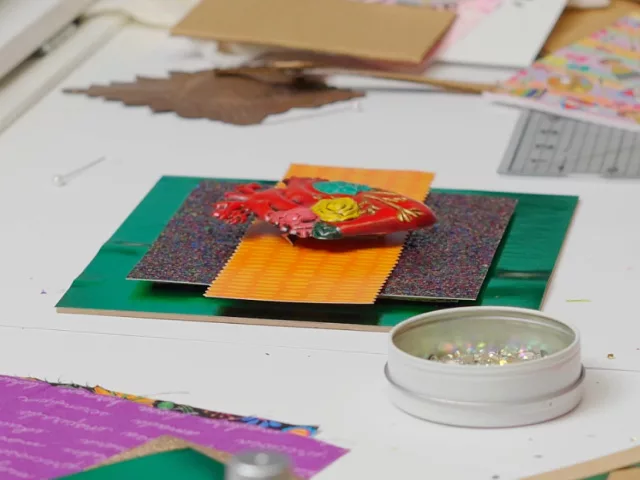
Assemble the Layers:
– Start from the back and work your way forward.
– Use foam tape between layers to create a 3D effect. The foam tape acts as a spacer, giving a sense of depth.
Add the Focal Point:
– Place your focal point item in a prominent position. This could be layered as well, depending on its nature.
IDEAS: Ornaments, fabric swatch, block print, greeting card, jewelry piece, etc.
Add Details and Embellishments:
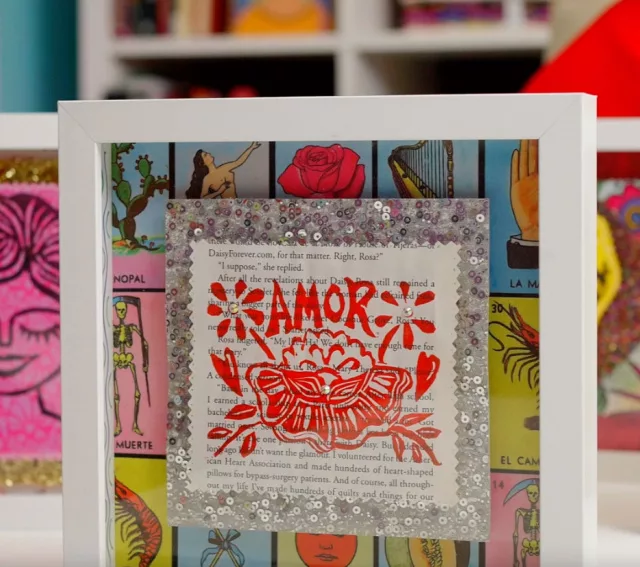
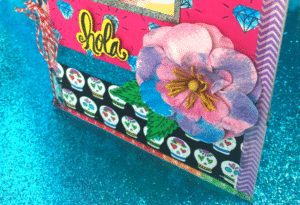
– Use additional papers, stickers, or any other embellishments to add detail and interest to your shadow box. I love adding flat back crystals, sequins, gems, etc…
– Remember, each element should contribute to the overall story or theme.
Final Assembly:
– Once all the layers are complete and you are satisfied with the arrangement, carefully place the assembled art into the shadow box frame.
– Secure the back and make sure everything is stable and looks as you intended.
Display:
– Find the perfect spot to display your shadow box story. Make sure it’s somewhere it can be appreciated!
Tips:
Measure Twice, Cut Once: Always double-check your measurements to ensure a perfect fit.
Layer Wisely: Be mindful of how each layer interacts with others. Overlapping and spacing are key to creating a dynamic scene.
Lighting: Consider the lighting in the room where you’ll display your shadow box. Good lighting can enhance the 3D effect.
Remember, the beauty of a shadow box story is in its personal touch and creativity. Have fun with it and let your story shine through your craft!
Other inspirations:
Video: Create a video message and add a qr code to go along with the piece.
Acrylic Paint & Gel Medium: Use acrylic paint for coloring and gel medium for texturing your elements. Gel medium can also be used as an adhesive.
Clay Molds: Create unique shapes or figures with clay molds. Use air-cry clay or paper clay. These can be painted and added to your shadow box for a 3D effect.
RELATED: Cozy Latin holiday vibes playlist and slideshow
Shadow Box Art & Mixed Media Shadow Box: Plan your shadow box art. Background, at least two layers of contrasting textures, then the focal point.
Access the Little Bits: The first thing to do is to lay out your materials and plan the composition. Arrange the little bits and pieces to decide their placement before fixing them. Use the smallest accents as the last step.
More ideas:
Inside of the Box & Media Canvas: Treat the inside of the box as your canvas. You can paint it, add textured media, or use black cardstock as a background. I added painted borders inside each box.
Handmade Card & Circular Collage Sheets: Incorporate elements like a handmade card or cut-outs from circular collage sheets. These can add a personal touch and additional layers. Rather than go with squares and rectangles, incorporate other shapes!
Media Card: Create a small card and jot down details about your project or a personal message. This can be placed inside the shadow box, or tape it to the back.
Black Cardstock: Use black cardstock to create contrast or as a base for mounting your elements. It’s especially effective for making colors pop.
Wall Art: Once completed, your shadow box can be used as unique wall art, showcasing your creativity and mixed media skills.
Throughout the process, remember to layer your materials and experiment with different textures and colors. The beauty of a mixed media shadow box is in its depth and the story it tells through the assembled elements.
Here is a video tutorial!