Home » Kiln Tips: Pasta Letter Ceramics

Kiln Tips: Pasta Letter Ceramics

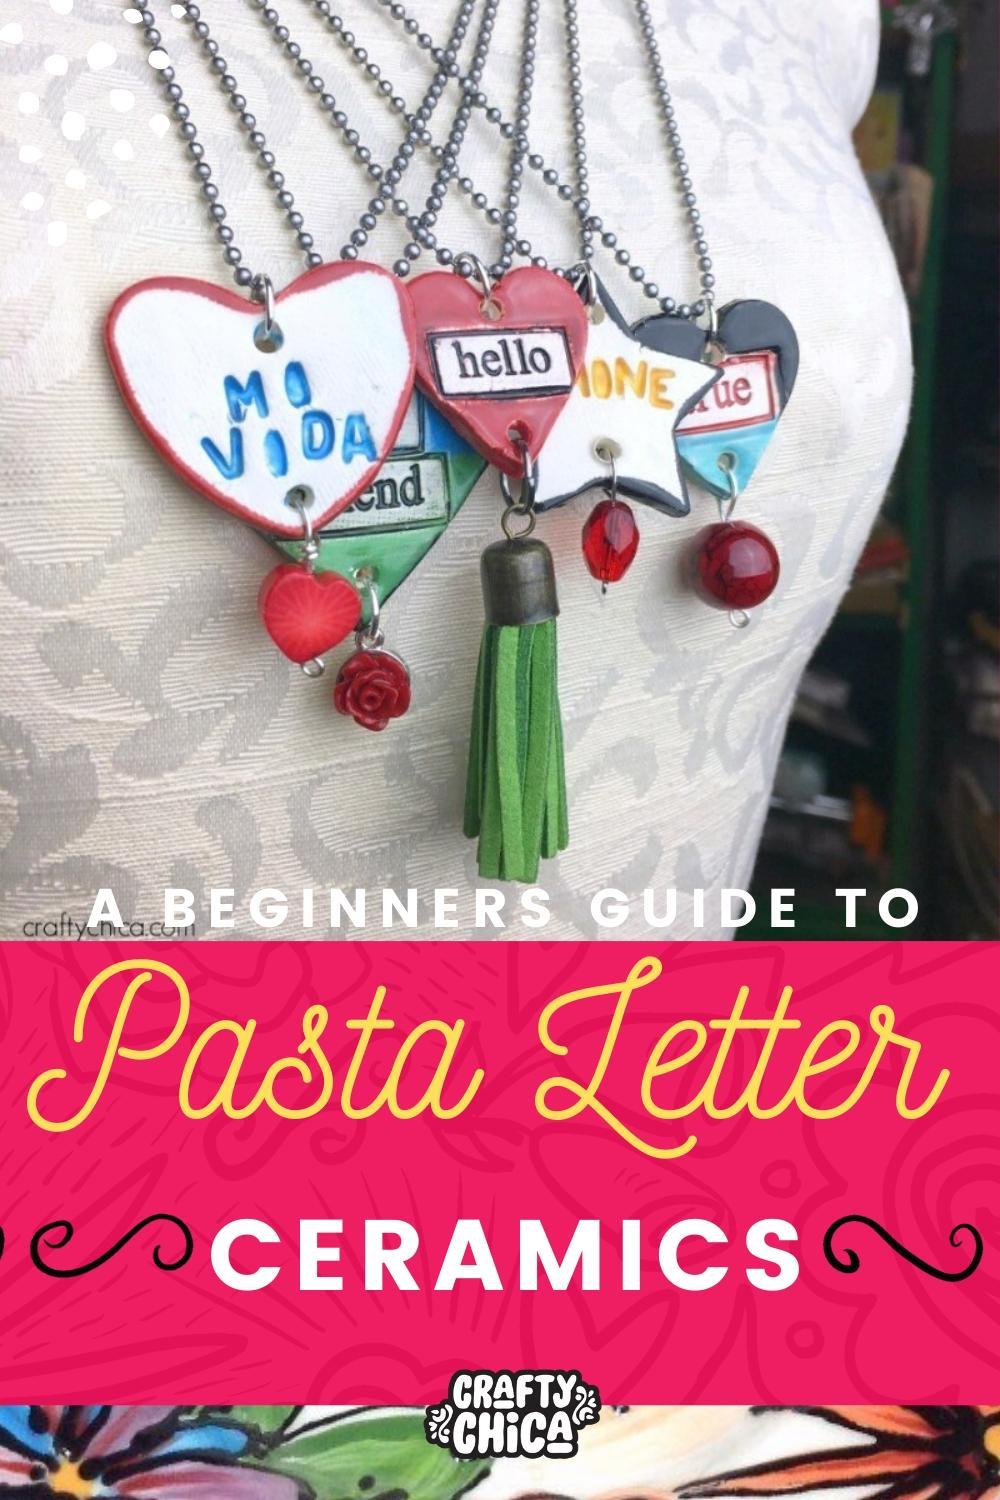
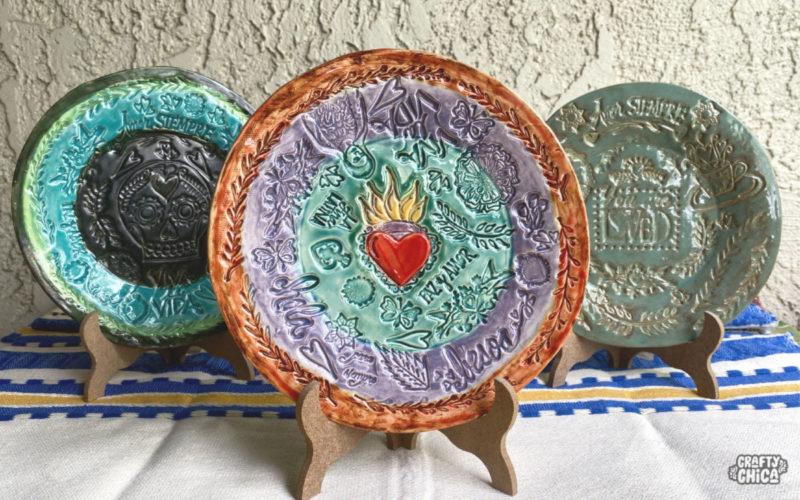
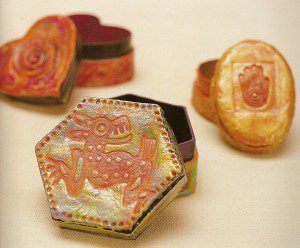
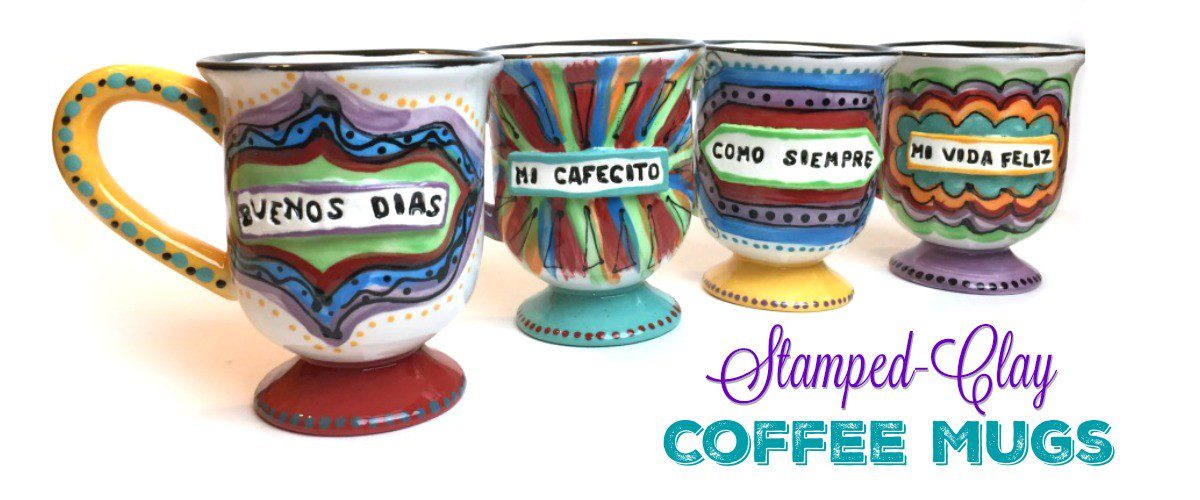
Pasta letter ceramics for the win! We are all about personalizing ALL THE THINGS these days, right? That goes for ceramics too. Using pasta letters is one of my favorite ways to create fun sayings, words, and phrases on boxes, mugs, dishes, and even jewelry.

Here is how I do it, I imagine it would also work on air-dry clay, and perhaps polymer clay too. I haven’t tried it on those, but I did with fired ceramics.

Supplies for pasta letter ceramics:

pasta letters for ceramics

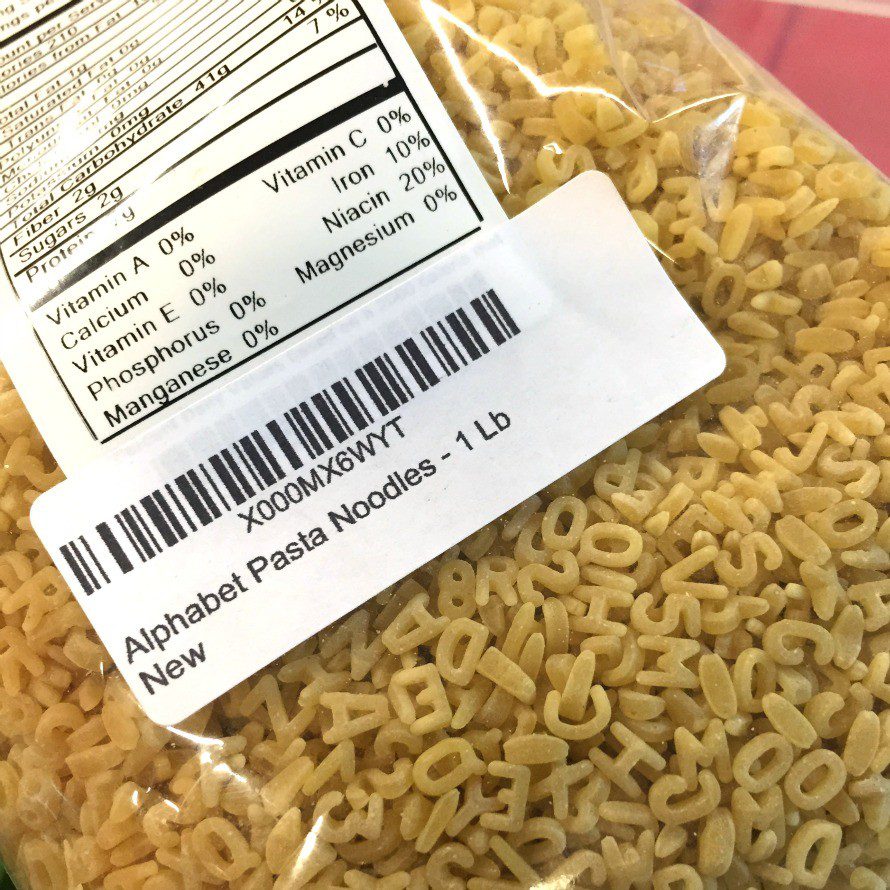
Pasta letters, there are different brands, check them all out to find your favorite size and look

Low fire clay

Ceramic underglazes of your choice

Rolling pin
Sponge
Cup of water
Tweezers
 

Directions:

Cut and roll out your clay to it’s desired shape. Make sure it is free and clear of debris.

Sort your letters, it makes the process go so much quicker!

Write out your word on paper and count the letters, this will help with spacing. Once you figured that out, move on to the clay!

Apply the letters, one by one.

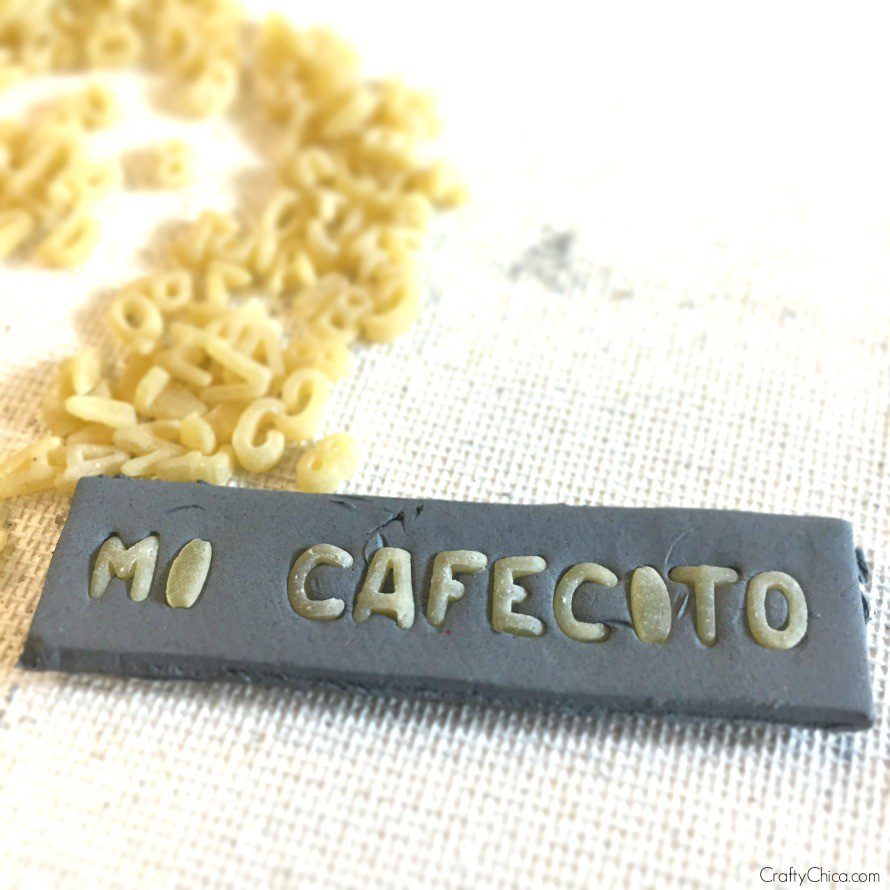
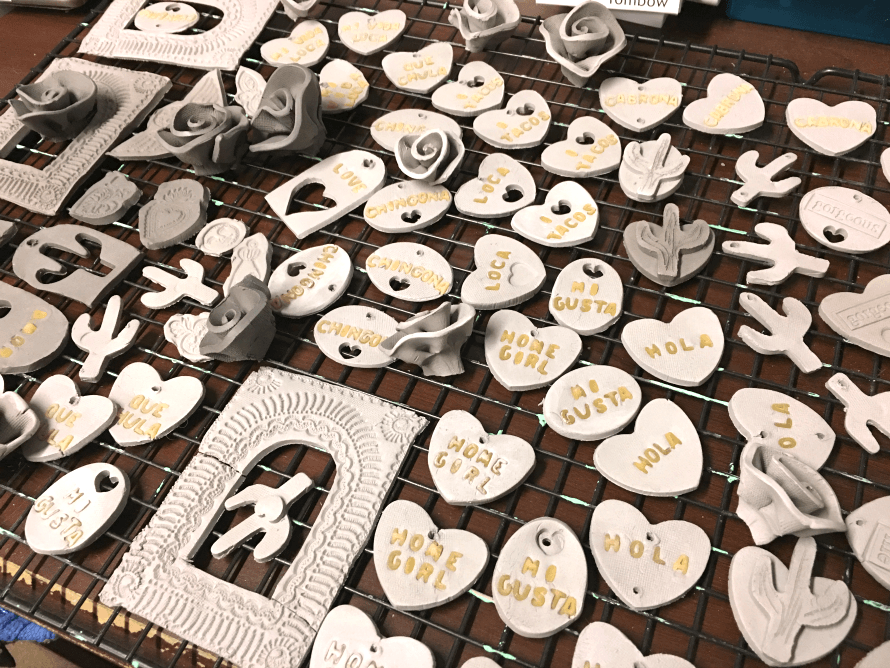
Gently push in. Smooth out any nail marks. The smoother the better. Ise a skewer to add holes for hanging (optional). I set out my clay pieces on a baking rack and cover loosely with plastic. Let it dry completely. Here in Az, it takes a day.


pasta letter ceramics #craftychica #pyop #ceramicideas
 
Remove the pieces from the baking rack. Then set the pieces in your kiln, cone 04, long speed. This will fire them to bisque. Let cool, then remove from the kiln. The pasta will be burned out to a fine powder.
 
Pasta letter ceramics
 
At this point, use a dry brush to remove any residual pasta.
 
Okay, this next part is wee bit tricky, there are two ways to proceed.
 
1. Fill in the indentations with glaze, wipe away excess with a clean damp sponge, then fire to cone 06, medium speed. Let cool, then add your other colors and top glazes. Refire at cone 06, medium speed.
 
I suggest this method if you are making these to sell and want them to look really nice. Or if you plan to use a lo of different colors. That way on the second application, you don’t have to worry about the color from the letter being rubbed away. I’ve gone back and forth with the process and found this to come out looking the best. Otherwise, I kept rubbing away the color I wanted to stay, it got frustrating!
 
or
 
2. Just add underglazes as desired and be careful not to get too messy.
 
 
Here are my finished pieces!
pasta letter ceramics
 
You can use them for jewelry, dishes, bowls, even mugs!
 

AIR DRY CLAY METHOD:

If you don’t have a kiln, you can use air-dry clay, simply leave the letters in the clay until the clay has dried and hardened, then remove with a dry brush and paint as desired.

pasta-letter-ceramics

Another idea!

For your jewelry pieces, you can leave the backs unglazed so you don’t need to stilt them when you fire. AND you could even add a drop of essential oil on the backs to make them smell nice! 🙂

 
pasta letter ceramics
 
Thanks for checking out my kiln tips idea – pasta letter ceramics! Let me know if you try this!

Resin craft: DIY milagros charms

Manifest money: DIY financial affirmations cards

Tags

Leave a Comment

Related Posts