Here is how to silkscreen on ceramics – and more silkscreen ring dishes I made!
A while back I reviewed the IkonArt silkscreen maker and thought I’d pop in to show my progress. Here are more silkscreen ring dishes I made! I’m soooo hooked on this machine, it’s fabulous! I’ve found myself mostly using it for ceramics as opposed to other crafts. But I do have a dish towel project coming up!
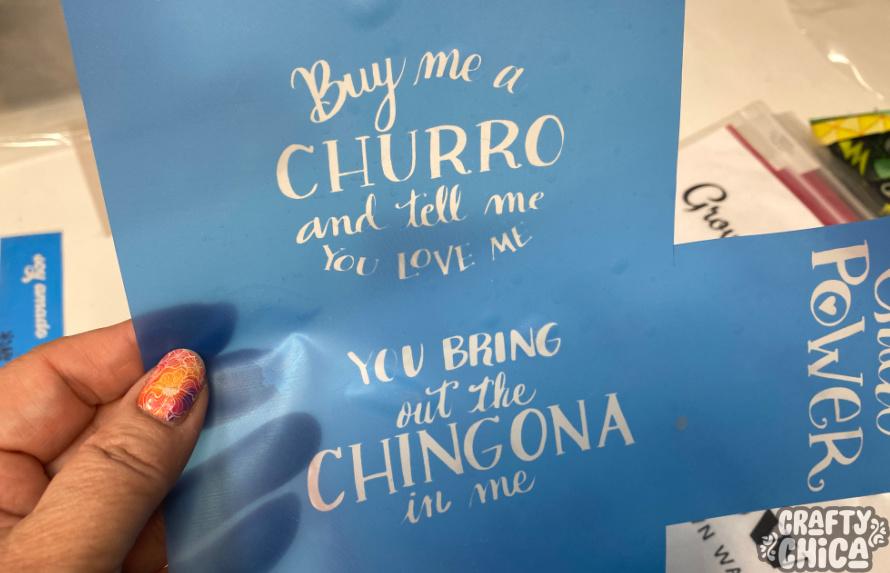
What I love about it is I can take my line drawings and lettering and use them to decorate my ceramics using underglazes mixed with silkscreen medium.
How I use the IkonArt machine
First I draw my design in Procreate (an app on the iPadPro) and clean it up.
I’m still working on my line weight when it comes to lettering. This is because if the lines are not too thin, I can make about 6-8 mugs or ring dishes before I have to rinse out the screen.
The thinner the lettering lines, the more the paint builds up in the design and I have to rinse it out and let it dry, then go at it again.
NOTE: This is not a sponsored post but I did sign up for the affiliate program since I bought the machine. You can use the promo code CRAFTYCHICA to receive a 15% discount on your purchase.
I then use Picmonkey or Canva to lay out the designs and then follow the process, you can see that part here:
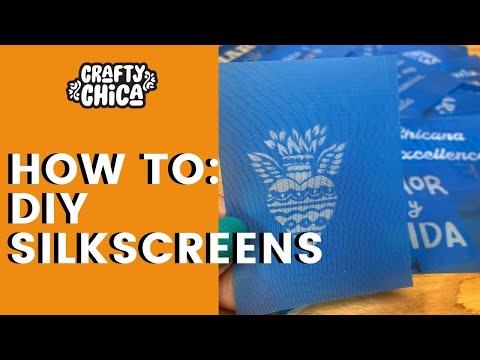
The burning of the screen is actually pretty easy. I create batches, usually 4 sheets at a time. and if I really like a design, I’ll burn different sizes.
Here is my tutorial on how to burn the screens using the IKONARt stencil maker.
It’s such a great way to add the personality of your handwriting to any surface. It makes it more original.
Here’s a TikTok I made showing my dishes in progress.
@craftychica Incorporating affirmations into my crafts ❤️ #learnontiktok #ceramics #meramera
How to silkscreen on ceramics
Once the screen has been burned (tutorial is here for doing that step), I decide which design to apply to which ceramic piece.
I do that to make sure the design will fit nicely. Once I choose the design, I peeel away the protective backing to reveal a sticky backing. I love this because it ensures the stencil/silkscreen will not wiggle or shift as I add the underglaze.
Squirt a small amount of underglaze on a paint dish, then add a pinch of silkscreen medium (gum powder). Mix until the underglaze has a creamy peanut butter consistency.
Use your finger to rub the mixture over the silkscreen that has been placed on the dish. Make sure the entire silkscreened design is covered.
Peel off the silkscreen.
You can use the same screen a few more times on other pieces. I’ve made up to six prints before I washed out the screen. Simply wash it in cool water and gently rub the underglaze out until the silkscreen design looks clear. Let it dry completely before you use it again.
Once you are done adding the silkscreened designs, it’s time to decorate further.
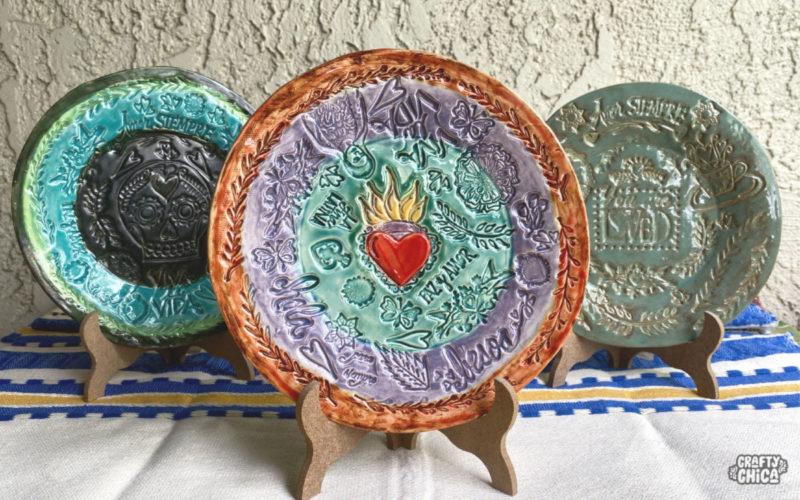
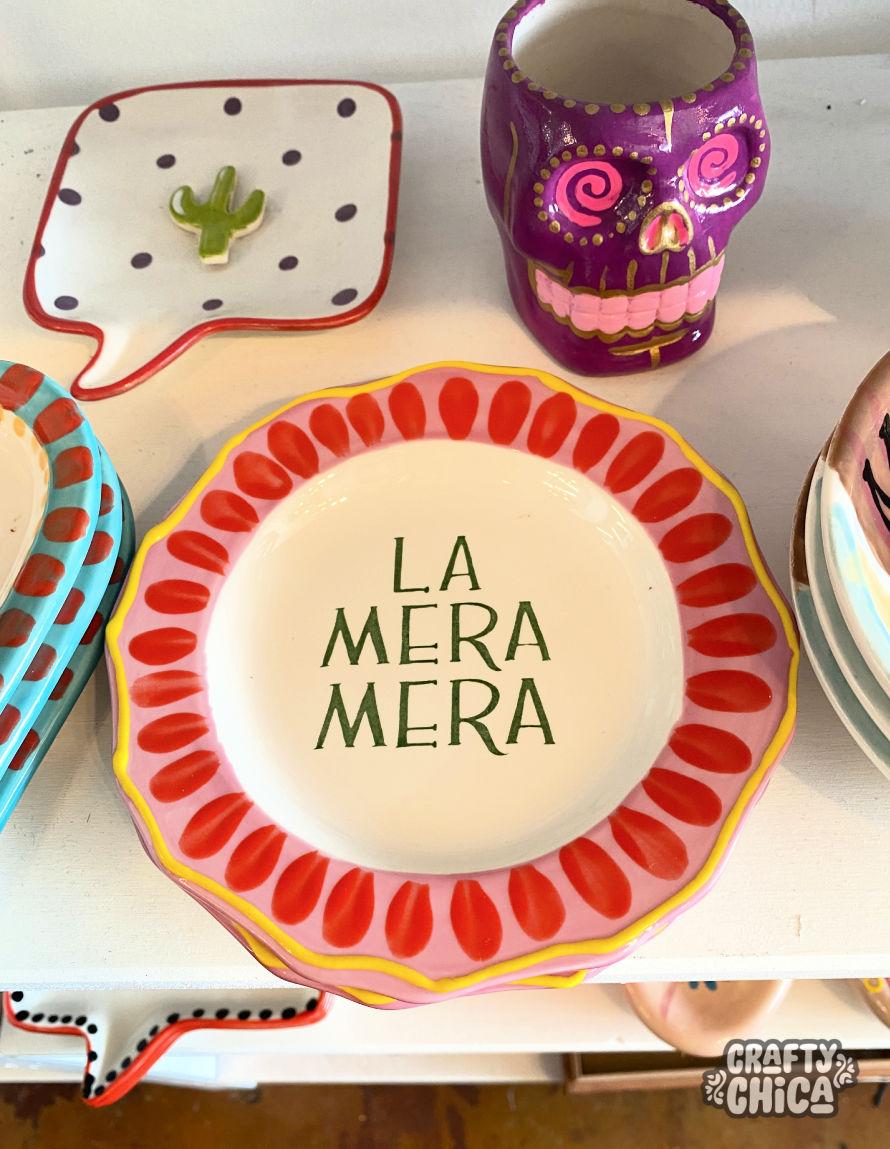
After I apply the underglazes, I add the decoration around the rims.
This makes them come alive. You can’t really tell because underglazes are chalky and pastel, but after firing, they look bright and brilliant!
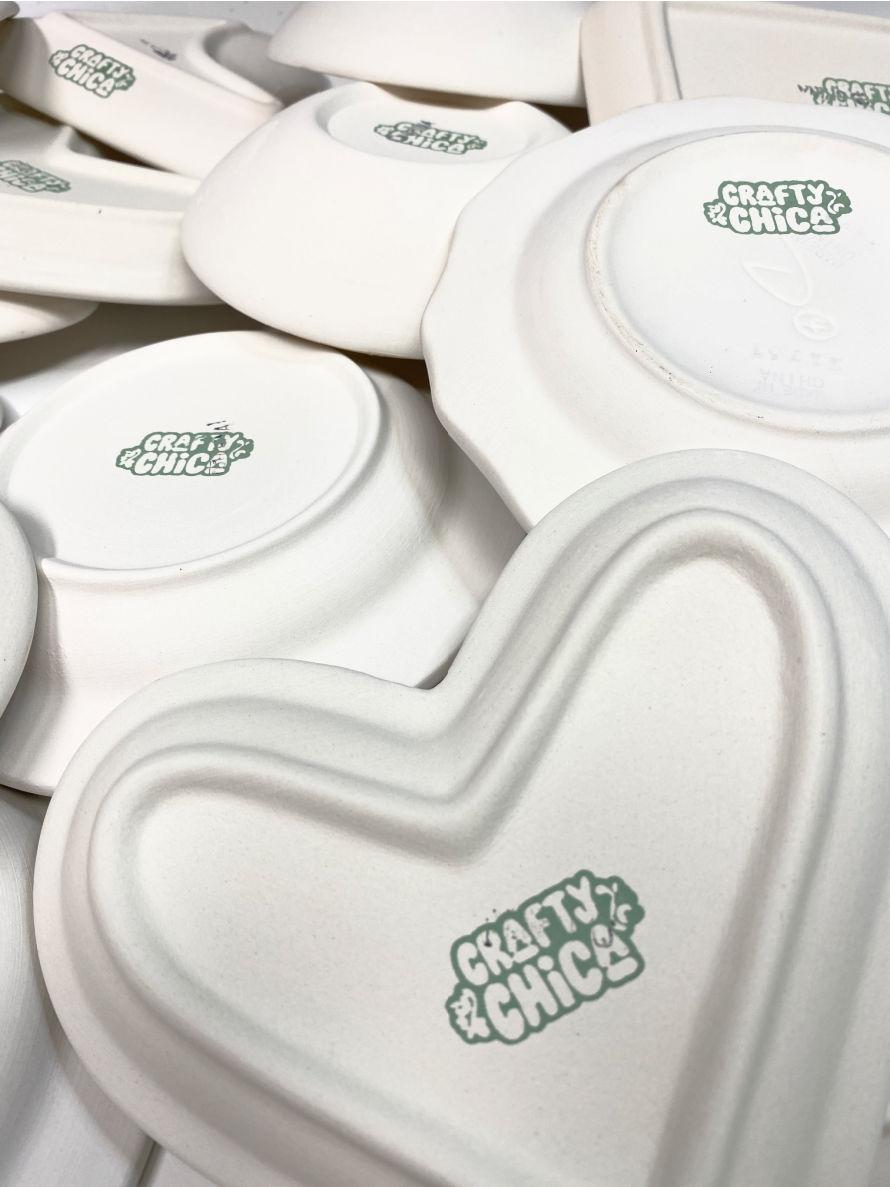
Ohhh! This is super important! I made a Crafty Chica silkscreen that I can use on the bottom of all my pieces. People can flip it over and see it’s an original piece of art made by me. I used to sign my pieces, but I like this version better, it looks more polished and professional.
After they are all painted, I dip them in clear glazes and fire them in my kiln at cone 06!
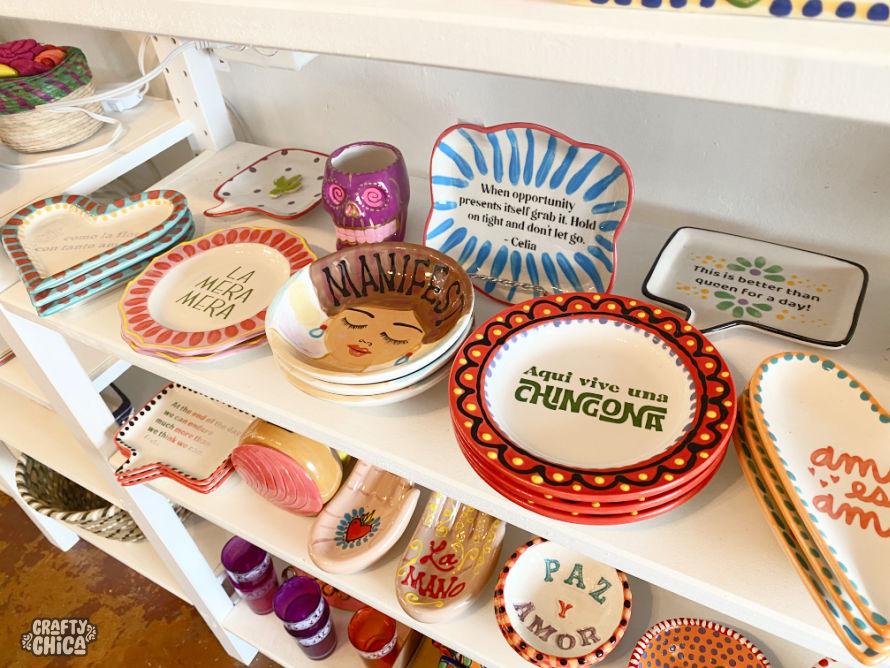
These were for Mucho Mas Art Studio, I made batches of them to fill the store shelves! My routine was to sit down and crank out at least two dozen.
Because the silkscreen is so easy to use, it doesn’t take that long at all.
Don’t theses silkscreened ring dishes look super cute?
I just finished a batch of mugs and at this very moment I’m waiting for the kiln to cool so I can load them up to fire!
The one thing about ceramics is it takes a LOT of patience! Here is another angle of the finished ring dishes.
NOTE: This is not a sponsored post for Ikonart, but I did sign up for the affiliate program since I bought the machine. You can use the promo code CRAFTYCHICA to receive a 15% discount on your purchase.
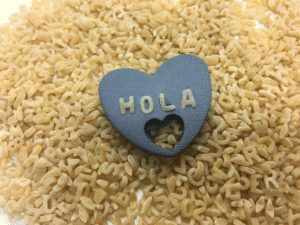
How to make these silkscreened ring dishes if you do not have a kiln:
Use terra cotta planter dishes! As for the paint, just use craft paint, but dab a little bit on your finger and rub it over the silkscreen onto the surface. Make sure to rinse out the paint so it doesn’t dry in the holes of the silkscreen. Underglazes for ceramics are water soluble until fired, so they are easy to rinse out, but acrylic paint is another story! It’ll work perfectly, just take care of your silkscreen so you can keep using it!
These silkscreens work great on porous surfaces. I found if you try to use them on super slick surfaces the paint has more of a chance to seep under the design. If you do try it, go easy on the paint when you add it (I use my fingertip). It’s always better to start with a little bit and add more than use too much and have a mess! Think wood, paper, fabric, unfired clay.
@craftychica Today’s kiln reveal! #trolls2challenge #ceramics #learnontiktok #kiln
Thanks for checking out my post about how to silkscreen on ceramics! I hope it inspires you to go get crafty and make some silkscreen ring dishes. And if you try IKONART, let me know!