
Here is how to make polymer clay conchas and roses! I recently posted a video showing how to make charm bracelets from excess beads and as a way to unify the theme, I made polymer clay conchas and roses. I had a couple people ask for a tutorial on making them, so here we are!
First up – for anyone who doesn’t know – concha translates as “shell” – and it is a popular type of Mexican pastry. It’s light and fluffy, not super sweet, but super bright and cheery to look at. They usually come in pink, yellow and brown, but during other times of the year you can find them in other colors as well. I’ve even seen rainbow and unicorn and holiday conchas!
Here is the charm bracelet video…

How to make clay roses (and conchas!)

Okay, now that the videos are posted, let me break it down for you!
I make a lot of ceramics and often make rose rings, but I use a different method. This time around, instead of rolling a slab of cut clay, I’m using my craft knife. Same for the conchas.
RELATED: Easy DIY polymer clay bracelets
Supplies to make your own polymer clay conchas
Polymer clay in light or dark pink
For a bracelet:
Directions:
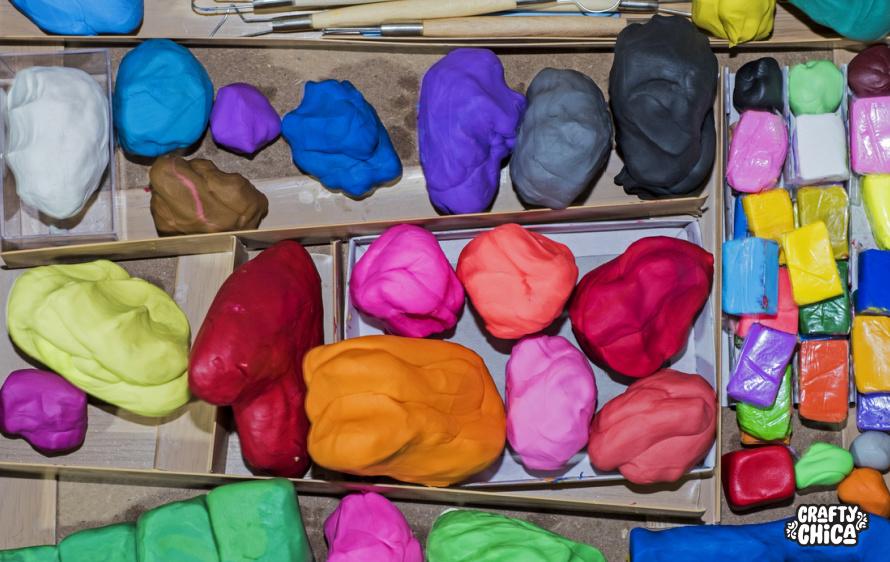
When it comes to using polymer clay, there are several brands to choose from. I always go for the generic brand, it’s softer and works great.
Another tip – you really don’t even have to buy the colored clay, you can buy white in bulk and use craft paint after it’s been baked.
But for this tutorial, I’m using the colored clay (because I had it on hand!)
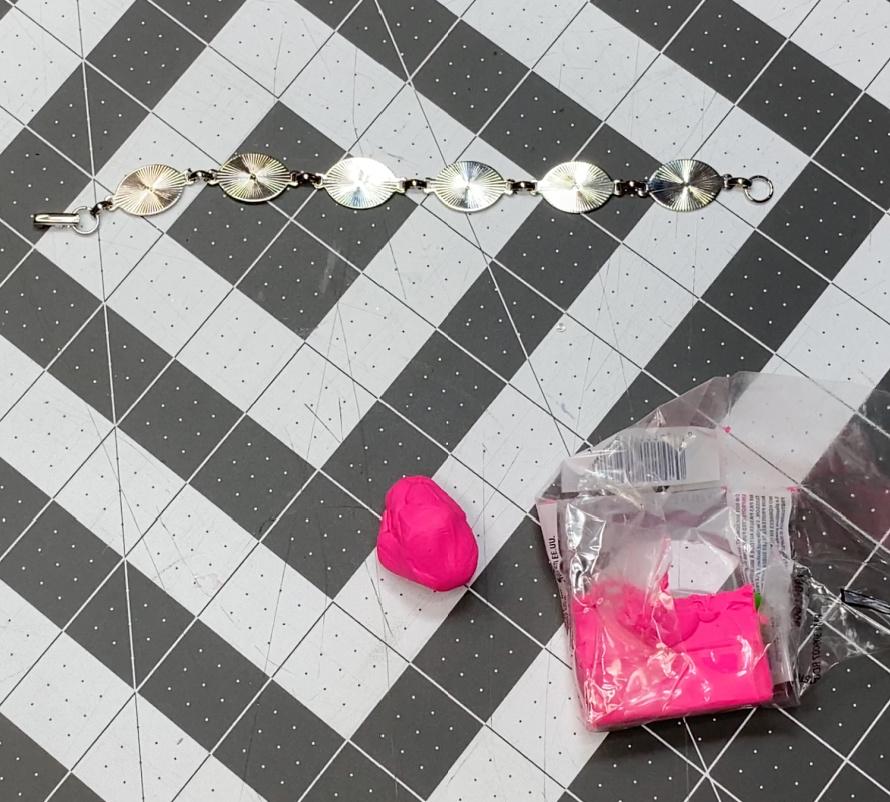
Set out your bracelet blank and pinch off pieces of clay, sized to cover each bracelet blank pad.
Make sure to work on a self-healing mat or a piece of thick cardboard so you don’t ruin your worktable. They clay leaves a light residue.
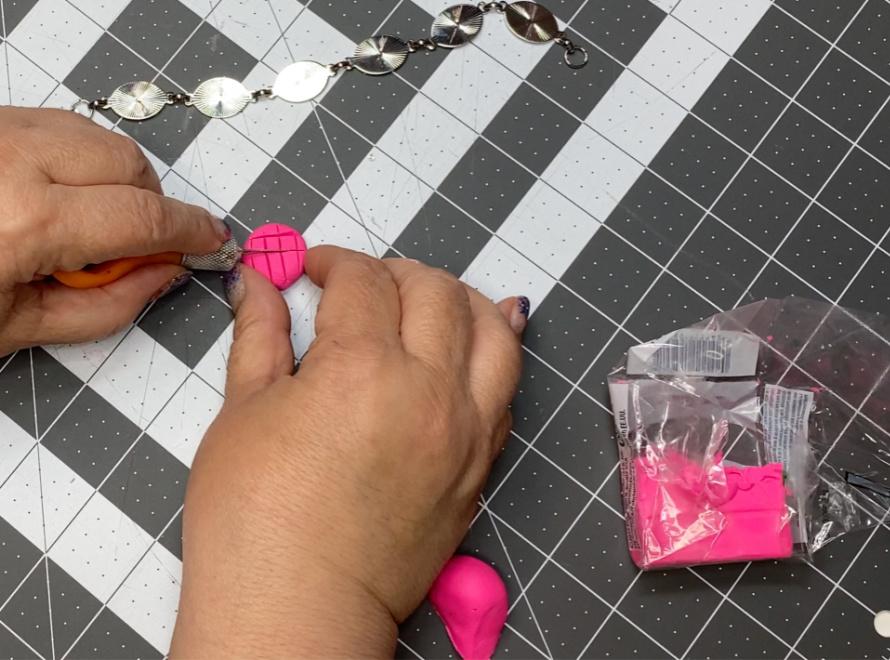
Take one piece of clay and roll it into a ball, then press it down just a bit and use your fingers to round the edges.
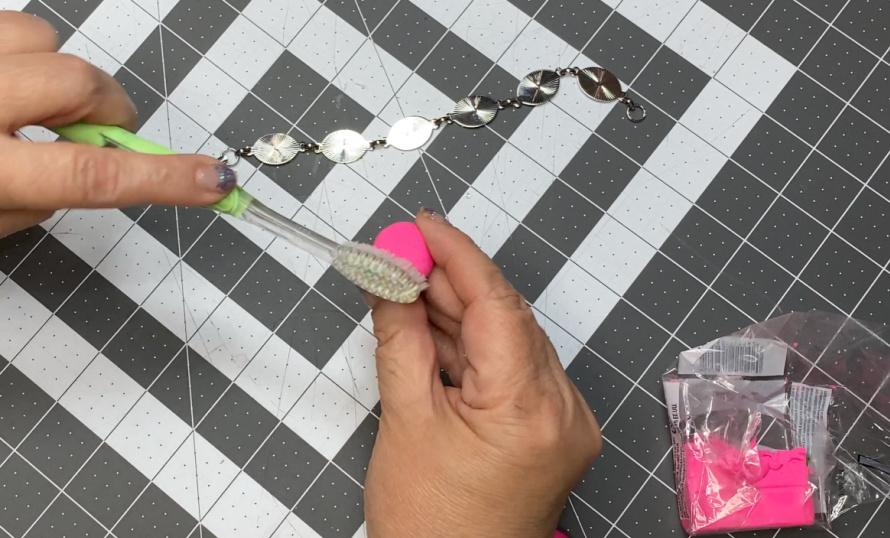
Use a toothbrush to tap on some texture.
Use a craft knife to slice the designs.
After you’ve cut in the design, slightly press it up from the bottom so the cuts separate and have more definition.
Make a concha for each pad of the bracelet, then bake in the oven according to package directions.
Before we go on – let’s take a concha and cafecito break…
Ahhh, okay, back to work. Carefully remove from the oven and let cool.
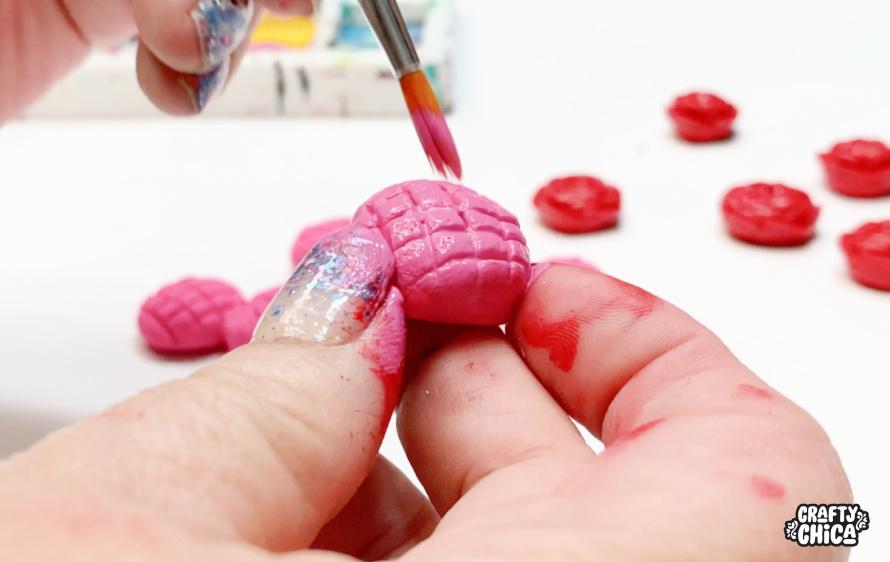
Optional: Paint each one. I do this just because it makes the clay look more vibrant, especially after we add the varnish. You can use craft paint, even nail polish.
Start with a darker base coat and then a lighter color to give your pieces highlights. This will make them more pleasing to look at, we want that WOW factor!
Let the paint dry and add a coat of sparkle varnish. NOTE: Only use a water-based varnish, otherwise the clay will be sticky.
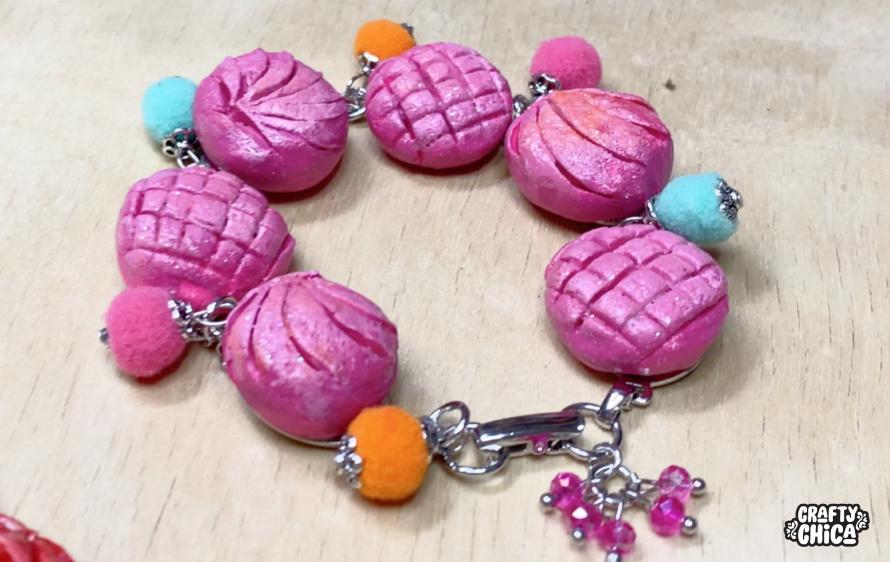
Once all your pieces are dry, add a drop of glue on the back of each one and carefully press onto the bracelet pads. Make sure they are all even!
Let the glue dry, and then if desired add charms between each bracelet pad! Use the needle nose pliers to do that.
Okay, that’s the concha bracelet – I also made a rose version. Check out my video to see the process for cutting the roses. It’s much easier than you think!
Once you start making these, there are so many ways to use them!
My suggestion is to make up a large batch and keep them on hand for your future projects. They work great for mini-shrines, picture frame embellishments, dollhouses or other miniatures sets, and of course – jewelry.
Turn them into beads by inserting a head pin inside each concha or rose before baking. After they have been baked and cooled, remove the headpin.
Other ideas:
String them together to make garland
Tie them onto a strand of mini lights.
Use them as charms for a bracelet or tassel.
Paint them in different colors.
Thanks for reading my article about how to make polymer clay conchas! And lastly, I do have these bracelets for sale in my store. I only made one if each for this tutorial, but I plan to make more soon!


What a beautiful dress and sweet shoes! Congratulations!!!!!!!
very pretty. love how simple it is.