Want to know more about DIY handbuilt mugs? I thought it was a good time to share new tips for ceramic hand built mugs.
I’ve been making my hand built mugs for several years now and I finally feel confident in the process.
So much that I even thoroughly cleaned out the garage, preordered an industrial slab roller, and a pottery wheel too! I am ready for mass production.
Just kidding, I want to enjoy the process!
I LOVE ceramics and making handbuilt mugs
It’s one of those crafts that is so classic and there is a never ending list of ideas of items to create.
Here is a recent process video I made of a mug.
https://www.instagram.com/p/CY7P5o3g0Y0/
Tips for handbuilt mugs

I’m going to make this list according to questions I am often asked!
Every time I make and share my mug photos, I notice there is a lot of interest and it can be confusing. I’ll do my best to break it down!
There is a LOT to cover, but here are some basics.
Can I use air dry or polymer clay to make mugs?

For decorative use, yes. But to actually drink from – no.
They need to be food safe, so you would have to visit a local paint-on-pottery studio or take a ceramics class in your area so you can use a food safe glaze.
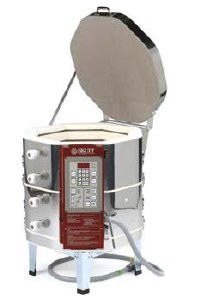
I have a Skutt kiln in my garage to fire my mugs. T
his is my model and I love it. I’ve had it for several years and it is a beloved member of the familia!
When I first set it up, I had an electrician come out and convert one of the garage outlets for use with not only one kiln, but a second, just in case I ever want to grow my studio.
Do I have to have a slab roller?

No!
How to cut clay slabs for handbuilt mugs
Set out a large piece of canvas and line up two yard sticks about 12″ apart from each other.
Slice off a hunk of clay and wedge it into a ball and use a rolling pin to flatten the clay until it is even with the two sticks.
However, if you have a sturdy table, you can use this method below.
The only hesitation I have with this is it REALLY tires out your arms.
So does using a rolling pin, but not as hard or fast as this method. Then again, exercise is good, right?
RELATED: DIY Ceramic Portraits (You Can Also Use Air-dry Clay!)

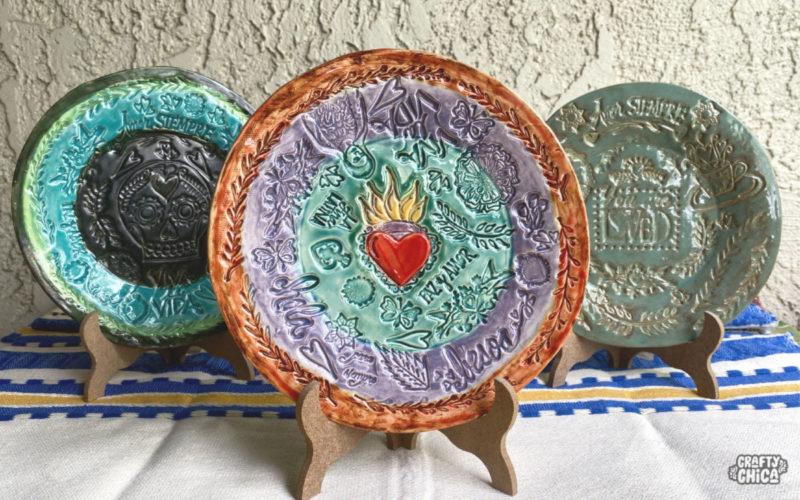
How can I get the surface smooth or imprinted with designs?

You can choose from different textures for your hand built mug, that is the fun part.
If you work on a canvas-lined surface, you’ll see the grooves of the fibers in your finished piece. If I don’t want this look, I’ll use a sheet of paper and smooth it over the wet clay.
For a pattern, you can use embossed rolling pins, stamps, toys, cling stamps, fabric, wood carvings, etc – anything that makes an impression!
I’ve just discovered underglaze transfers, I’ll have a post on those soon!
How do I make a handle for handbuilt mugs?
Oh my gosh – handles were always an issue with me.
It took a lot of practice and patience. I watched a gazillion videos, but nothing prepared me better than trial and error.
For the first year of making hand built mugs, I gave them away for free because I didn’t feel they were worthy of selling.
So much imperfection! But I have no regrets because that is how we learn, right?
What I do: I cut a template that measures about 1″x4″ and I’ll cut it to fit.
I roll it out between the yard sticks to make it even, then I smooth the edges. I’ll do a separate post on this as well, it’s a process!
https://www.instagram.com/p/CY1nkuCMRCN/
How do I know what size to make a mug, do I need to buy a template?
This is much easier than you think! If you have no tools or templates, make your own.
Use a measuring tape to measure the size of your favorite mug, say 4″ tall x 8″ wide (wrapped around in a circle), then cut out a piece of poster board in that size to use as a template.
Once your slab is rolled out, add your stamped designs if desired and then place the template on top and cut away the excess clay.
https://www.instagram.com/p/CV6t63eFqhI/
How long does my mug have to dry before I can paint it?

How do I make sure the pieces I add don’t fall off?

You will need slip (clay liquified to a creamy consistency) and a scorer of some sort. You can use a craft knife if you don’t have a scorer. Every time you want to add something to your mug, score the are areas where to the pieces will meet and add a bit of slip on both – wet to wet. Press into place.
What if it my hand built mug doesn’t look perfect, like a wheel made mug?
That is the BEAUTY of hand built mugs – they look hand built! It’s what makes them so special, the imperfections. So give yourself space to learn and experiment. Play around with shapes, sizes, handles. I feel like my mugs are boring, I’m ready to level up and try some new designs! So just PLAY.
There are other areas I haven’t covered, like adding the bottom and smoothing the top – I’ll create a second post about that! I know this is a lot of now! I hope these tips for ceramic hand built mugs help you become inspired! The main takeaway – push through your fear and make some hand built mugs!
https://www.instagram.com/p/CPHMfoeFUew/