This DIY matchbox shrines project is a long-time fave. I featured it in my very first book, Making Shadow Boxes and Shrines, and it still holds strong.
Mini-matchboxes are easy to find (in the grilling section at the grocery store) and you can even buy them blank and empty online. All the links are shared below.
What is so cool is there are limitless ways to construct a little shrine that can be used for your Day of the Dead Ofrenda or even for the holidays as a tree ornament!
Matchboxes in history
Let’s give a little love to these classic sleeved boxes. According to A History of Graphic Design blog, matchboxes date back to 1680 when Robert Boyle covered a small piece of paper with phosphorous, then coated a small piece of wood with sulfur, and realized rubbing the coated wood across the paper would create a fire.
From there, matchboxes became the perfect artful vehicle for design and beauty. Check out the blog post i linked above to learn even more.

Matchboxes in art and craft
These days matchboxes are a HUGE part of the craft world. They are decorated and used as party favors, gift boxes, and even jewelry. They are made from papers, cardstock, cardboard, and even wood.
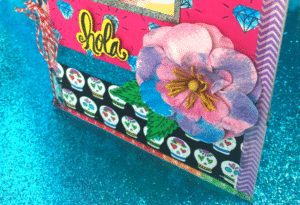
You can find them in a variety of sizes. I especially love matchbox art from Mexico, they are often adorned with Loteria, pop art, and religious imagery.
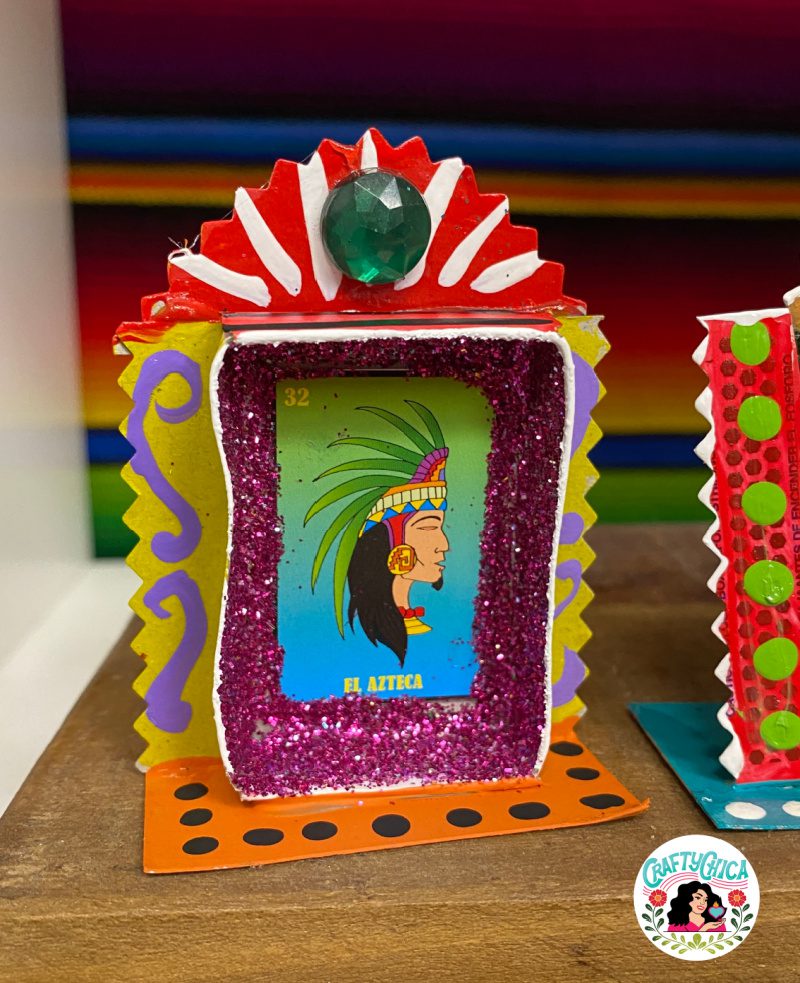
For this project, I used my Crafty Chica Loteria game, from my 2008 product line! I’m often asked about this version of the game, it’s become a collectible! Check eBay, Etsy, Amazon for a set. I have a few sets here and i’m holding on to them tightly! I think I might
Okay, let’s get started with this DIY matchbox shrine tutorial!
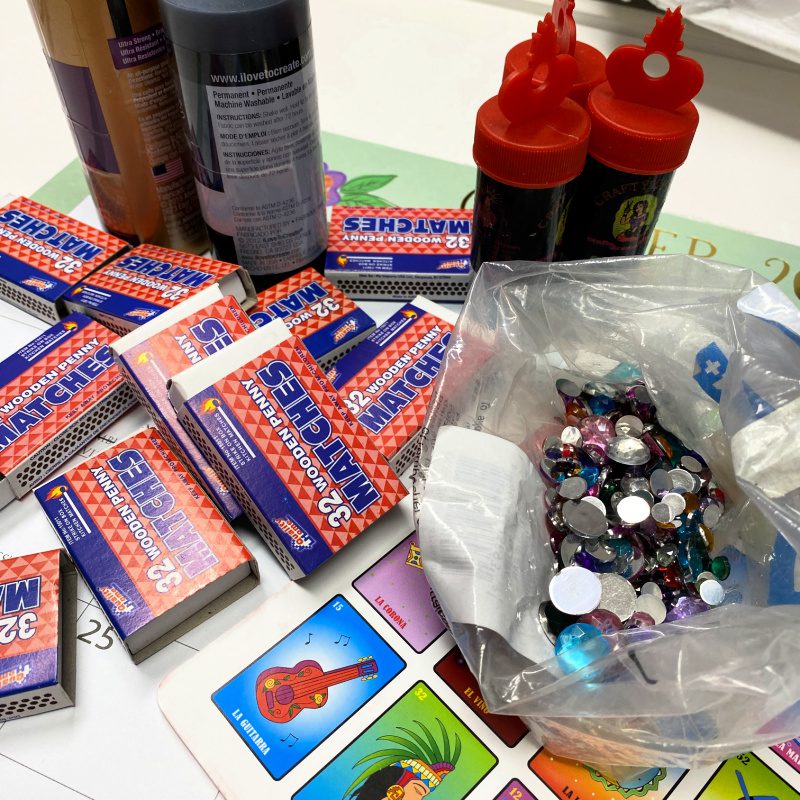
Supplies:
– Matchboxes with matches (empty into a tin or glass jar)
OR
Images
Gems and/or sequins
Scissors
Directions for DIY matchbox shrines
There are so many ways to make one of these! But let’s start with this one:
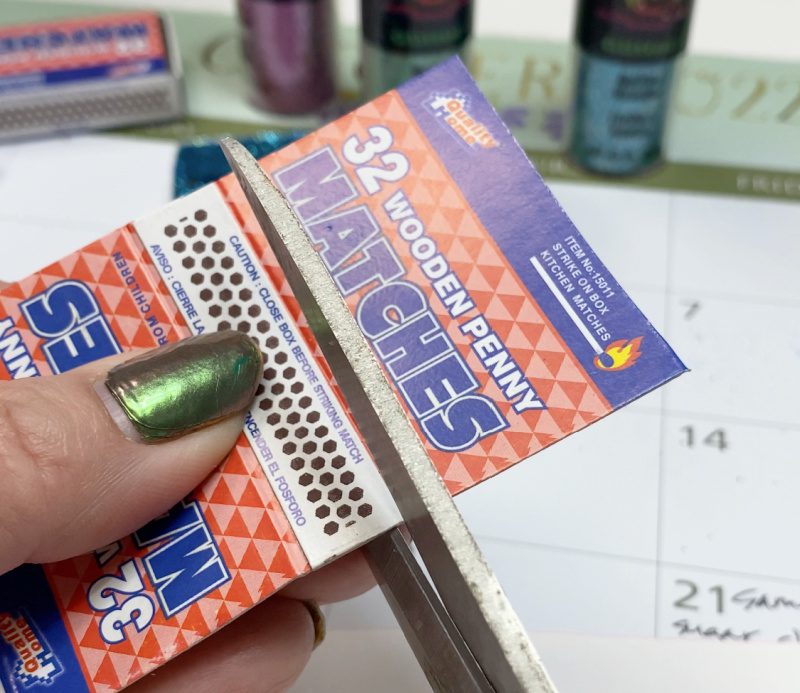
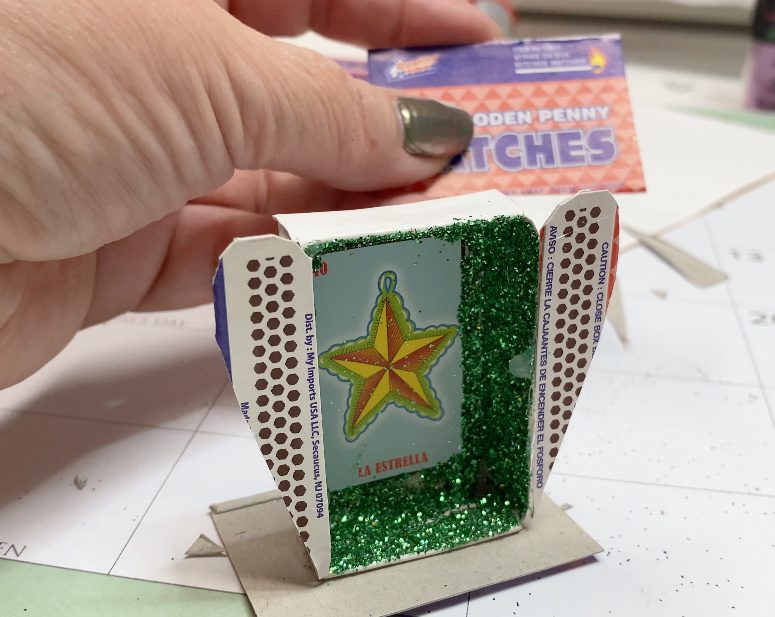
Start by removing the box from the sleeve.
Cut the sleeve into four pieces – two bigger pieces and the two sides.
RELATED: Matchbox Magnets – Trimmed in GLITTER!
Glue the image in the center. Add glue around the inner sides and border of the image, add glitter. Tap away excess – or use liquid glitter.
Use one of the bigger pieces and add glue to the bottom of the box and place on top, this creates a little base so your shrine can stand upright.
Cut the skinny sides in a decorative way and glue them to the sides.
For the last bigger piece, cut it to create a topper for your shrine.
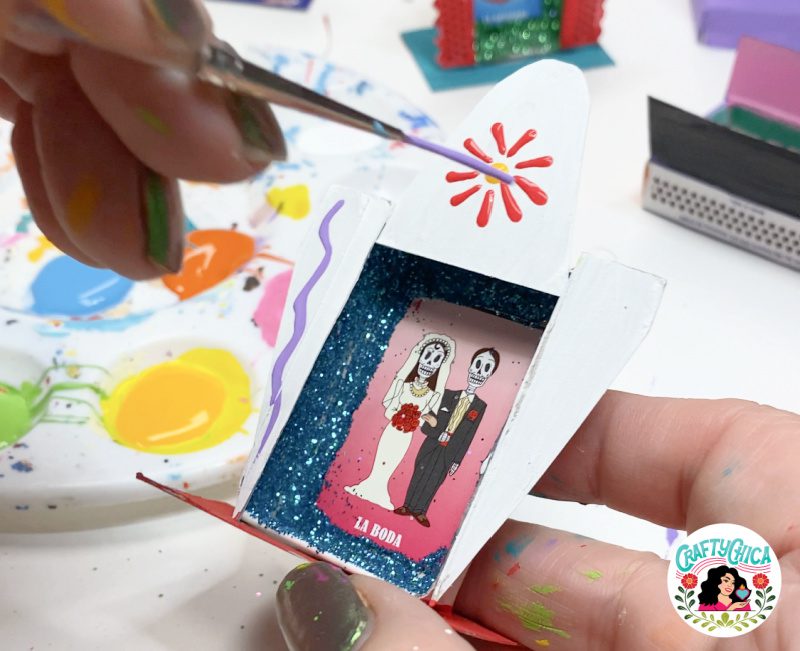
Add color to your shrine
Base coat the shrine in desired colors and then add painted accents.
It’s your choice if you want add sheer color so the packaging shows through (adds more dimension and interest) or if you want to add more coats of paint for an opaque look.
RELATED: Repujado en aluminio + Free Printable
Get creative with cutting the edges
Use decorative edge scissors, or you can use regular scissors and cut in wavy strips. It also looks nice to trim all the edges in paint.
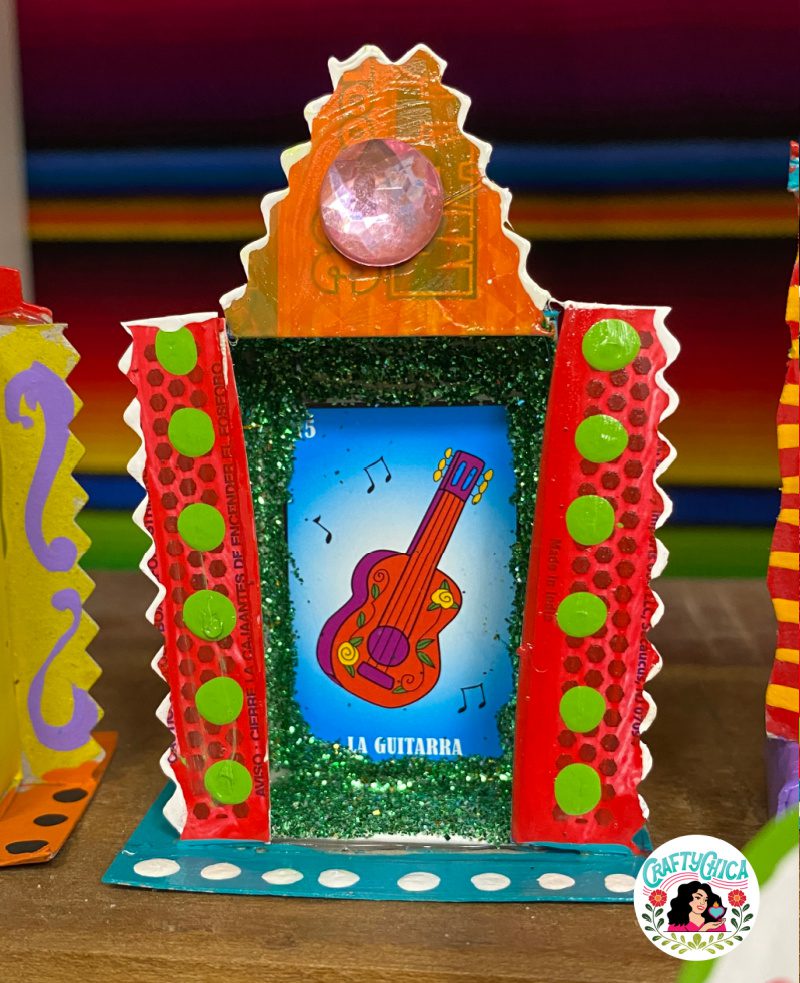
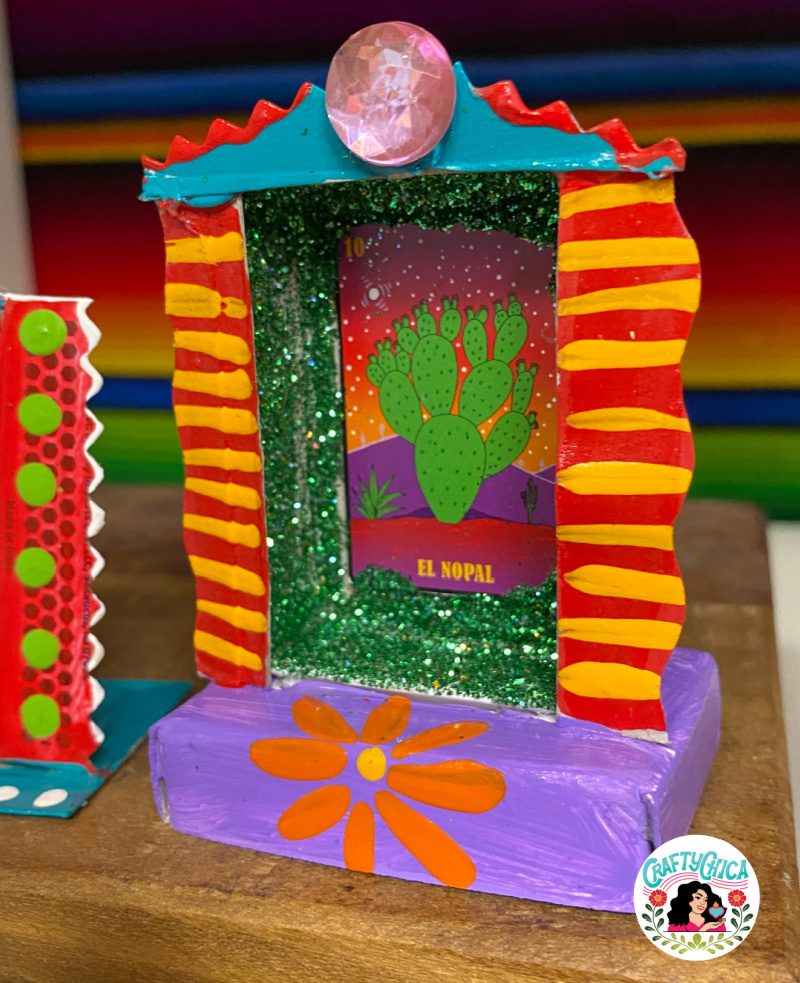
Add varnish and other accents
Use brush-on varnish, I used high gloss Mod Podge. Hot glue gems, sequins, tiny trinkets to bring your shrine to life and give it a story!
Here is a video I made showing the DIY matchbox shrine process!
View this post on Instagram
Ideas for your matchbox shrines:
Party favors
Holiday ornaments
Craft night party
Mini-mixed media
Dimensional greeting card
Pendant or brooch
Visual storytelling
Travel shrine
3D scrapbook memory piece
Centerpiece for larger art pieces