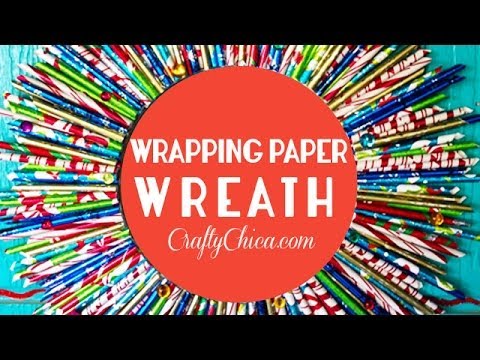
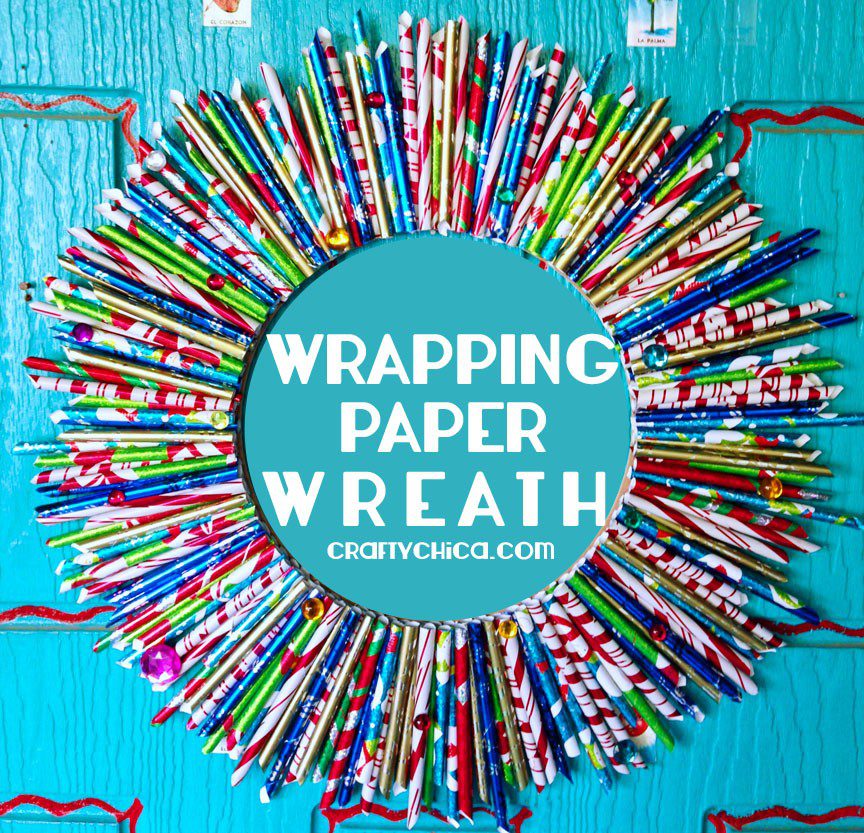
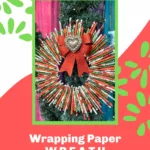
You gotta try this wrapping paper wreath project! Who doesn’t love wrapping paper? Especially when it comes to creating easy holiday decorations. Ones that make a big statement!
 I made this chose the Wrapping Paper Wreath and the Coffee Filter Wreath. Even if you are not a big crafter, this an easy project to make, either for events or for your own casa.
This wreath is the best type of craft to make while you’re watching holiday TV movies, it’s super festive! Here’s how to make it!
What kind of wrapping paper to use for this project
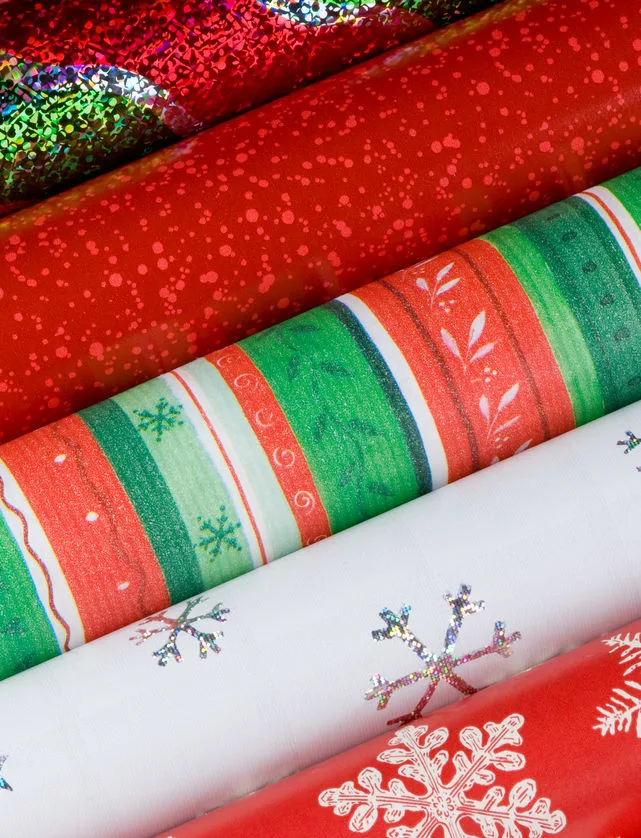
There are many different types of holiday wrapping paper to choose from. You can find wrapping paper that is specifically designed for Christmas, Hanukkah, or any other holiday.
You can also find some that is more general and can be used for any type of gift.
Patterns or solids?
When you are choosing holiday wrapping paper for this project, there are a few things to keep in mind.
First, think about the colors that you want to use.
Many people like to use traditional holiday colors, such as red and green for Christmas, or blue and white for Hanukkah.
Remember, this paper will be rolled up, so it will look TOTALLY different. Even though you may not be able to see the actual design, you will be able to see the colors.
I really like using contrasting patterns and colors.
And the price of the wrapping paper! Go with the cheap stuff. Go for one of the multi-packs. you’ll have plenty leftover to wrap your gifts.
Lastly – I like the thin wrapping paper for this project, but it could also be cool to use heavier paper. I may have to try that next!
Alternatives to wrapping paper

Magazine pages
Coloring book pages
Old text book pages
Outdated calendar pages
Fabric
Card stock in glitter or metallic finishes
Supplies for a wrapping paper wreath:
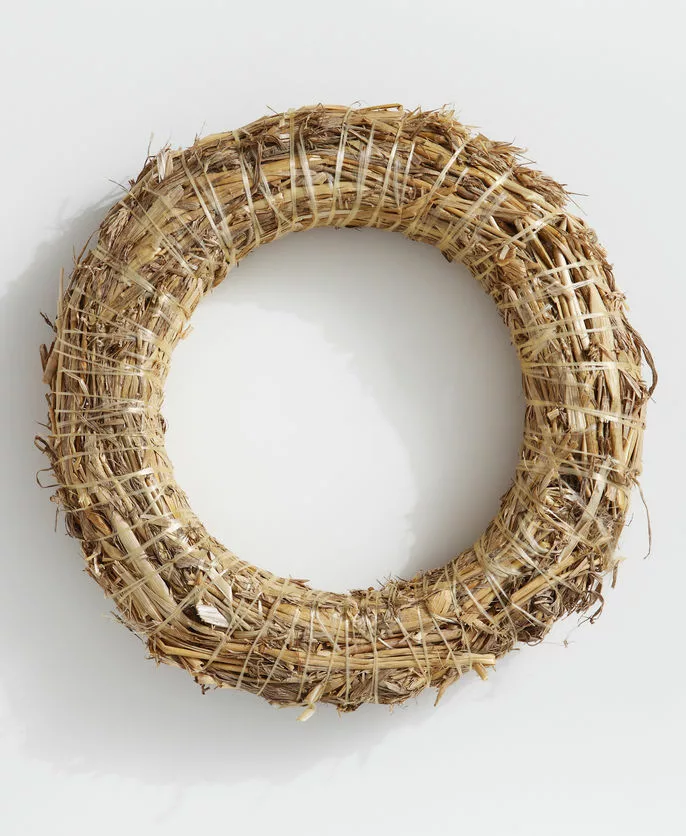
1 flat wreath base. For this project I used a 16″ wreath
1 bottle of white craft glue
Hot glue gun
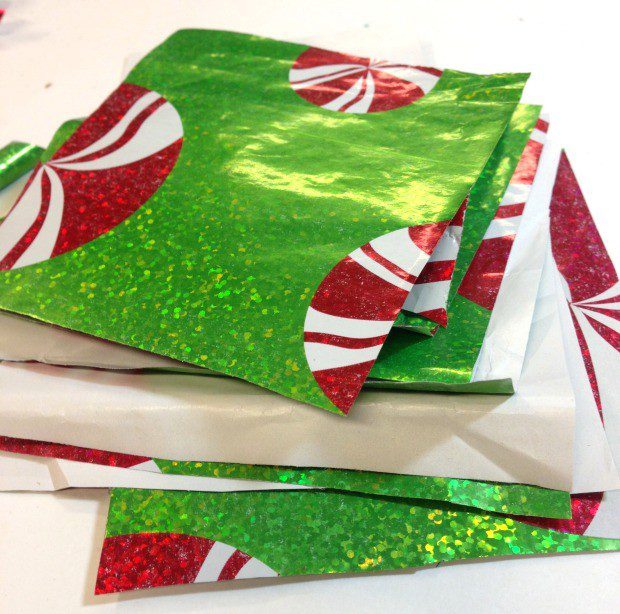
Assorted wrapping paper (I used all metallics)
Glue stick
Pencil or chopstick
Assorted gems and/or a bow
Scissors
Directions:
For a 16″ wreath, you’ll need about 200 pieces. But the process goes fast, I promise!
Cut your wrapping paper into 4″ squares. It’s ok if they aren’t perfect, it will give more texture to the finished look.
For the project at the bottom of this post, I used 100 or so.
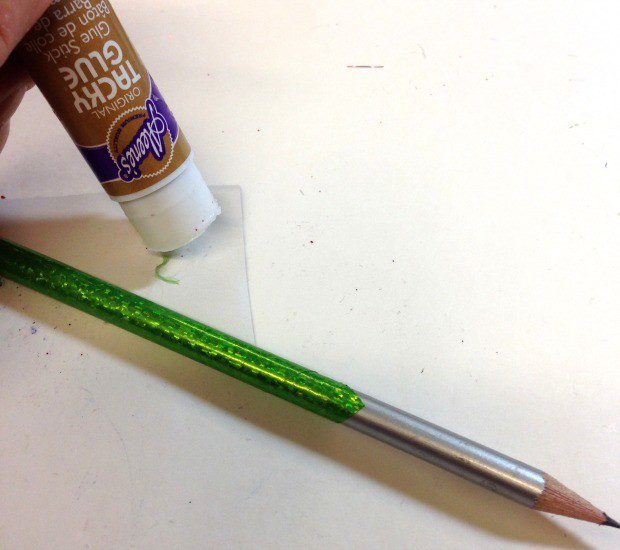
Take one square and at the diagonal corner, add a juicy amount of the glue stick, bend it over the pencil and roll it to the end.
Glue the other end to seal it.
Slide it off the pencil.
Don’t roll it too tight or it won’t come off the pencil.
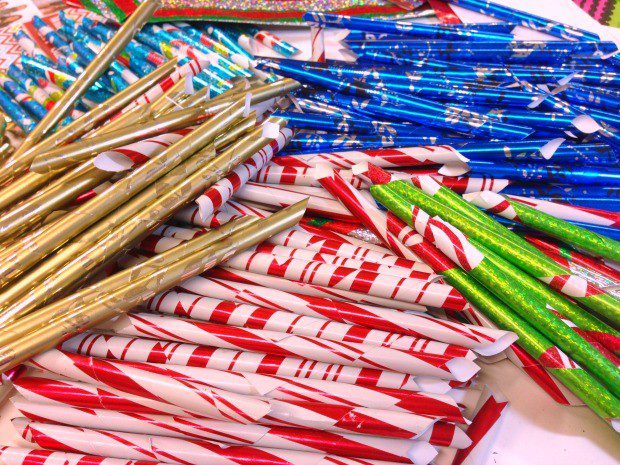
Sort them by color.
Next, pick up a handful, tap them so they are even and cut off the ends so one side is flat and the other is spiky.
It’s not mandatory to do this, but it does look nicer on the back of the wreath.
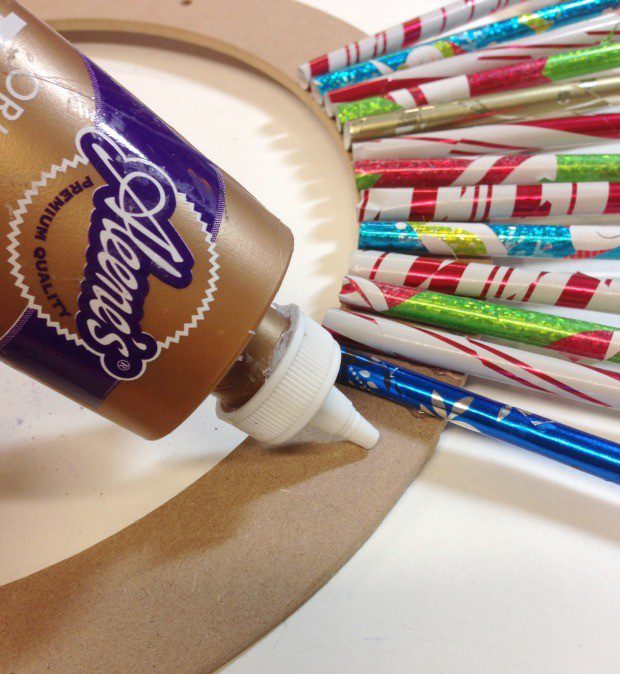
Apply a generous amount of white craft glue to the base, one section at a time. You could also use hot glue if you prefer.
Set the rolled paper pieces on the glue.
I like using Tacky Glue instead of hot glue because it gives me time to move them around to be more even.
Space them evenly and keep going all the way around.
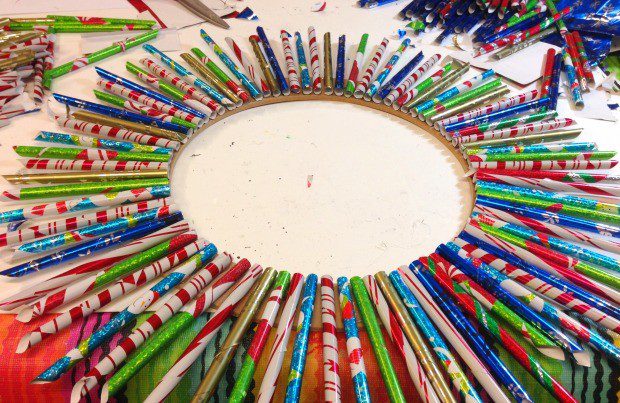
Here I have one layer finished.
Let this dry and then add a second layer of rolls in between each of the first layer so it hides the base.
If you want, you can cut the pieces shorter for the second row.
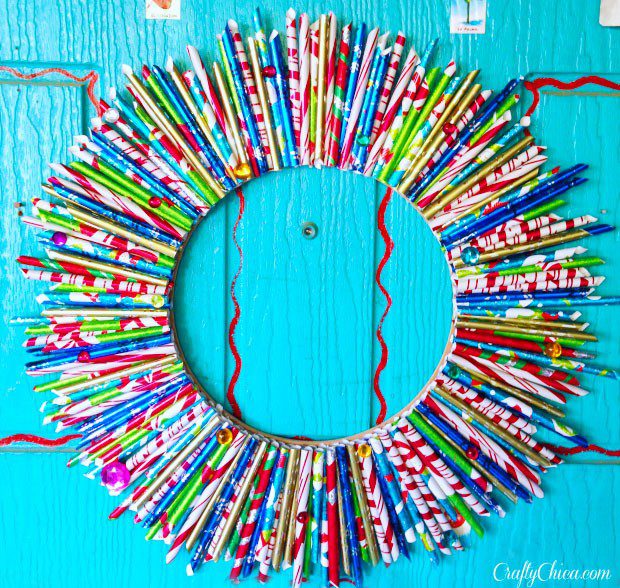
Here it is with two layers of rolls and I added gems here and there to give it a bit of sparkle!
There are a lot of versions out there on rolled paper wreaths, this is my spin, I hope you like it!
Other ideas for this technique:
Add a mirror to the back
How about a screen to make it an earring holder?
Lay it flat to use as a centerpiece for a table
Affix glass to the back to make it a picture frame!
Another idea – I used assorted papers, but you could use all gold or just green and red, each one will give off a different look!
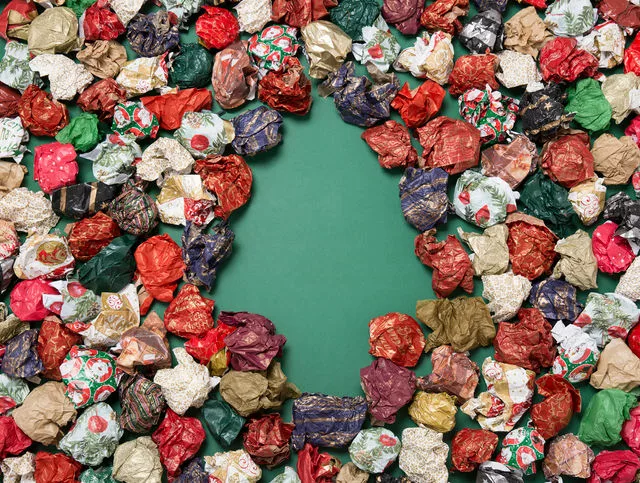
Here is another version I made of a wrapping paper wreath
For this version, I used a foam wreath (and the glittered bow) from the dollar store. If you are not sure if you want to tackle a huge wreath, this 10″ version is pretty easy. Check out my video under this photo to see my process!
Because hot glue does not work on foam, I wrapped the foam base in fabric and then hot glued the paper rolls.

View this post on Instagram
Other ways to recycle wrapping paper:
More ideas for wrapping paper:
One of the best ways to recycle holiday wrapping paper is to use it again next year! Fold it up neatly and store it in a box or bag until you need it again.
Donate it to a local school or daycare center. They can use it for art projects or for wrapping presents for their own holiday celebrations.
Use it as padding for shipping boxes – I do this every year. Just stuff it into the box around the items you’re sending to help keep them safe in transit. This is a great way to use up those odd pieces of wrapping paper that you have left over from previous years.
Another spin on that idea –
run it through the paper shredder.
Wall decor for the Christmas season!
Just tape it up on your walls in a festive design. This is a great way to use up those larger pieces of wrapping paper that you don’t want to store. Plus, it’s a fun and easy way to decorate your home for the holidays.
Make wallpaper!

Paper ornaments
Cut the wrapping paper into shapes like stars, circles, or intricate snowflakes, which can be layered for a 3D effect and hung on your Christmas tree or around the house. Another idea is to make festive bunting or garland by cutting triangles or other shapes from the wrapping paper and stringing them together. This can be hung across rooms, on walls, or even on the tree.

Centerpieces or room decor
Create cones or origami shapes from the wrapping paper, or wrap empty boxes of various sizes and pile them artistically as a centerpiece. Creating wreaths by cutting strips of wrapping paper and curling them around adds a festive touch, and you can add ribbons or other ornaments for extra flair.

Make handmade holiday cards or gift card holders

Cut out different shapes or use the paper as a background, adding a personal touch to your season’s greetings. Wrapping small sections of paper around glass jars or votives makes for a festive candle display, just be sure to keep the paper away from the flame for safety.
Whip up holiday garland and more!

Get creative with shapes and sizes, and creating a classic paper chain by cutting strips of wrapping paper and linking them together can be a fun activity for kids. Framing particularly beautiful or unique sections of wrapping paper as a background in a frame, possibly with a holiday quote or message, makes for special decor. Lastly, cutting thin strips of wrapping paper to make simple napkin rings adds a coordinated look to your holiday table setting.
It’s important to remember to be mindful of fire hazards when placing paper decorations near lights or candles. These ideas not only help in recycling but also add a personal and unique touch to your holiday decor.
Thanks for checking out my post about how to make a wrapping paper wreath!


I really like this one. I love the idea of not tossing all the wrapping paper snibbles. It never felt good to just toss them.
I tried making this wreath, but I used my stash of foil coffee bags instead of wrapping paper. And I tried a wire wreath form and rubber bands instead of glue. My mistake!
Here’s how mine turned out:
http://creativeupcycling.blogspot.com/2014/12/deck-halls-with-bags-of-coffee-my.html