Welcome to linocut & printmaking 101. Printmaking is such a classic art form and it’s much easier than you think.

This linocut & printmaking 101 is perfect for beginners.
I shared this craft a few years back ago (here), but pulled out all my supplies again last weekend. This project never disappoints! Yes, it takes a bit of patience and there is a little learning curve, but that isthe entertainment of it all.
I made a variety of stamps while watching Santa Clarita Diet on Netflix, I can’t say I loved the goofy-meets-gory mom zombie series, but it did keep me in my chair all day while I worked on these, I never changed the channel.
Here’s a video tutorial for you!

SUPPLIES:
These are the supplies I used and you can get them at the craft store, or on amazon (affiliate links listed):
I use this linocutter because it has the extra blades inside the handle and works great on the pink cutting block.
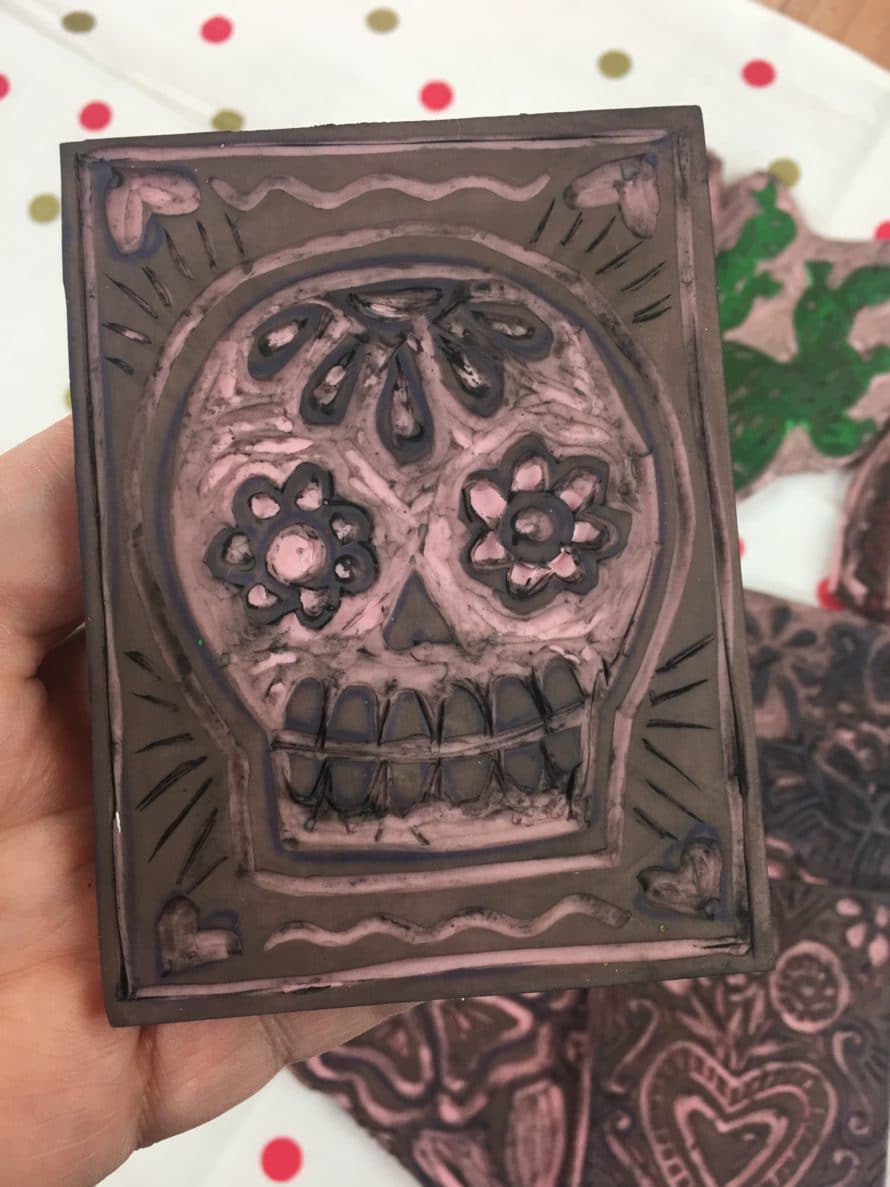
There are different types of blocks to carve, this pink one is my favorite. The white one is too soft, and the brown one is too hard. The pink one is just right!
Ink. I suggest using ink meant for block printing. I used craft fabric paint on one of mine and it hardened the surface. TIP: Use baby wipes to clean your stamps immediately after printing to prevent this.
There are lots of printing inks, and a lot of colors. I only have black right now, but plan to buy a set of colored inks next!
And you’ll need a brayer…
Once you print, you can get fancy and use a Speedball Baren for Block Printing to burnish the stamp onto the surface![]() , but honestly, I use a spoon! Or you could buy a big kit like this that has more than enough to get started: Speedball Deluxe Block Printing Kit
, but honestly, I use a spoon! Or you could buy a big kit like this that has more than enough to get started: Speedball Deluxe Block Printing Kit![]() .
.
You’ll also need a pencil, eraser and tracing paper. Black marker.
Steps:
Draw your design on the tracing paper, make sure it will fit on the size of the block. Once you’ve drawn it, press it face down on the block and use the spoon to burnish the image on the surface. Remove the paper, then use the marker to color in where you DO NOT WANT TO CUT. This is important because one slip up can ruin your whole design.
OK, time to cut. The blades come in U shapes and V shapes. “U” are perfect for taking out big areas, and the “V” is great for finer detail.
TIP: Always cut away from you so you don’t cut yourself. This is also the reason I use the pink block, it is soft enough so I don’t dig in too much.
I use the V to outline all around the black lines, then I use the U to remove the rest.
Once it is all cut, apply a small dollop of ink on a very flat non-porous surface.
Roll the brayer over and over on the paint to get a thin, even coat on the brayer. You don’t want too much paint because it will blot your design and fill your cuts with globs of paint. Remember, just a thin layer will do. Then place the stamp on the surface, if you don’t have a baren, use a sheet of transfer paper on top and the spoon to burnish all the areas. Here’s a mini video!
https://www.instagram.com/p/BQExaabgWuV/?taken-by=craftychica
Practice on paper until you get the hang of it, then make more and more and more!
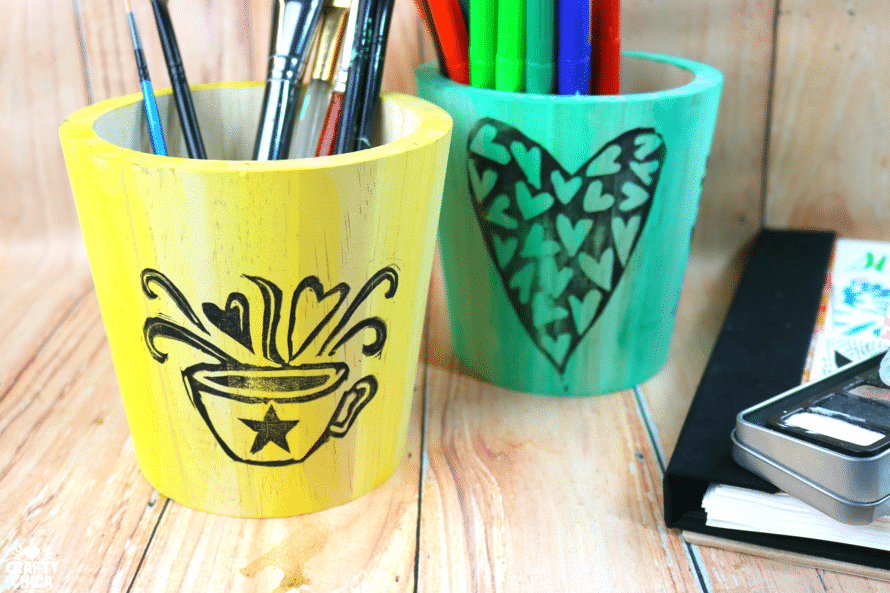
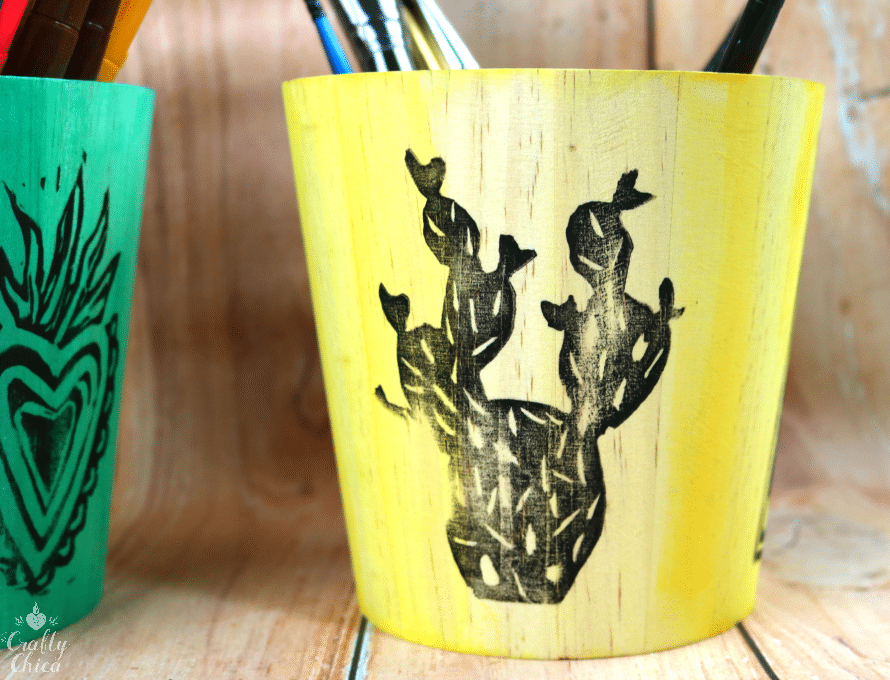
I used these wood bins to print on, they were a little tricky due to the shape, but they still came out super sweet!
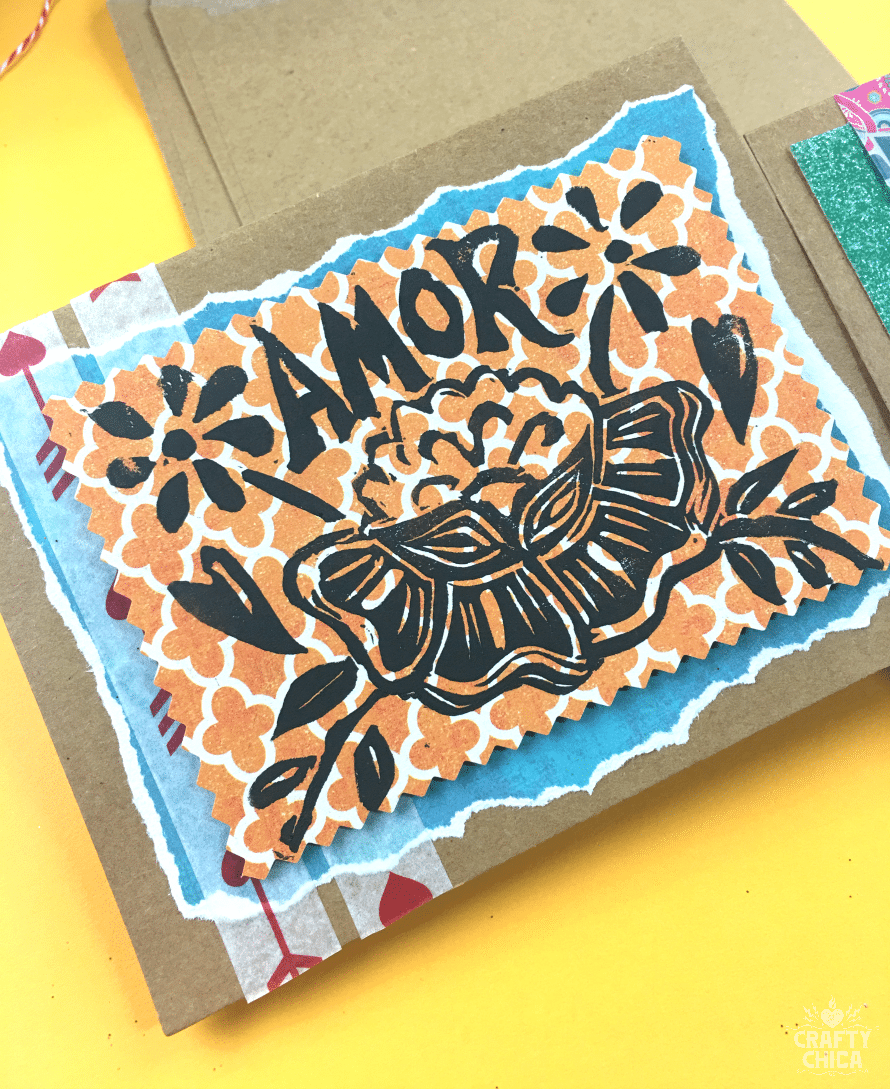
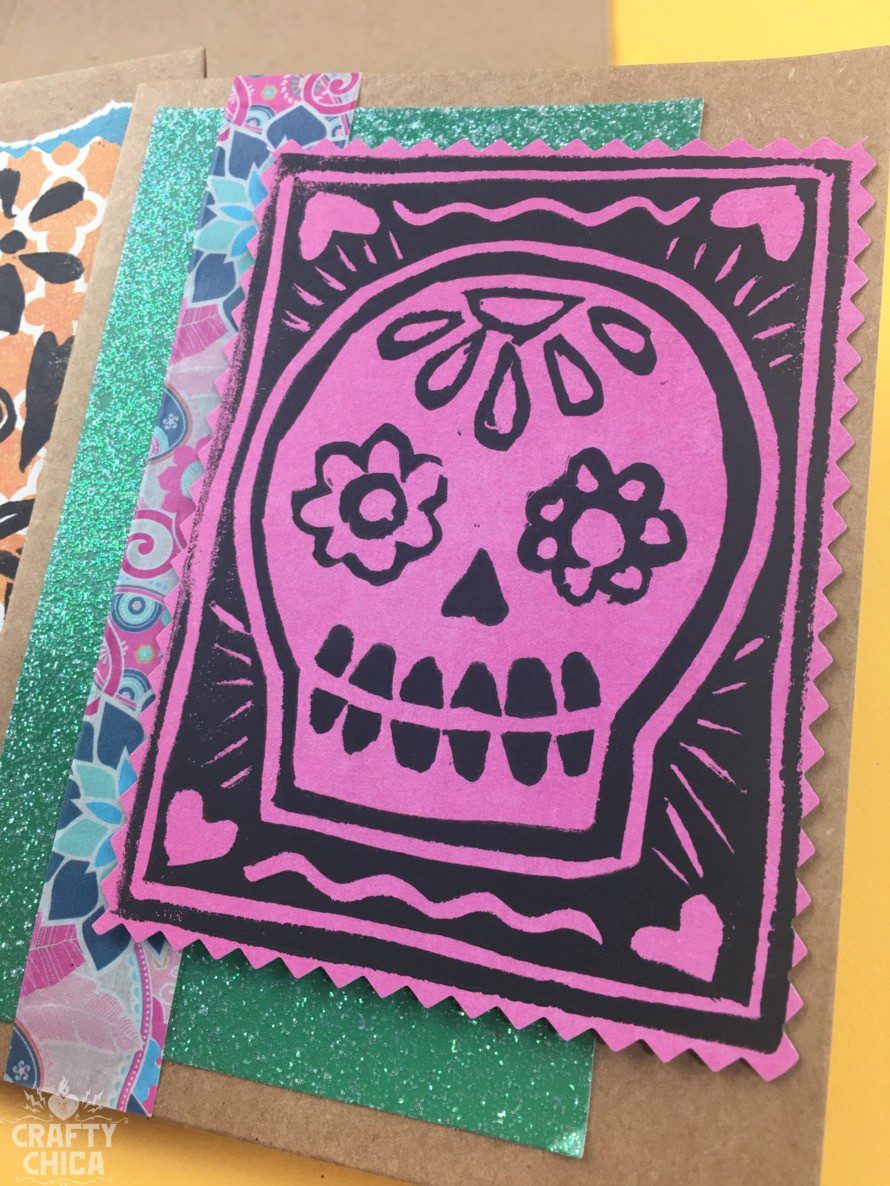
I made a bunch of greeting cards too. I listed these on Etsy and sold them!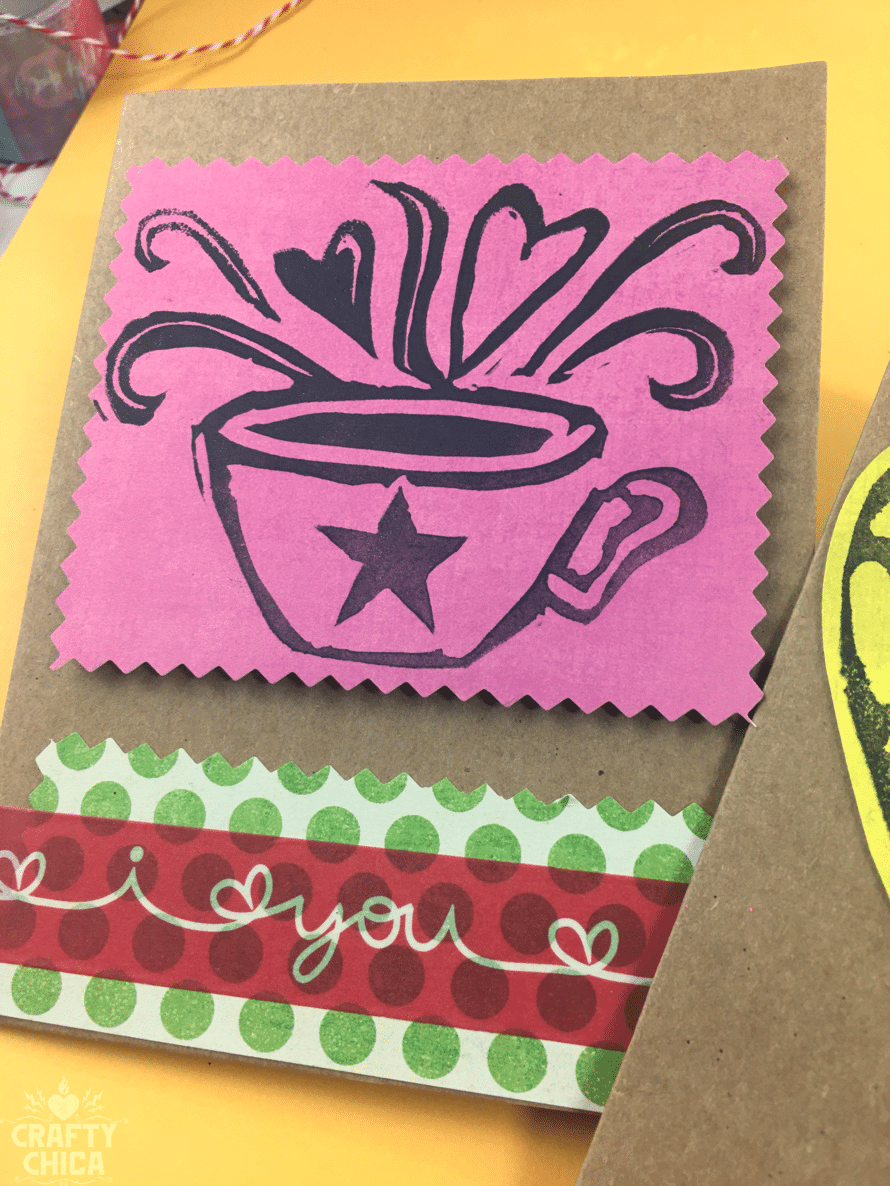
TIP: If you write words, make sure to draw them backwards, because it will print opposite. 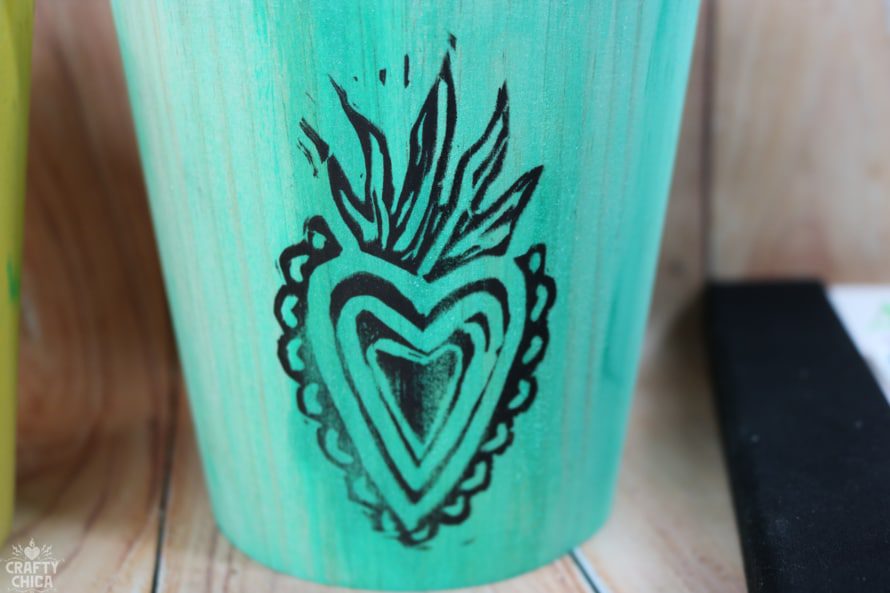

So what do you think? Are you ready to try it? I just ordered more cutting blocks, I’m addicted. That’s another thing I like about this craft, the supplies are small and easy to travel with, and once you have them, all you need are items to cut. You can use them on potatoes, erasers, candles, soap, greenware clay, that’s all I can think of right now!


These are gorgeous! This is an art form I’ve always wanted to try and never even knew how to start, what supplies, etc…
I’m going to order your suggested products ASAP.
Diana, you will love it! One stamp goes a LONG way!!! So many uses!! And it’s all original art!
These are lovely!! I think Amor is my favorite! Thanks for the lesson!!