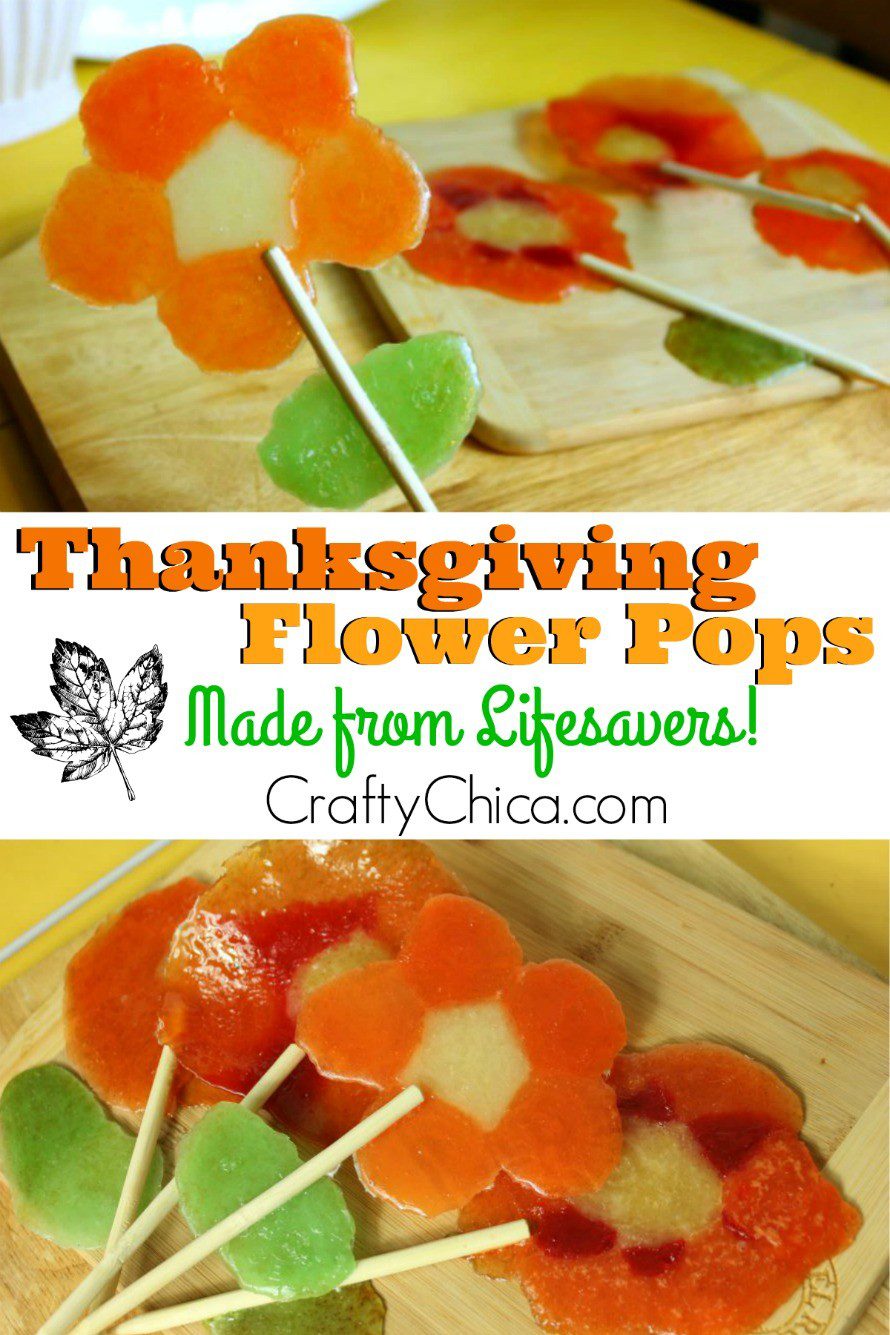
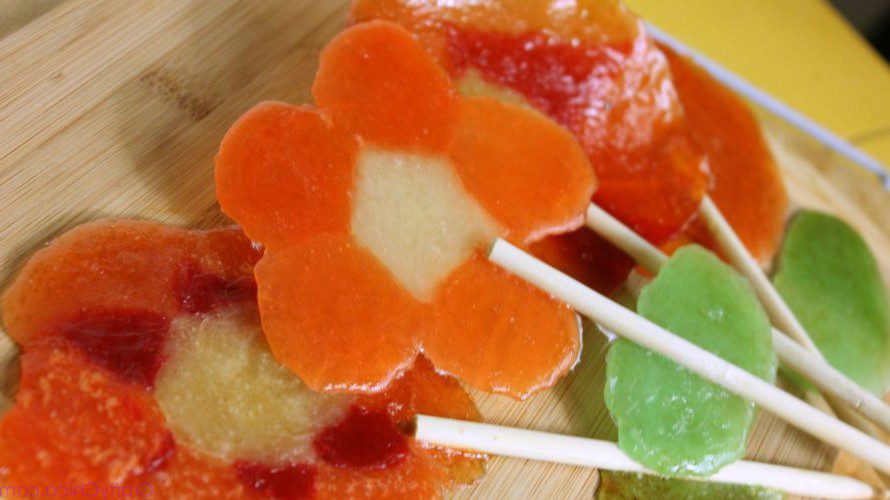
Here’s a tasty Thanksgiving candy idea – we’re gonna learn how to make LifeSavers lollipops!

Thanksgiving candy idea: How to make LifeSavers lollipops
How about something different for the dessert menu other than chocolate pie?
Like these LifeSaver lollipops for example!
Inspired by DIY Jolly Rancher lollipops found on Pinterest (of course), we mixed things up and went with Lifesavers. I wish I could say this project is a cinch, but there is a little bit of a learning curve.
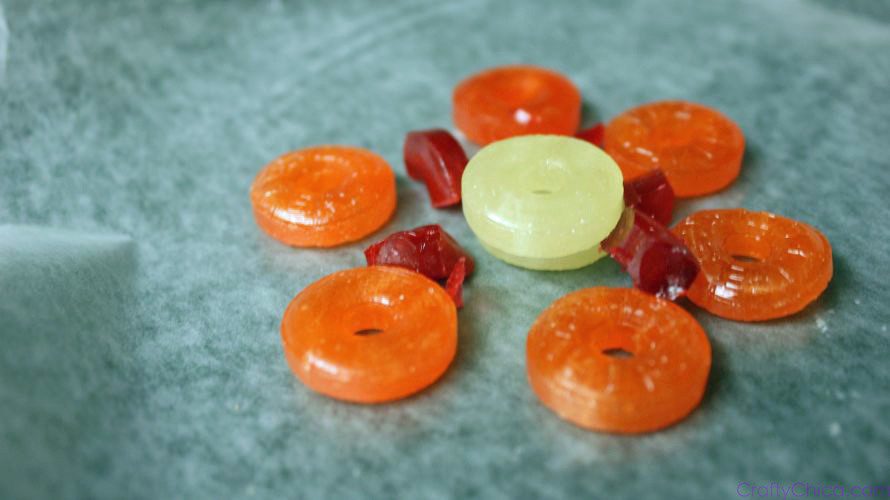
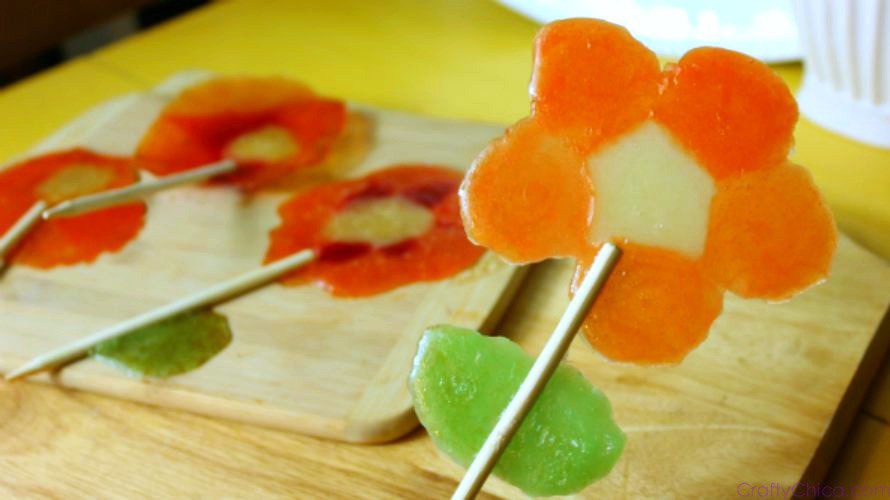
Different colors of the candies will have various melting times, so buy extra so you can play around and experiment.
Use these as cupcake toppers, or put them in jars or a flower pot! Wrap each one in cellophane with a name tag for seating nameplates.
NOTE: This project is not for kids, unless there is adult supervision.
How to make Lifesavers lollipops – supplies:
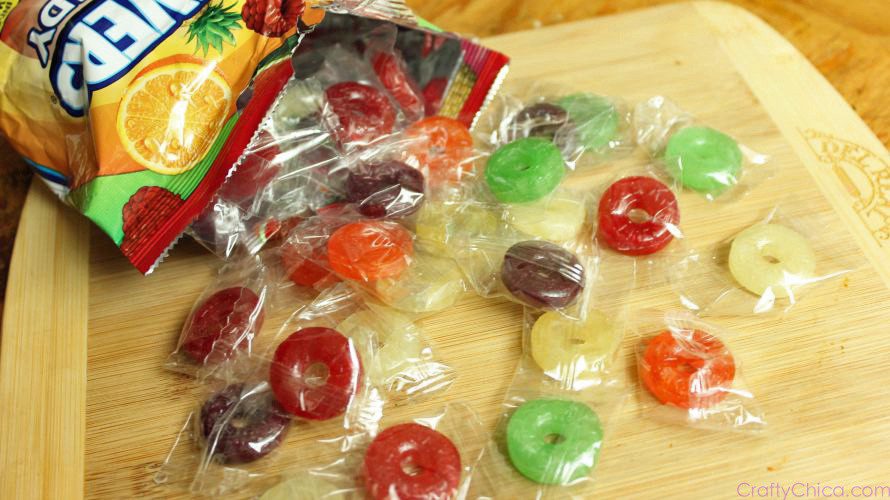
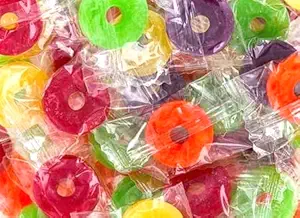
- A bag of hard candies. I used Lifesavers (you can also use Jolly Rancher) because it came with all the colors I wanted but any hard candy will do. Note: different hard candies will have various melting times
- Lollypop sticks
- Parchment paper or silicone baking mat
- Baking pan
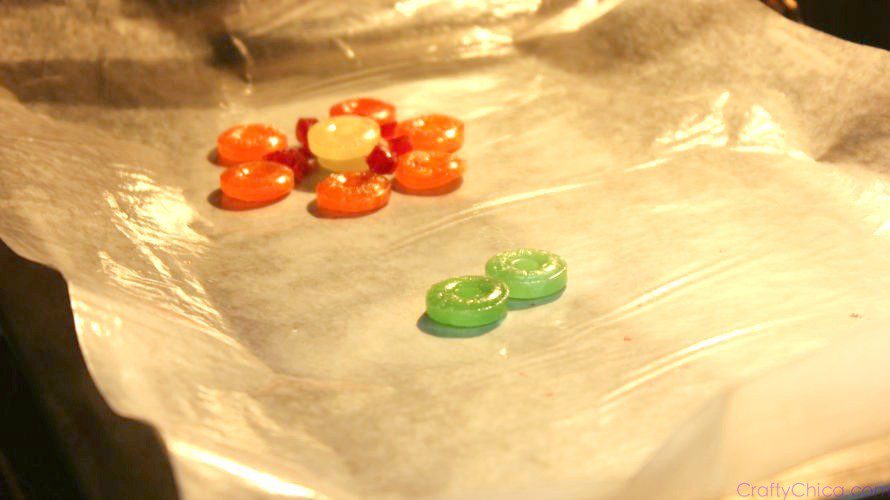
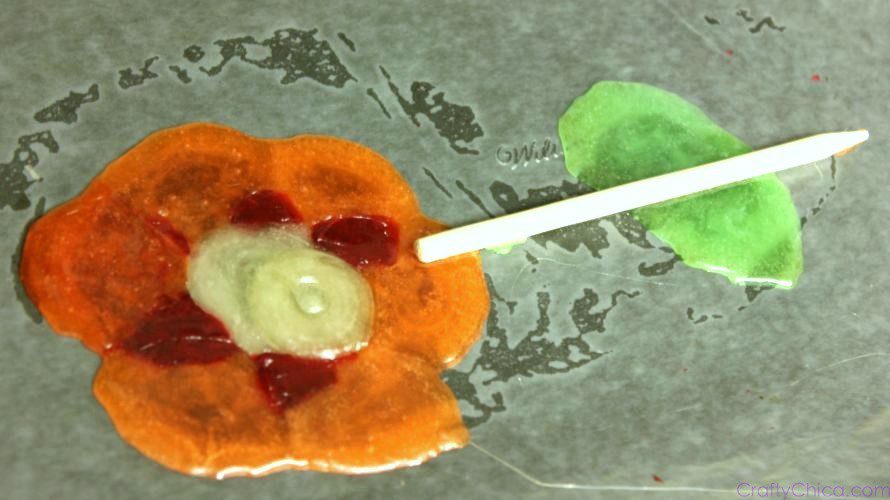
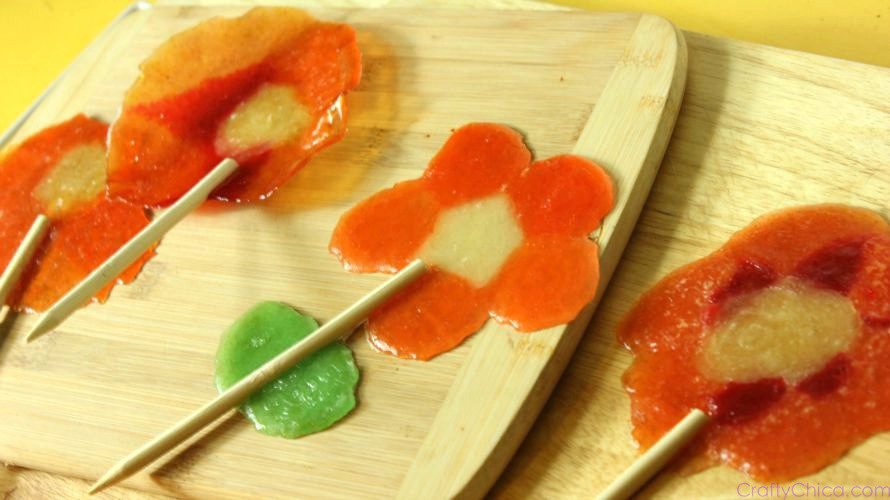
Directions for how to make Lifesavers lollipops:


Other Thanksgiving candy ideas using LifeSavers:
Here are other LifeSavers candy ideas for the holidays!
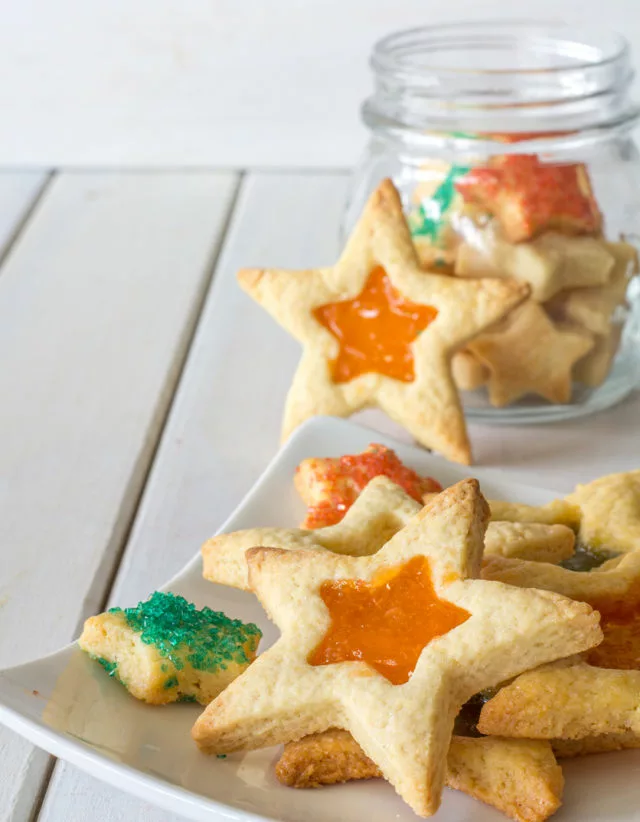
Stained Glass Cookies:
Use your favorite sugar cookie dough recipe. Roll out the dough and cut into desired shapes. Use a smaller cookie cutter to cut out centers. Place a few crushed LifeSavers in the center cutout and bake. As the cookies bake, the candies will melt and fill the center, creating a “stained glass” effect.
Edible Ornaments:
Follow the same method as the lollipops but use cookie cutters to create different festive shapes. Once they’re cooled, use a skewer to create a small hole at the top, and thread a ribbon or string through for hanging.
LifeSavers Candy Bowls:
On a parchment paper or silicone baking mat, arrange LifeSavers in a circle (or any shape you prefer) ensuring they’re touching each other. Melt in the oven as directed above. While still warm and pliable, quickly drape over the back of a greased bowl to shape. Allow it to cool and harden. Once set, you’ll have a colorful and edible candy bowl!
Decorative Garnishes:
Melt LifeSavers in the oven spread thinly. Once slightly cooled but still flexible, use a cookie cutter to cut or shape them into desired forms. They can be used as garnishes for desserts, cakes, or drinks.
TIP: Remember, while these treats look fun and delightful, they can be very sticky when melted. So, always be super-duper cautious when handling melted candies, and ensure they have cooled and set before consuming or giving them to children. Enjoy your creative candy crafting!
RELATED: Candy cane peppermint hearts